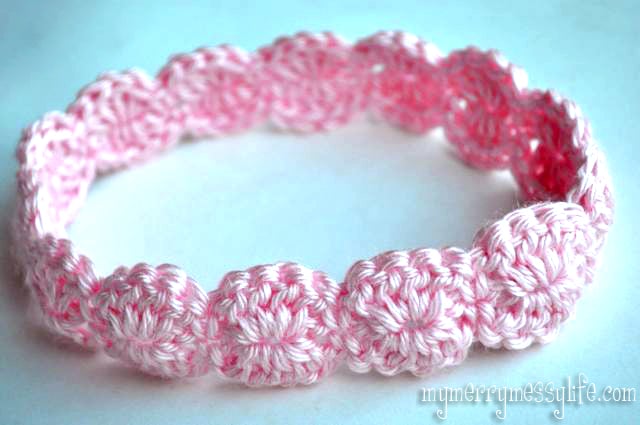
Crochet Shell Headband - Free Pattern
Looking for a stylish accessory that adds a touch of elegance to your outfit? Look no further than the Crochet Shell Headband! This trendy headband is not only fashionable but also versatile, making it the perfect addition to your accessory collection. Crafted with love and attention to detail, this headband features a unique shell stitch pattern that adds a delicate and intricate texture. The crochet shell design creates a beautiful scalloped edge, giving the headband a feminine and chic look. The versatility of the Crochet Shell Headband is another reason why it's a must-have accessory. It can be worn with various hairstyles, from loose waves to a sleek ponytail, and complements any outfit, whether it's a casual jeans-and-tee ensemble or a more formal dress. The headband is available in a range of colors, allowing you to choose the one that best suits your personal style and preferences. So, why settle for ordinary headbands when you can elevate your look with the Crochet Shell Headband?
W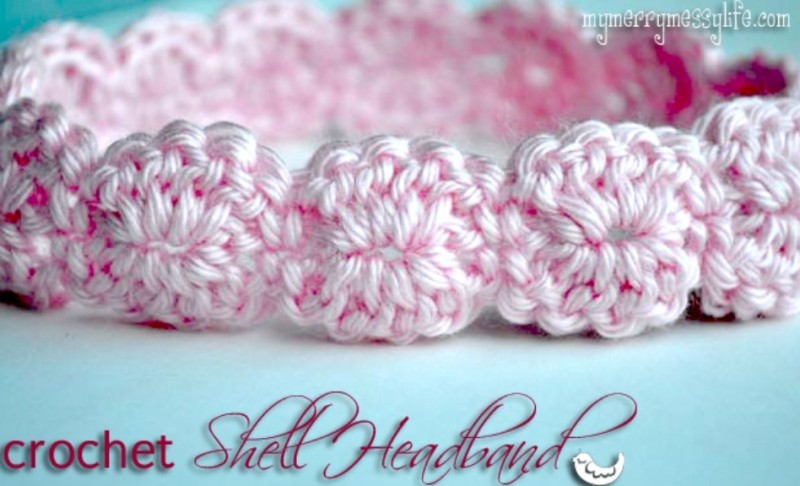
Abbreviations
- CH = chain
- SL = slip stitch
- DC = double crochet
Materials
- Yarn: 4-ply, worsted weight yarn. I used Caron Simply Soft in Soft Pink (where to buy)
- Hook: H (5.0 MM)
Headband Measurements
- Newborn 13"
- 3-6 months 14"
- 6-12 months 16"
- 12 months-tween 17.5"
- Adult 18"
The Pattern
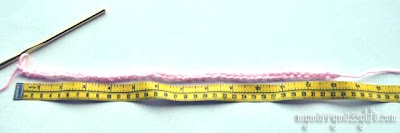
Chain to the length desired, but it must be divisible by 4, then add 3 chains at the end. For example, I wanted to make one for a 6-12 month old baby, so I chained 44, then added 3 at the end, for a total of 47 chains. The example below is for a newborn.
Make sure your chains are nice and loose because you will work on the top and bottom of them.
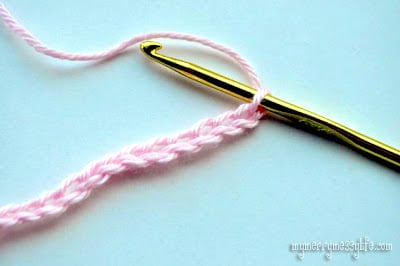
- In the third chain from the hook, work 3 DC in the same CH.
- Skip a CH, and work a SL in the next
СН. - Skip a CH, and work 4 DC in the next stitch.
- *Skip a CH, and work a SL in the next stitch.
- Skip a CH, and work 4 DC in the next stitch.*
- Repeat from * to the end, making sure to end with a shell (4 DC).
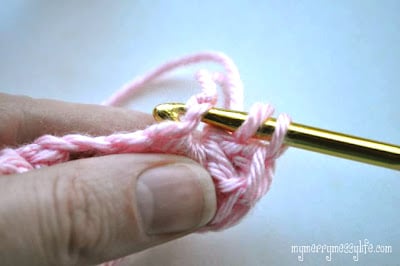
- Turn your work around, and see
- pictures below for continuing on the bottom. Work the first shell into the same chain (but on the bottom) of where you worked the last shell on the top.

After working the last shell on the top, turn your work around and work another shell in the same chain.
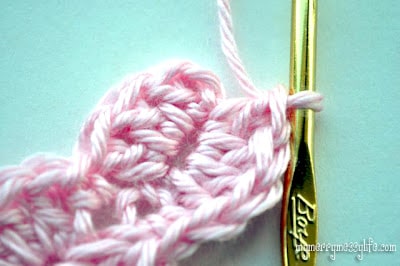
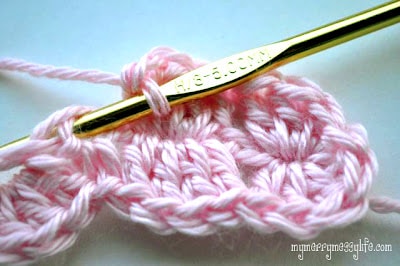
Here's what your headband should look like once you've turned it, worked a shell on the end, and started to continue around.
Here's a close up of how you work the other side of your headband on the bottom. You create a new shell from the shell below it.
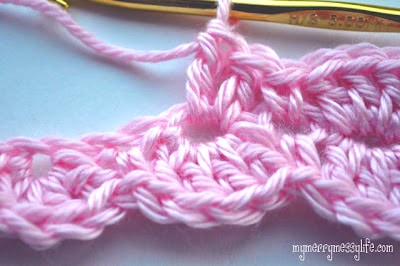
The last shell and end should look like
this - one shell on the top, one on the bottom. Join the last shell to the first one with a SL. Fasten off and sew in the ends,
leaving a tail to sew the headband together.