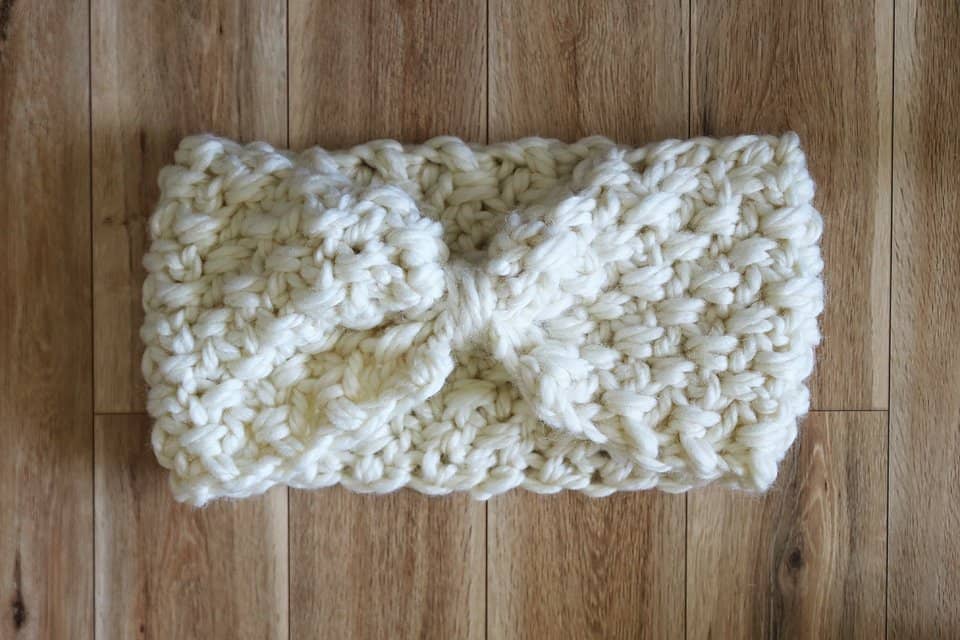
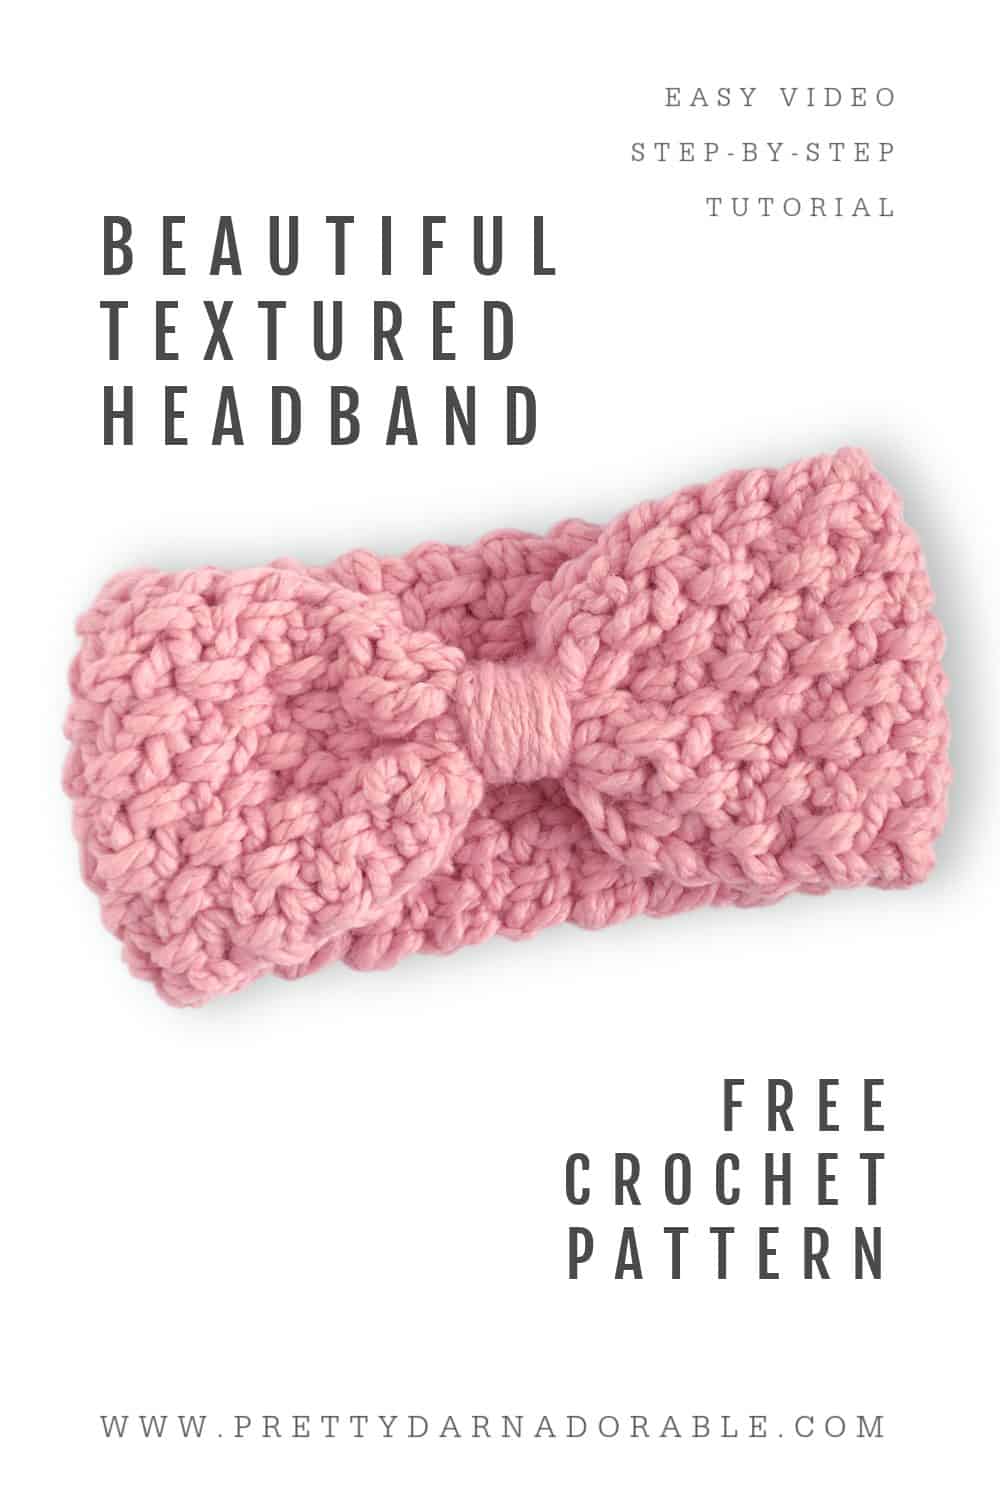
Crochet Beautiful Headband
Are you looking for a fun and creative project to showcase your crochet skills? Look no further than creating a beautiful headband! Crocheting a headband allows you to express your unique style while keeping your hair in place. With just a few simple steps, you can transform a ball of yarn into a stunning accessory that will turn heads wherever you go. Crocheting your own headband allows you to customize it to your liking, ensuring that it perfectly complements your personal style. Whether you prefer a bohemian-inspired design or a sleek and modern look, the possibilities are endless when it comes to crochet headbands.

SKILL LEVEL
Easy
ABBREVIATIONS
ch – chain
dc – double crochet
hdc – half double crochet
sc – single crochet
sk – skip
sp – space
st – stitch
sts – stitches
sl st – slip stitch
rpt – repeat
MATERIALS
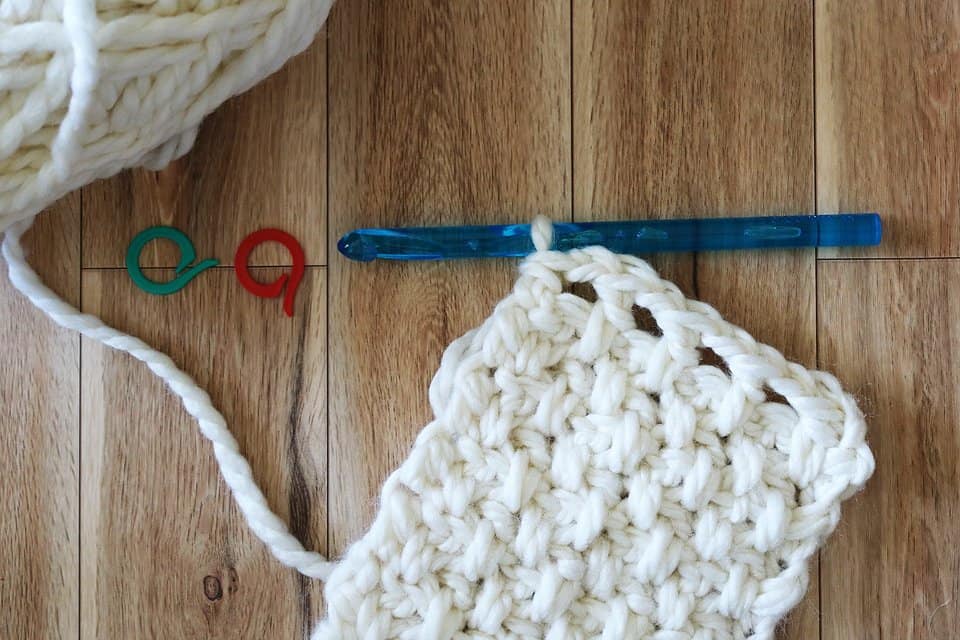
10.00 mm hook
#6 Bulky Yarn – I used Loops and Threads Cozy Wool
Tapestry Needle
Stitch Markers
GAUGE – Not needed for this pattern.

MEASUREMENT
ADULT 19 – 20″ x 5″
With 10.00 mm hook Ch 12
3 skipped chains of row 1 counts as 1st dc
Row 1: Dc in 4th chain from hook, *ch 1, sk next ch, dc in next ch* rpt from * to * ending with dc in last ch. Ch 2 turn. (9)
Row 2: Chain 2 of previous row counts as first hdc. *Dc in 1st ch one row below, ch 1* rpt from * to* to last 2 sts Skip 2nd last st, hdc in last ch. Ch 2 turn. (9)
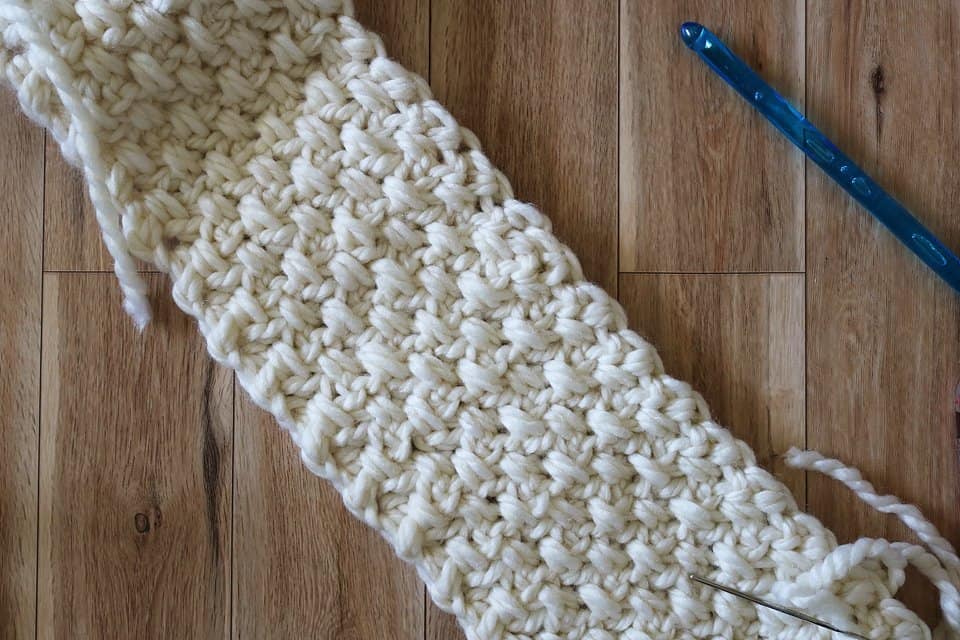
Row 3: Ch 2 from previous row counts as 1st hdc. Dc in 1stskipped st under ch 1 space, ch 1, skip next st, *dc in skipped st under ch space, ch 1 skip next st* rpt from *to* to last 2 sts, sk next st, hdc in last st. Ch 2 turn (9) Note: At the end of the last row only ch 1.
Repeat row 3 until you have reached 19″-20″ for adult size. Remember to keep the length at least one inch smaller than head circumference.
Finishing row: Sc in 1st ch space, dc in skipped stitch under ch space, (sc, dc in skipped st under ch space) rpt () in each ch 1 space till end of row. End with hdc in last st.
Fasten off leaving long tail to sew short ends of headband together. You can do this any way you are comfortable. I do not recommend using slip stitches as the front of the headband will be too bulky.
Once ends are sewn together wrap yarn continually around headband seam until the desired look has been achieved.
Fasten off and weave in ends.