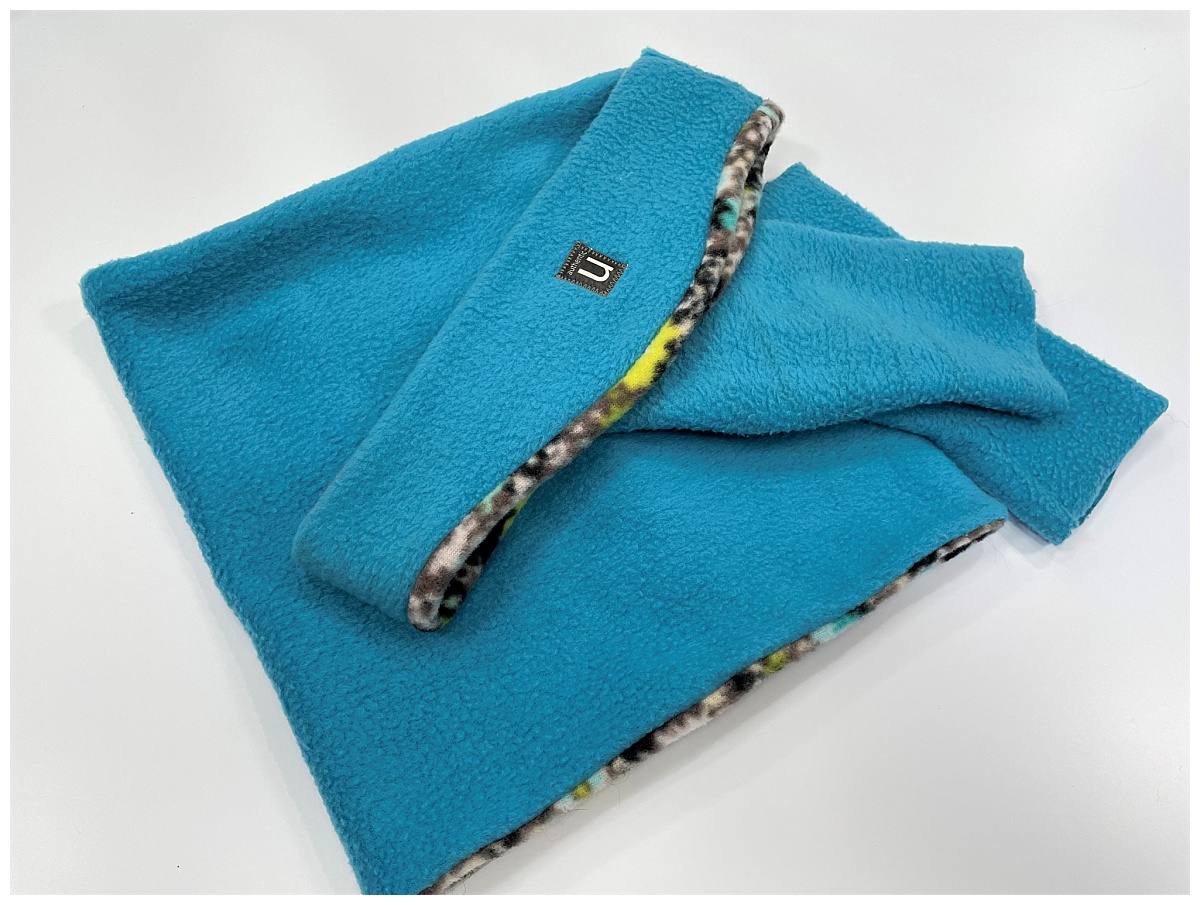
How To Make a Fleece Neck Warmer | Free Pattern
Discover the ultimate winter accessory with our exclusive Fleece Neck Warmer sewing pattern! This versatile and stylish accessory is a must-have for anyone looking to stay warm and cozy during the chilly months. Crafted with love and attention to detail, our pattern provides you with step-by-step instructions to create your very own neck warmer that is both functional and fashionable. Not only will you be able to customize your neck warmer to suit your personal style, but you'll also have the satisfaction of knowing that you've created something truly unique. Whether you prefer a classic solid color or want to experiment with fun patterns and prints, the possibilities are endless. So grab your sewing machine, choose your favorite fleece fabric, and get ready to make a statement with our Fleece Neck Warmer sewing pattern. Stay warm, stay stylish!

Neck Warmer Materials & Items Needed
- Fleece (19-21 inches square)
- Scissors/rotary cutter (optional)
- Fabric clips/pins
- Sewing machine/serger (optional)
- Safety pin
- Tag (optional)
Neck Warmer Instructions
1-Cutting Out
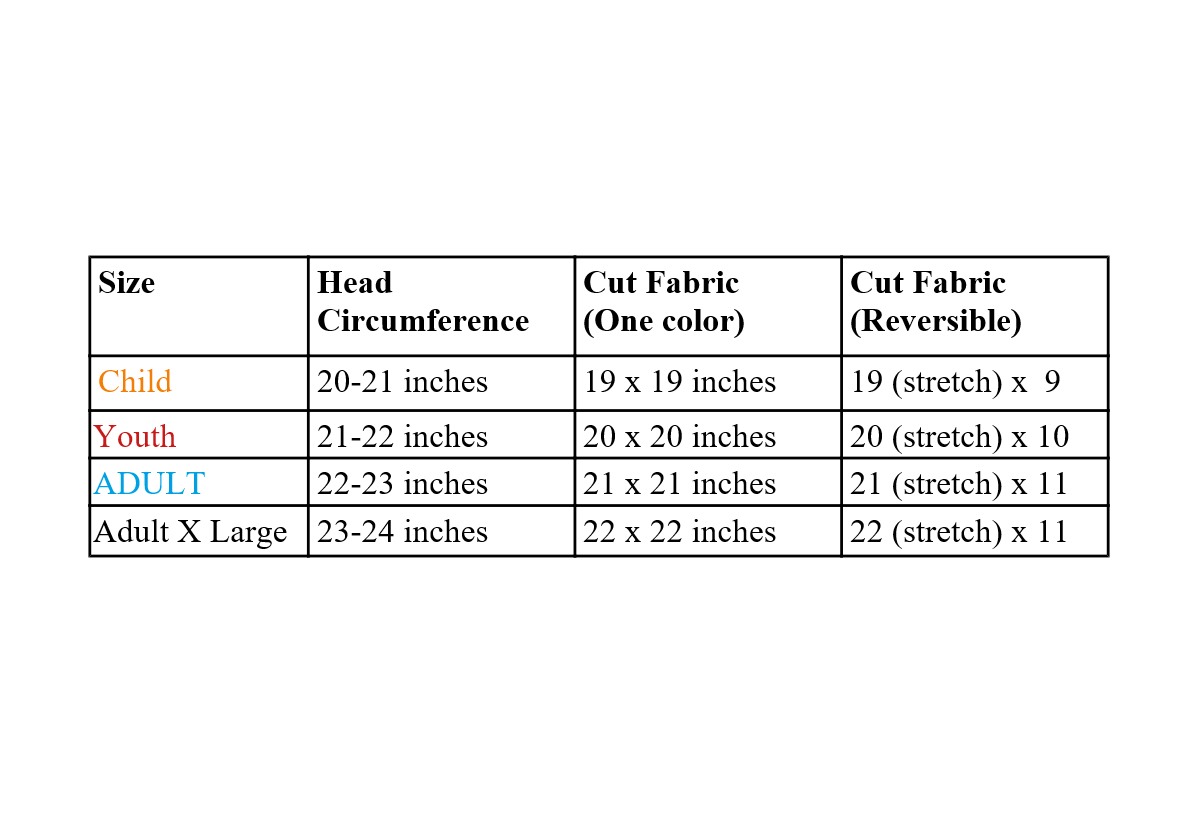
Measure your head and use the chart above to determine the cutting measurements. I like using a rotary cutter and mat to cut fleece. It helps get a straight cut and is a lot quicker. However, a pair of scissors will work just fine.
REVERSIBLE NECK WARMER:
Cut out two pieces to the measurements given in the chart with the LONG SIDE ON THE STRETCH.
2-Sewing
VERY IMPORTANT! Fleece fabric has some stretch to it and will be more stretchy from selvage edge to selvage edge. (The finished edge of the fabric is the selvage edge).
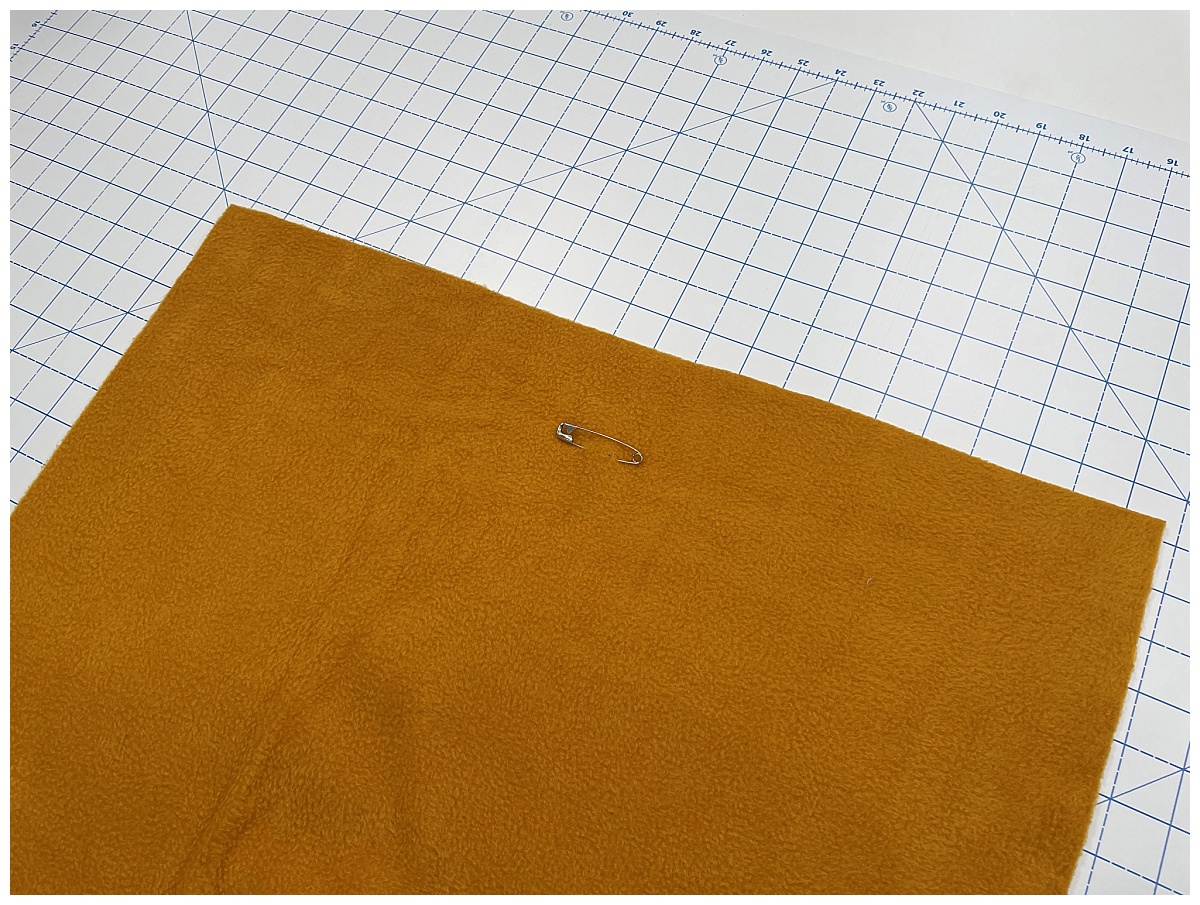
2-Determine which edge is the “stretchy side” and mark with a safety pin.
This is critical because if you sew it with the stretch on the wrong side, you won’t be able to get the warmer over your head.
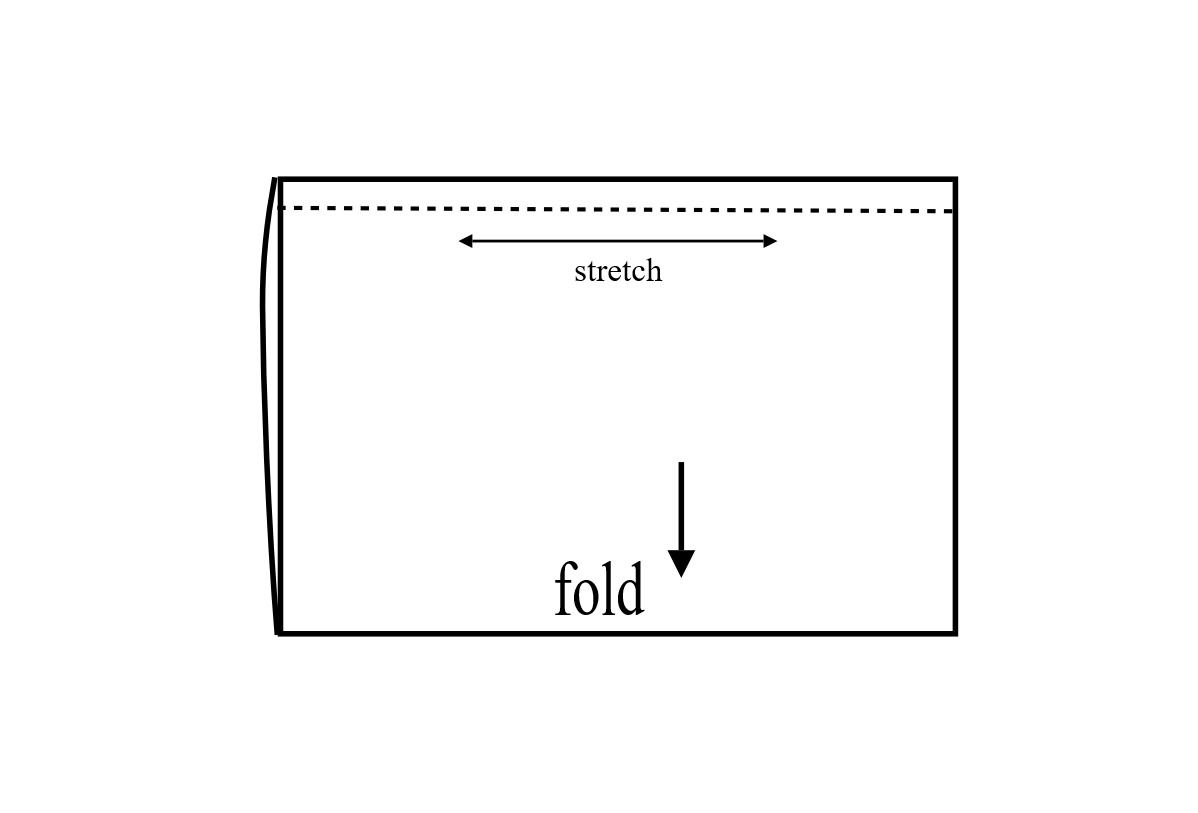
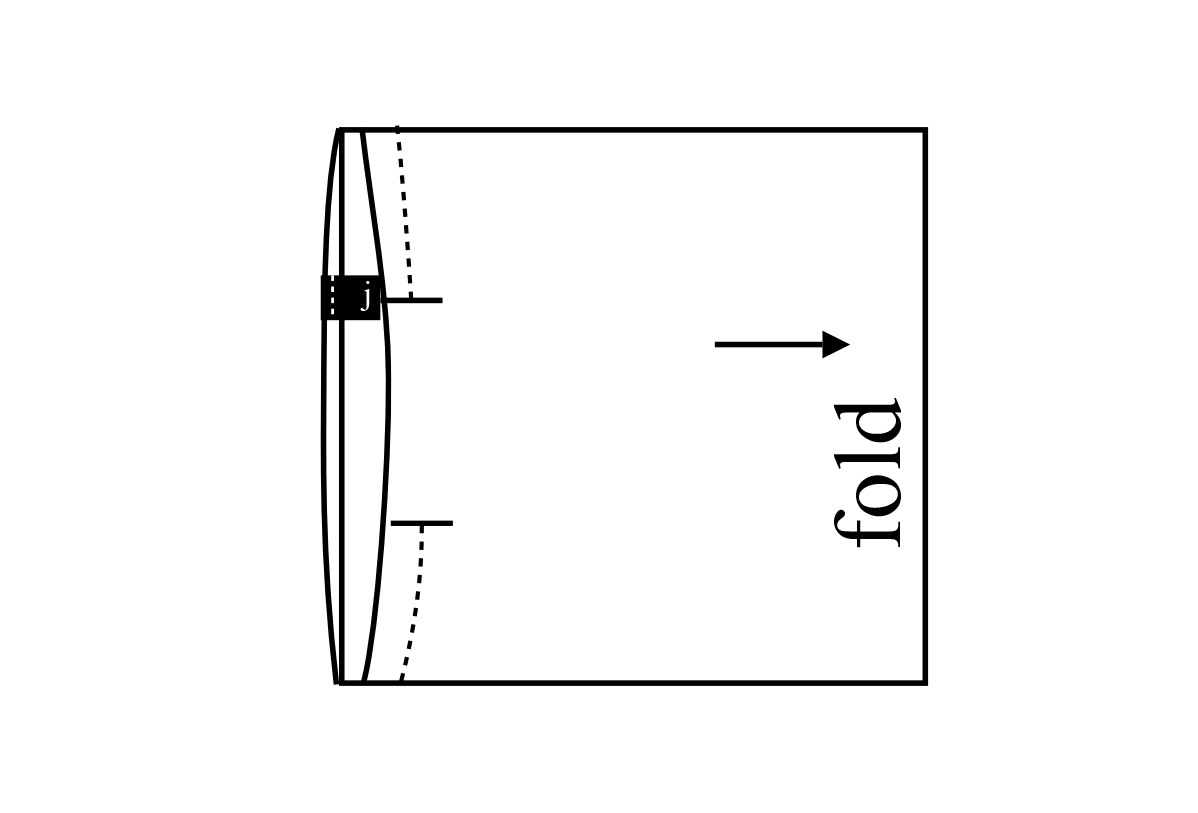
3-Fold in half so the STRETCHY SIDE is along the long edge.
You can sew this neck warmer using a regular sewing machine or a serger. A serger is very nice if you have access to one, but not necessary.
You can also hand stitch the whole thing.
***If using a regular sewing machine set the stitch to a small zigzag stitch (1 1/2 width x 1 length) or the lightning bolt stitch. IF YOU JUST USE A REGULAR STRAIGHT STITCH, THE SEAM WILL POP WHEN THE FABRIC IS STRETCHED.
A serger stitch allows stretching.
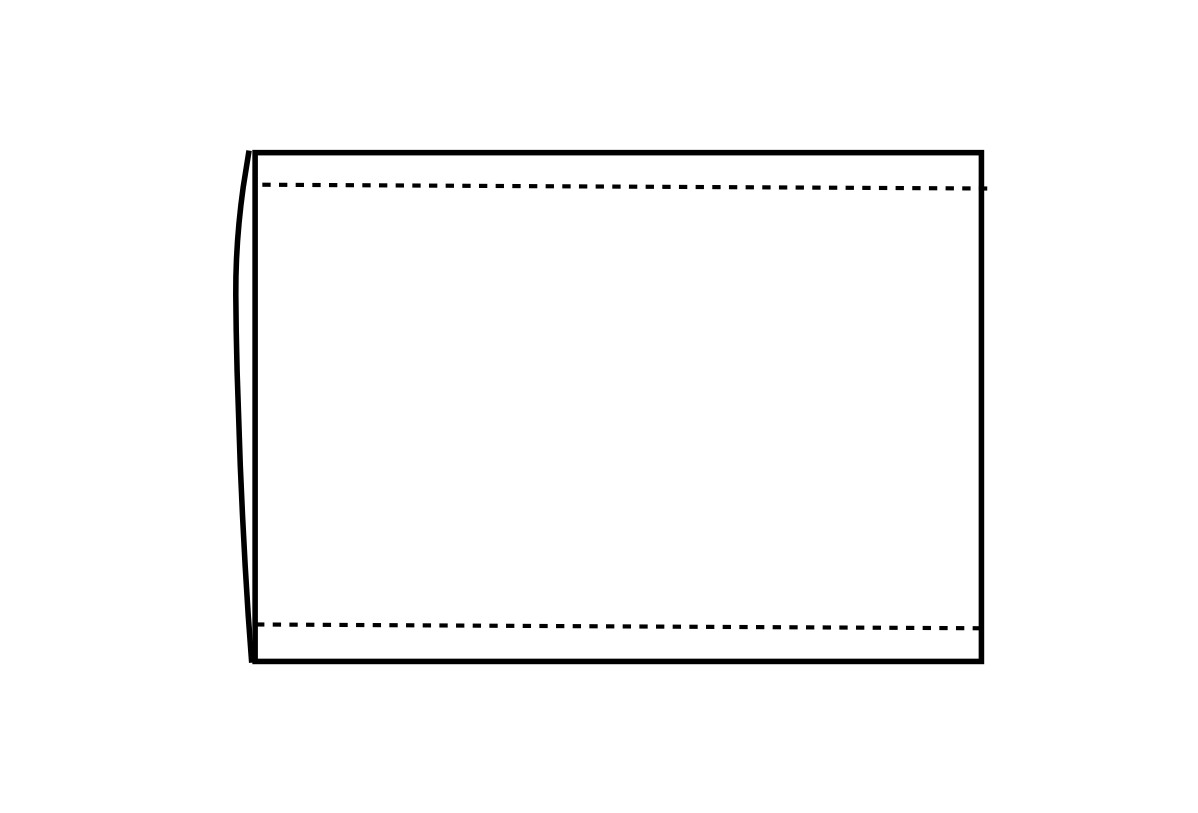
4-Sew seam
USING A 3/8 INCH SEAM ALLOWANCE, pin or clip in place and sew from the edge to edge. Backstitch at the beginning and end of the seam if using a single needle machine.
5-Turn right side facing out.
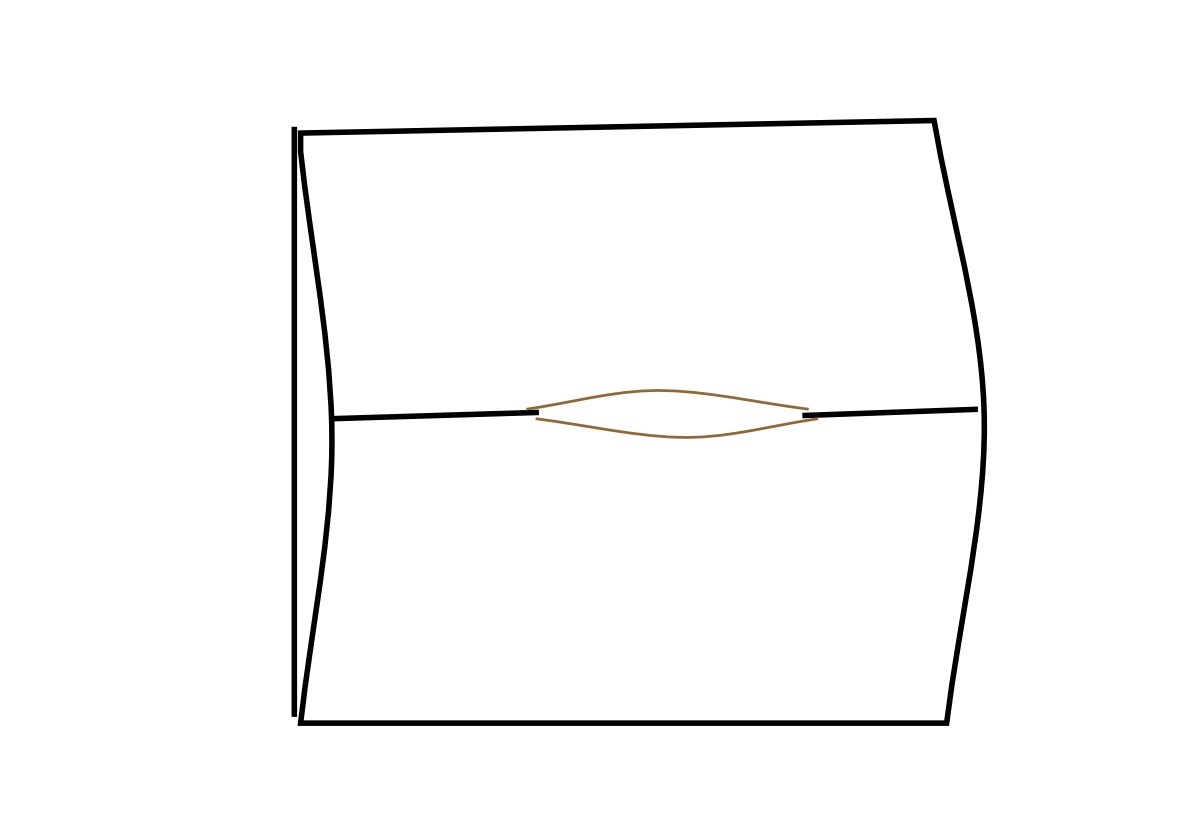
Fold the tube in on itself so RIGHT SIDES ARE FACING EACH OTHER. Line up the seam and pin in place.
You will be leaving an opening UNSEWN about 3-4 inches.
TIP: I like to use different colors of pins (red) or clips to mark the opening, so I don’t forget and sew all the way around.
If you want to add a tag to the back neck seam, insert the tag between the layers of fabric and baste in place before sewing the seam. (video tutorial shows how to do this).
Start at one of the RED CLIPS, backstitch, and sew around to the other red clip. Backstitch.
6-Reach your hand inside the opening you left and turn it right side facing out.
7-Sew the opening closed.
Fold the seam allowance inside and pin it in place. You can sew the opening closed with a sewing machine using a small 1/8 inch seam allowance, or hand sew using a ladder stitch.
8- REVERSIBLE NECK WARMER
Place pieces (RST) and sew along the long sides.