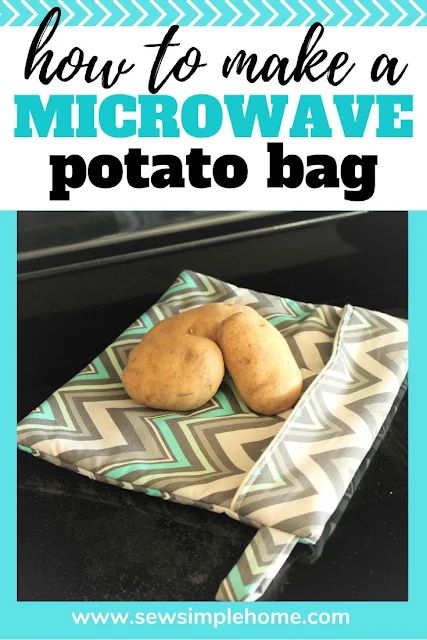
How to Make a Microwave Potato Bag + Free Sewing Pattern
Create your very own DIY potato bag with this easy-to-follow sewing pattern for a microwave potato bag. This pattern will guide you through the steps to make a convenient and reusable bag that allows you to cook potatoes in the microwave quickly and efficiently. Whether you're a seasoned seamstress or a beginner looking for a fun project, this pattern is perfect for anyone interested in creating their own kitchen accessories. With this sewing pattern, you can customize your microwave potato bag with your favorite fabric and design, making it a unique addition to your kitchen. Not only is this project practical and functional, but it also allows you to showcase your creativity and sewing skills. Say goodbye to soggy microwaved potatoes and hello to perfectly cooked spuds every time with your handmade potato bag.
- 12" x 20" piece fabric
- 12" x 20" piece lining fabric
- 2" x 5" piece of fabric (for loop)
- 12" x 20" piece cotton batting--I use Warm and Plush
- 100% cotton thread
Feel free to make a larger bag if you plan to cook more potatoes at a time. I wouldn't cook more than 8 at a time because more will slow down your cooking process.
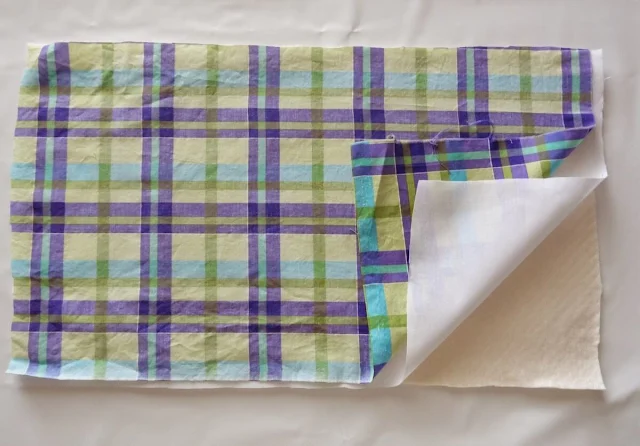
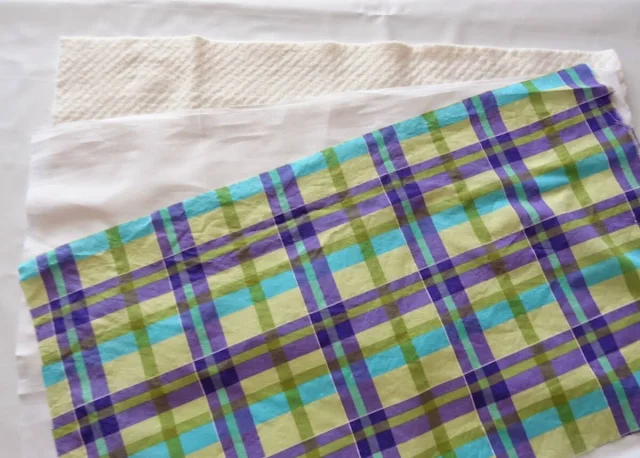
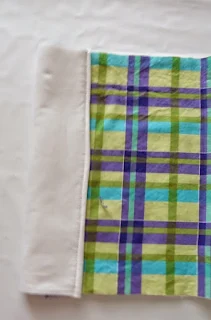
The photo shows you my 3 layers. If your lining has a right or wrong side, make sure to place it with the right side up.
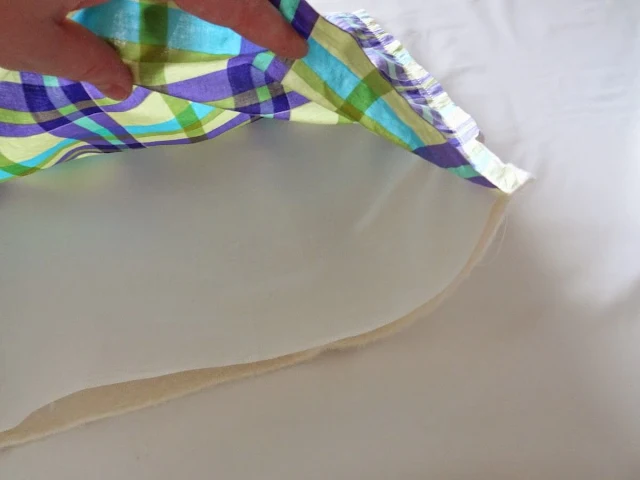
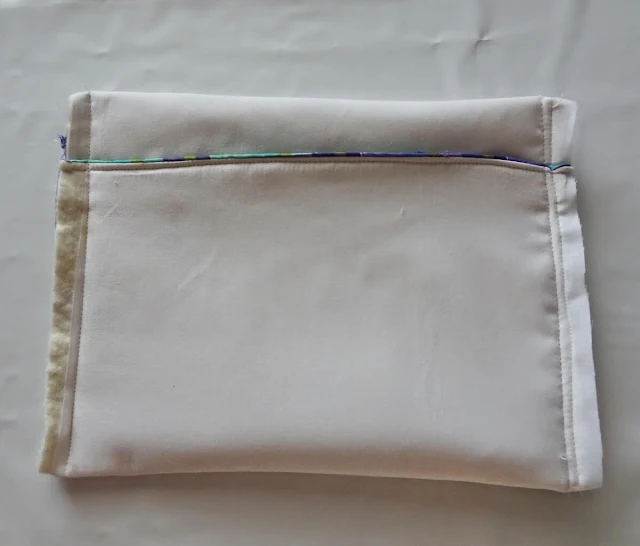
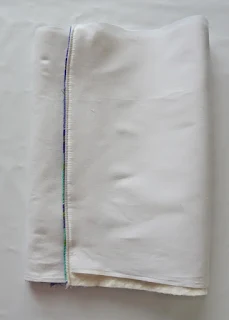
At this point, your batting should be sandwiched in between your lining and main fabric. Topstitch down your short side of the bag with seams at 1/8".
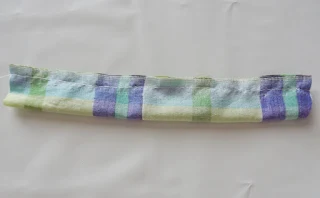
Take your 2" x 5" piece of fabric and fold it long ways with right sides together. Stitch down the long side.
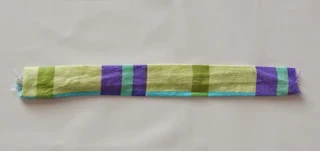
Turn your loop right side out using a safety pin. Press your loop so that the seam is in the middle of the wrong side. This way the seam won't show when you stitch it to your potato bag.
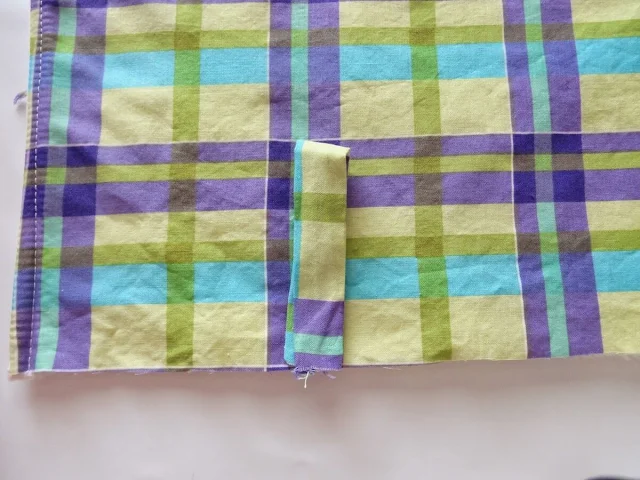
Pin it in place or you can do a quick basting stitch over the loop so it stays in place.
Make sure the long side overlaps the short side, otherwise your bag will open up incorrectly. (Been there, done that.)