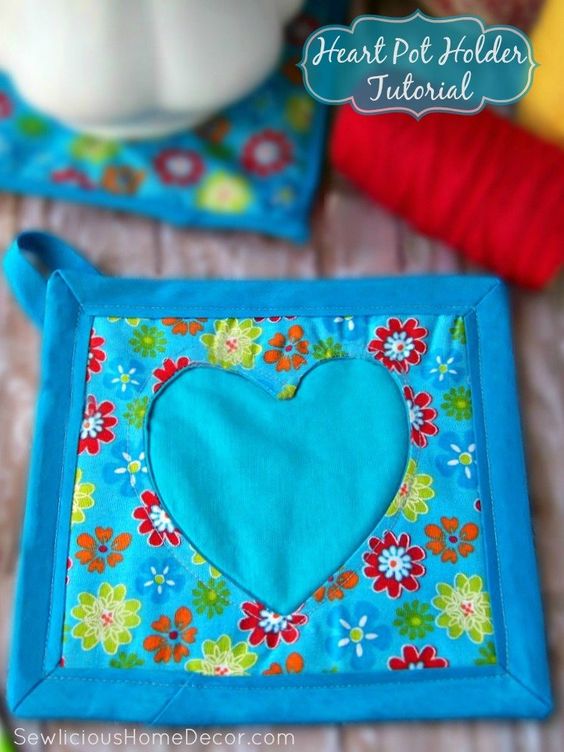
DIY Heart Shaped Pot Holder with Binding Tutorial
Create your very own heart-shaped pot holder with a beautiful binding to add a touch of charm to your kitchen decor. This do-it-yourself project is a fun and creative way to showcase your sewing skills while also providing a practical item for your home. Choose your favorite fabric patterns and colors to personalize your pot holder and make it truly unique. Follow a simple tutorial to cut out the heart shape, sew on the binding, and add a loop for hanging. This project is perfect for beginners looking to practice their sewing techniques or for experienced crafters wanting to add a handmade touch to their kitchen accessories. Once completed, your heart-shaped pot holder will not only protect your hands from hot pots and pans but also serve as a lovely decorative piece in your kitchen.
Prewash your fabric, Insul-Bright, and batting first to avoid shrinking later!
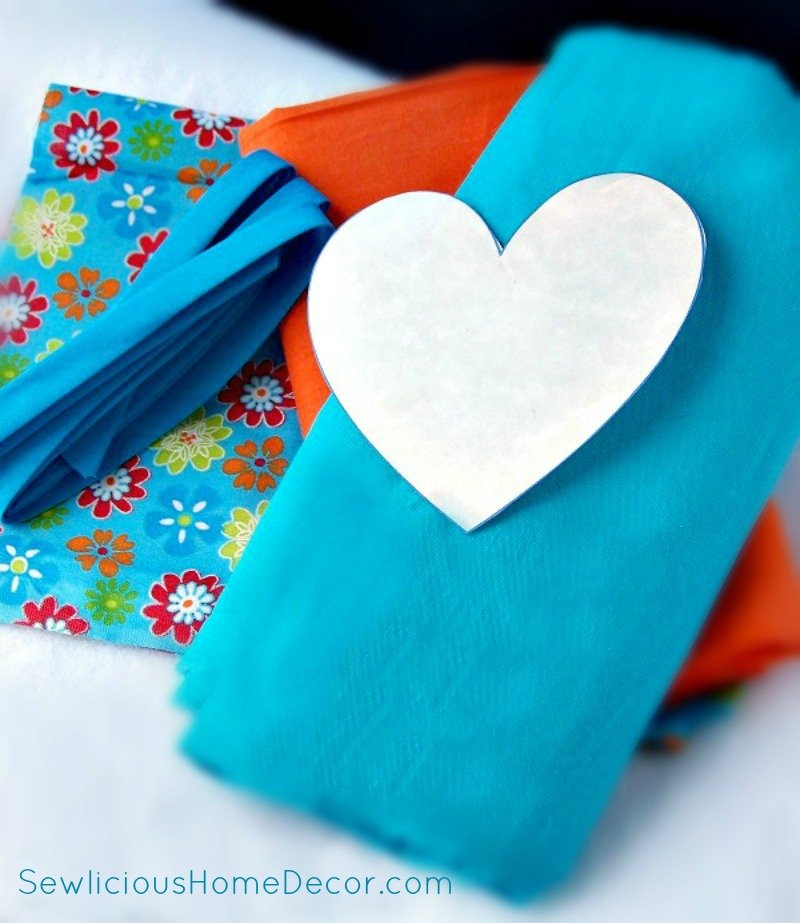
First, gather your supplies.
Let’s do a fabric round-up! You will need a total of four pieces. Two for the front, one for the back, and one for the heart.
You will also need Insul-Bright (you can find it at your local fabric store ), batting, the heart shaped pattern, binding, scissors and matching thread.
Insul-Bright consist of polyester fibers that reflects either hot or cold back to it’s source. It is washable and feels like batting. It is heat-RESISTANT, NOT heat-proof so do not put it in the microwave or oven.
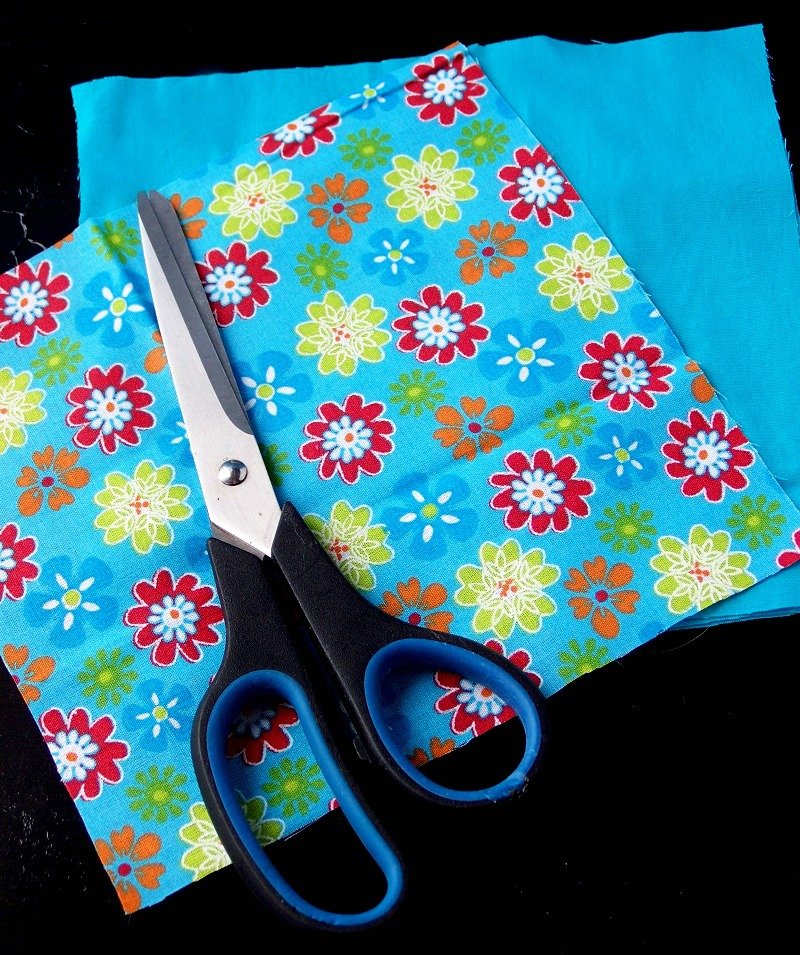
To start, cut your fabric. Cut all pieces the same size 7 -1/2 x 7 -1/2.
Cut one piece of Insul-Bright and one piece of batting
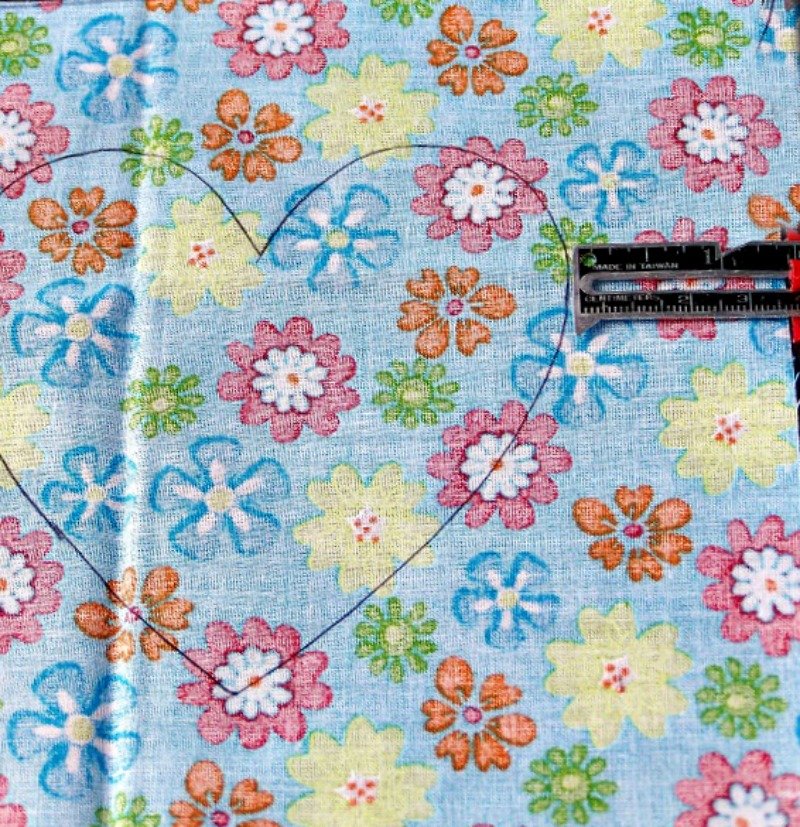
Using the heart shaped pattern, trace a heart on the back of the piece that’s going to be the front.
Measure each side to be sure your heart is centered as shown below.
Pin the lining to the right side of the piece you traced the heart on.
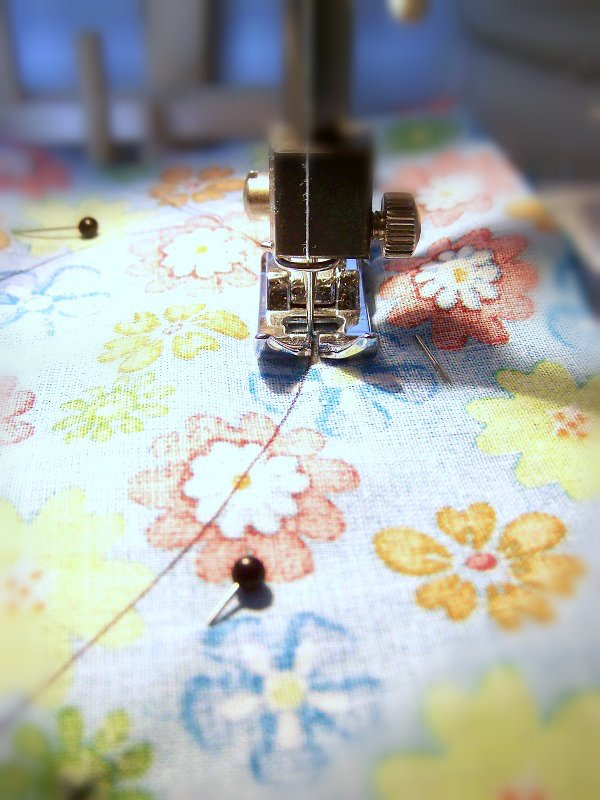
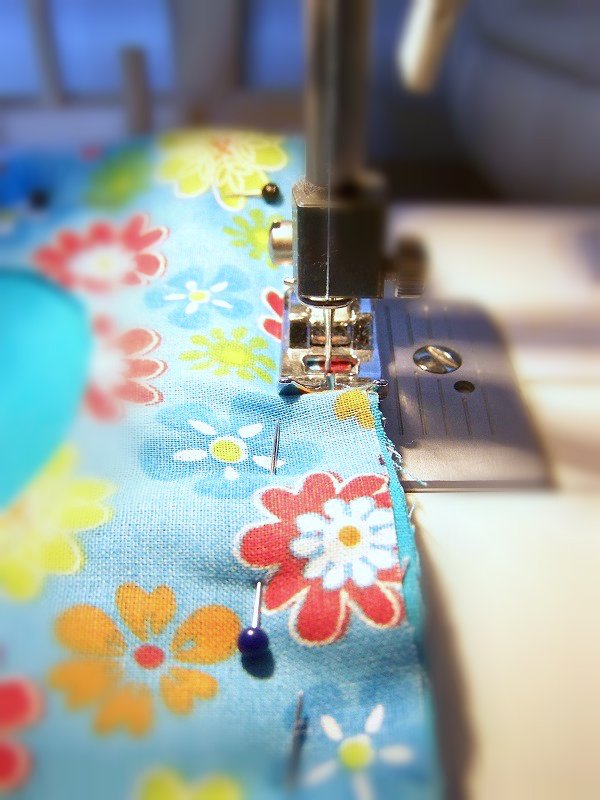
Now, go to your sewing machine and sew right over the heart shape line.
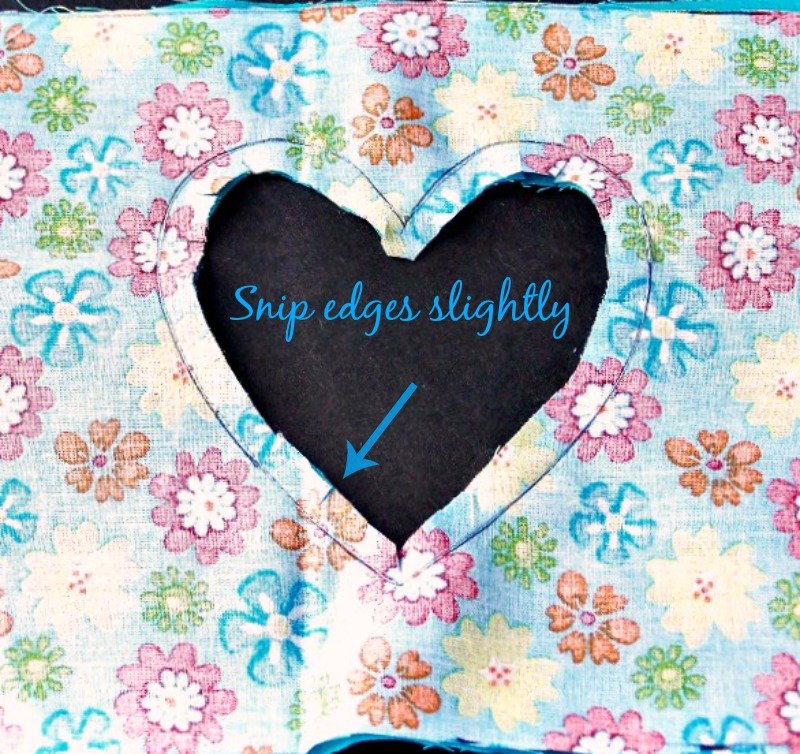
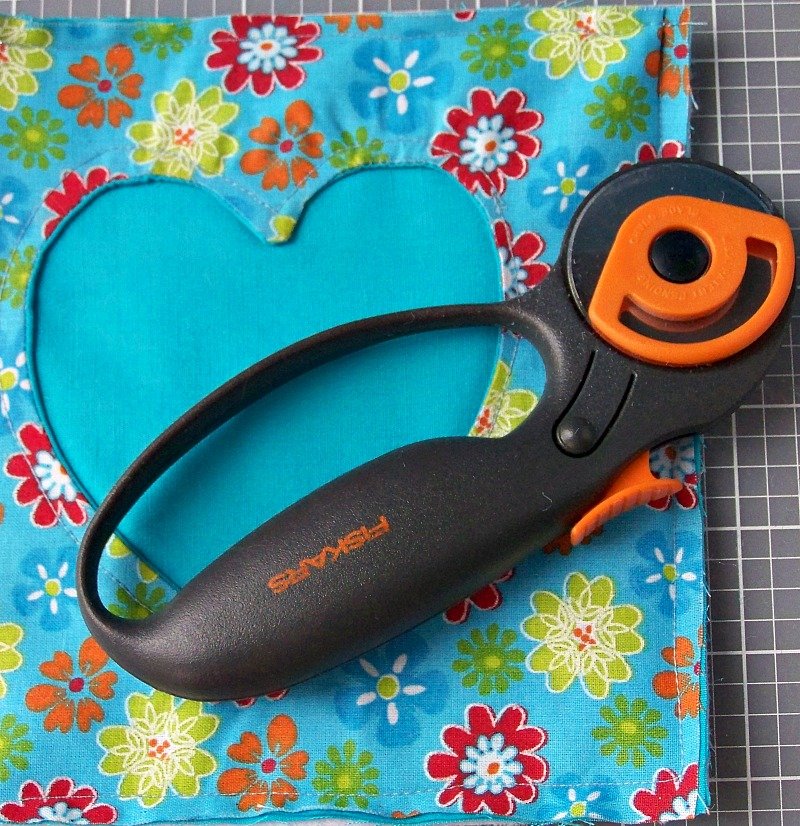
Now, cut out the heart as shown below.
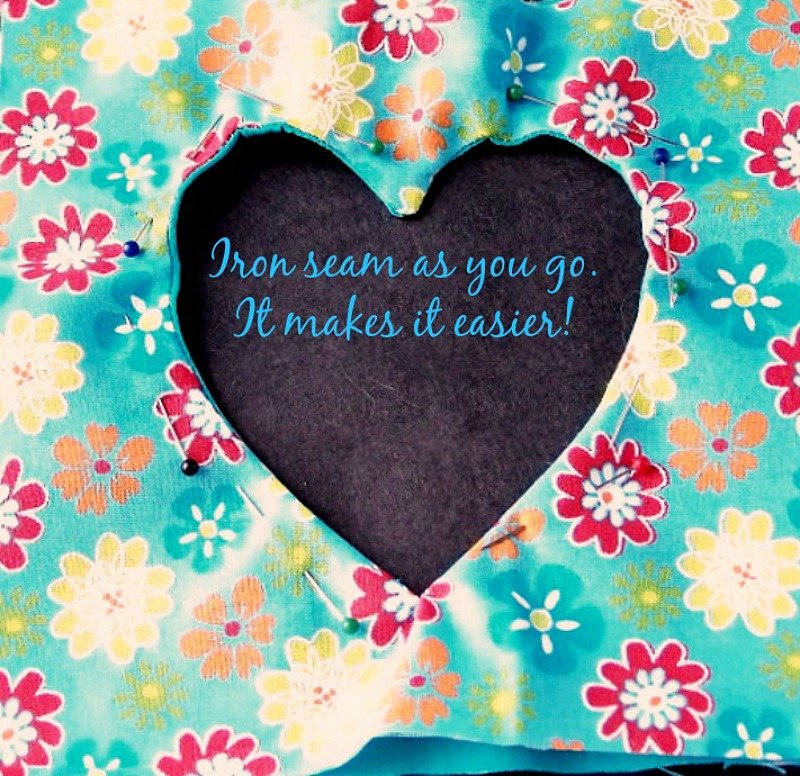
Next, turn it right side out as shown. It’ s easier if you iron the seam as you go.
I also pinned it as I went to keep it’s shape.
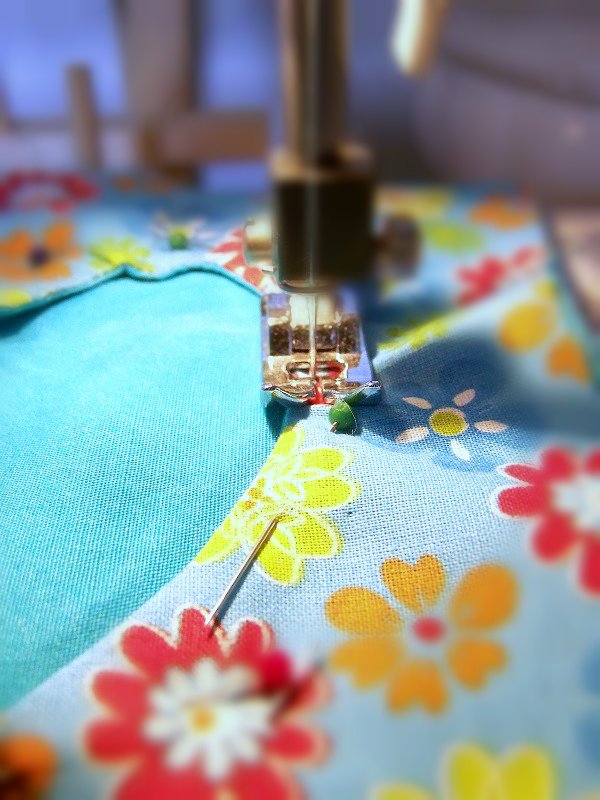
Now go to your sewing machine and sew a 1/4 hem around the heart.
Pick up your footer and pivot along the way to get around the curved edges.
Now place one piece of batting then one piece of Insul-Bright behind your fabric,
then place the back piece behind the Insul-Bright.
Right sides will be showing front and back.
Take it to your sewing machine and sew all 4 edges.
No need to sew a hem, we’re going to cover up the edges with the binding.
HOW TO SEW THE BINDING
The first thing you need to do is cut all four edges so they are all nice and straight.
Use a rotary cutter and a cutting mat if you have one. If not, you can measure it with a ruler.
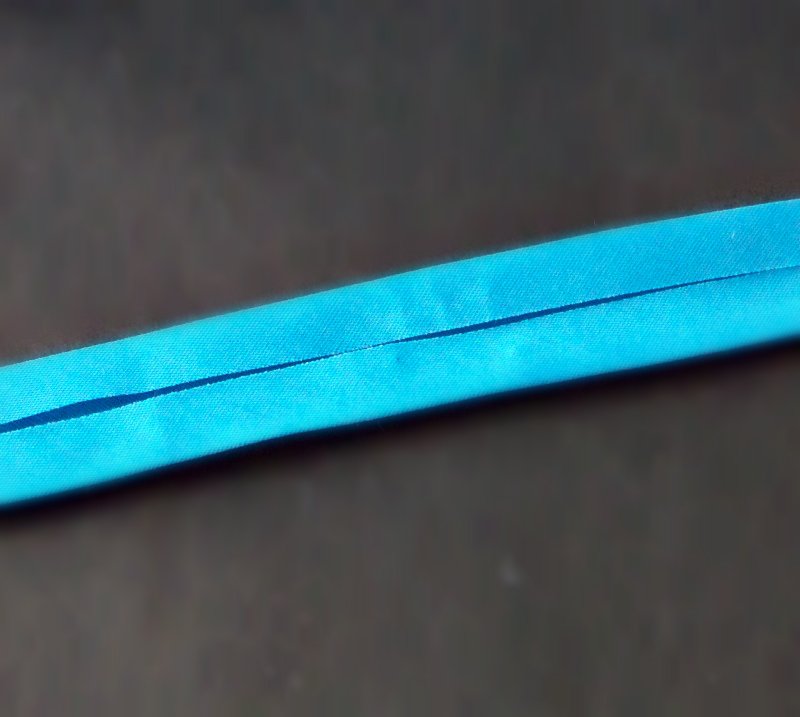
Next, lay your binding flat and find the larger folded side.
There’s always one side folded just a tad more than the other side.
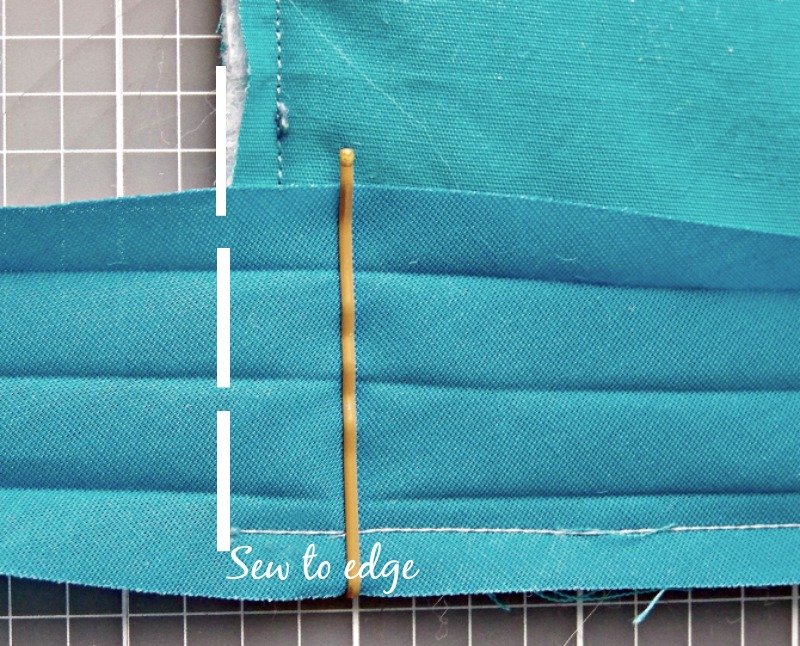
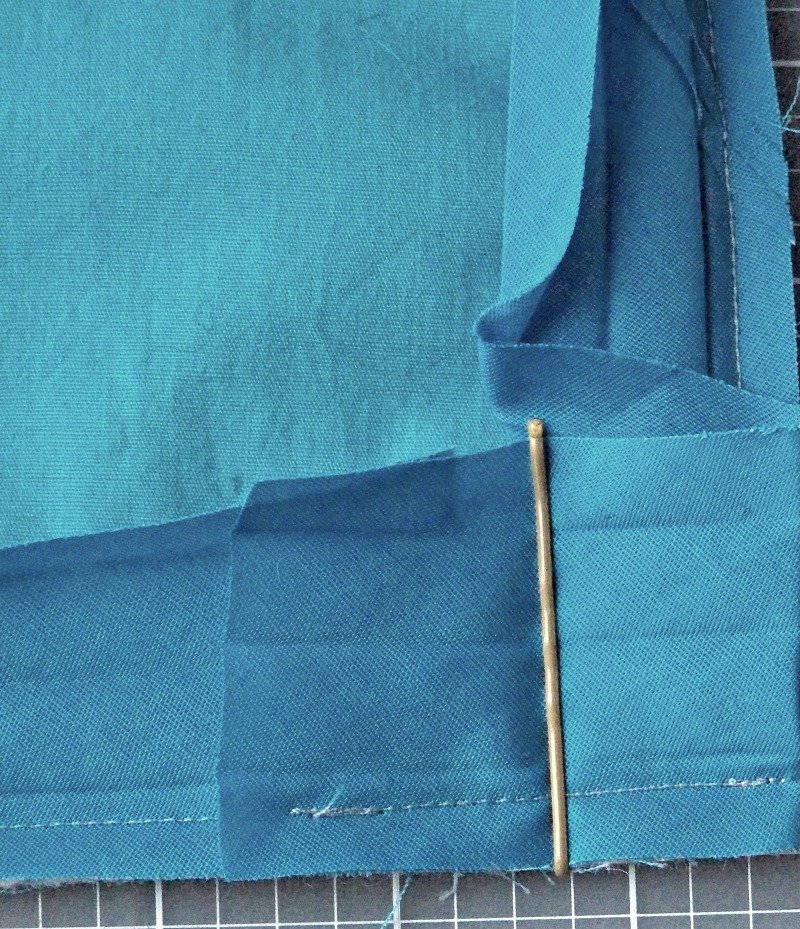
Unfold your binding and line up the smaller folded end to the back side of the pot holder as shown below.
Start at the bottom of the pot holder about 3/4 from the corner.
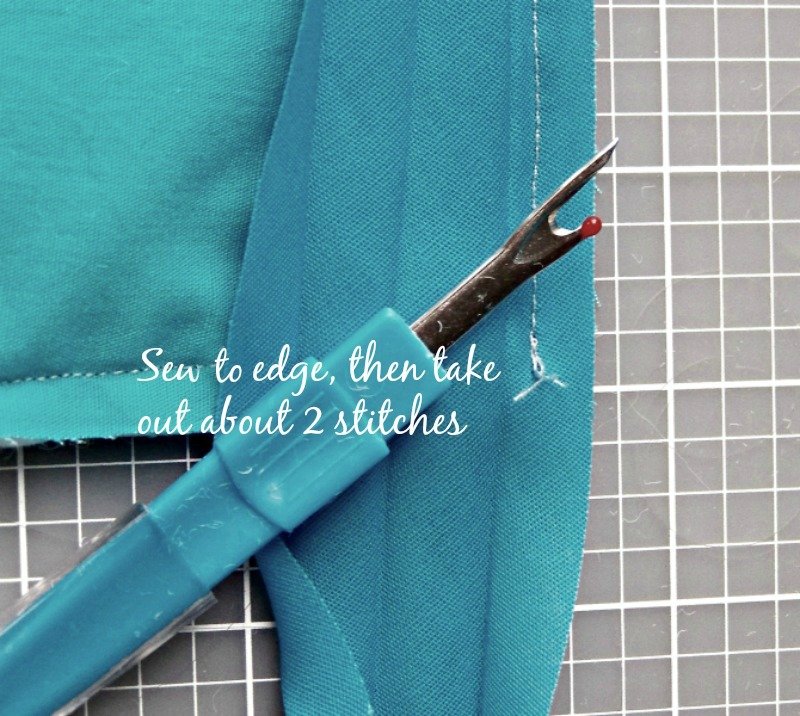
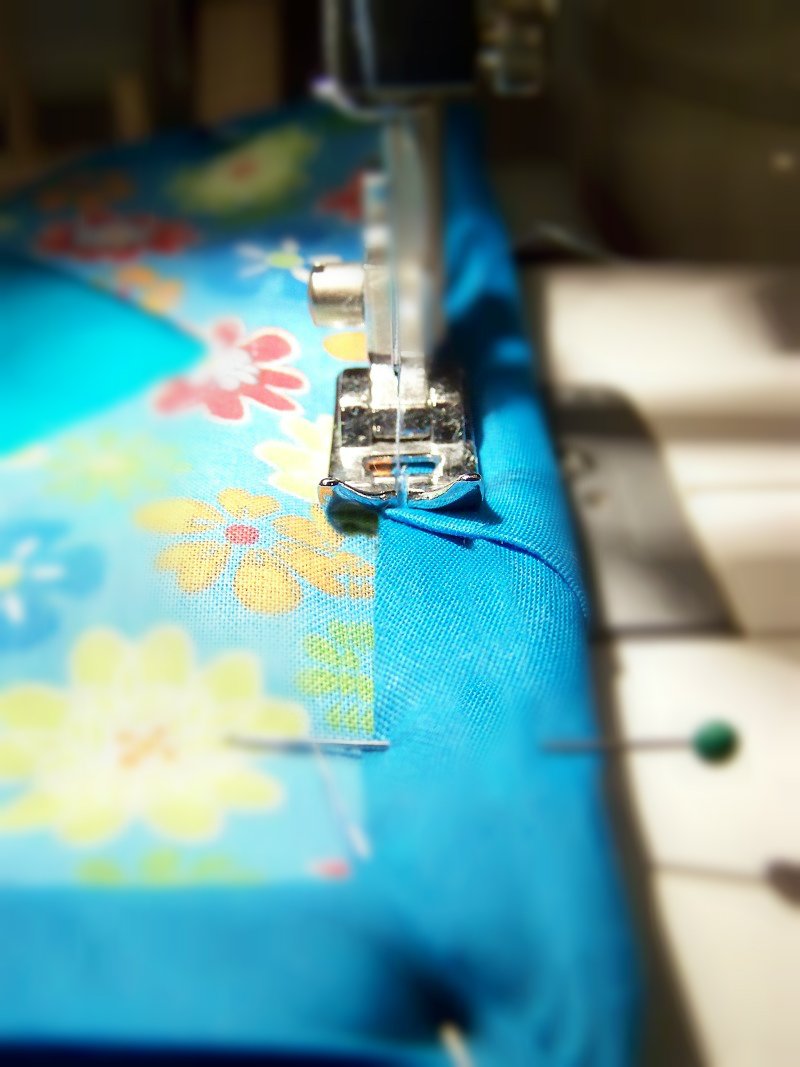
Now, go to your sewing machine and sew the binding on the folded line. Sew it to the very edge.
Now take out about 2 stitches. I know what you’re thinking…..why did I sew it to the edge if I’m taking out 2 stitches, right?
It makes it easier and necessary for the next steps to make a nice pretty folded edge.
I’ll show you!
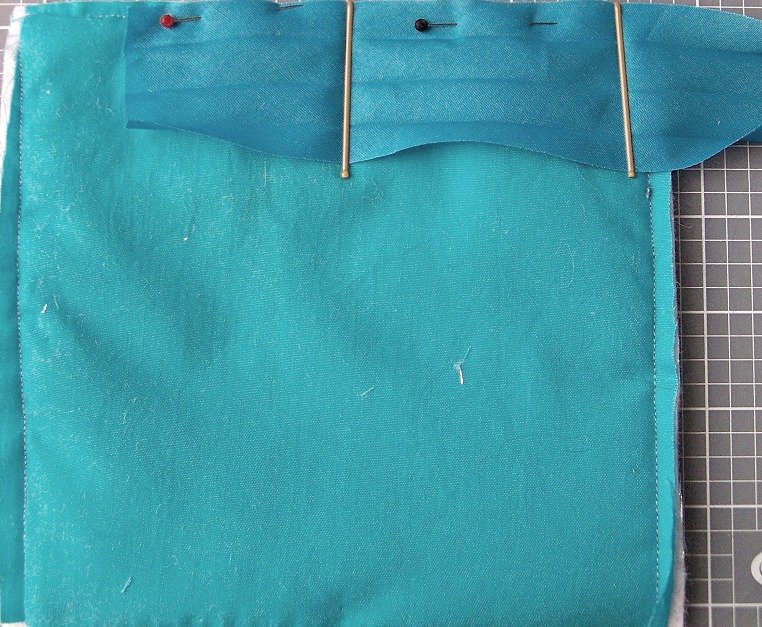
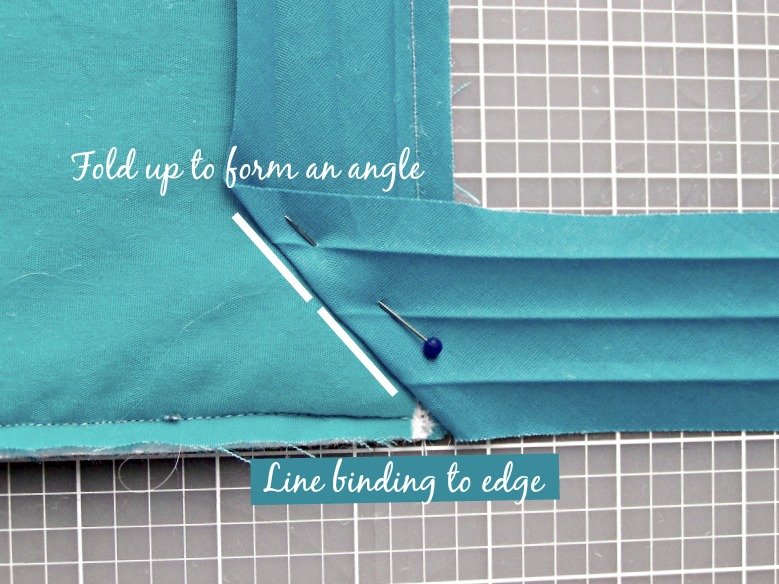
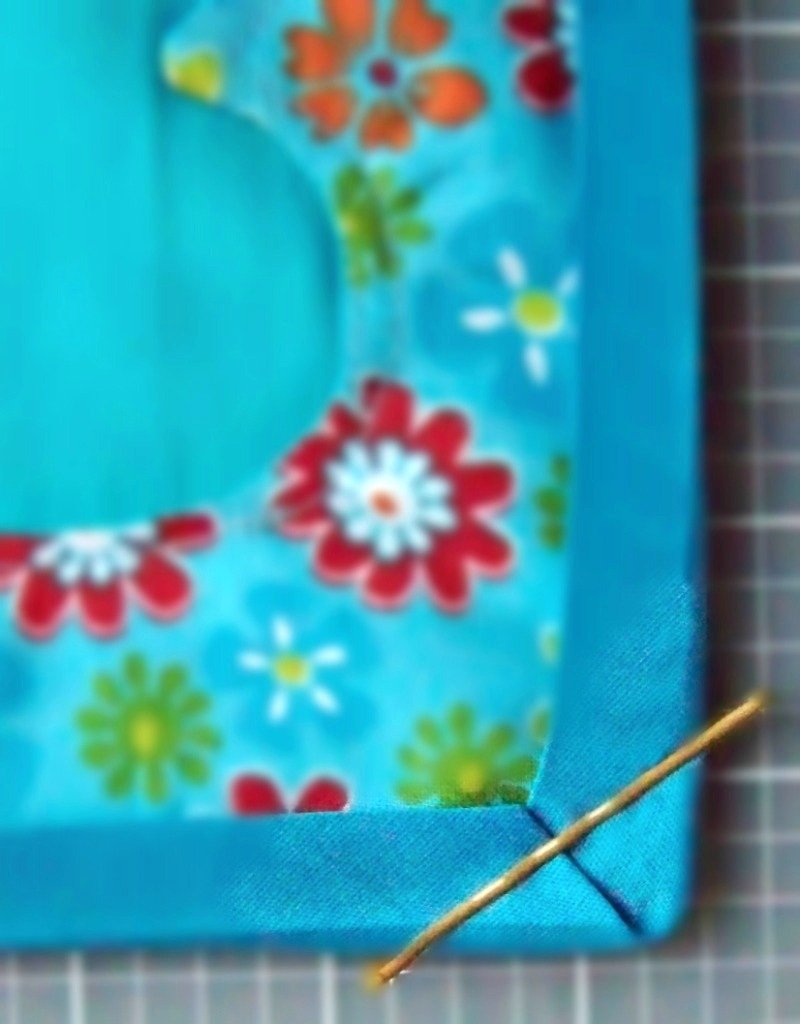
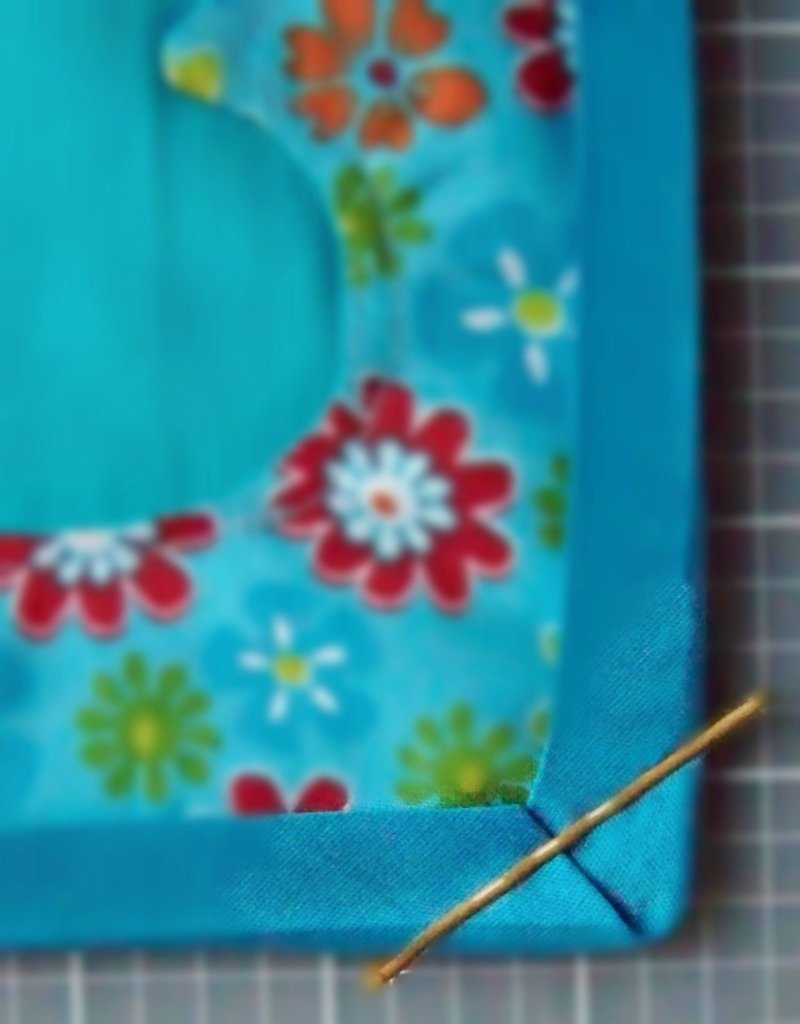
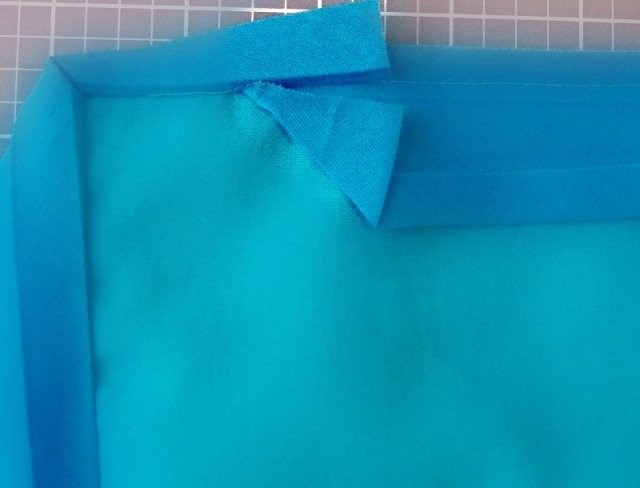
Now, fold the binding up and form a straight angle as shown below.
Make sure the edge of your binding lines up exactly to the edge of your pot holder.
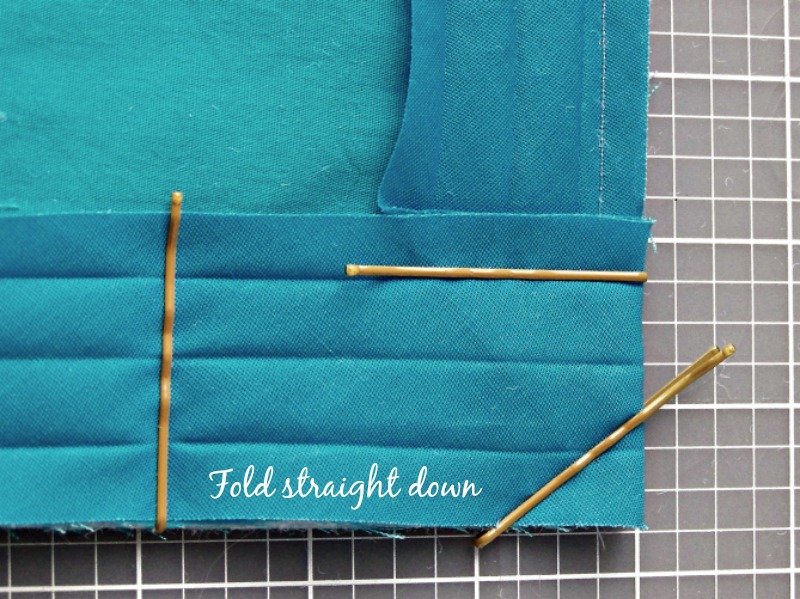
Now, fold it straight down, still making sure it lines up exactly straight with the edge.
I like using bobby pins to hold it in place.
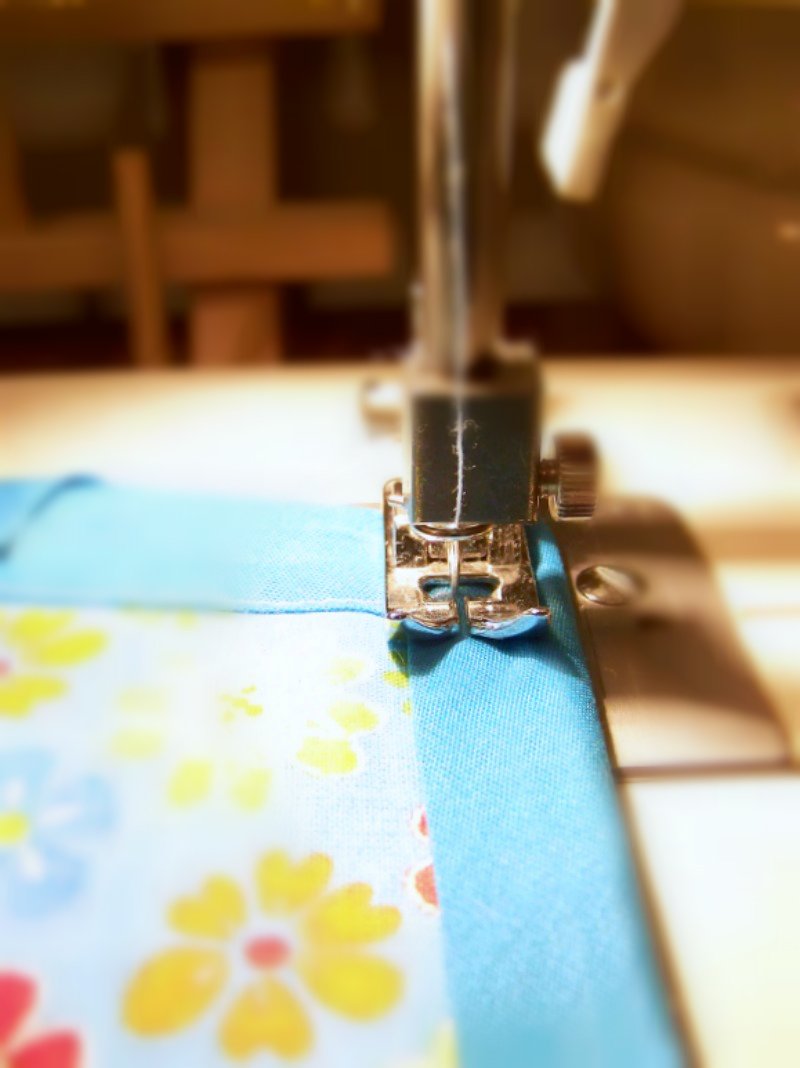
Now, go to your sewing machine and sew it, sewing on the folded crease of the binding.
Do this for all four corners.
Below I will show you how to fold the raw edge of the binding.
Your raw edge of the binding will look like this:
But first, we’re going to fold the binding over.
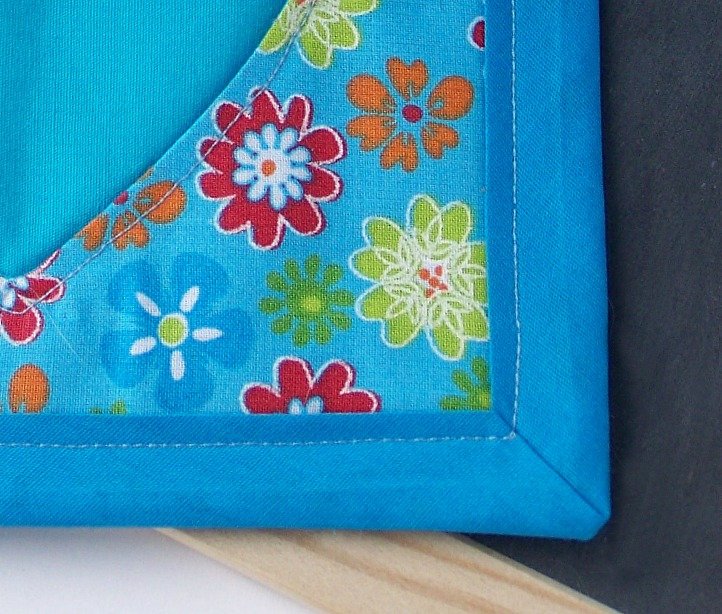
Notice that the larger folded binding is the one we fold over. See how the larger folded side of the binding covers your stitches?
That’s why it’s important to sew the smaller folded side onto the back and not the larger folded side.
Cut a couple inches of binding and make a loop. Pin it in the top corner as shown. You will sew over the loop when you sew the binding on.

Now go to your sewing machine and sew the binding in place.
Fold the corners down so it will look like this.
When you get to the corner, pick up your footer and pivot so it will look all nice and pretty as shown below.
When you get to the raw edge of the binding, fold the edge down as shown, then fold over.
and sew.
Congratulations! You did it!