Pot Holder Pocket
Introducing the Pot Holder Pocket, the ultimate kitchen accessory that will revolutionize your cooking experience! Say goodbye to burnt fingers and messy countertops with this innovative and stylish solution. Designed with convenience and functionality in mind, the Pot Holder Pocket is a must-have for every home chef. Not only is the Pot Holder Pocket functional, but it also adds a touch of style to your kitchen. Available in a variety of colors and patterns, you can choose the one that matches your kitchen decor or reflects your personal taste. Whether you're a seasoned chef or just starting your culinary journey, the Pot Holder Pocket is the perfect companion that will make your cooking experience more enjoyable and efficient. Say goodbye to traditional pot holders and embrace the convenience and versatility of the Pot Holder Pocket today!

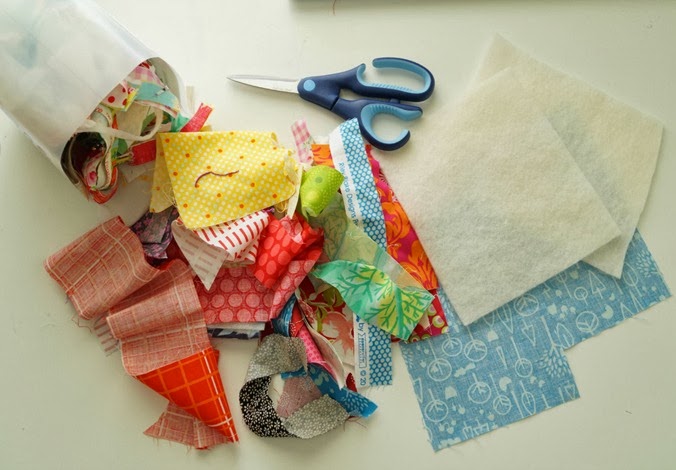
Start by measuring the saucepan or pot handle for which you're making this pocket. Think about how far up the handle you hold and lift it. Once you've measured the length and width of the handle, add a couple of extra inches (just to be sure). You can always trim it back if it's too big.
Now using this measurement for your individual pot handle, you will need 2 backing pieces, two pieces of batting (if its thin batting, perhaps 4 pieces would be better), and some strips from your scrap tub.
Lay the backing fabric face down, with the batting on top and choose the first 2 strips you will use. Place the first strip right up against the edge of the batting and the second strip, on top of the first, facing down,with the edges aligned.
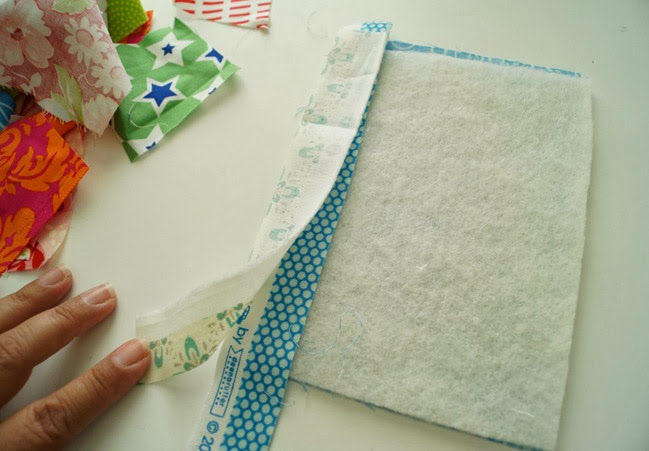
If you have a walking foot, now is the time to put it on your machine, but if you don’t have one, that’s fine too. I made one with a regular foot and the other with the walking foot.
Sew along the edge of the two aligned pieces, through all of the layers. Once the top two pieces are sewn down, flip the top one over and finger press.
* At the last minute, I decided to swap my two pieces over but didn’t take a photo *
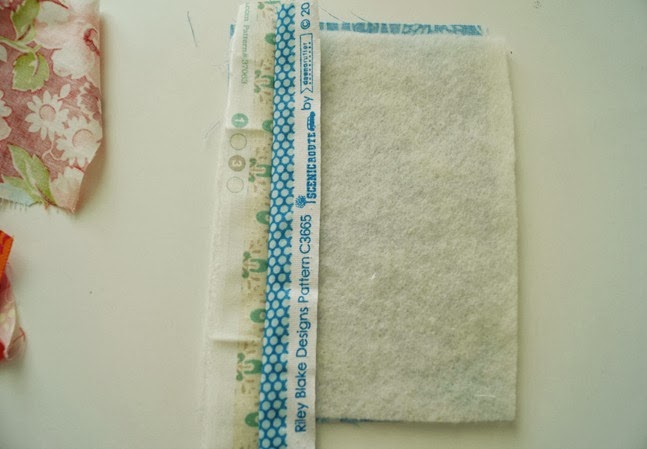
Take the next strip and sew it down like the first 2, flip it over and finger press it. Take the next strip and so on… until you reach the end of the batting.
Now take your next piece of backing and batting and repeat the process.
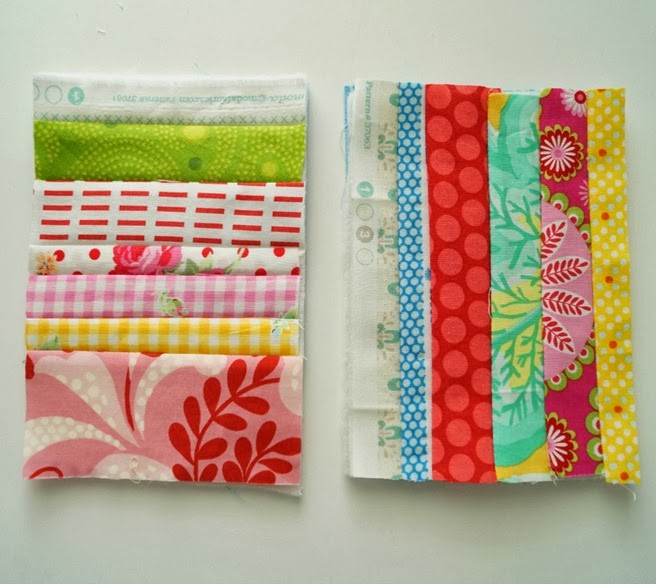
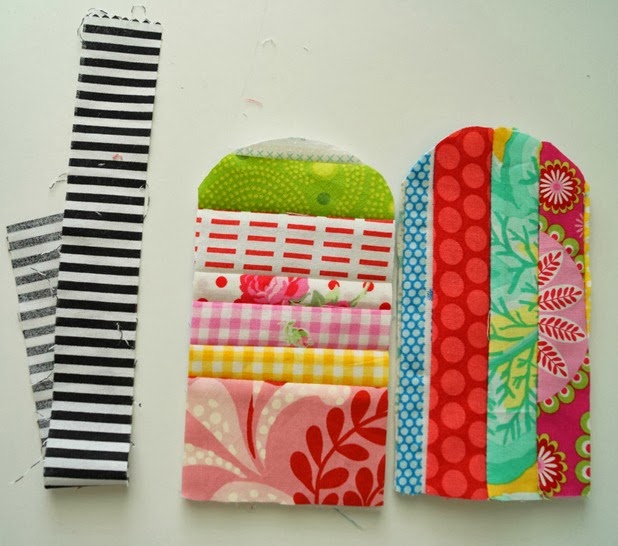
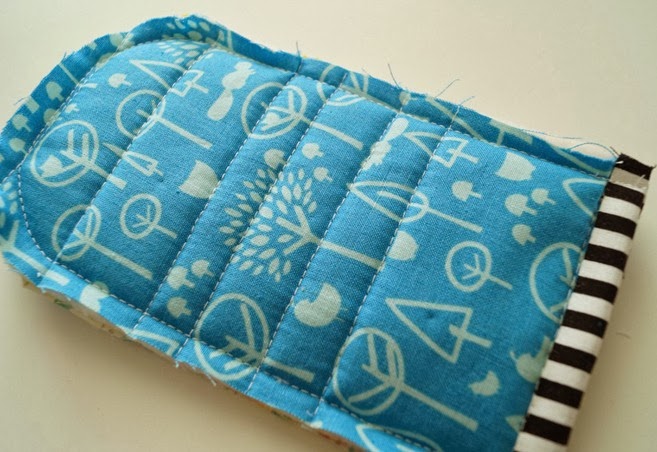
As you can see from the image, I decided to have one side with vertical strips and the other with horizontal strips. I did think perhaps diagonally would be fun too, but might need to organise my scraps a little better before hand.
Now it’s time to make the template. On a sheet of paper, draw a rectangle the size of your individual pot handle, BUT add an extra 3/4" to each side of the initial measurement. The extra width is for the seam allowance and finish.
Cut out the paper rectangle and fold it in half lengthways, then cut a curve on one corner (but two pieces of paper will be cut). I used a cup to achieve a nice curve.
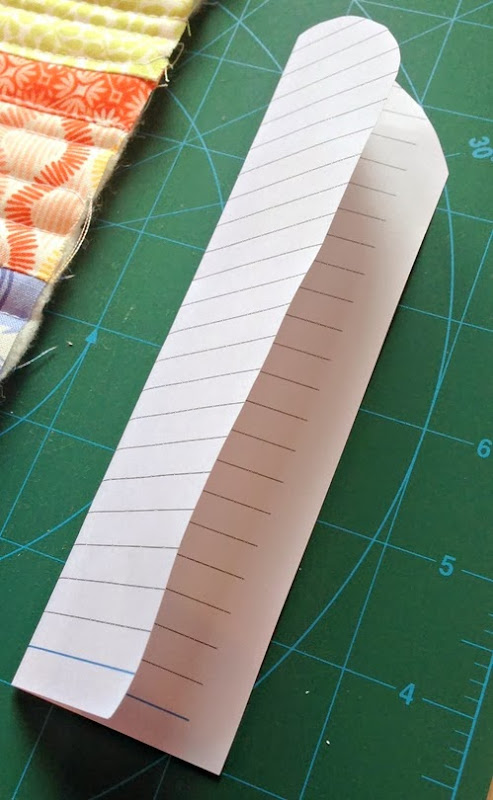
Cut out your 2 shapes.
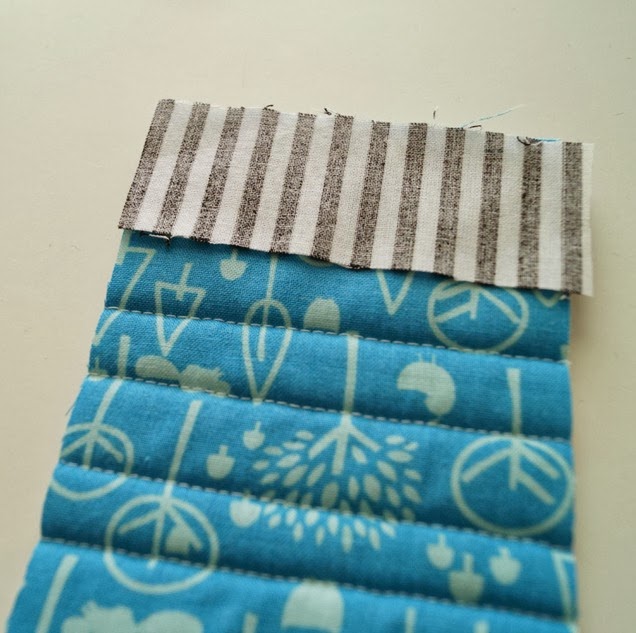
Next is the binding. If you don't mind the raw edge look, fell free to skip this step.
My strip is 1 3/4” and I placed it over the flat end of my pieces and cut to size.
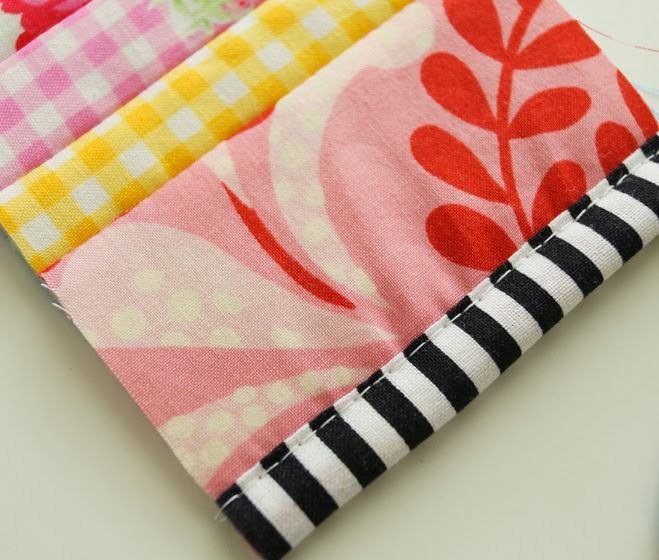
I place quilted piece face down and then line up the binding fabric face down, with the flat edge. Sew with 1/4” seam. Repeat for the other quilted piece.
Flip over the binding fabric to the front, fold it under and top stitch it in place.
Now it’s time to put it all together.
Turn out the Pot Handle Pocket and it's ready to use. Top stitch for a nice finish.
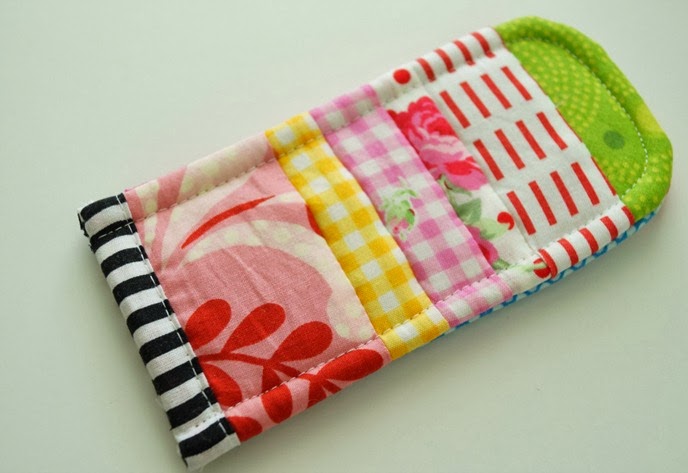
And here you have a cute, scrappy Pot Holder Pocket, ready to use next time you’re cooking dinner. As they’ll probably get a little bit dirty, make a few to have on hand when you need them.