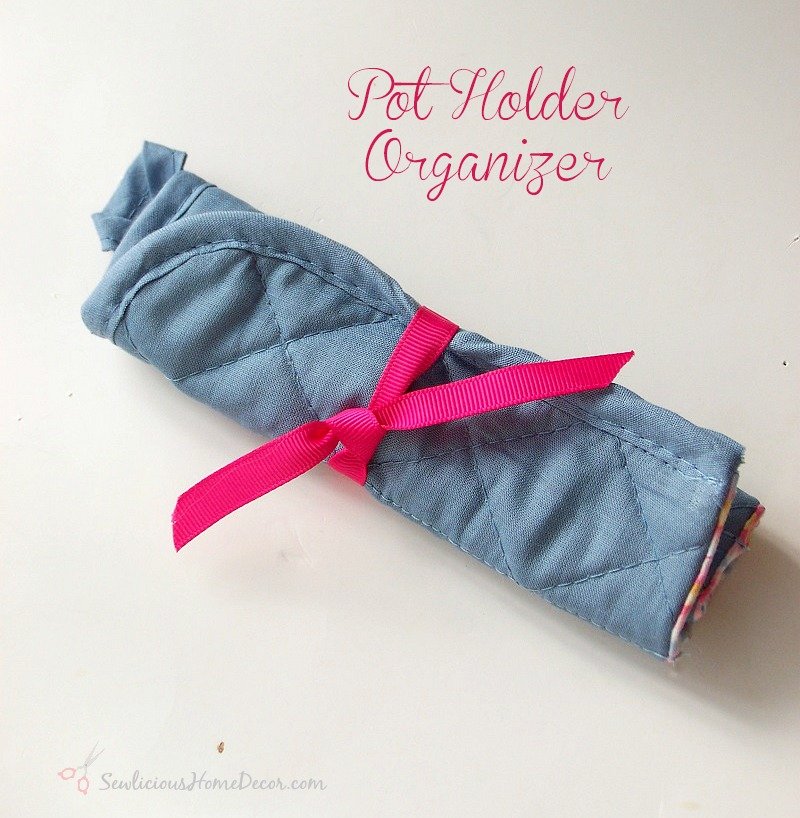
Pot Holder Sewing Organizer
Looking for a creative way to keep your sewing supplies organized? Look no further than the Pot Holder Sewing Organizer! This unique and practical solution will not only help you keep your sewing tools in order but also add a touch of charm to your crafting space. The Pot Holder Sewing Organizer is a clever DIY project that repurposes pot holders into a functional storage solution. Simply gather a few pot holders in your favorite colors and patterns, and you're ready to get started.
What you will need:
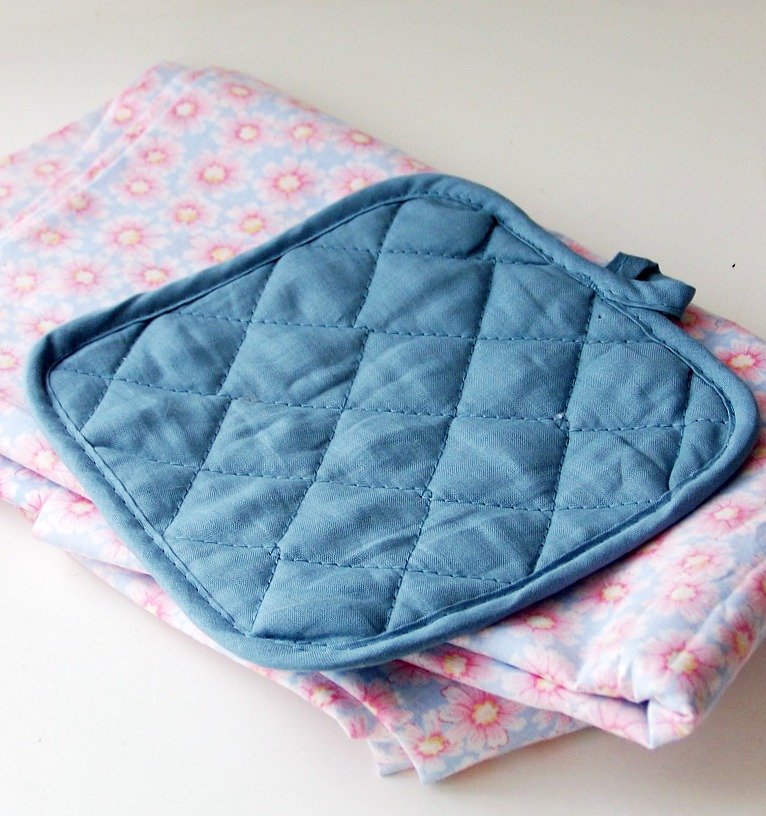
1 Pot holder
Coordinating fabric
Sewing machine
Thread
Just follow these quick and easy steps and you can make one in 30 minutes or less!
1) Measure your pot holder. My pot holder size is 7×7.
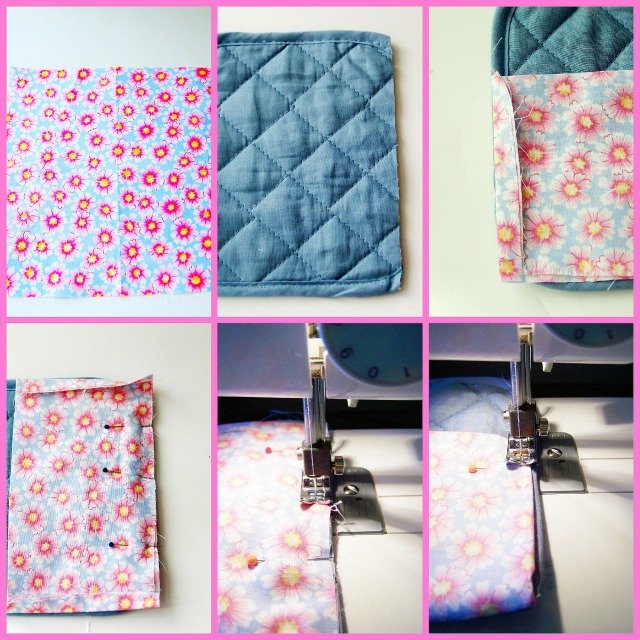
For this size pot holder you will cut one piece of fabric 7-1/4 inches wide by 8 inches. Fold it in half long ways and iron.
2) Cut off the bottom of the pot holder so that it is squared, not round. It will be about 1/2 inch or so.
3) Fold over side edges of fabric about 1/4 inch and iron, making sure it lines up to the pot holder. If not, adjust so it will line up to the edges of the pot holder.
4) Place right side of fabric onto wrong side of potholder. Pin the bottom end of the fabric to the bottom of the pot holder and sew in place. Don’t sew the edges yet!
5) Now turn the fabric over so the right side of the fabric is showing. Sew the edges in place as shown.
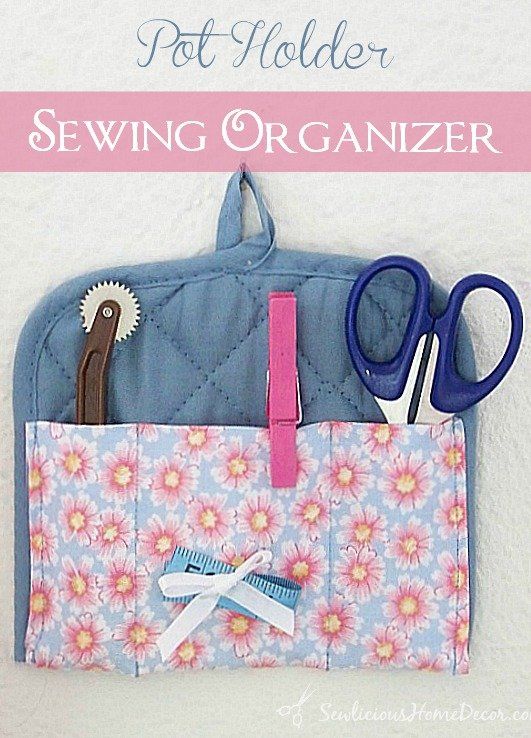
6) Sew a few straight lines on the front of the fabric to form pockets.
You’re all done! Wasn’t that easy! They are so quick to make, why not make one for your friends!