How to Make an Elastic Back Headband
Discover the versatility and comfort of the Elastic Back Headband with this fabulous Sewing Pattern! This pattern is perfect for those who love to add a touch of style to their everyday outfits or for those who simply want to keep their hair in place while on the go. With its elastic back, this headband provides a snug and secure fit, ensuring it stays in place all day long. Whether you're a beginner or an experienced sewer, this pattern is designed to be easy to follow and customize to your own preferences. Choose from a wide range of fabrics to create a headband that matches your personal style or complements your favorite outfits. The elastic back not only adds comfort but also allows for a perfect fit, making it suitable for all head sizes. Get ready to showcase your creativity and make a fashion statement with the Elastic Back Headband!

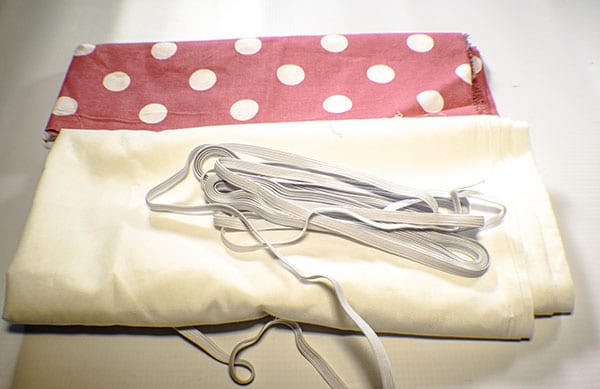
What you will Need: How to Make an Elastic Back Headband
- 1/4 yd outer fabric
- 1/8 yd lining fabric
- 7 7/8″ of 1/4″ elastic
- Standard sewing supplies
What you will need headband
Step 1: Cut your Fabrics
From the outer fabric cut one piece that measures 5 1/2″ x 15 3/4″ and a second piece that measures 2 3/4″ x 15″. Cut one piece of lining fabric that measures 5 1/2″ x 15 3/4″.
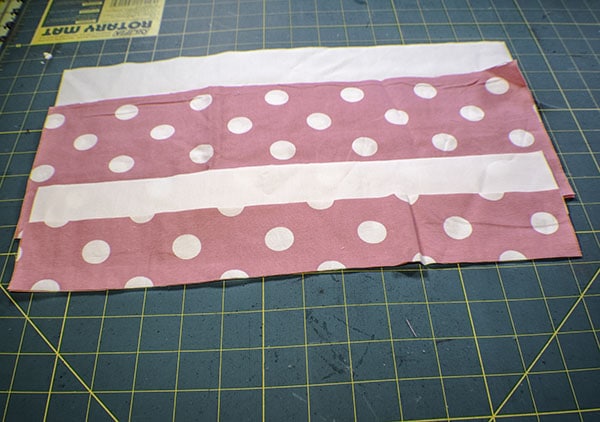
Cut your fabrics
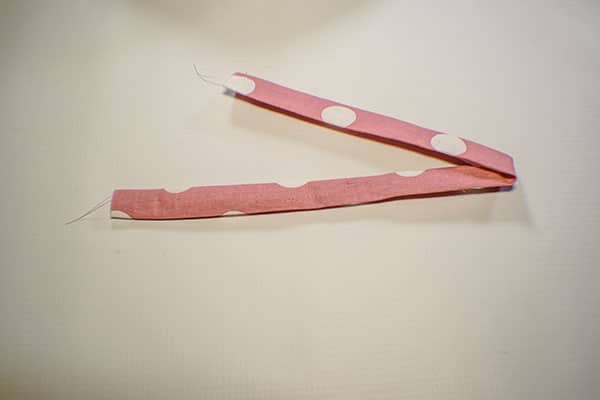
Step 2: Stitch the outer fabric to the lining
Stitch the large outer fabric piece to the lining piece right sides together along the long sides only using a 3/8″ seam allowance. Turn right sides out and press. Top stitch along the long sides.
Place fabrics right sides together
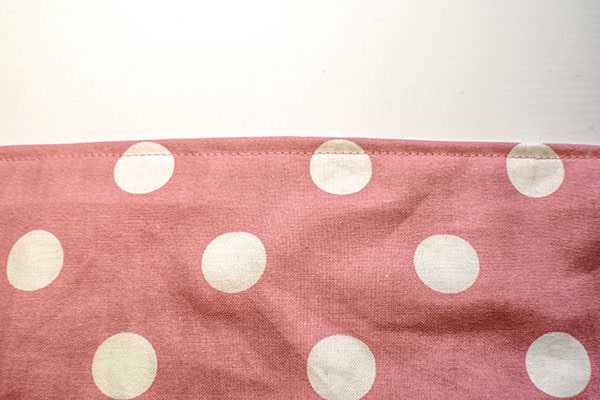
Top stitch
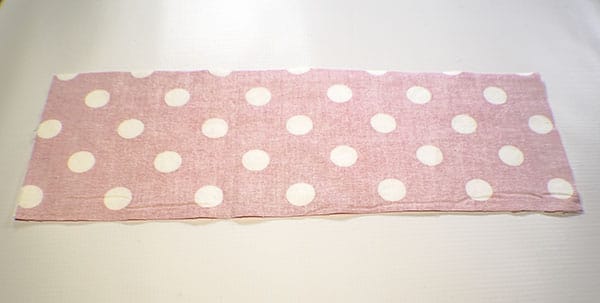
Step 3: Stitch the second outer piece
Take the second outer piece and fold the short ends in by 3/8″ and press. Open up the folds and fold the piece lengthwise right sides together. Stitch along the long edge using a 1/4″ seam allowance. Turn right sides out and press.
Fold the fabric right sides together
Finished tube
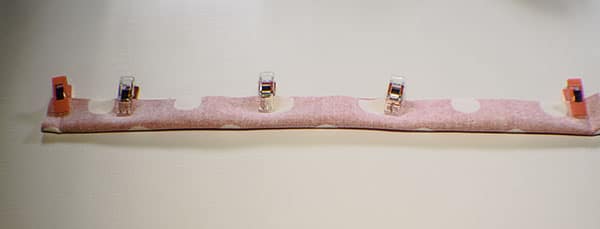
Step 4: Fold the ends of the main piece
Take the main fabric piece and fold the short ends in an accordion style and clip. Make sure that the ends measure 7/8″ when you have folded them.
Fold the short ends
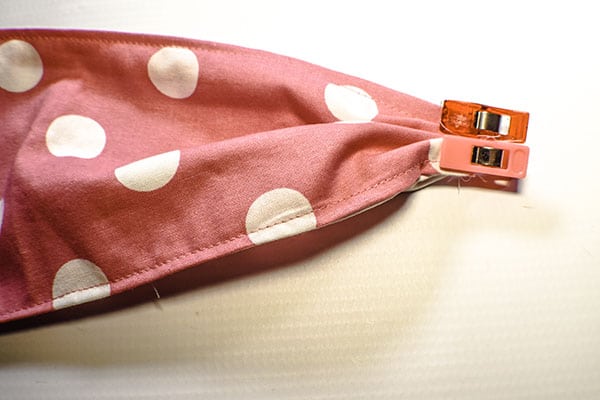
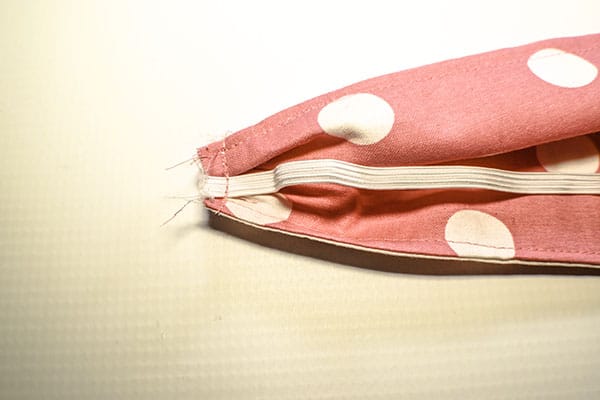
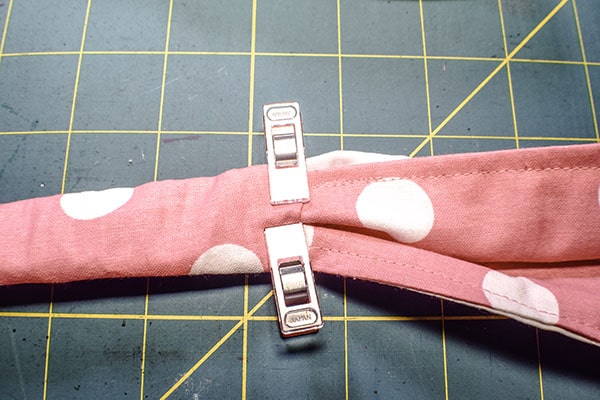
Step 5: Add the elastic
Stitch one end of the elastic to one of the accordion ends. Add the tube of main fabric over the elastic using a safety pin attached to the elastic. Fold under the ends of the tube. Push the folded under ends over the stitched end and stitch again. Push up the tube and stitch the other end of the elastic to the other accordion end. Fold under the short ends and place them over the stitching. Stitch again. You have now finished your elastic back headband.
Add the elastic
Add the tube to the elastic
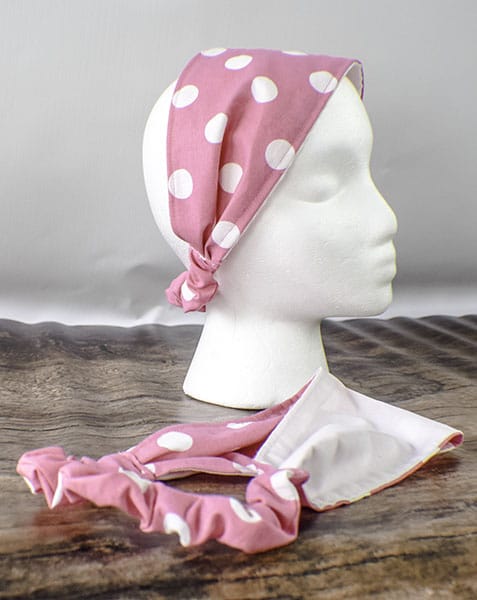
Finished Headband