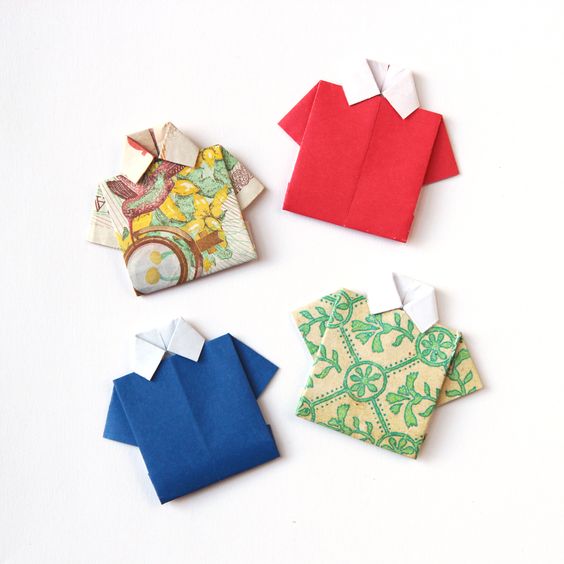
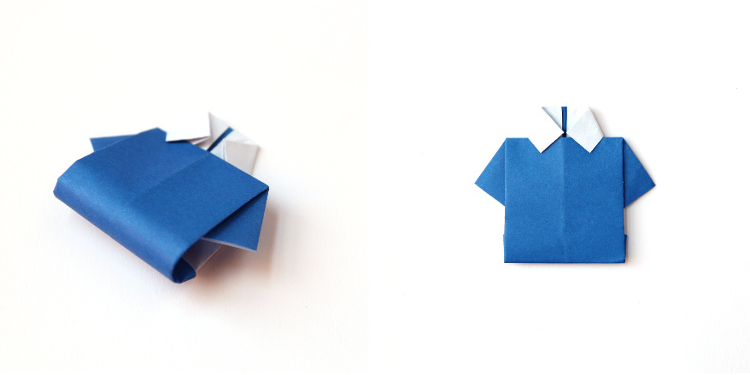
How To Make An Origami Shirt
The art of origami never ceases to amaze with its ability to transform a simple piece of paper into intricate and beautiful creations. One such creation is the origami shirt, a miniature masterpiece that captures the essence of fashion and craftsmanship. With precise folds and delicate creases, this paper shirt takes shape, showcasing the skill and creativity of its maker. With every fold, you'll discover the magic of origami, as the paper transforms into a miniature shirt that captures the essence of fashion.
Supplies:
- Origami Paper/Money/Dollar Billor other Rectangular Sheet of Paper
- Scissors
- Mini Buttons
- Glue
I always recommend using origami paper although any thin paper will do. If you don’t have any origami paper on hand here are a few alternatives that you probably already have at home.
- Regular Printer Paper,
- Gift Wrap,
- Magazines,
- Maps,
- Colouring Book Pages,
- Old Books,
- And Newspapers.
How to make an Origami Shirt.
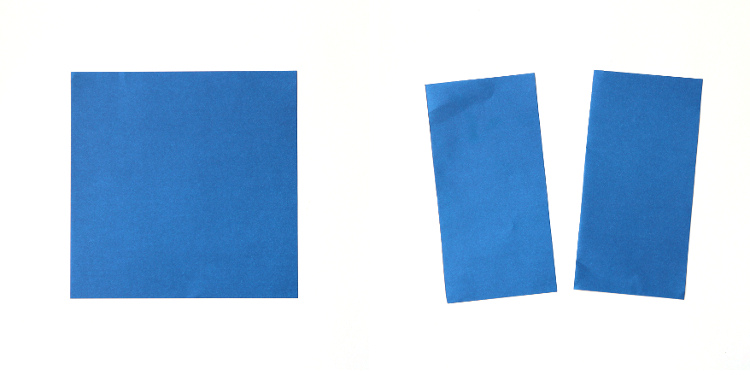
1. If you're using origami paper, take your square of origami paper, fold and cut it in half to make two rectangles.
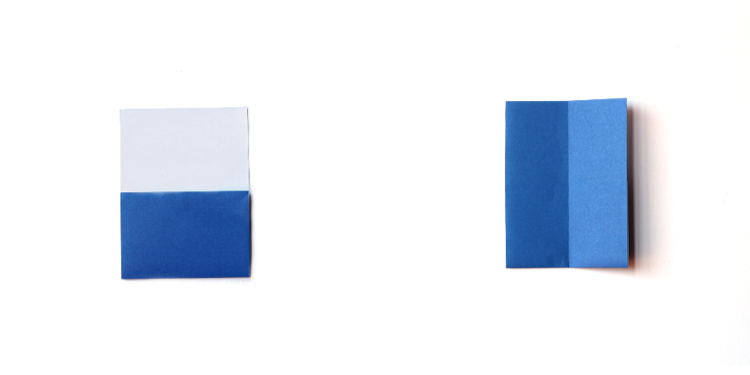
With the coloured side facing down, fold the bottom edge up by a third.
3. Flip it over and fold it in half lengthways.
4. Open back out.

Fold the two sides in to meet the middle crease.
6. Fold the bottom two corners out at an angle to make the shirt sleeves
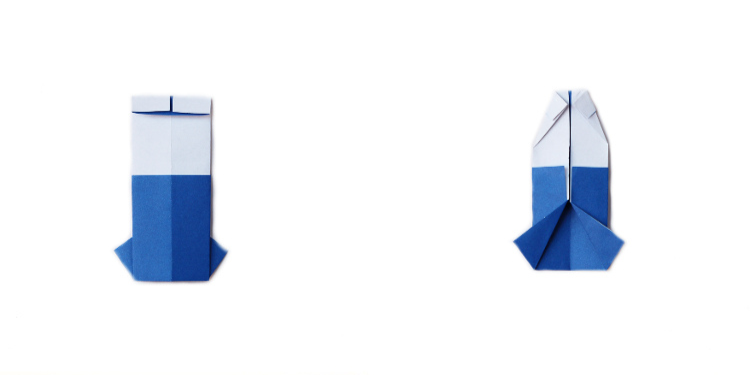
Flip the paper over.
8. Fold the top edge down about ½ cm.
9. To make the collar flip it over again and fold the top two corners into the centre at an angle.
10. Fold the bottom edge up and tuck it under the collar of the shirt.
11. Press flat.
12. Leave your finished shirt as it is or jazz up your origami shirts with tiny buttons or a paper tie and you're all set.
You can use your finished paper shirt to decorate cards, as gift tags or even as the gift itself.