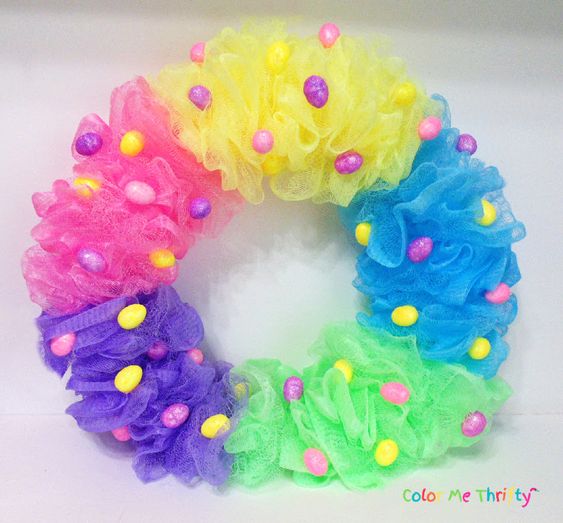
DIY Easter Wreath
Looking to add a touch of Easter charm to your home decor? Why not try your hand at making a beautiful Easter wreath? This delightful DIY project is not only a great way to showcase your creativity but also a fantastic opportunity to spend quality time with your loved ones. No matter where you choose to showcase your creation, your DIY Easter wreath is sure to bring joy and a sense of accomplishment. So, gather your supplies, unleash your creativity, and get ready to craft a one-of-a-kind wreath that will be the envy of all your friends and neighbors!
Supplies needed for the Easy DIY Easter Wreath
- Shower poufs
- embroidery hoop
- Easter eggs
- Low temp glue gun
- glue sticks
Pattern:
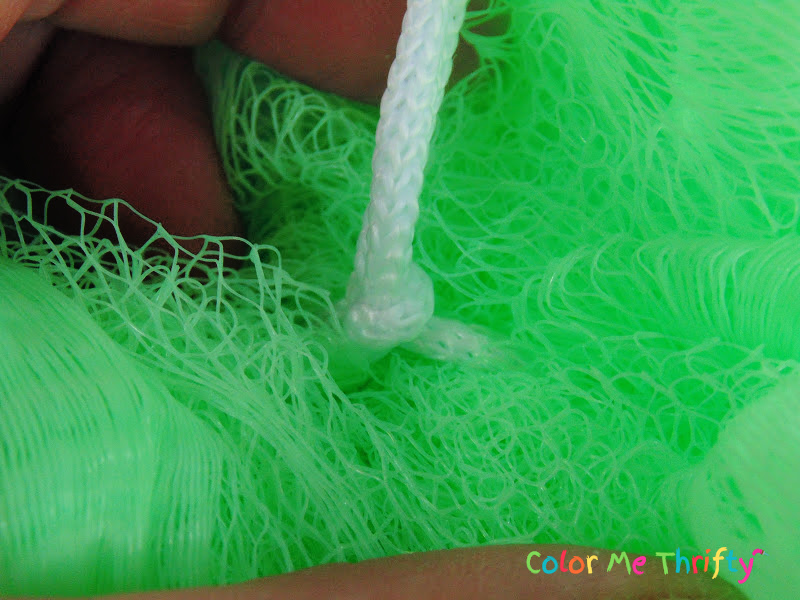
The shower poufs are tied very tightly in the middle.
I was able to easily untie them, but if that’s not possible scissors could be used.
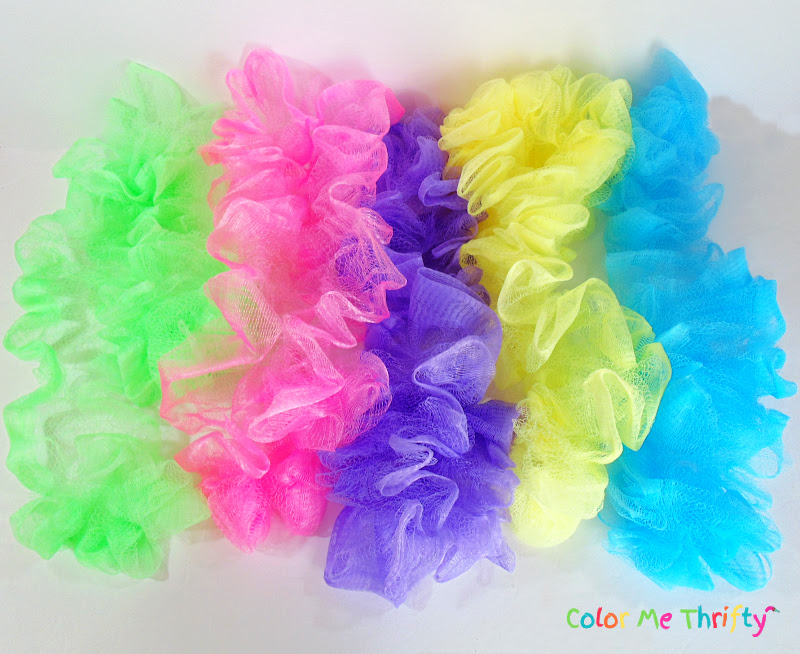
You won’t believe how long these shower poufs actually are when the untie them.
They were so long, I didn’t even measure them.
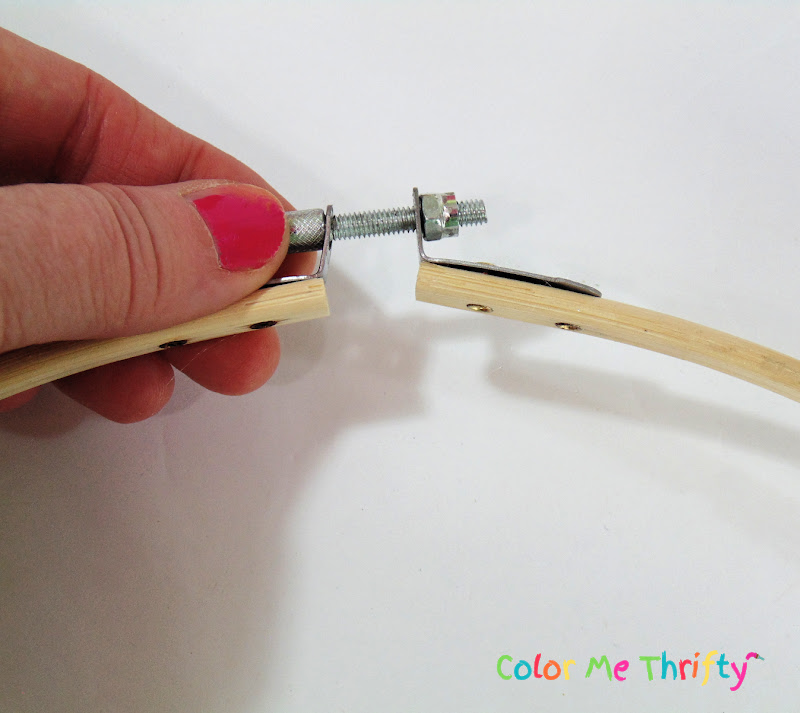
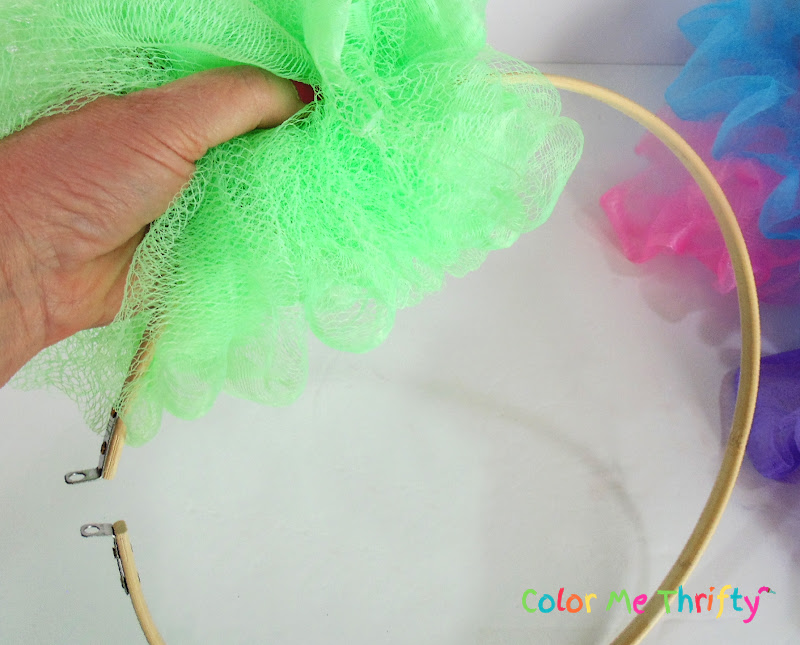
For my easy Easter wreath I’m using a $1 embroidery hoop that I already had.
It’s 12 inches across, and gives me easy access because it can be taken apart by just unscrewing the bolt.
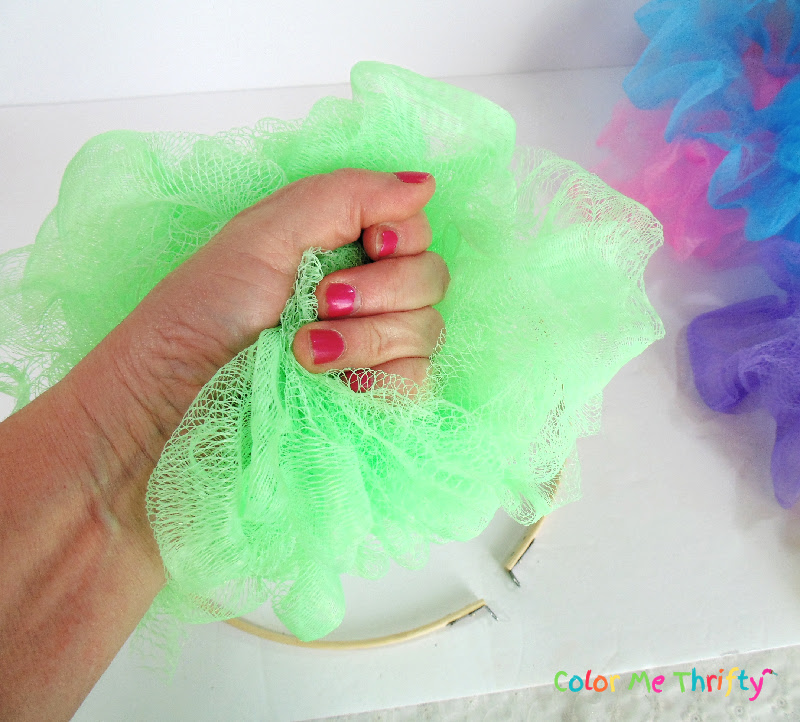
To easily slip the shower pouf over the hoop its best to run your hand all the way through the pouf.
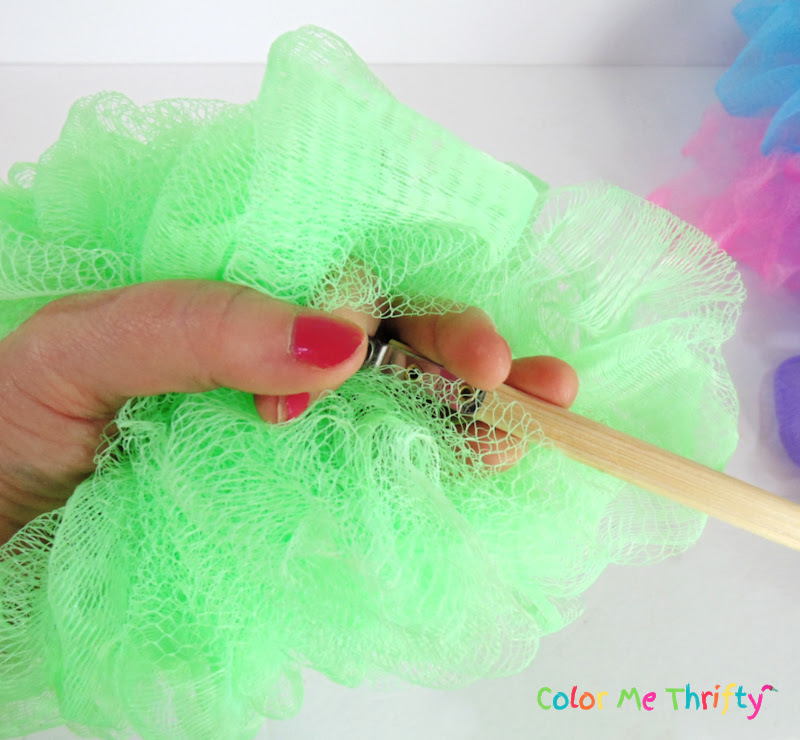
Then slip one of the open ends into the pouf and guide it through.
Until the embroidery hoop is all the way through the shower pouf.
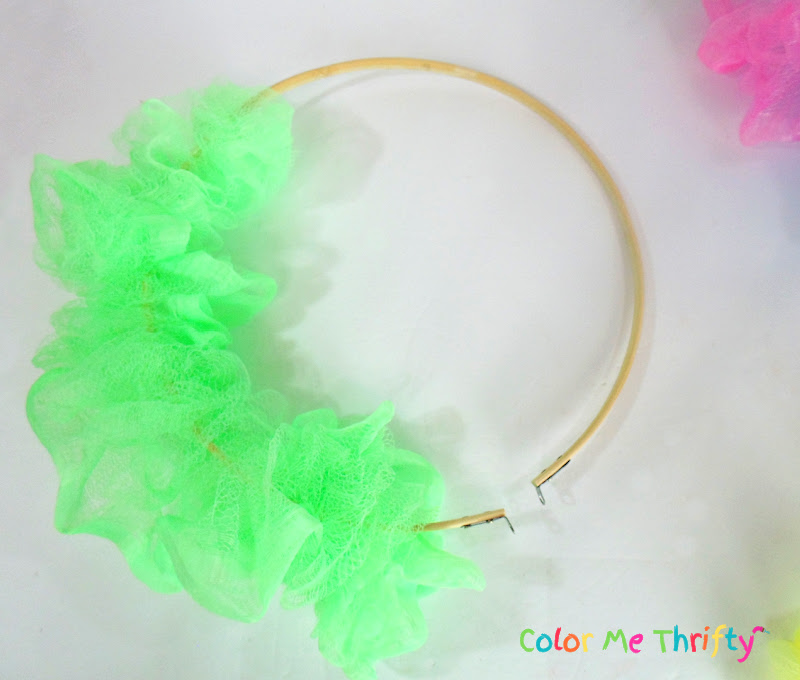
Here’s the green shower pouf all in.
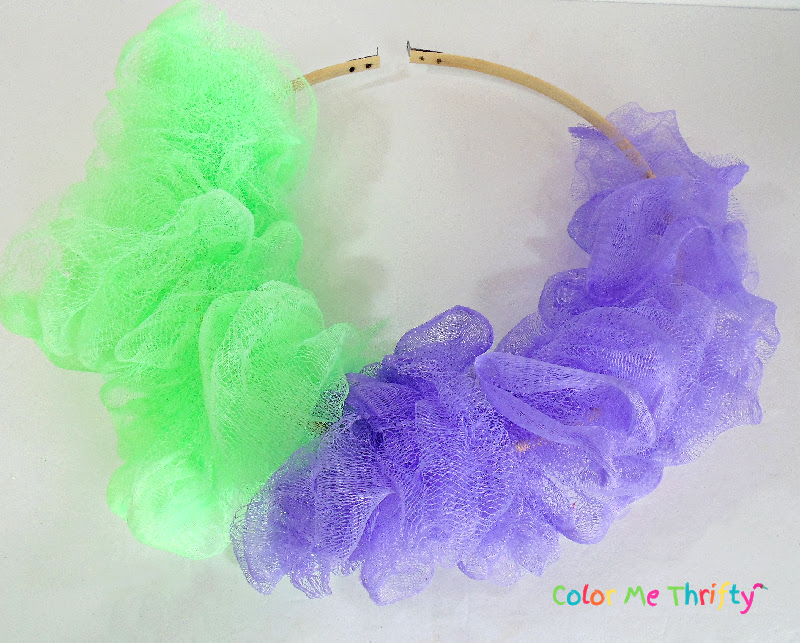
Next, I went with the purple shower pouf.
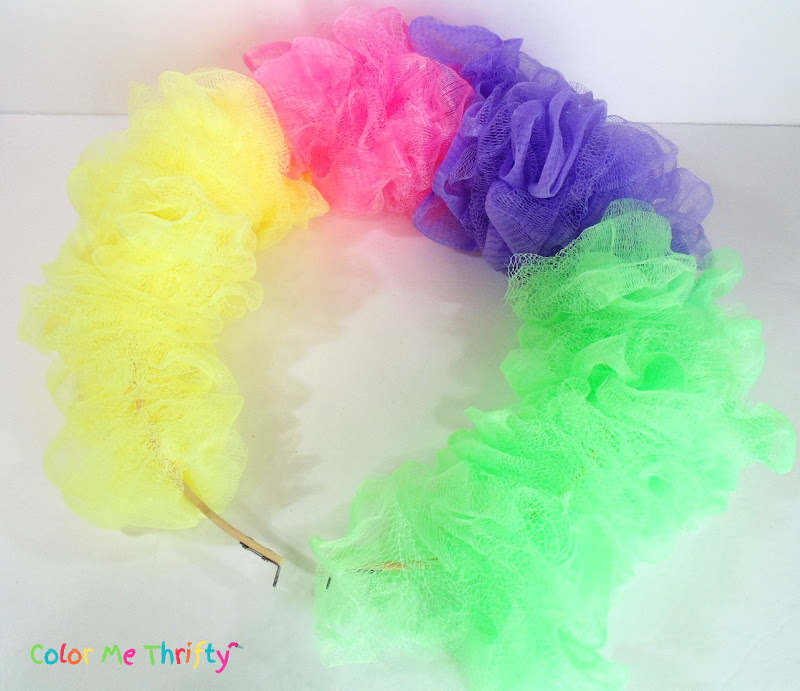
Then I went with the pink and yellow shower poufs.
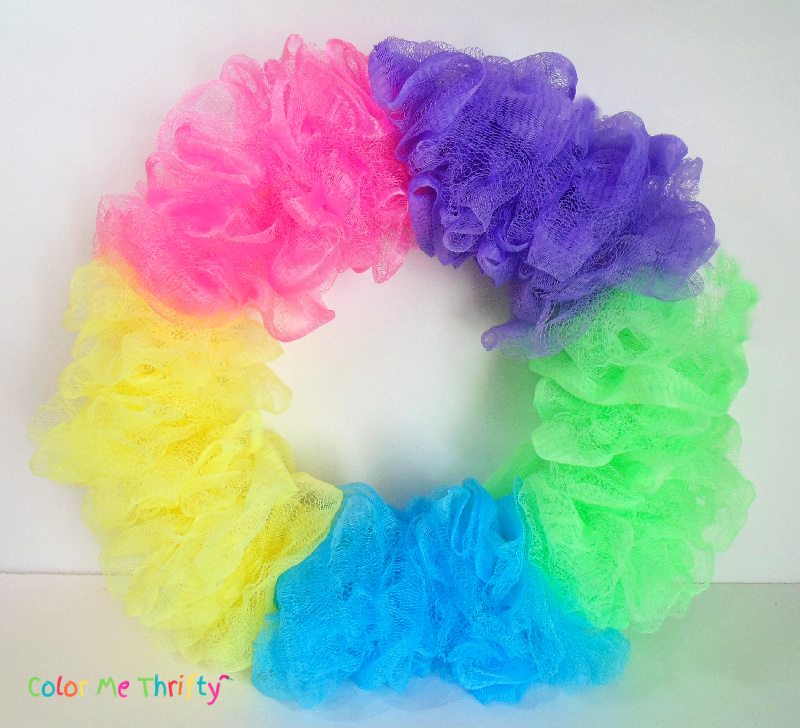
And here you can see it all done after I closed up the embroidery hoop.
So far, I’m in at about 15 minutes.

But, you know me… I couldn’t stop there.
It wouldn’t be an Easter wreath without some Easter eggs.
TIP: My shower poufs are a little loose, but they’re squished enough so the embroidery hoop isn’t visible. You could add even more poufs for a tighter look, but I wouldn’t do any less than five.