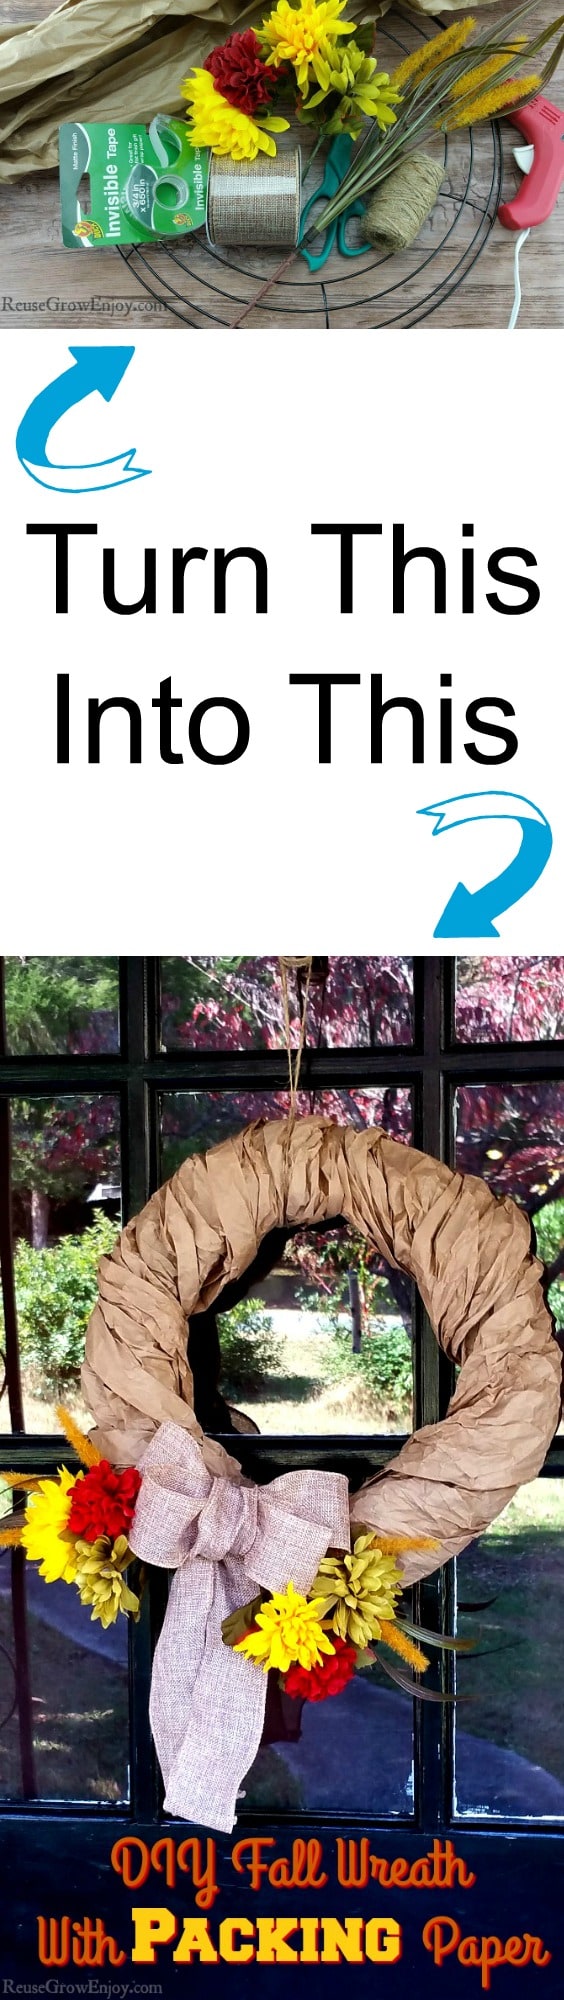
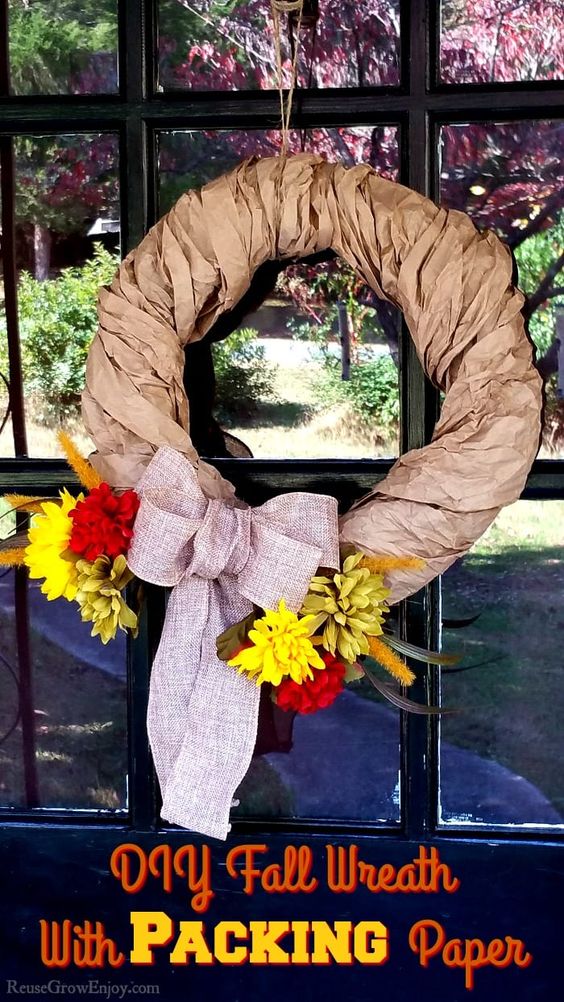
DIY Fall Wreath
Embrace the beauty of the fall season by crafting your very own DIY fall wreath. This creative project allows you to infuse your personal style and add a touch of warmth to your home decor. To add a pop of color, attach vibrant ribbons or bows to the wreath. This will not only enhance its overall appearance but also create a welcoming atmosphere. Once you are satisfied with the arrangement, hang your DIY fall wreath on your front door or display it as a centerpiece on your dining table. This handmade creation will undoubtedly impress your guests and serve as a beautiful reminder of the enchanting fall season. So, let your creativity flourish and enjoy the process of making your very own autumn wreath.
Materials;
One thing I use for this wreath is brown packing paper
paper bags
DIY Fall Wreath Supplies:
- Packing Paper or Brown Bags (about 10 feet long total)
- Scissors
- Wire Wreath Ring
- Fall Flowers
- Tape
- Hot Glue Gun & Hot Glue
- Twine
- Burlap Ribbon
DIY Fall Wreath Directions:
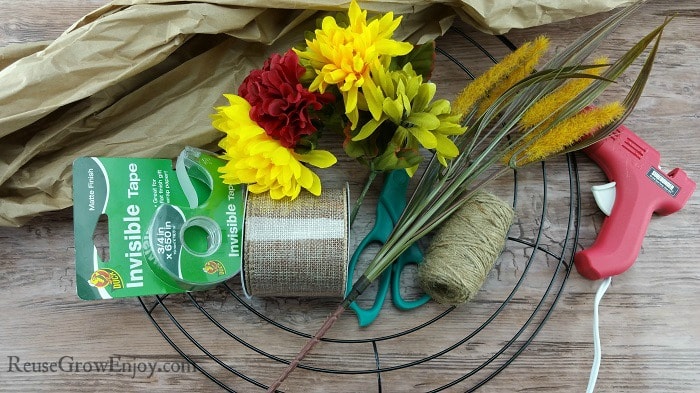
First thing you need to do is get all your supplies together.
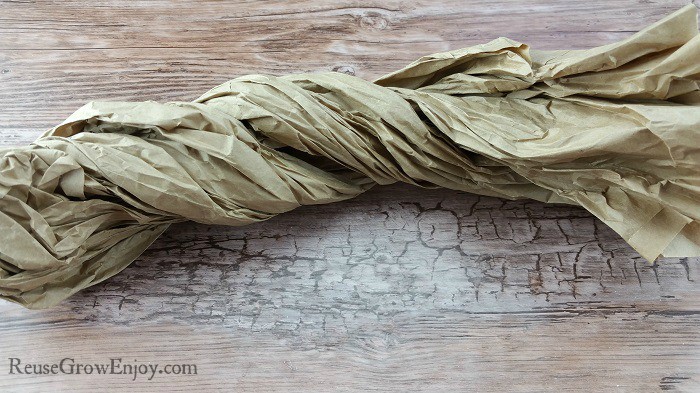
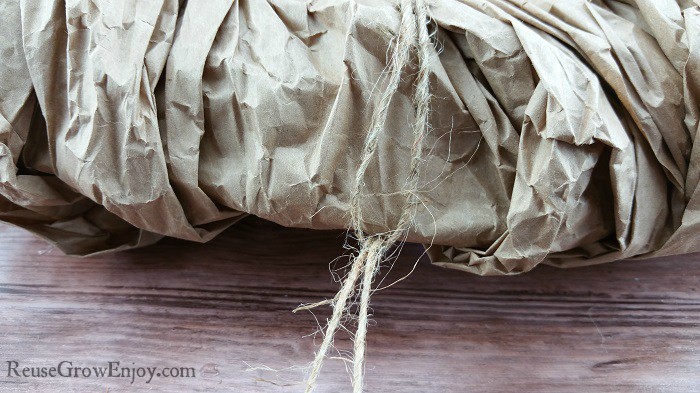
Next, take your paper that you will be using and twist it up. Do this a few times untwisting and retwisting. You can also crumple it too.
Doing this gives us that nice crinkled aged look that works really well on the wreath. It adds texture to it and not just the slick paper look.
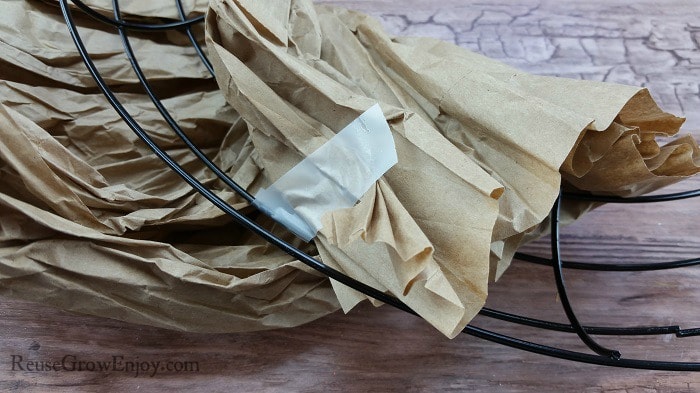
Now to start the paper on the wire wreath ring, you will need to use a little piece of tape and tape it to the back side of the ring.
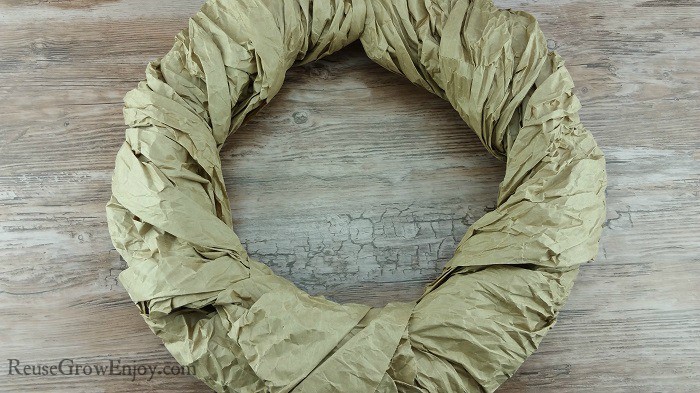
After you have it started, just keep wrapping it through the ring until you are all the way around. Try to not make to big of overlaps. The closer together they are the better it looks.
When it is fully wrapped, try and tuck your end into a piece on the back. If you can not get it to tuck in, you can just put a piece of tape on it to hold it in place.

Next, you want to get the fall flowers ready. I took a few of each and cut them away from the bunches they come in. Then I laid them going in different directions making sure to leave a big space between them (this is where the bow will go). In the middle where they overlap, wrap a piece of tape around them to keep them together.
Tie Flowers In Place:
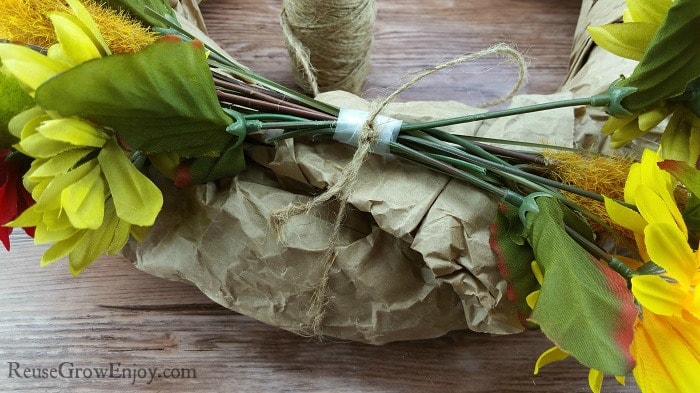
After you have the flowers taped, lay them on the wreath where you want them to go. I did mine at the bottom of the wreath and over to the side just a little. I did not want them to be centered.
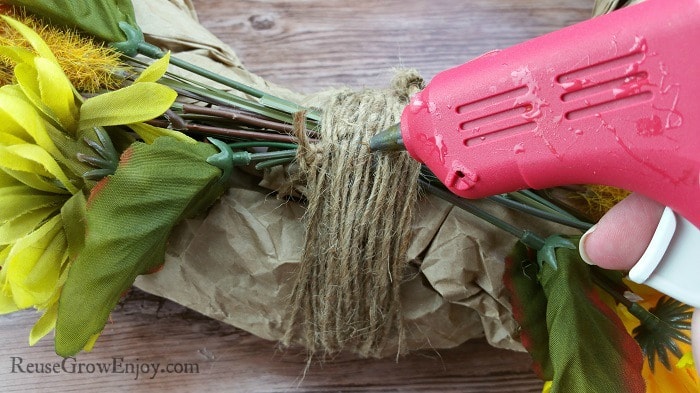
Take some twine and tie it around the flowers and the fall wreath.Be sure to tie it tight but not so tight that it is crushing into the paper.
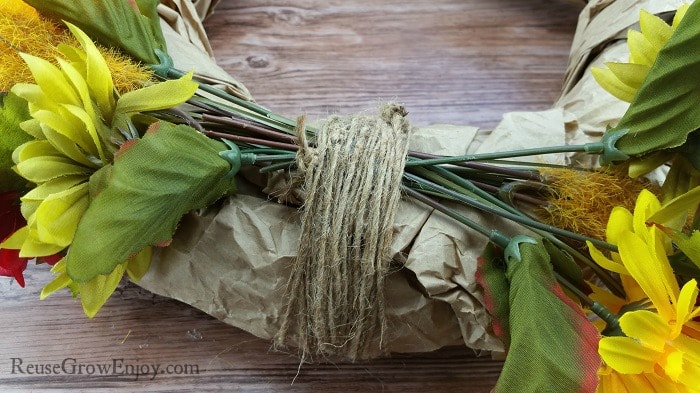
Next, take the twine and wrap it around until you have about an inch to inch and a half wide area. You do not see this too much when you put the bow on, but if you are up close to the wreath, you will see the top of this twine.
The reason I wrapped it a few times, I thought it looked better when up close then just one piece of twine holding the flowers on.
Making Bow:
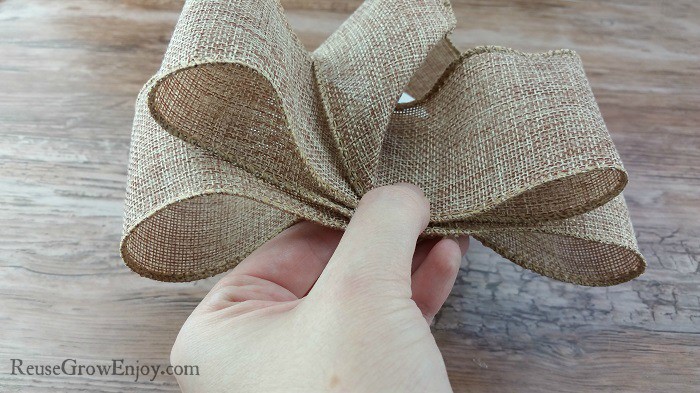
Now to make the bow. Starting by layering the burlap ribbon so that you have two layers about six inches long. If you put your thumb in the middle it looks like four loops. Cut the ribbon so that it ends just over the center.
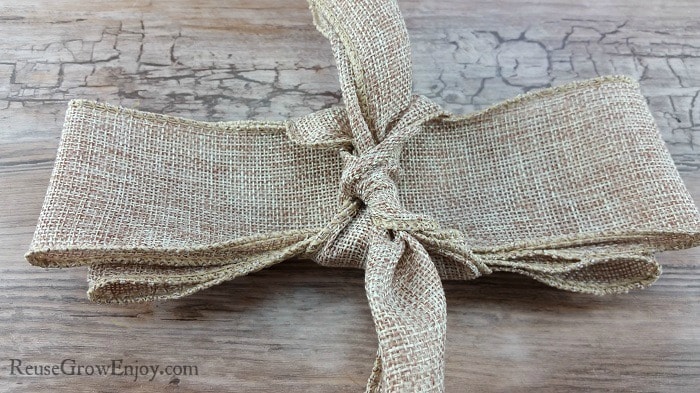
Then, cut another piece of ribbon that is about 15 inches long. Tie it over the center of the loops you just made. You want the knot to be on the same side as the cut ribbon from your layers.
Now fold them so they are going in the same direction.
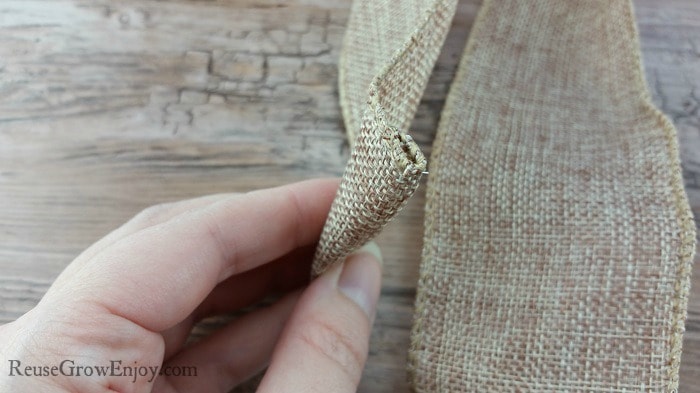
At the ends of the two long pieces of ribbon that you just did, roll it a few times (if you have the ribbon with wire in it). This is to keep the wire from poking out and the end from fringing.
If you are using ribbon for your DIY fall wreath that does not have the wire, simply use a little hot glue to fold those ends over and not have any fringing.
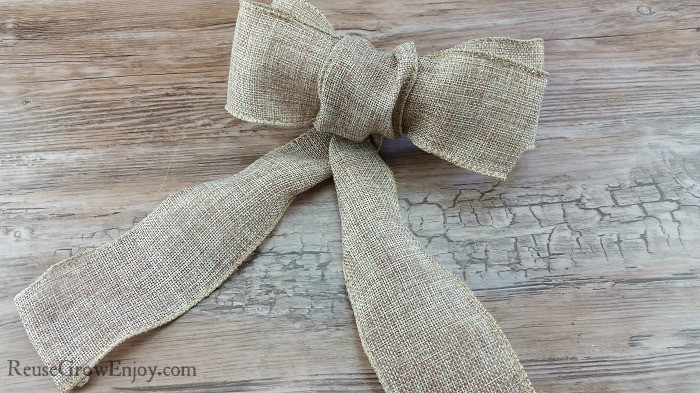
You may need to do a little playing with it to get the loops and the center bunched to the way you want it.
Using the hot glue, simply glue the back side of your bow to the center of the flowers where you wrapped the twine.
Now you can either hang your wreath on the hook or do as I did. I took another piece of twine and knotted the ends together. Then I looped it through the top of the wreath and back through itself.
By doing this, it made it so that it hung down more in the center of my door and not way up at the top.