How to Make a Homemade DIY Candle in an Old Tea Tin
Transforming an old tea tin into a homemade DIY candle is a delightful and creative project that not only repurposes an item that would otherwise be discarded but also adds a touch of warmth and coziness to any space. The soft glow and gentle fragrance will create a cozy ambiance, making it a perfect addition to your home or a thoughtful handmade gift for someone special. This project is easy and fun to make and it can be completed in no time. This project is a great addition to your handmade projects. It is sure to put a smile on your face once completed.
Supplies You’ll Need to Make a Homemade Tea Tin Candle
Keep in mind that the size of the tea tin you decide to use will influence the amount of wax you’ll need.
I used a 2.8 ounce tea tin which needed about 3 16-ounce bags of candle wax to fill the tin (there was a little leftover to fill a smaller tin).
The supplies you’ll need;
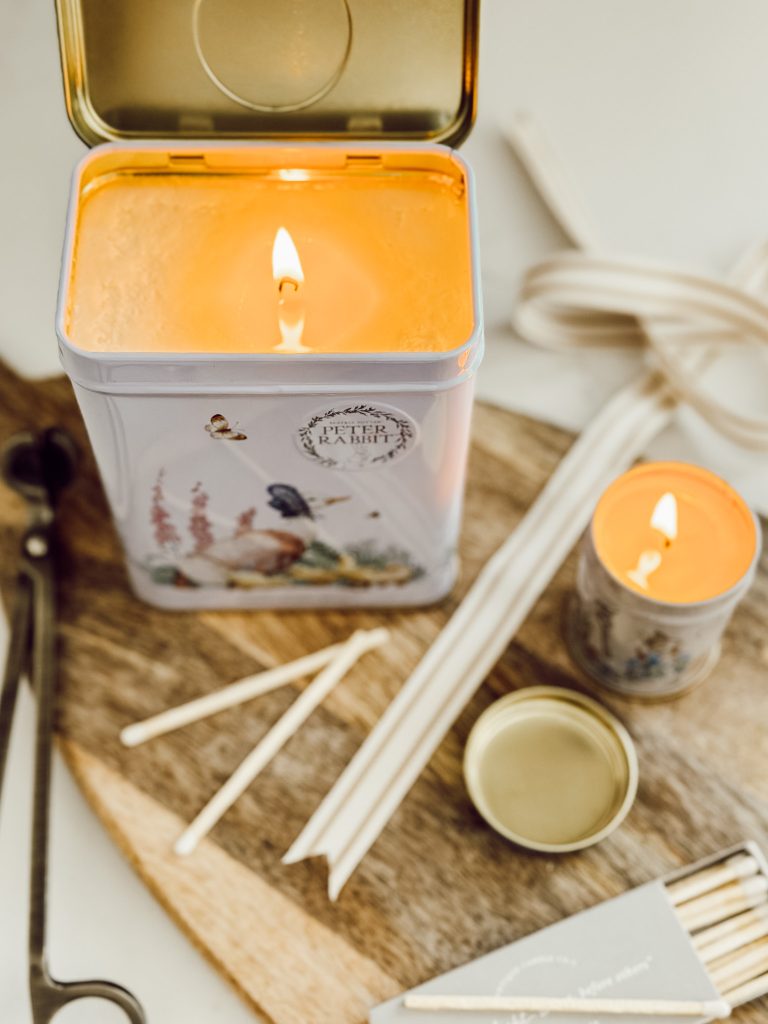
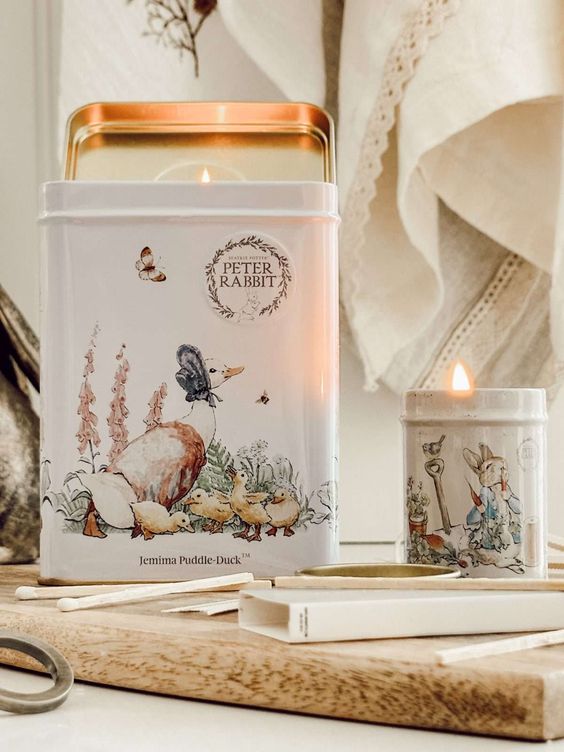
Empty Tea Tin: A versatile and decorative vessel for your homemade candle. Choose a tin that complements your personal style and the color scheme of your home.
Candle Wick: Responsible for the cozy flame it’s the essential core of your candle.
Candle Wax: The main ingredient for your candle. I used these scented 100% natural soy wax melts, which I loved because I didn’t have to add any fragrance to the wax. Easy peasy!
Microwave Safe Bowl: The vessel for melting your wax safely.
Hot Glue or Candle Wick Sticker: Used to secure the wick in place at the bottom of the tin giving you extra stability during the pouring and setting process.
Wick Holder: Keeps the wick centered and upright while pouring and setting the wax. Ensures a straight and even burn throughout the life of the candle.
Wick Trimmer: Trims the wick to the desired length after the candle has set. Ensures a clean and efficient burn with each use.
Step by Step Guide on How to Make a DIY Candle in a Tea Tin
Here’s the tutorial on how to transform a humble tea tin into a charming homemade candle. Each step of this project is easy and enjoyable.
Get ready to light up your space with the warm glow of your own DIY candle!
Step 1: Choose Your Tea Tin
Start by selecting an empty tea tin that speaks to you.
Whether it’s a thrift store find or a tin adorned with intricate patterns, the possibilities are endless.
The tea tin will not only serve as a vessel but will also add a personal touch to your homemade creation.
Step 2: Melting the Wax
Place soy wax melts into a microwavable bowl. I used a Pyrex measuring cup so that I could easily pour the melted wax into the tea tin.
Microwave the soy wax for 1 minute then stir.
Microwave for another minute, stir, and then microwave the wax in 30 second increments until it is completely melted and in liquid form.
Place the melted wax off to the side and allow to cool slightly. Wax will become slightly cloudy as it cools.
Step 3: Place the Candle Wick Inside the Tea Tin
With a glue gun add a small dab of hot glue to the bottom of the candle wick (the metal part) or I used a double sided sticker that came with the candle wicks to secure the wick to the bottom of the tin.
Handy tip!
Here’s an easy way to secure the wick to the bottom of a deeper tea tin. Grab the cover of a meat thermometer, slide the wick through the cover, press the cover with the wick inside down to the tin’s base, and then simply slide the cover off. This technique not only ensures a centered and secure wick placement but also makes the process so much smoother.
Step 4: Pour the Wax
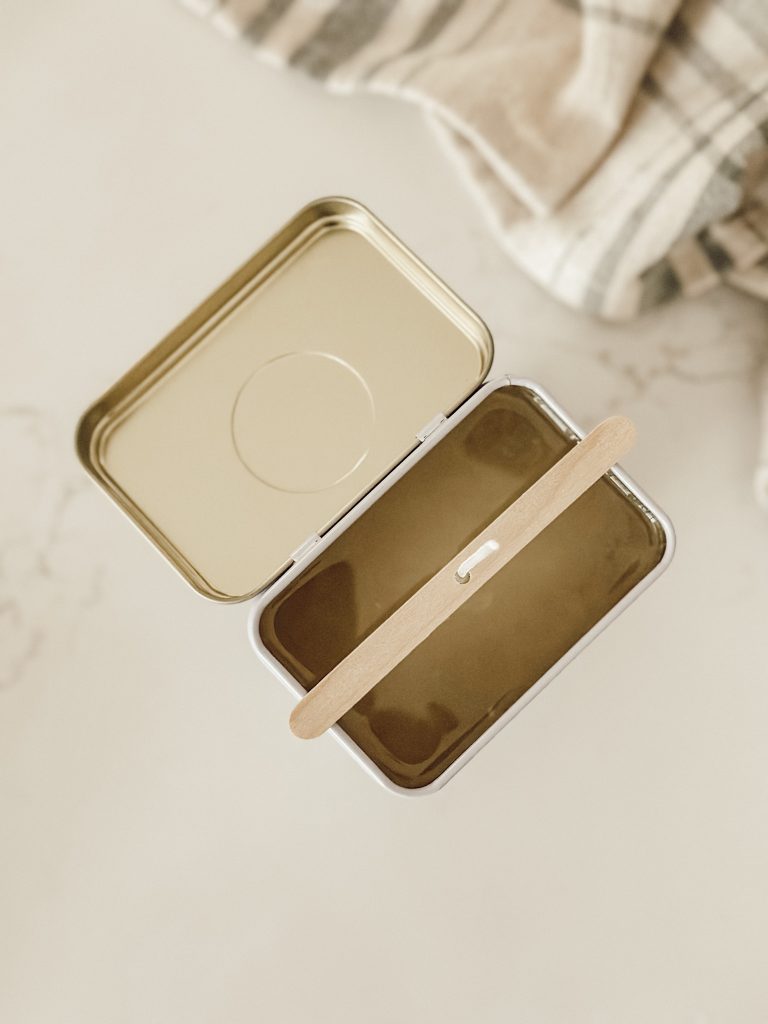
Carefully pour the melted wax into the tea tin, ensuring the wick stays centered. Use a wick holder or popsicle stick to keep the wick in place as the wax cools and solidifies.
Step 5: Allow the Candle to Set & Trim the Wick
Allow your candle to set and fully solidify for about 24 hours, then trim the wick to your desired length using a wick trimmer.
Get ready to enjoy the cozy glow of your homemade candle!