How to Make a Paper Mache Vase
Crafted with precision and creativity, the Paper Mache Vase is a true masterpiece that adds a touch of elegance to any space. This unique vase is meticulously handcrafted using the ancient art of paper mache, where layers of paper are carefully molded and shaped to create a stunning and durable piece of art. This vase is not only visually appealing but also durable and long-lasting. The final product is a work of art that showcases the beauty and versatility of paper mache, making it a unique and eye-catching addition to any home or office decor.
Materials
- Chicken Wire Mesh
- Newspaper
- White Glue
- Facial Tissues
- White Acrylic Paint
- Baking Soda
Tools
- Pliers
- Wire Cutter
- Brush
- Bowl
Step by Step Instructions to Make Paper Mache Vase
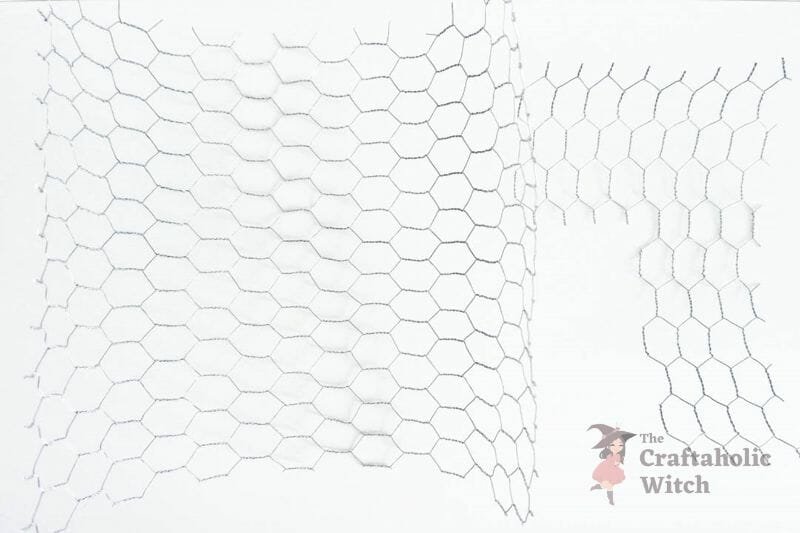
Step 1:
Take your chicken wire mesh and cut it to shape, following these measurements: 12″x 14″. Then, take the second piece of wire and cut it into an L shape: 11″ width x 7″ height (left side), 4″ height (right side).
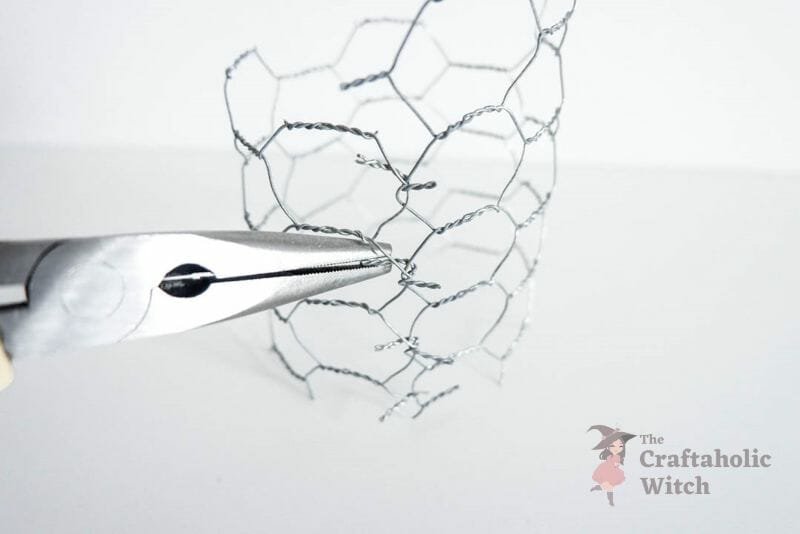
Step 2:
Take your L-shaped wire mesh and roll it into the shape of a cylinder. Twist the loose ends around each other, connecting the two ends of the mesh.
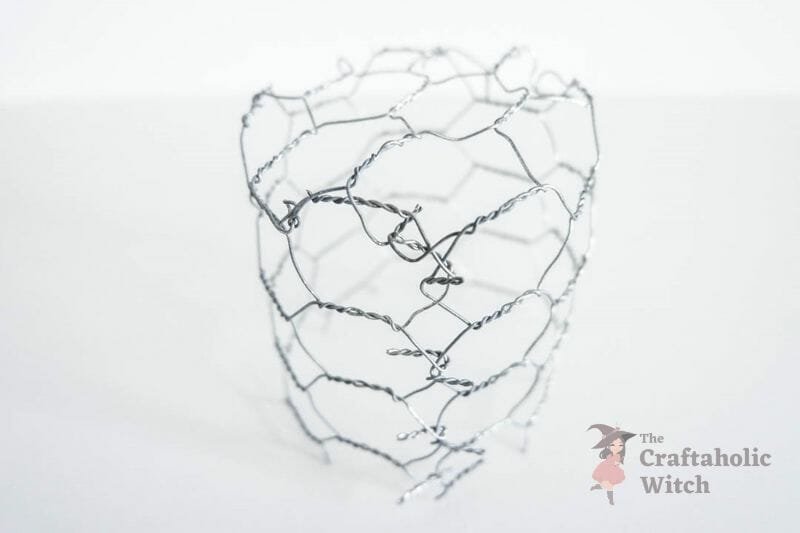
Step 3:
Fold the loose piece of the mesh onto the cylinder shape. Connect the ends to the cylinder by twisting them to the bottom part, creating the vase’s base (the sculpture’s neck).
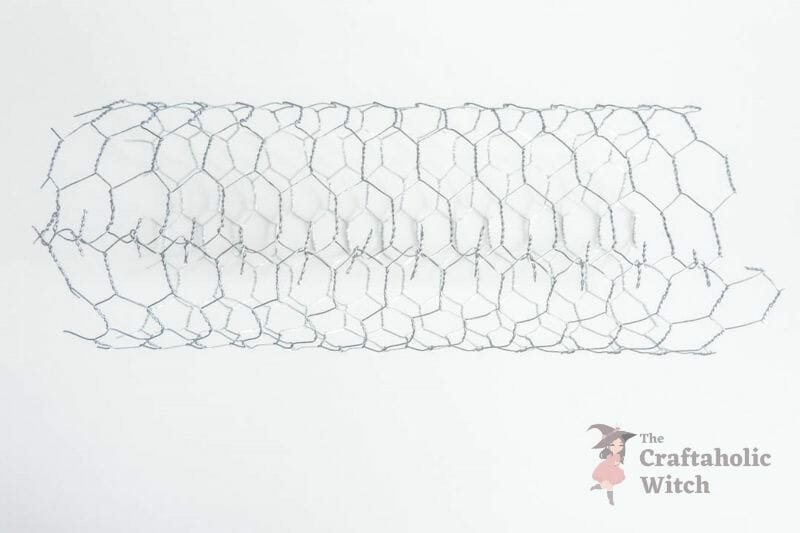
Step 4:
Roll the larger piece of chicken wire into a cylinder shape as well, connecting the ends using the twisting method.
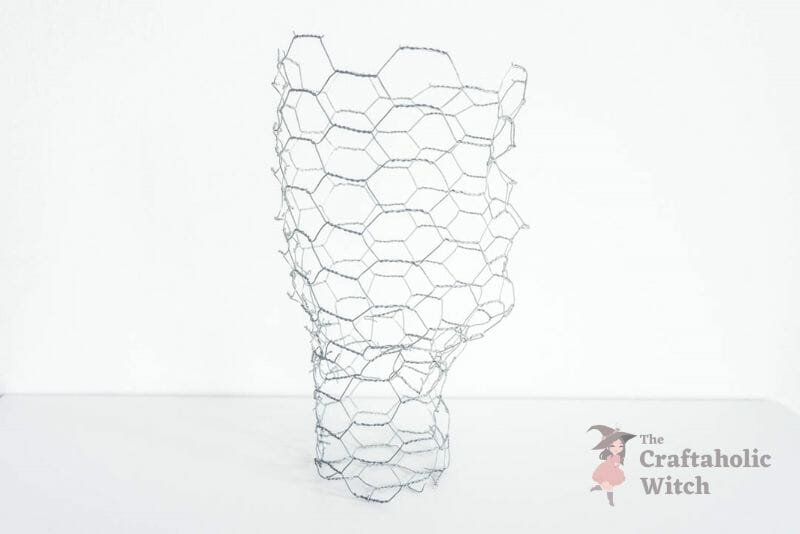
Step 5:
Place the larger tube on the base and connect it using the same method. Start shaping the wire structure by pulling and pushing until it resembles the shape of the head.
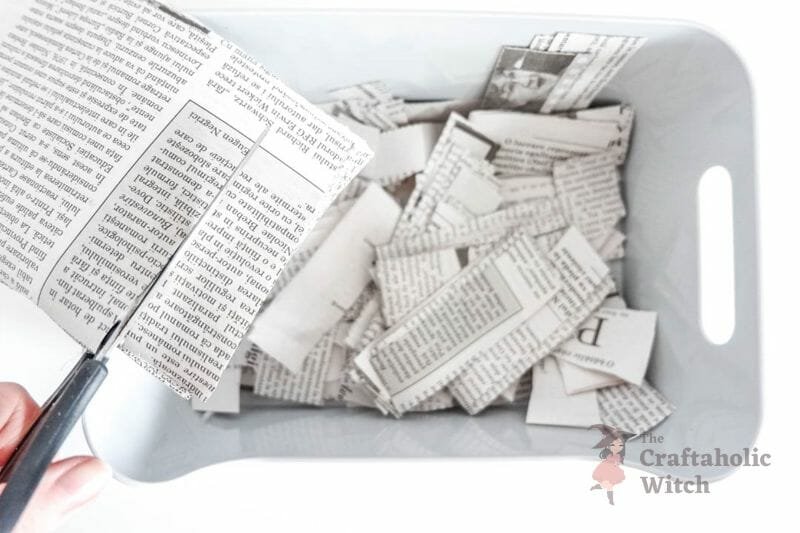
Step 6:
Start cutting up the newspapers into approx—1″ x3″ pieces. You can also make irregularly shaped pieces, covering the curves more easily.
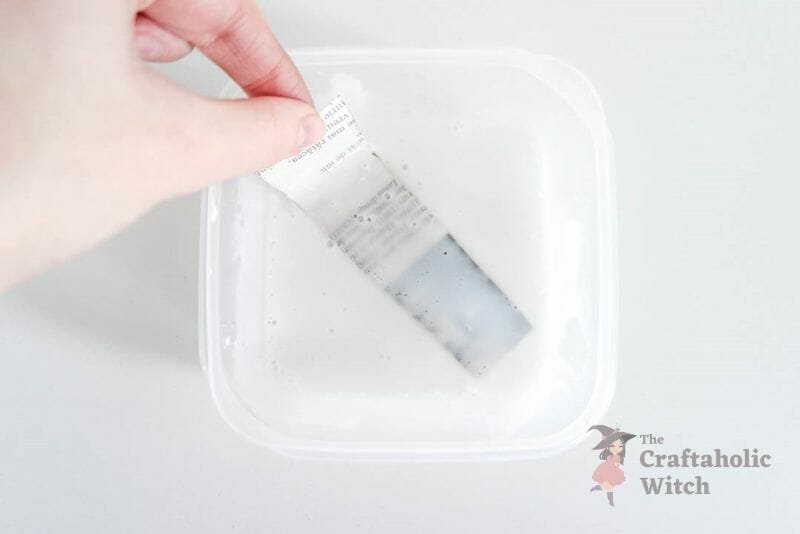
Step 7:
Next, you’ll need to make paper mache. Create a 1:1 mix with white glue and water. Dip the newspaper pieces into the mixture, removing the excess with your fingers before sticking it to the structure.
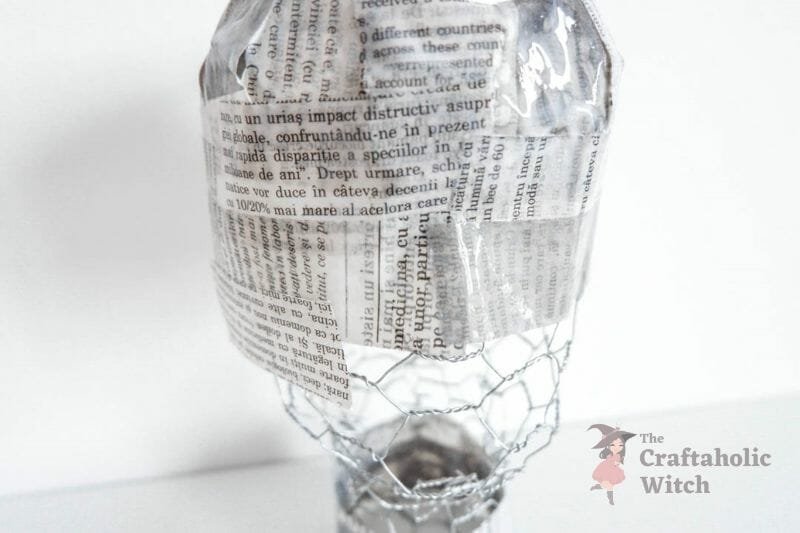
Step 8:
Cover the sculpture with the newspaper pieces, sticking them to it one by one after being dipped in glue. Once you complete the first layer, let it dry.
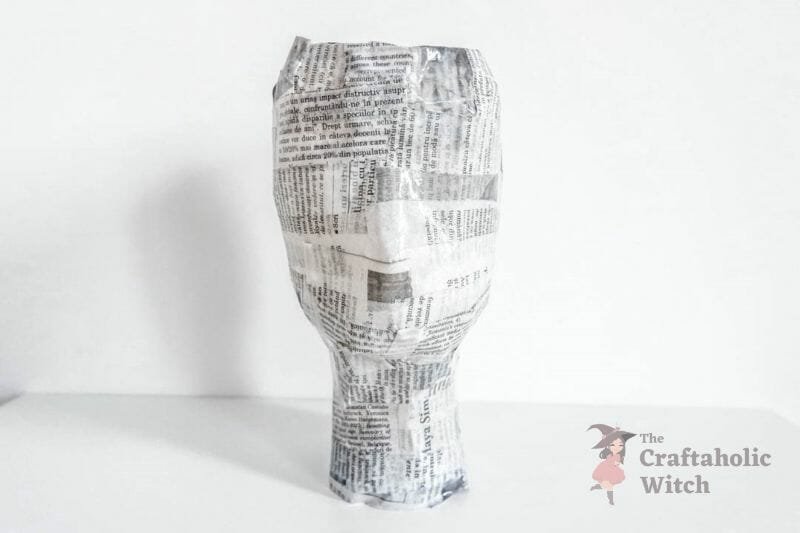
Step 9:
Apply a second coat of newspaper with the glue mixture and let it dry. This step can be enjoyable for the little ones, so don’t hesitate to invite them to join your crafting session!
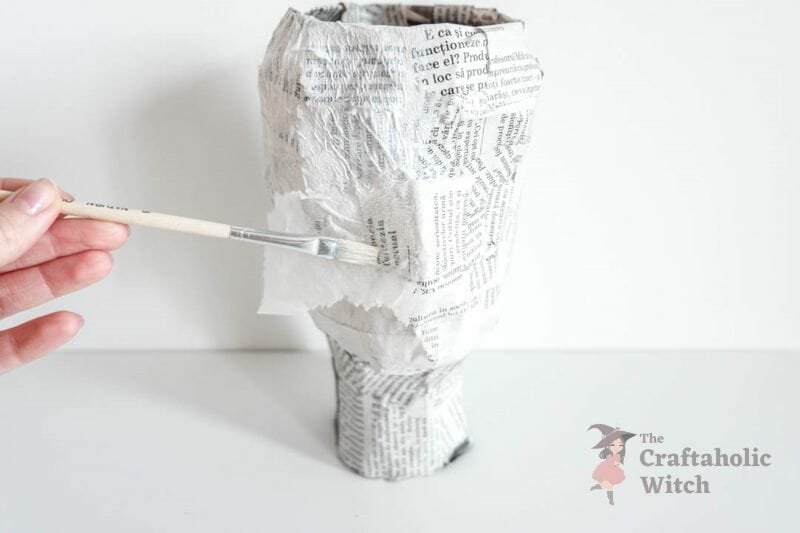
Step 10:
You will need a third layer, but instead of newspaper, use facial tissues to achieve a smoother finish. Apply a coat of glue using a brush and stick paper tissue pieces to it. Finish off with another (thin) layer of glue on top of the tissues.
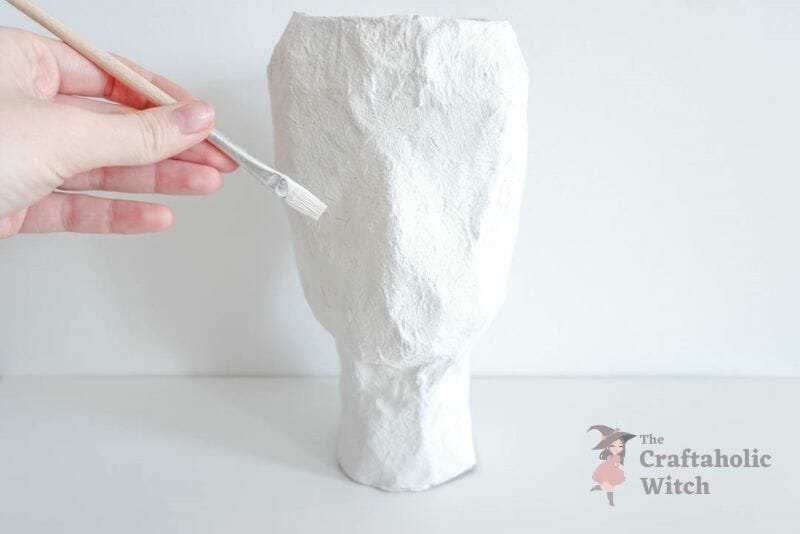
Step 11:
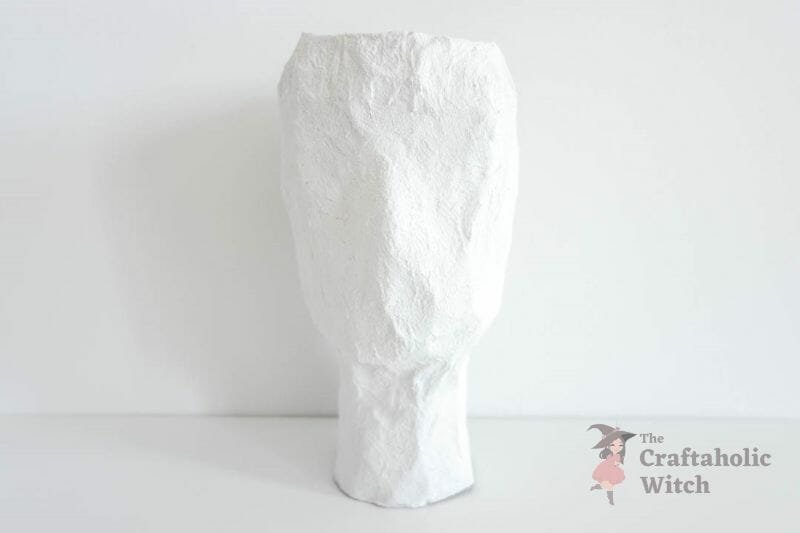
Once everything has dried, you can paint over the vase with acrylic paint of your choice (we used white for a sculpture-like look). Tip: you can add a teaspoon of baking soda to your color in order to achieve a rustic touch!
Step 12:
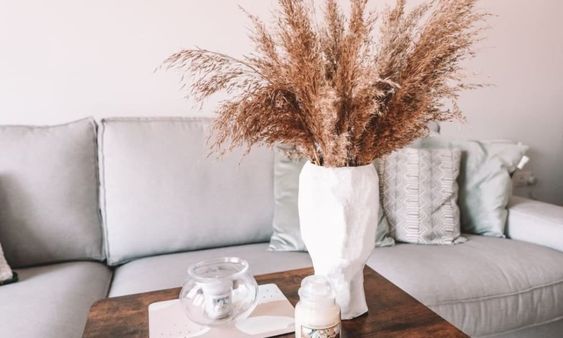
After the paint has dried as well, your vase is ready. You can add artificial flowers or pampas grass into it and add this unique piece of decor to your home!