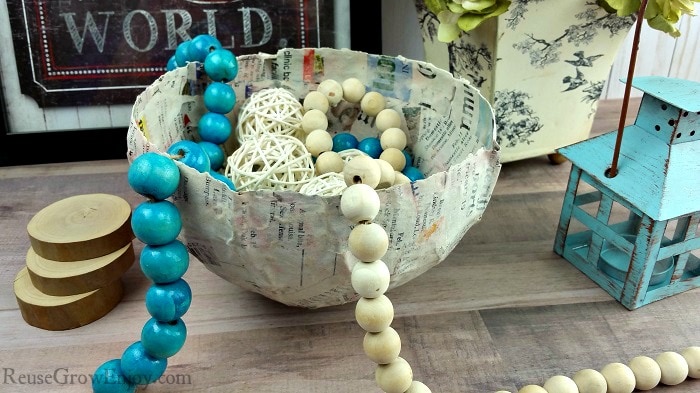
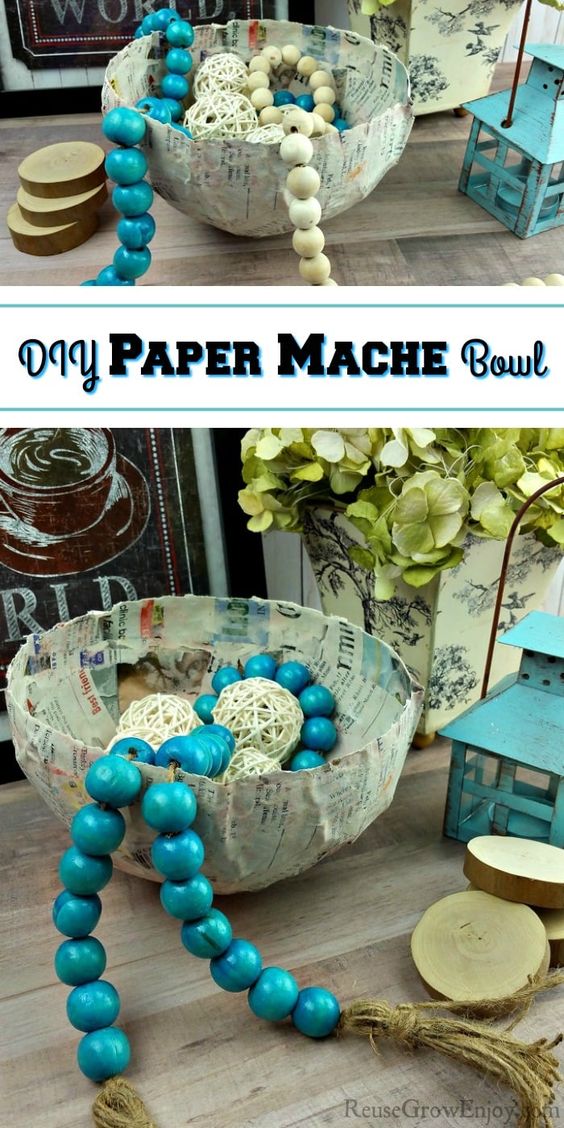
DIY Paper Mache Bowl
This fun and creative craft project is a great way to add a handmade touch to your home decor. You can customize the size and shape of your bowl to fit your needs, whether you want a small trinket dish or a larger fruit bowl. Paper mache is a versatile medium that allows for endless possibilities, so feel free to experiment with different shapes and designs. With just a few simple materials and some creativity, you can create a one-of-a-kind paper mache bowl that will impress your friends and family.
Supplies Needed:
- 1 Balloon (size or shape is up to you)
- Newspaper
- Flour
- Water
- Mixing Bowl
- Bowl or Container To Hold Balloon
Picking Your Shape & Size:
First thing you need to do is figure out how large or what shape you want to make your paper mache bowl. For the one in the pictures, I just used a 12-inch balloon that is blown up about 3/4 of the way and tied closed.
You could do a few small ones or even use a different shape balloon to make a different shape bowl.
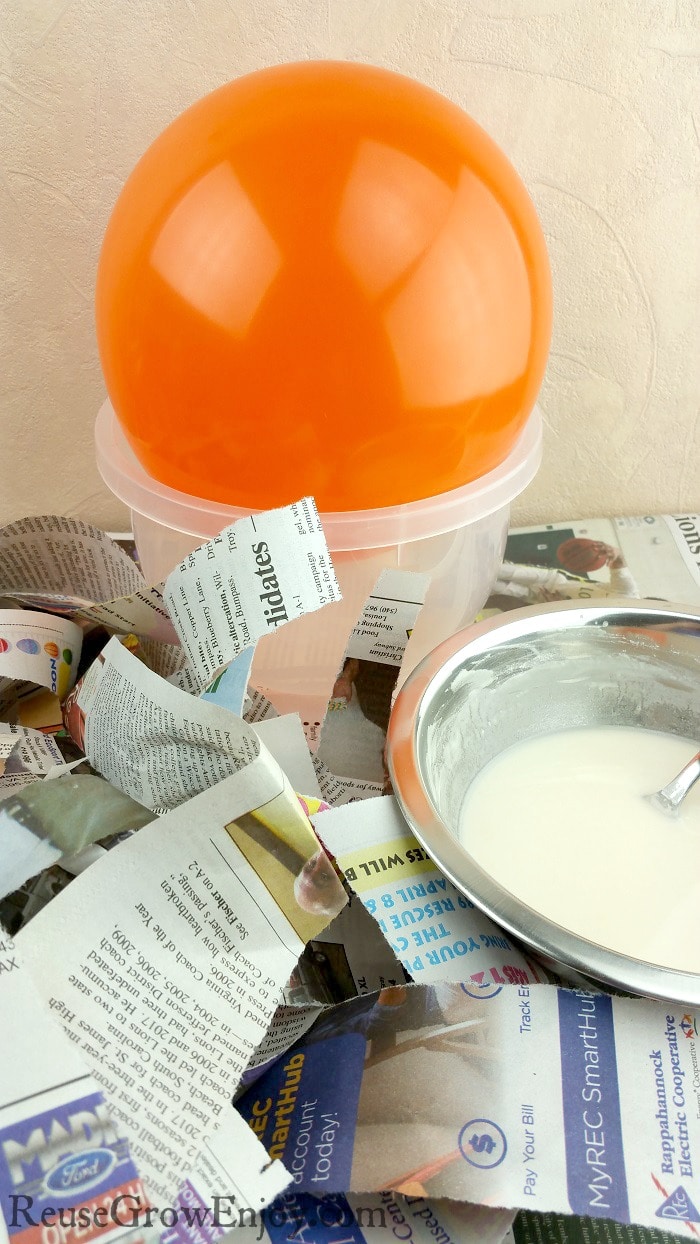
Mixing The Paste:
Depending on how many you are making will depend on how much paste you need to mix. To mix the paste, you just mix flour and water together at a 50/50 mixture.
To make one bowl this size, it took about half cup flour and half cup water to coat everything.
When you mix it together, be sure to mix it really well so there are no clumps of flour in the bowl. You will also want the mixture to sit for five to ten minutes before using. This allows it to thicken. Then give it another good mix before using.
Be Ready For Mess:
This is a project that will be messy. So before you get started, make sure you lay down a few layers of newspaper down. Or better yet, put a layer of plastic bag down and then paper over top.
If you do not put anything down, whatever work area you are working on will be covered in the paper mache paste mixture as it drips as it is drying.
Making The Paper Mache Bowl:
Now, put your balloon or whatever mold you choose to use upside down over a dish that will hold it in place. You don’t want it to be rolling away when trying to work on it.
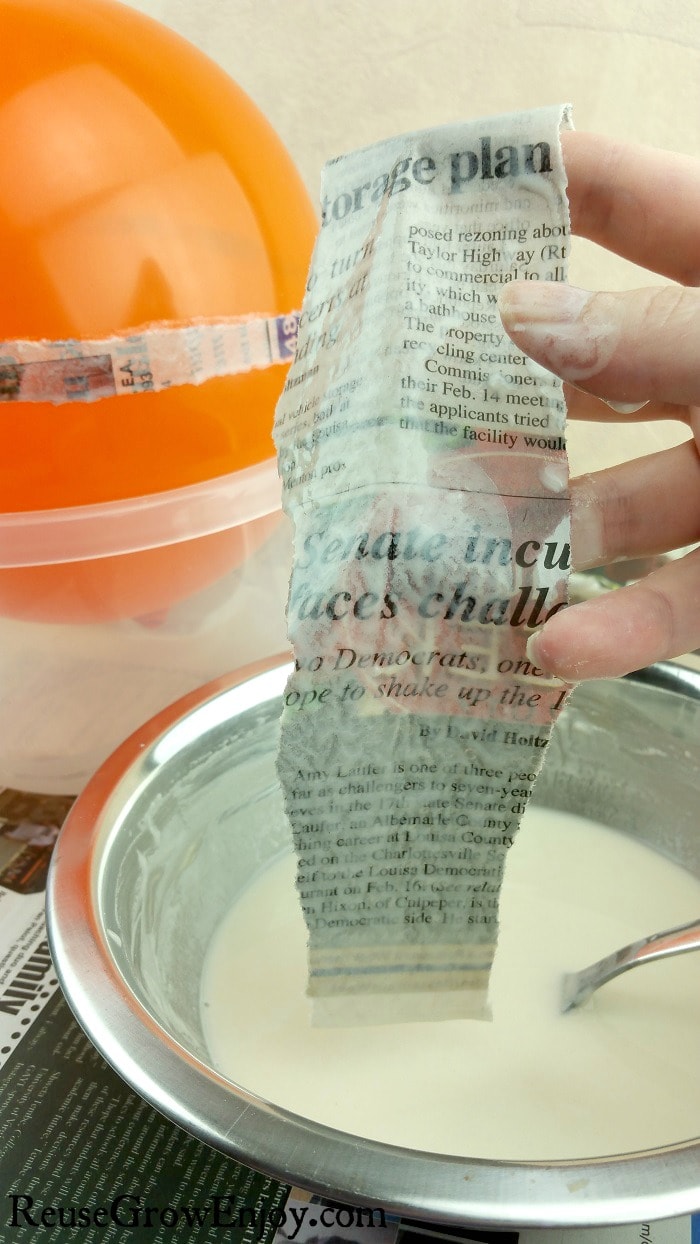
Tair your newspaper into small pieces and strips. Having them at different sizes, length and shapes help to actually strengthen the bowl.
One by one, dip the paper into the paste making sure it is fully coated. Then when you pull it out, run it through your fingers to remove most of the excess paste mixture on the paper.
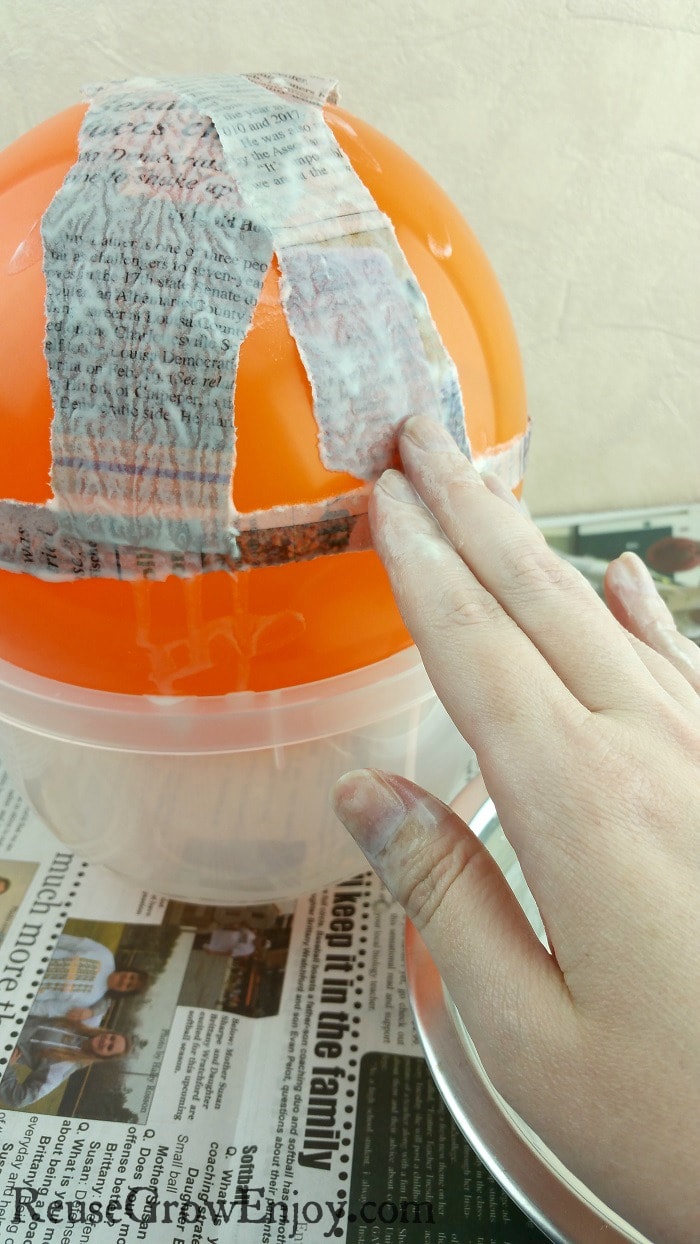
Then start wrapping it around the balloon to cover it. You want to overlap the pieces and joints to it makes layers. If you just bump them against each other it will not hold up when dry.
Keep adding more pieces until you have the whole thing covered in a few layers thick all the way around. I made sure the bottom was about five to six layers thick as that is the base of the bowl.
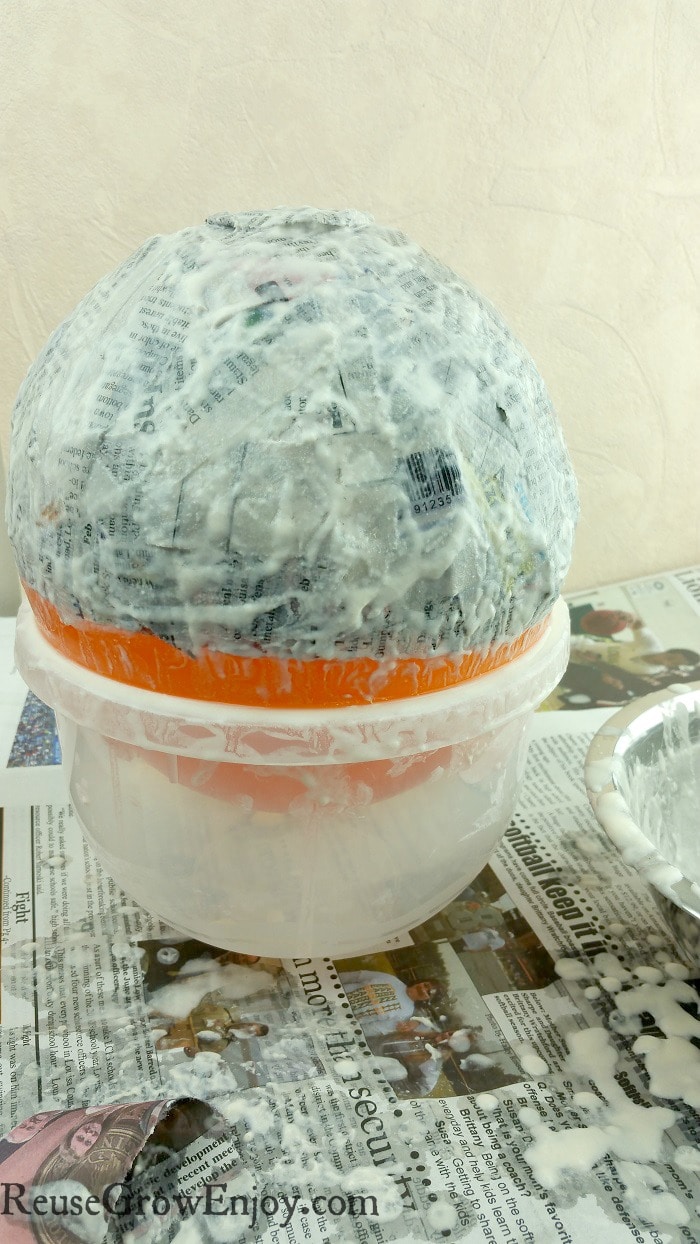
When you are down, do one more small partly rolled strip around the bottom. Well, it will be the bottom of the bowl when done but guess it is the top when you are working on it.
This will make a small ridge for the bowl to rest on and not wobble around when displayed.
Drying & Removing From Mold:
Before you can remove your bowl from the mold/balloon it needs to be fully dry. The time for this can depend on the room temperature and the humidity. The warmer and dryer the better.
On average, it takes 48 – 72 hours for it to fully dry. It can be sped up if you have something like a dehumidifier and fan running in the room.
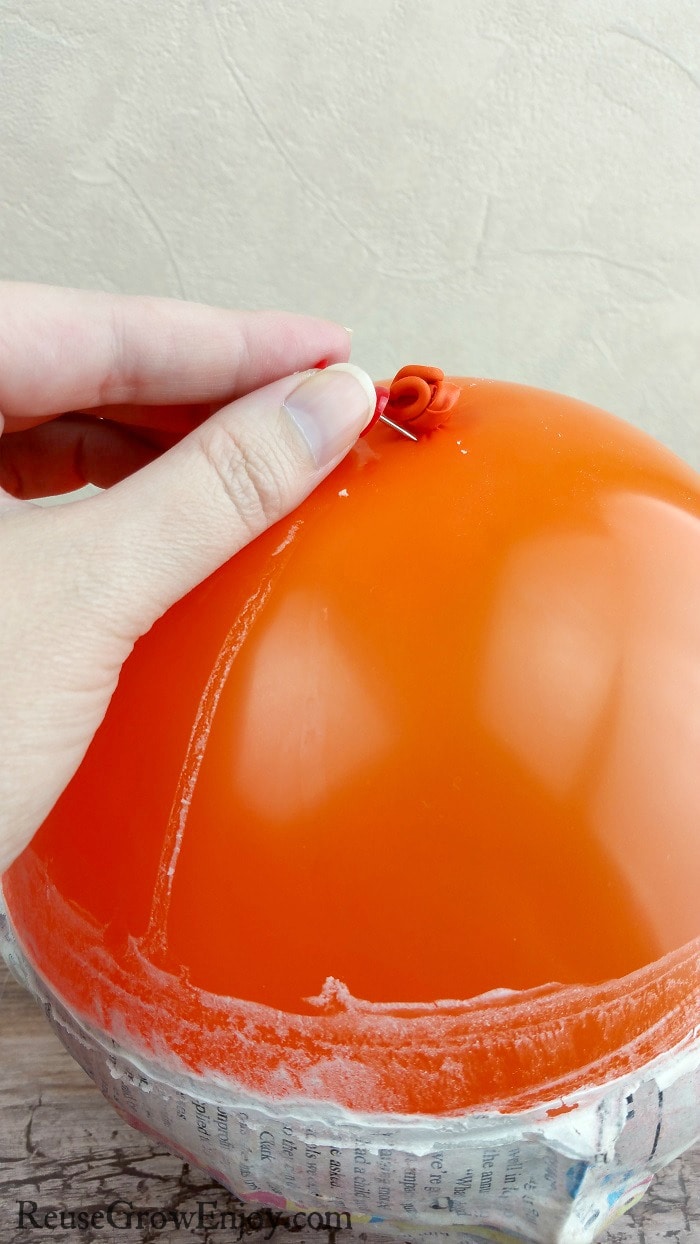
When it is totally dry, simply take something like a stick pin or push pin and make a small hole in the area the balloon is tide at.
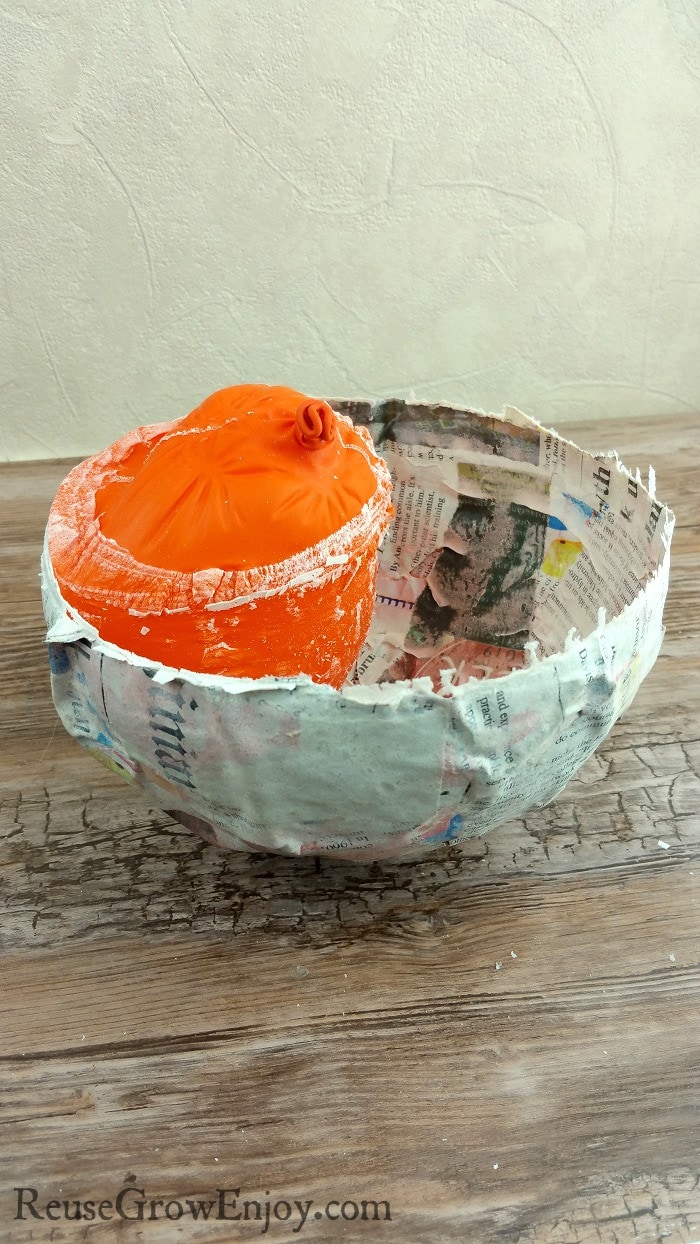
I don’t like to poke a hole in the middle as that can make it pop fast and you just want it to slowly leak the air out. That allows it to slowly pull away from the paper mache bowl.
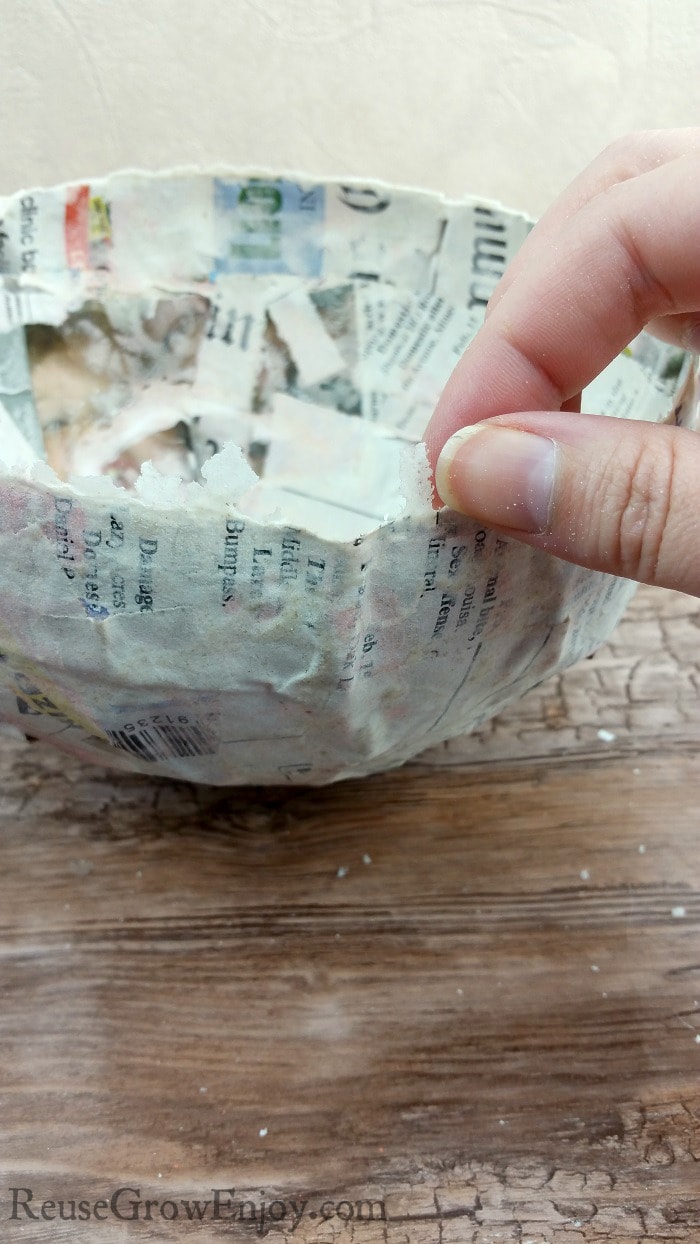
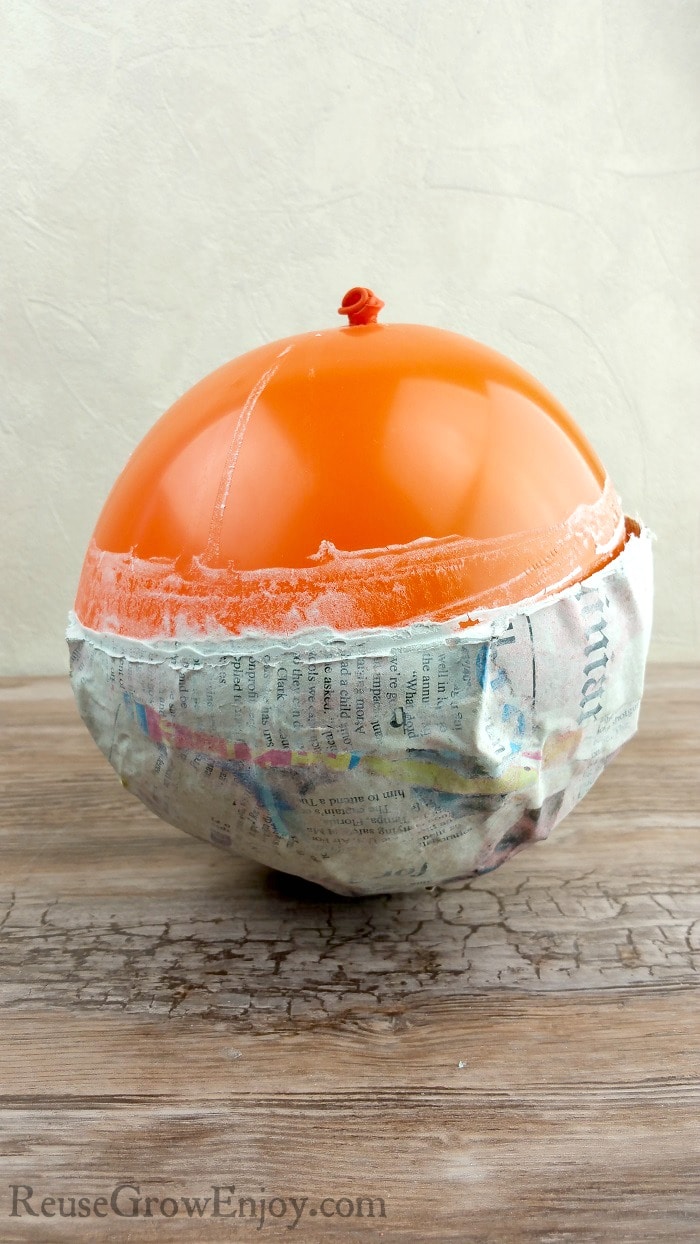
When all the air is out, remove the balloon from the bowl. Then using your fingers, remove any large chunks of paste from the bowl edge.
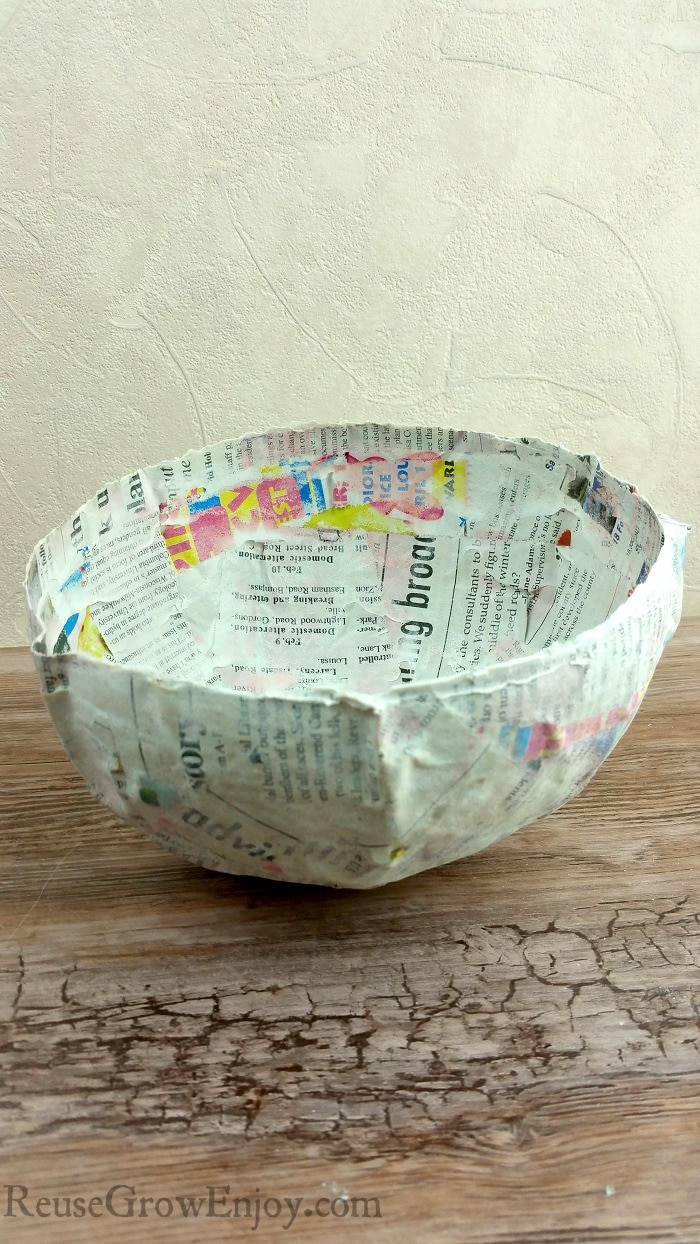
Simply display as is or give it a light coat of paint and you are good to go!