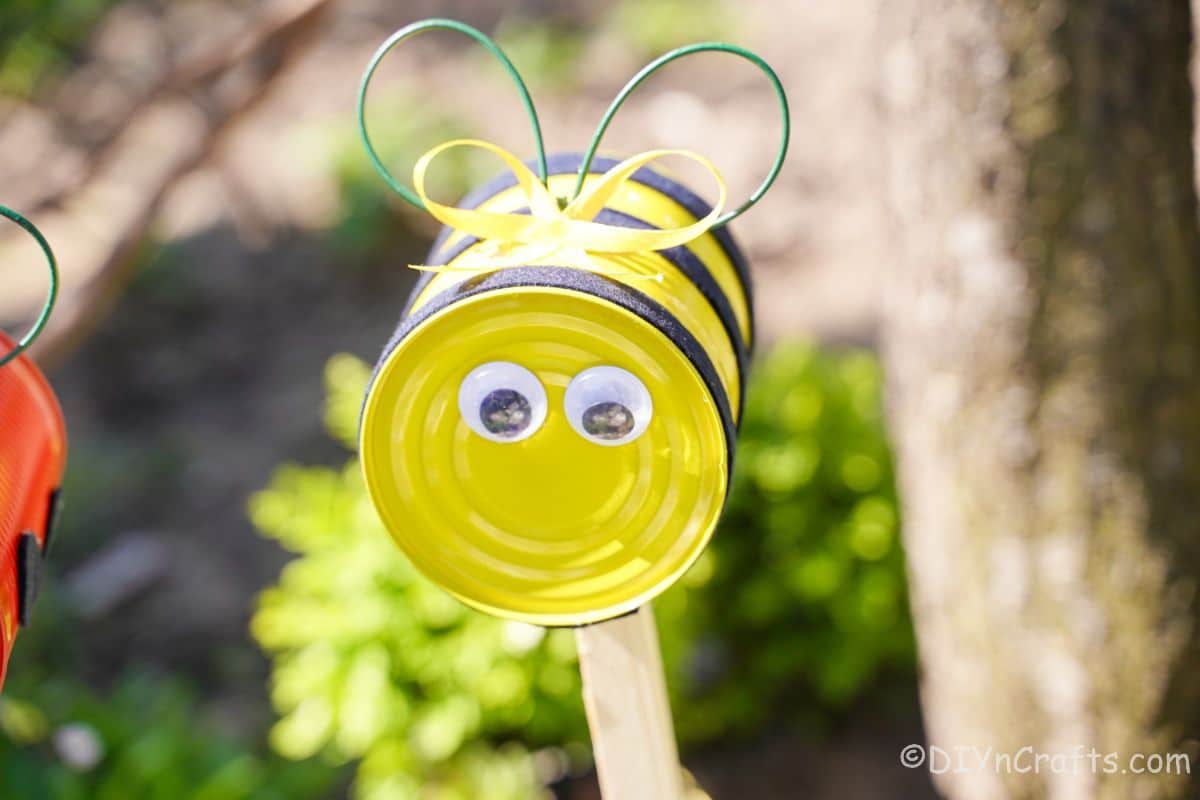
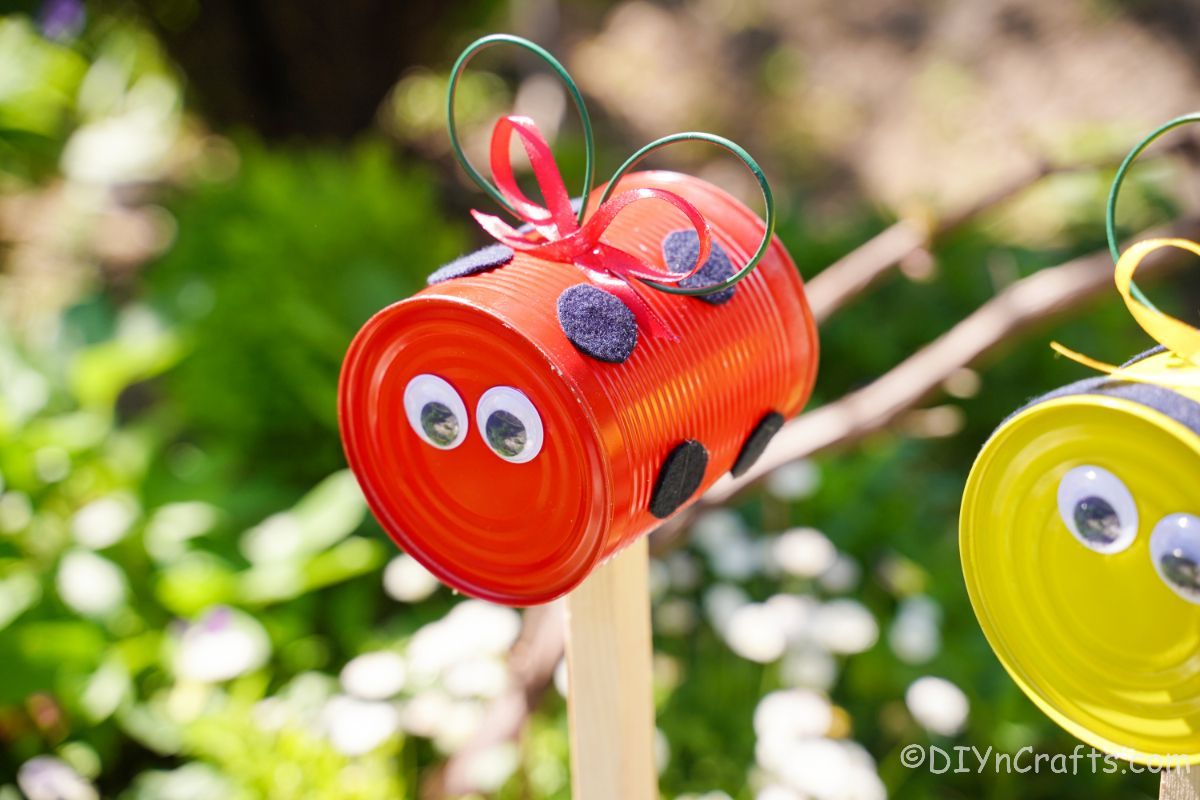
Tin Can Ladybug and Bee Garden Decoration
This delightful piece of art is sure to add a touch of charm and playfulness to any garden or outdoor space. Crafted from recycled tin cans, these adorable ladybug and bee sculptures are not only visually appealing but also environmentally friendly. These garden decorations are not only decorative but also functional. The tin cans used to create them have been carefully repurposed, giving them a new lease of life. By choosing these eco-friendly decorations, you are not only adding beauty to your garden but also making a positive impact on the environment. So why not bring a touch of whimsy and sustainability to your outdoor space with the Tin Can Ladybug and Bee Garden Decoration?

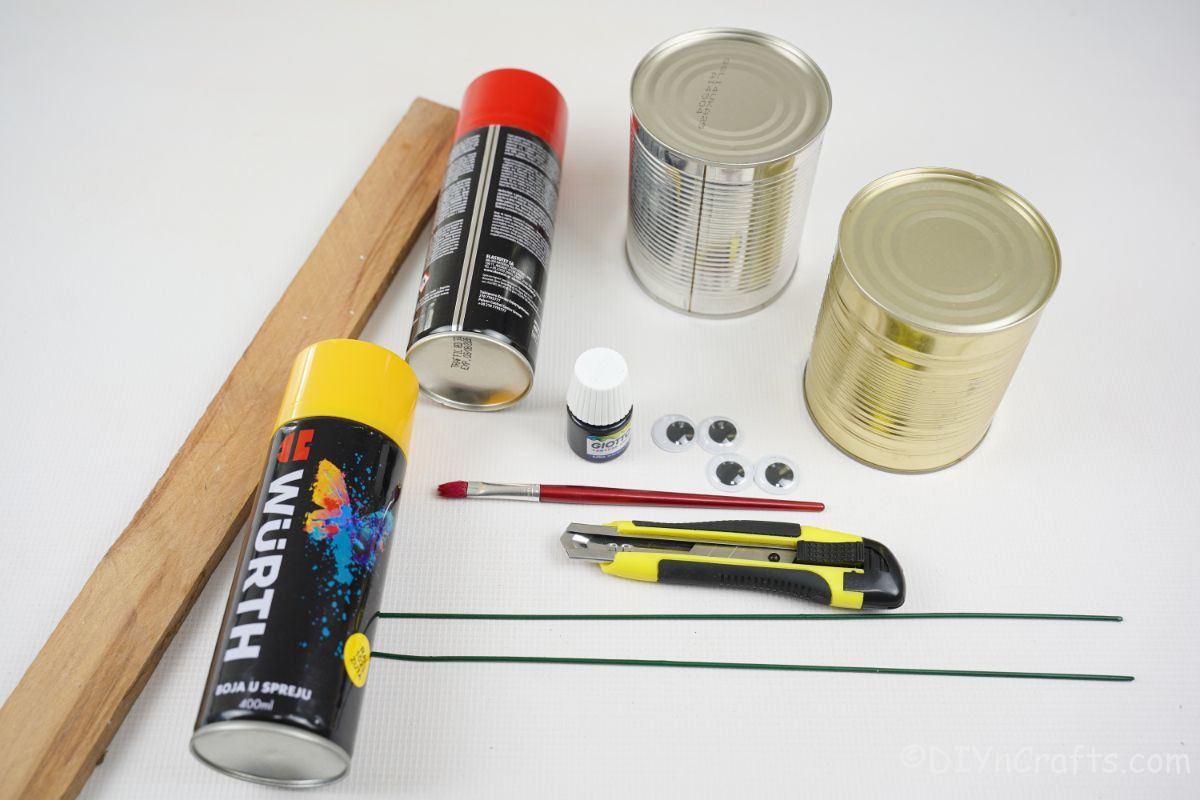
Supplies Needed
- Tin cans
- Red spray paint
- Yellow spray paint
- Black foam paper or black felt
- Googly eyes
- Floral wire
- ½" yellow ribbon
- ½" red ribbon
- Garden stake or dowel for standing
- Scissors
- Hot glue gun
- Hot glue sticks
- Nail
- Hammer
- Metal cutters
How to Make a Tin Can Garden Decoration
Start by preparing your tin cans by removing labels and glue. Wash and dry them completely then spray paint them the desired colors used. In our case, one was red and one was yellow. Then set them aside to dry completely before continuing the project.
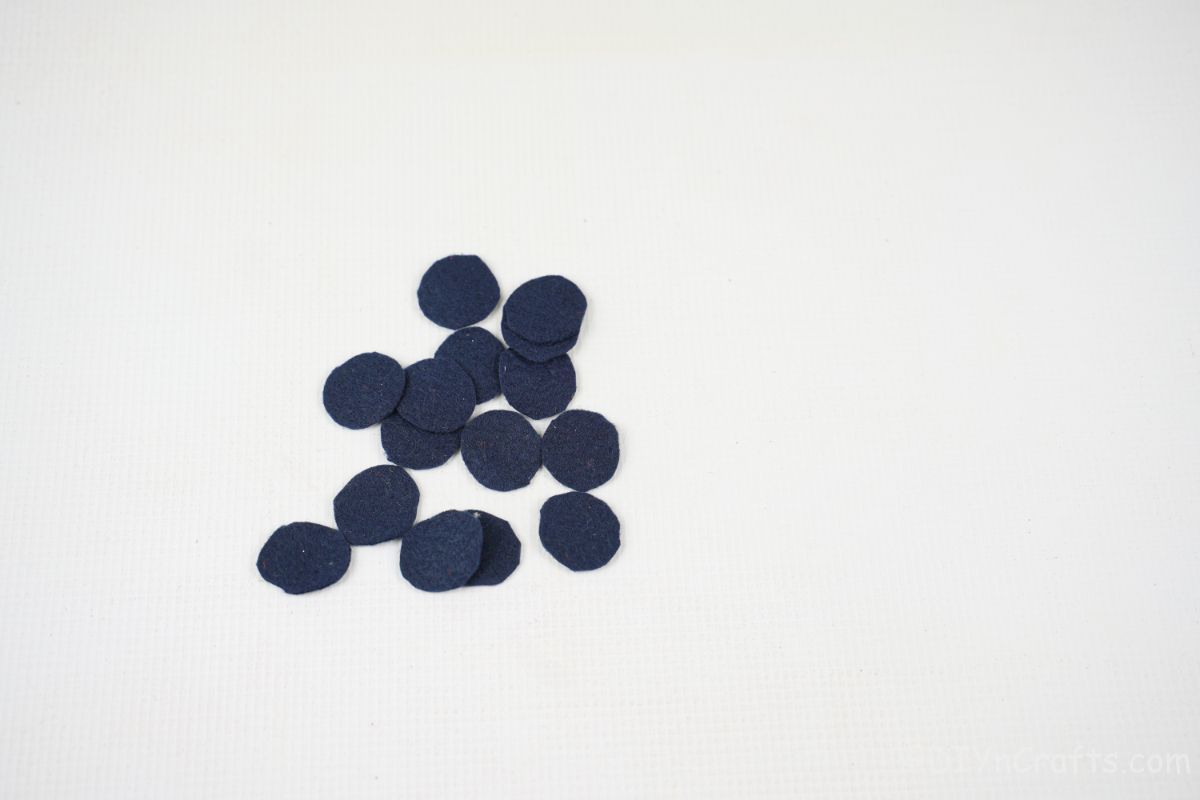
For Ladybug
While the paint dries, prepare the ladybug spots. Cut out 8 to 10 circles on black felt or foam paper, approximately 1" in diameter.
Once the paint has dried, glue these circles onto the can.
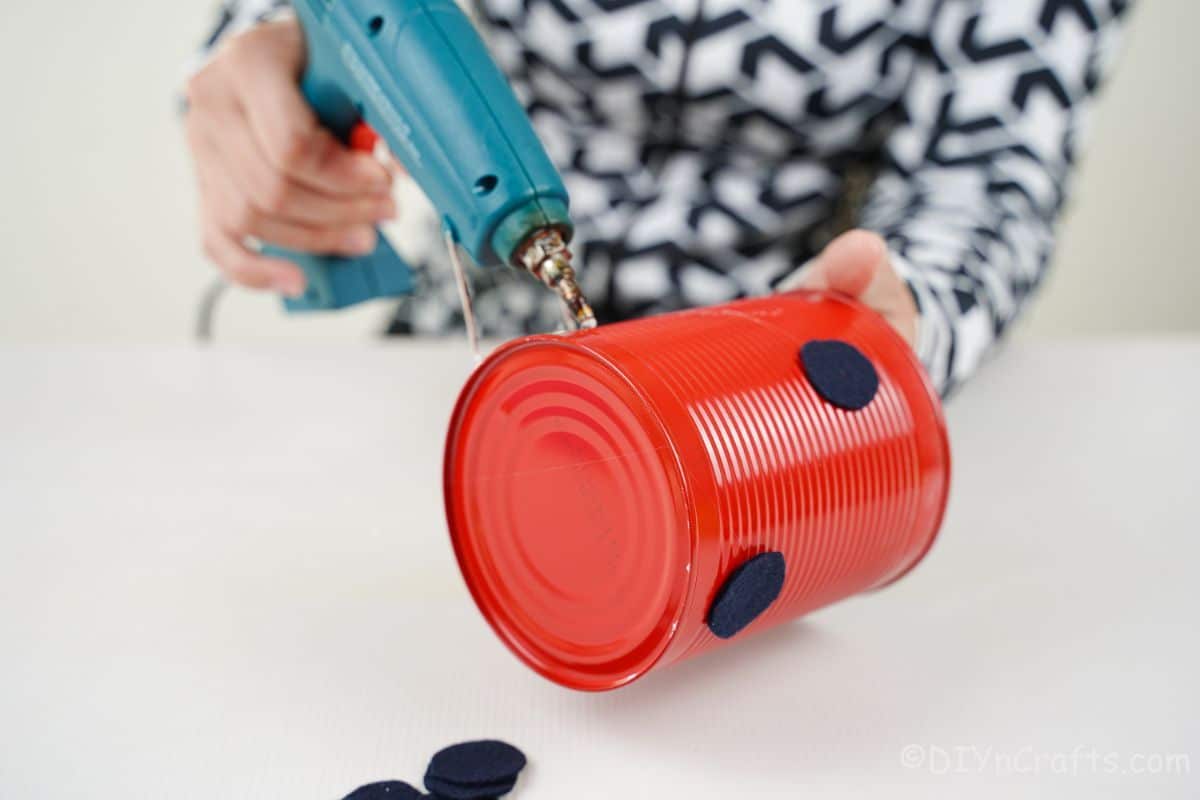
Place them at various places around the can not too close together or uniform. Make them look natural.
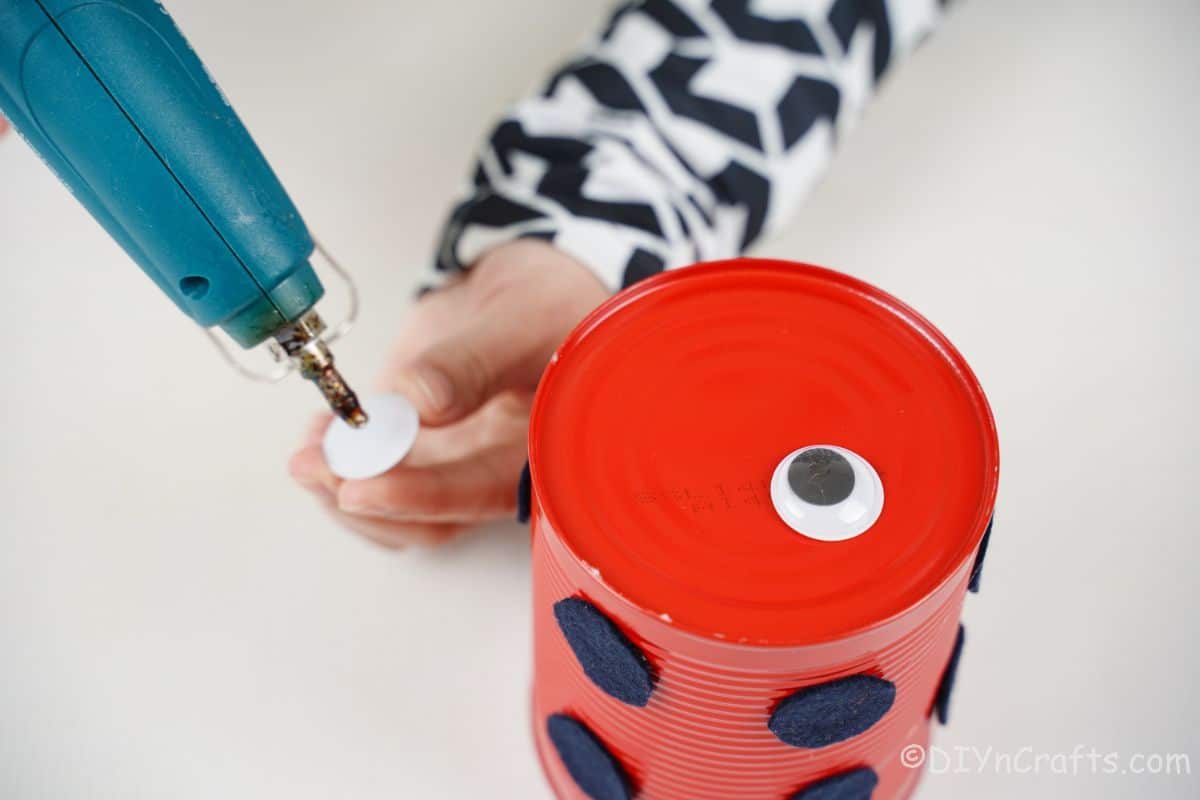
Now, glue the googly eyes to the end of the tin can that is still intact.
Using a nail or screw, hammer a hole into the middle of the can on the bottom side. This is where you will stick the garden stake through the can.
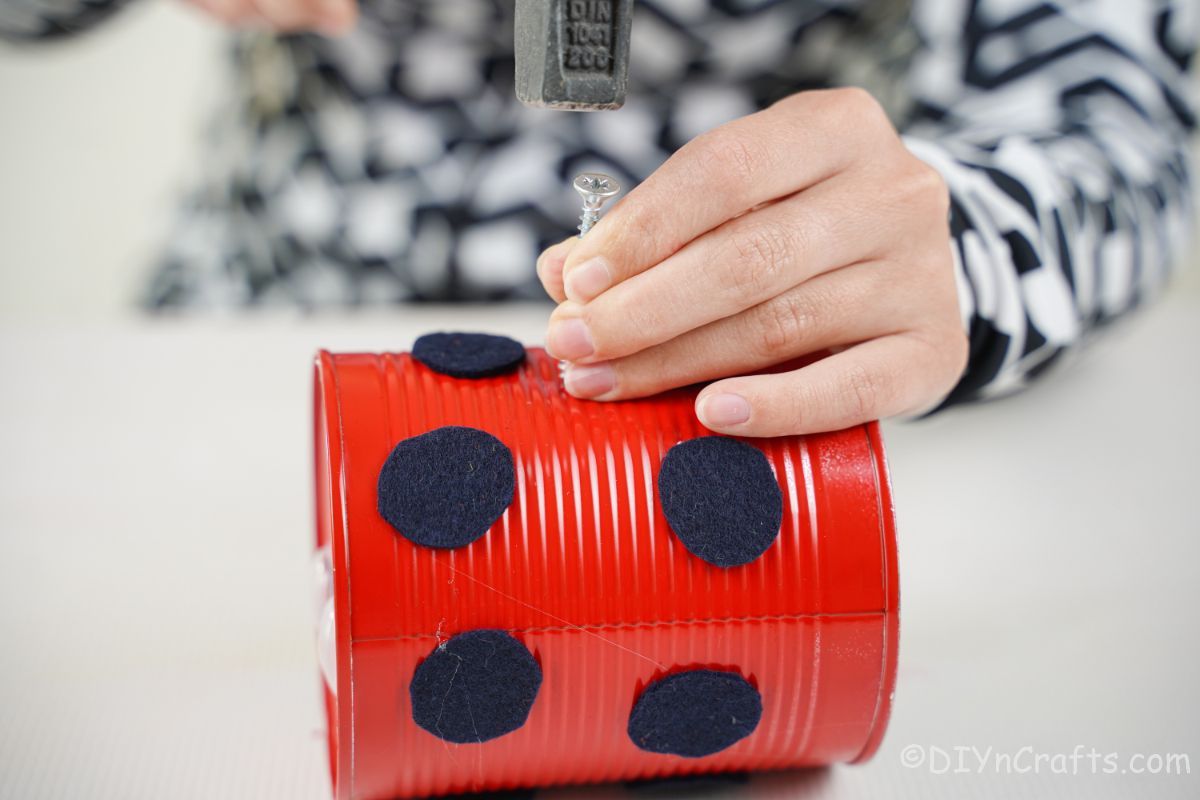
Carefully use wire cutters if needed to snip around the edges and make this just large enough for the can to slide over to secure.
Now, or after decorating, you can place the stick inside the hole and glue it around the edges to secure it.
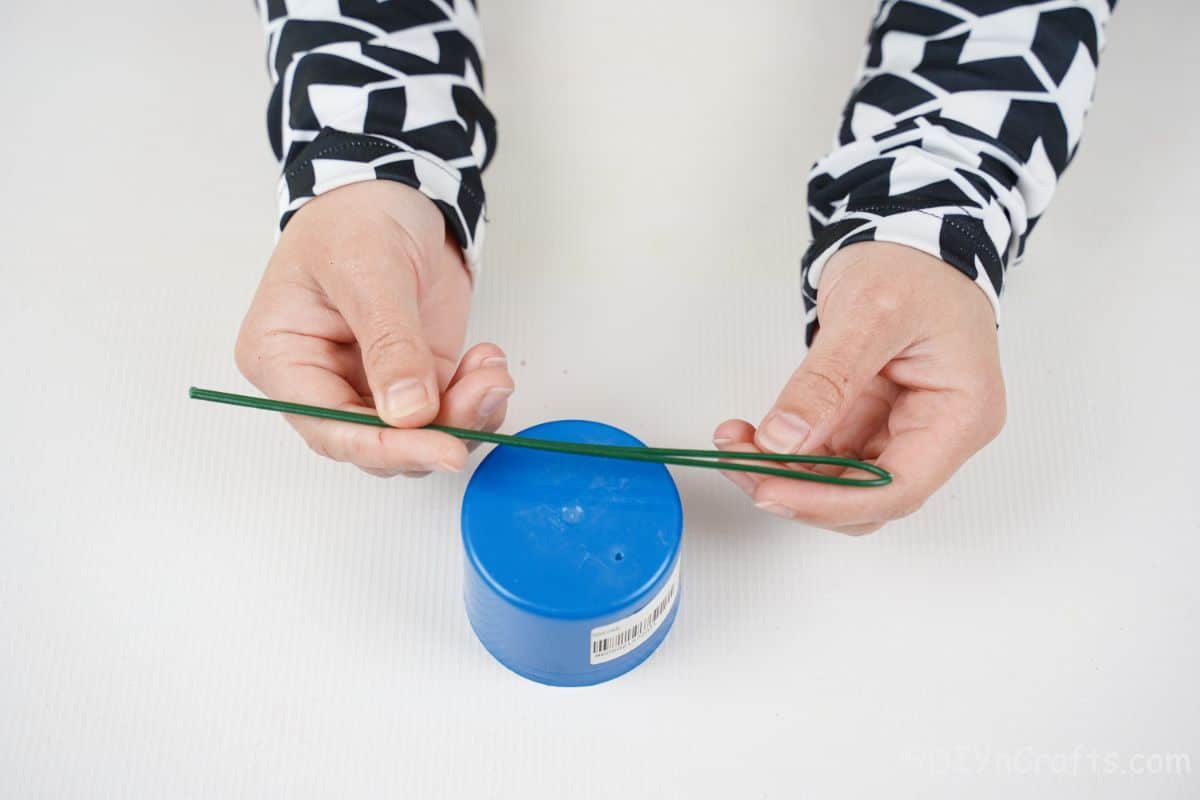
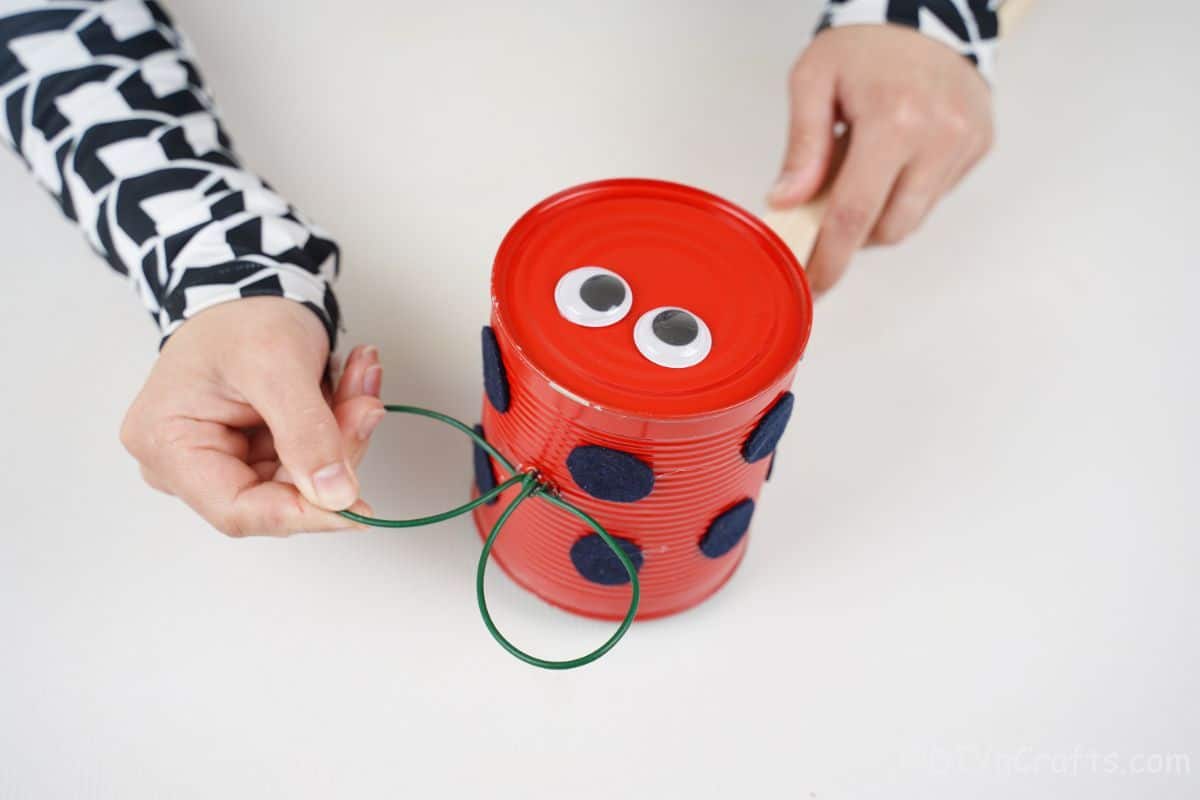
Next, use something round to help bend the floral wire into a bow shape.
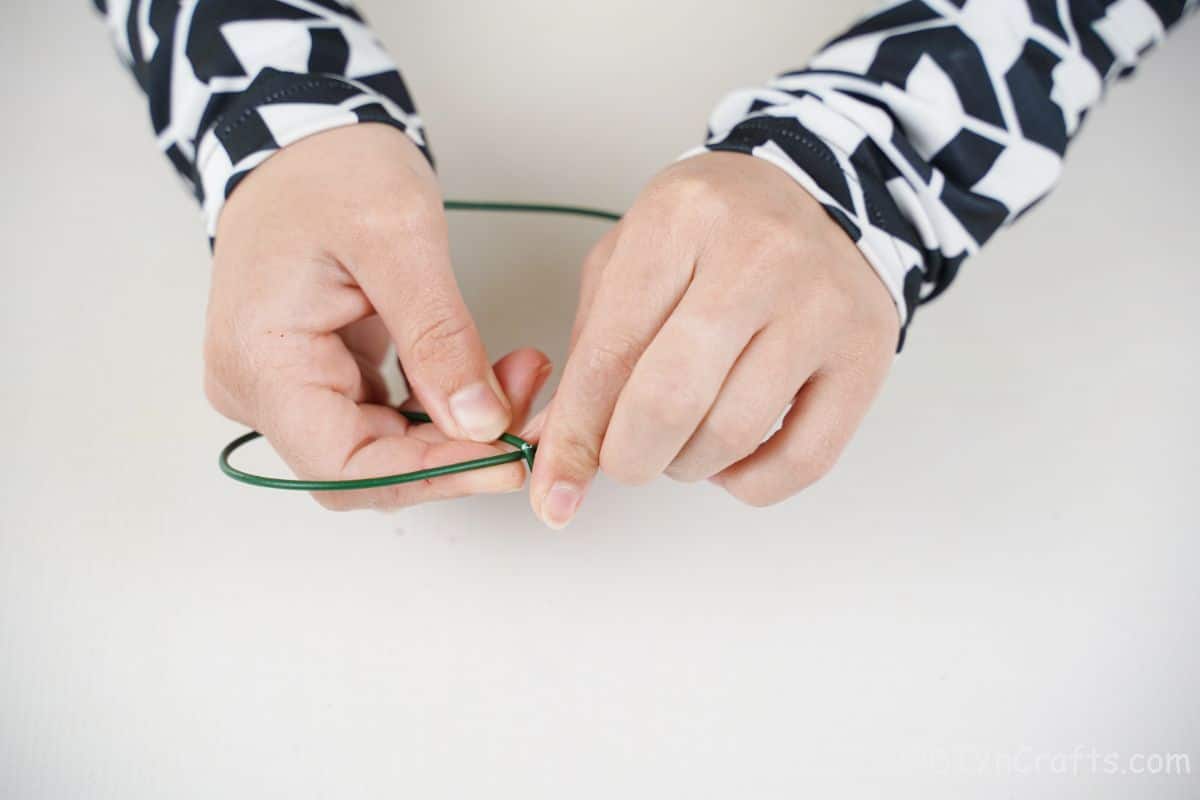
Twist the ends over each other so you don't have dangling ends, but just the two rounded sides. This creates the bug's wings.
Glue this to the top of the tin can. You can also tap a hole into the can and stick the loose end through it if you prefer.
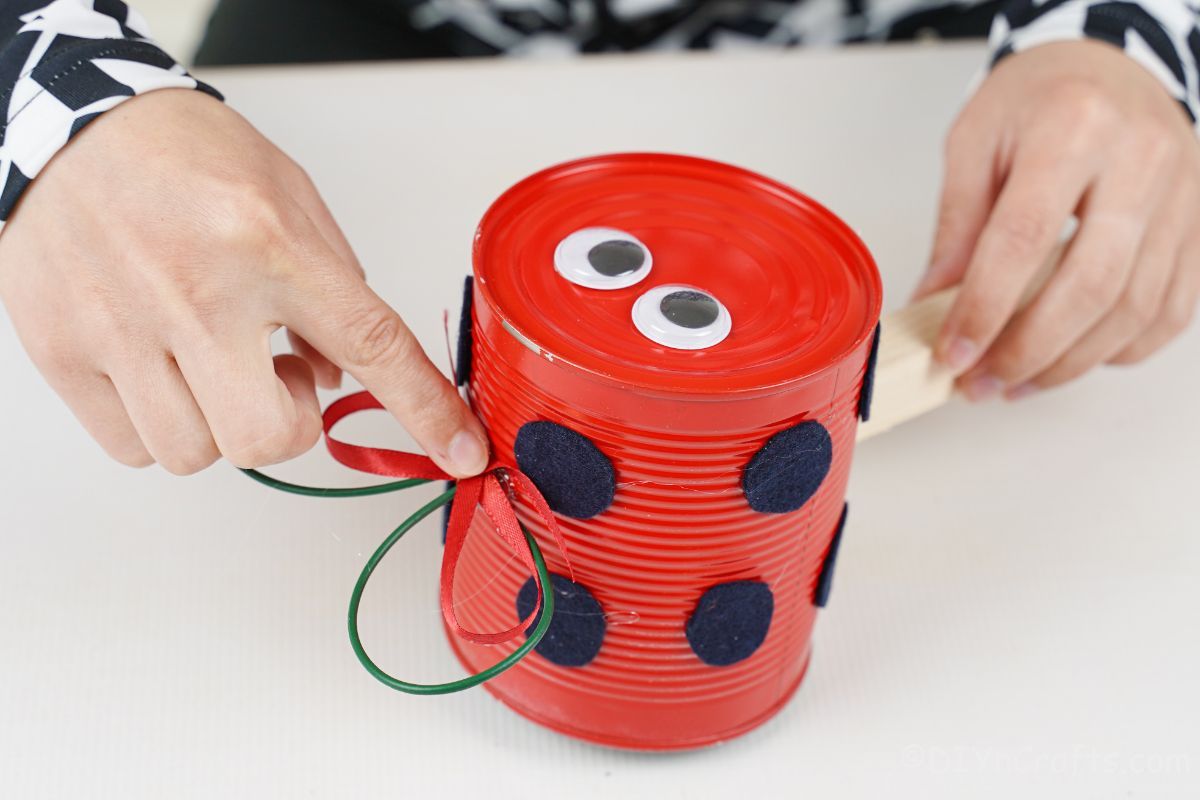
Next, make and attach a small red bow to the front of the wings of your ladybug.
If you need to add the garden stake at this point do so.
For Bumble Bee
Repeat the same steps above to create the hole in the bottom of the yellow tin can for adding the garden stake. Set the stake aside, and then continue prepping the decorations on the bee.
Cut 3 strips of black felt that are around 1" wide and long enough to wrap completely around the can.
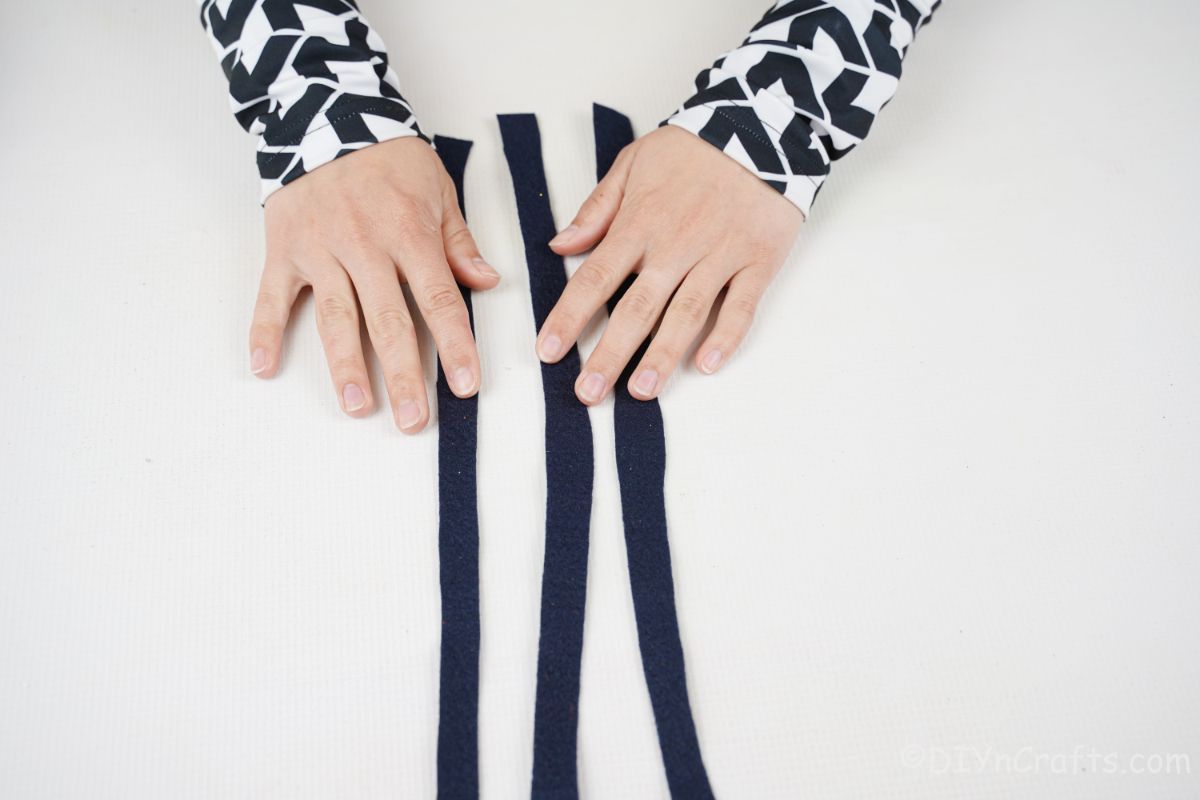
Now, glue these in place on the can with one on the top edge, one on the bottom edge, and one in the middle.
The middle strip will go around the can to tuck inside and under where the hole is for the garden stake.

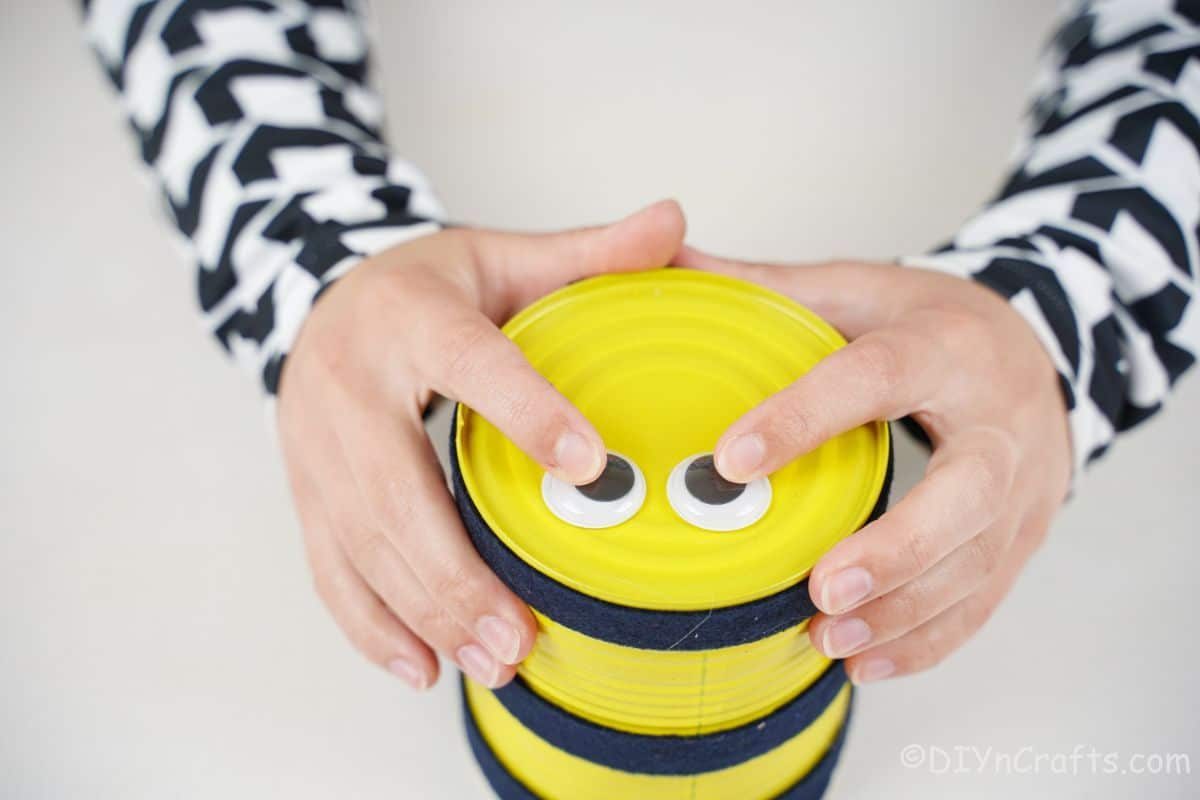
Now, glue on googly eyes for the front of the can.
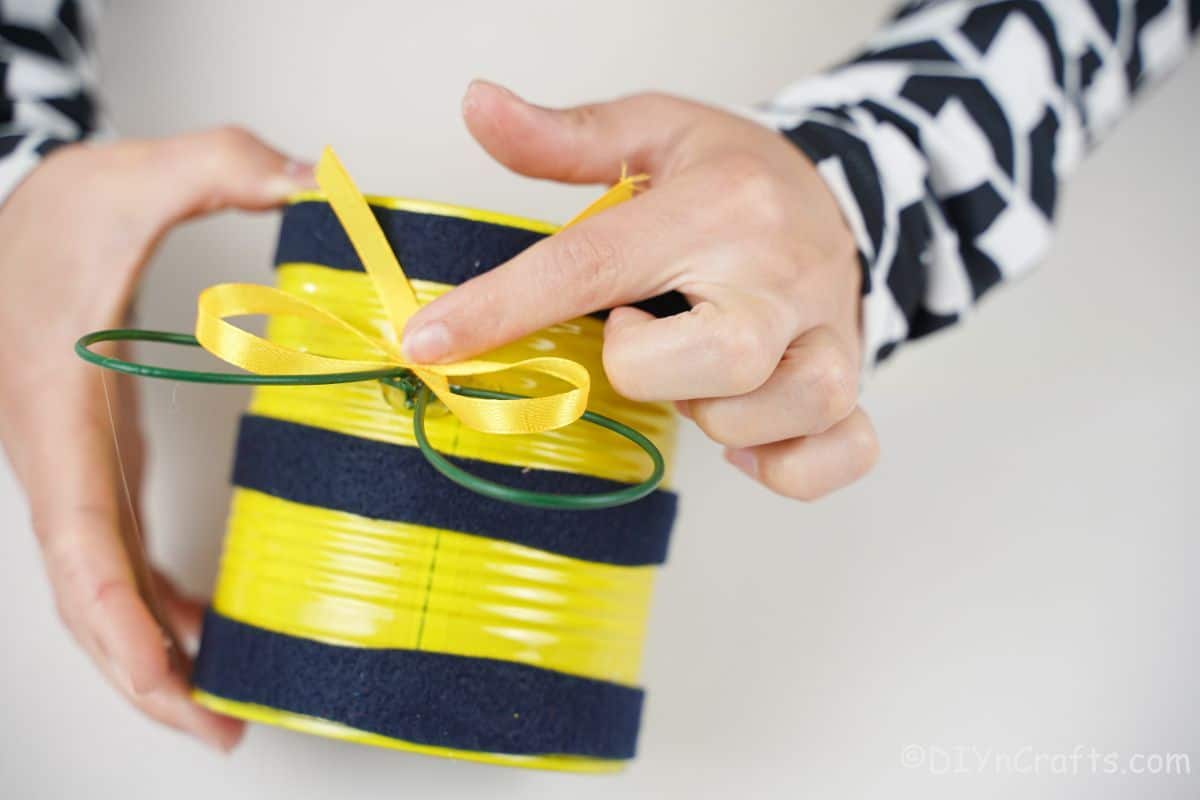
Using the same method above, create wings for the bee using floral wire.
Add a small yellow bow in front of the wings.
Then attach the bee to a garden stake for displaying.