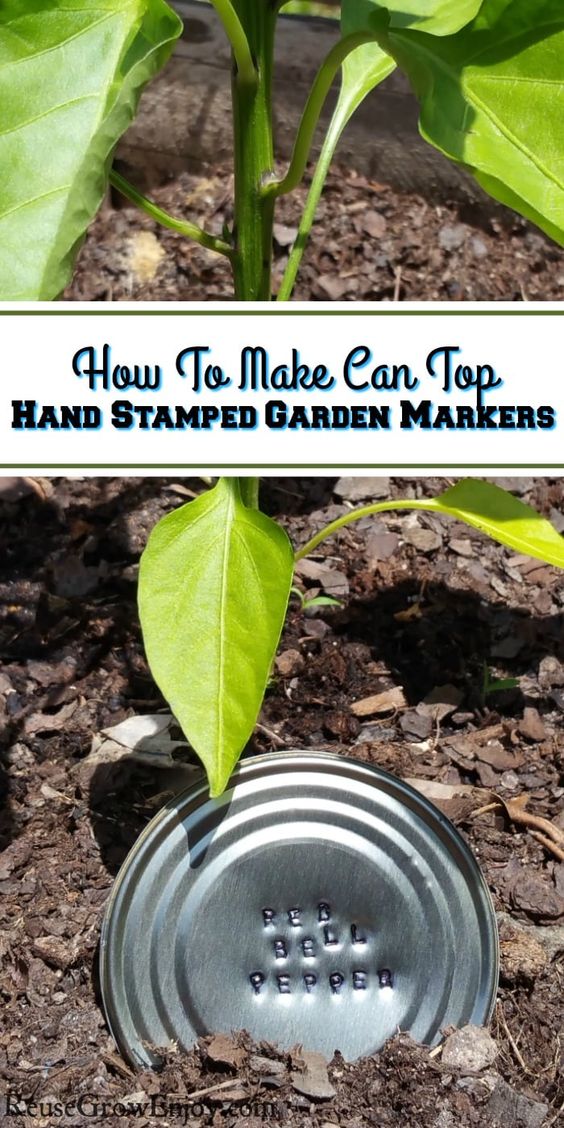
Upcycled Hand Stamped Can Top Garden Markers
Transform ordinary can tops into unique garden markers with a touch of creativity and sustainability. By upcycling these materials, you not only give them a new purpose but also contribute to reducing waste in a fun and practical way. Hand stamping each can top with the name of the plant or herb it represents adds a personalized and charming touch to your garden. These upcycled hand stamped can top garden markers are not only functional but also visually appealing. They add a rustic and whimsical element to your garden while helping you keep track of your plants. By repurposing materials that would otherwise end up in the landfill, you are not only being eco-friendly but also showcasing your DIY skills. Get creative with different designs and colors to make your garden markers truly one-of-a-kind.
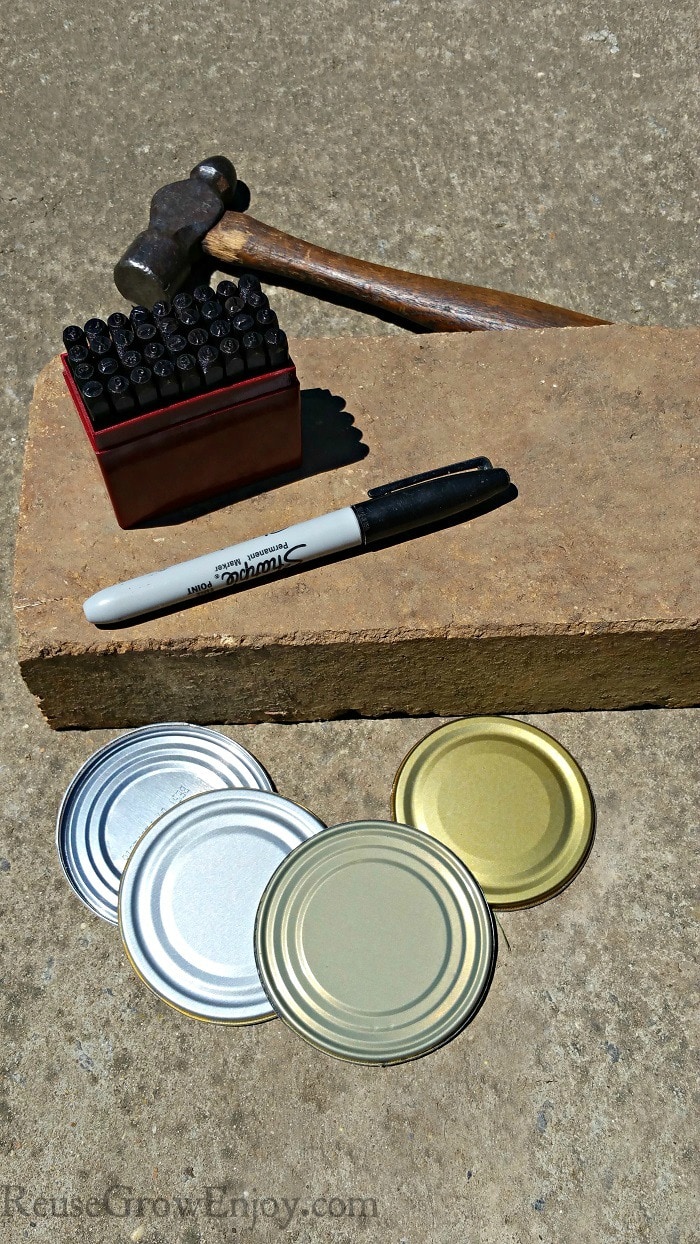
Supplies Needed:
- Can Tops & Bottoms (one for each plant you want to mark)
- Birck (or a Bench Block)
- Metal Letter Stamps (I used these here)
- Black Sharpie Marker
- Rubbing Alcohol
- Paper Towel
- Hammer (any hammer will work but the mini hammers are easier to hold for this)
- Tape (optional see notes below)
How To Make These Hand Stamped Can Top Garden Markers
First thing you need to do is figure out if you want to have your letters perfectly lined. If you do, then put a piece of tape across just above or below where you will be lettering.
Then line the edge of the letter punch up with the tape to keep it in a straight line. I did not do this for mine as I love the free handed look. Makes it look more hand done to me and not just stamped by a machine.
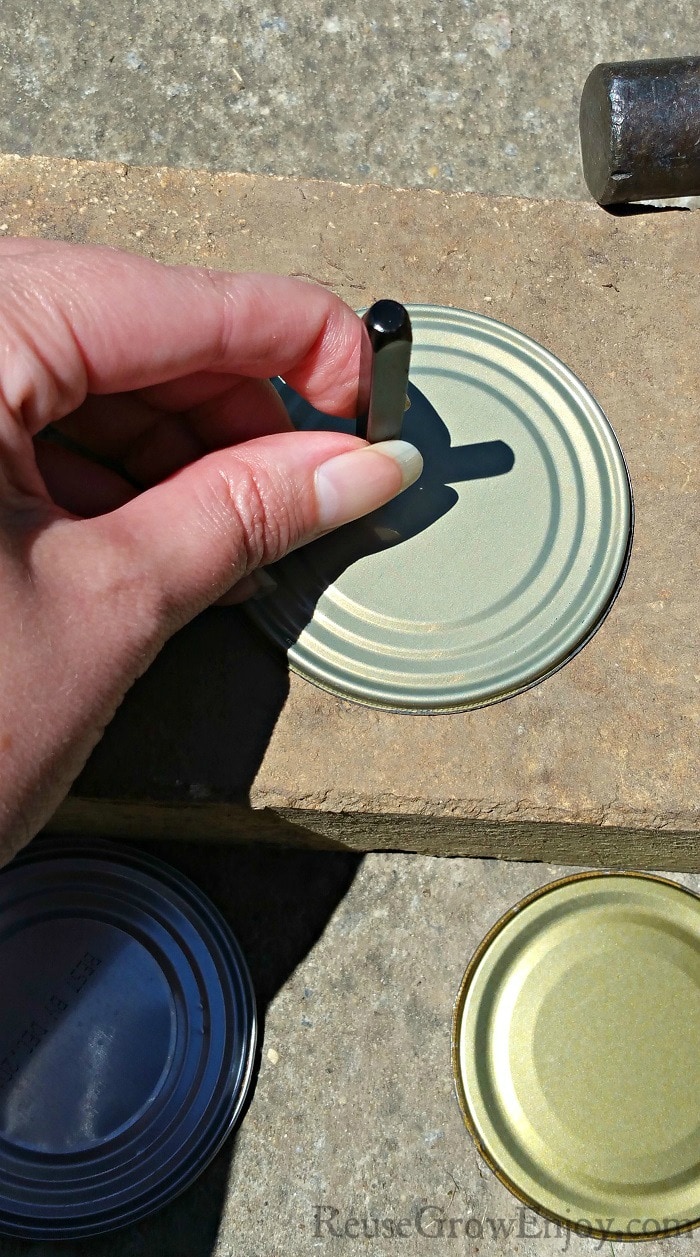
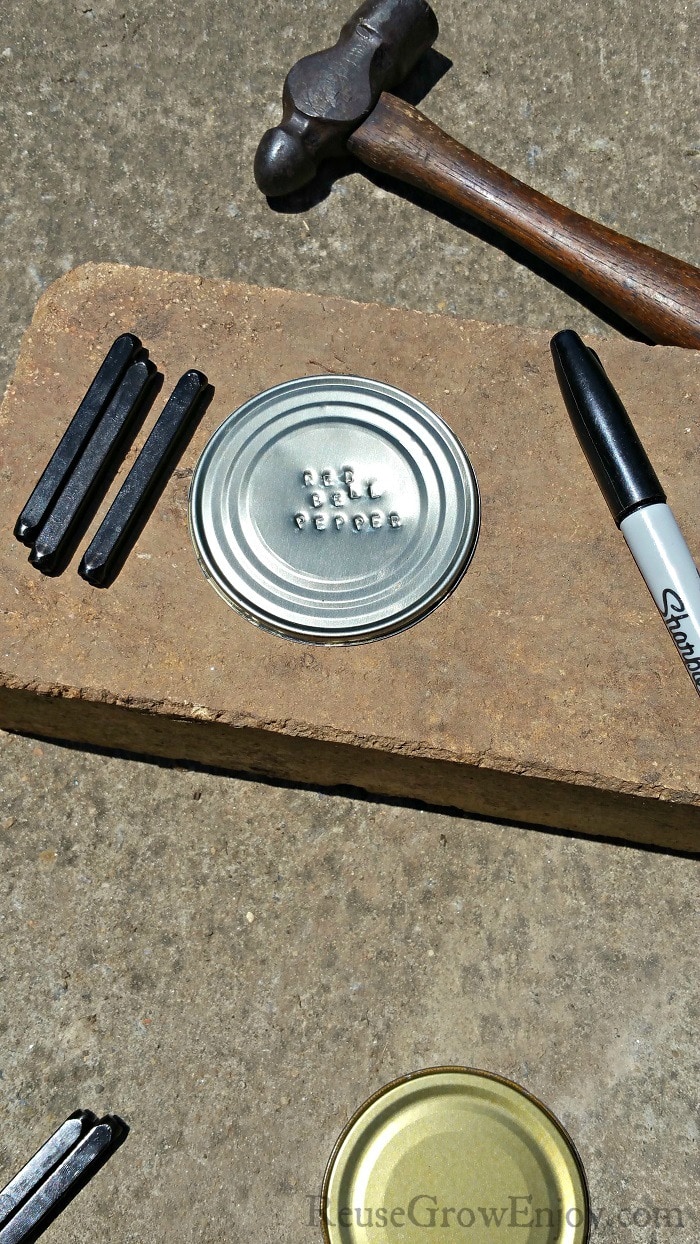
Stamping The Tops:
Lay your can tops on your brick or block. You want to also be on a sturdy surface and not something like a wobbly table.
Hold your letter punch with the letter end press on to the can top. Make sure you have it flat and not tilted as we want it to make a good indent.
Be sure to hold it in place about the middle of the punch as you want your fingers to be clear of the top. If you are worried your fingers will be so close, they do have things like a stamping jig that will give you a little extra space for your fingers.
Now using the hammer, give the letter stamp a hard hit to stamp the letter into the metal. Be sure not to hit it more than one time or you will end up with double impressions.
Keep repeating these steps until you have all your words stamped on the top.
Darking The Letters:
While you can totally leave the letters just as they are if you want, they are a little easier to read when they are darkened.
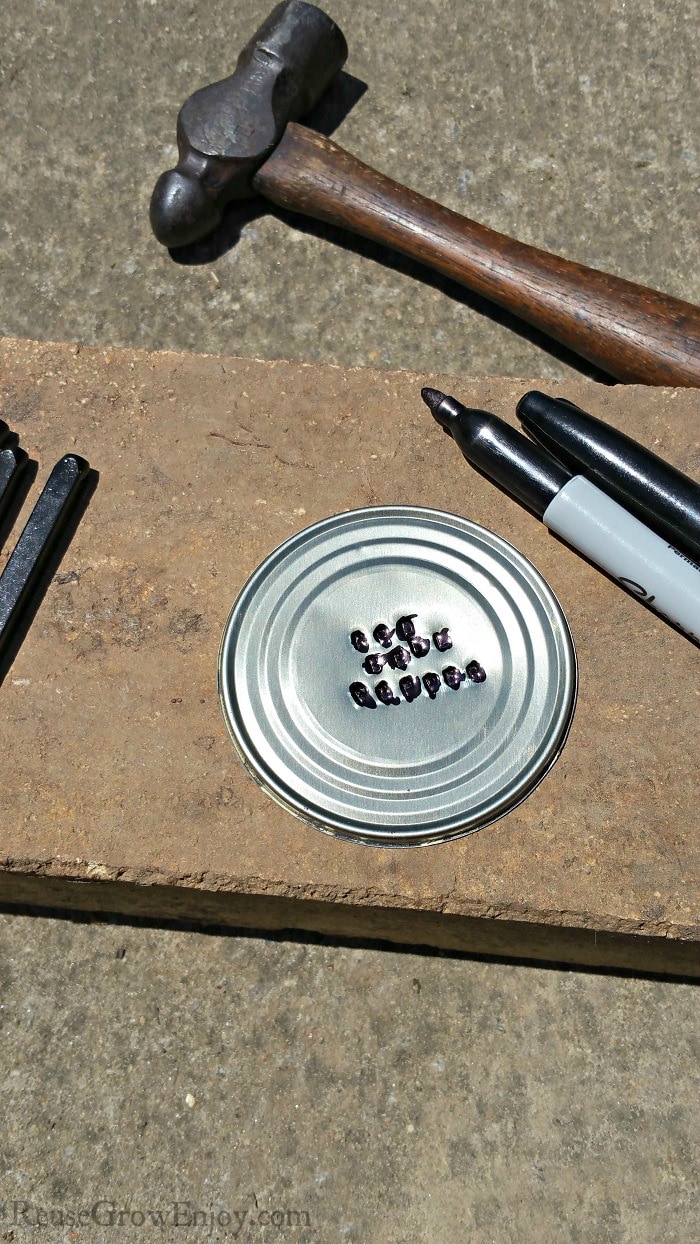
We can darken the letters using the Sharpie. Simply color all the letters in using the marker. Don’t worry if it goes outside the letter area as we will remove the extra marker.
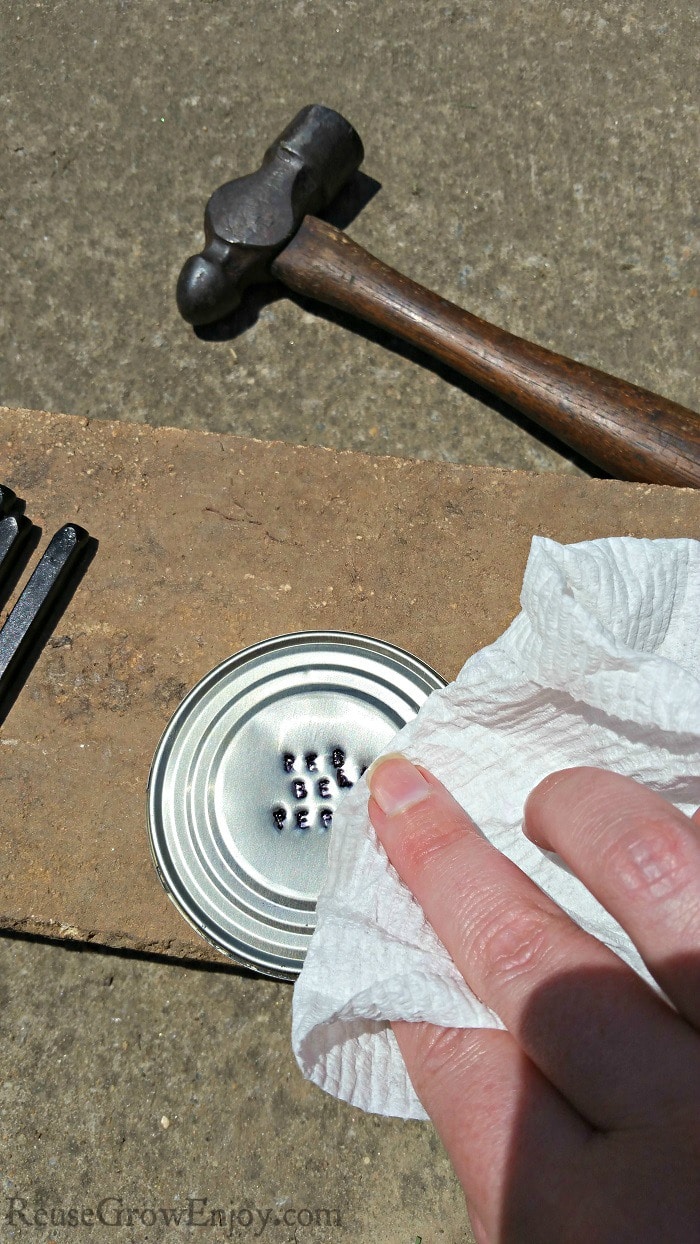
After you have all the letters colored in, dip your paper towel in alcohol. Then wipe off the extra marker with the wet end of the paper towel.
Make sure you only wipe it off and not and not dig into the letters as you want the marker to stay in the letter impression.
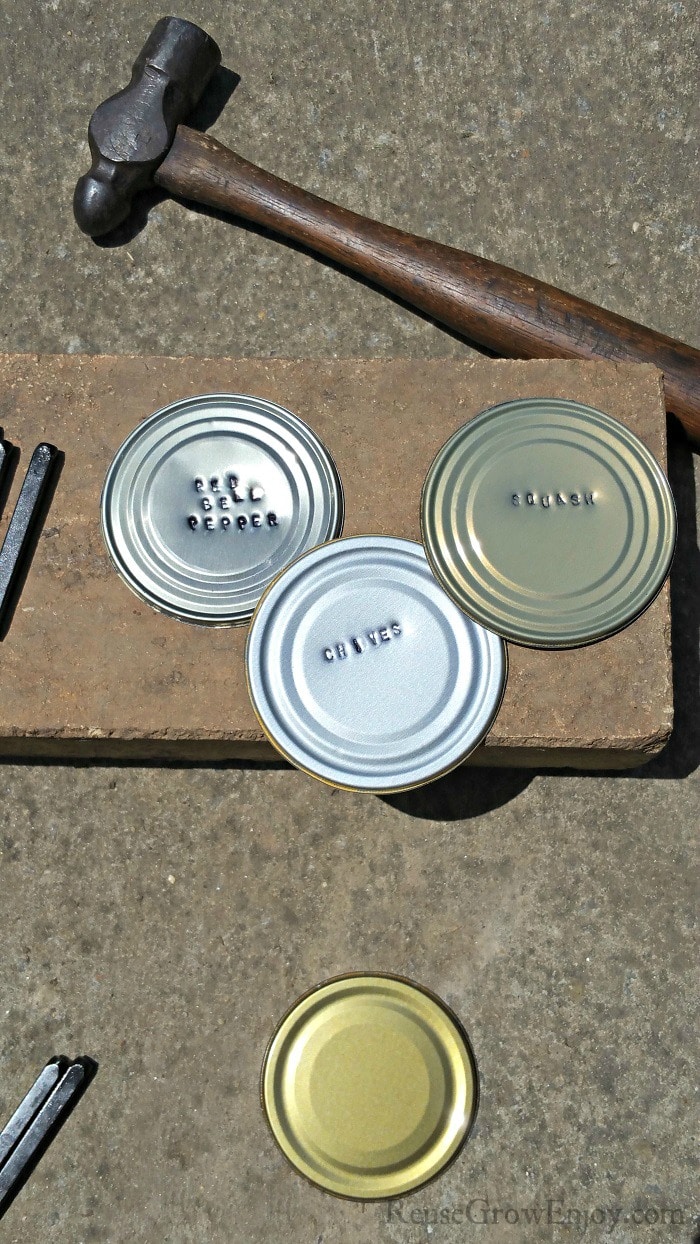
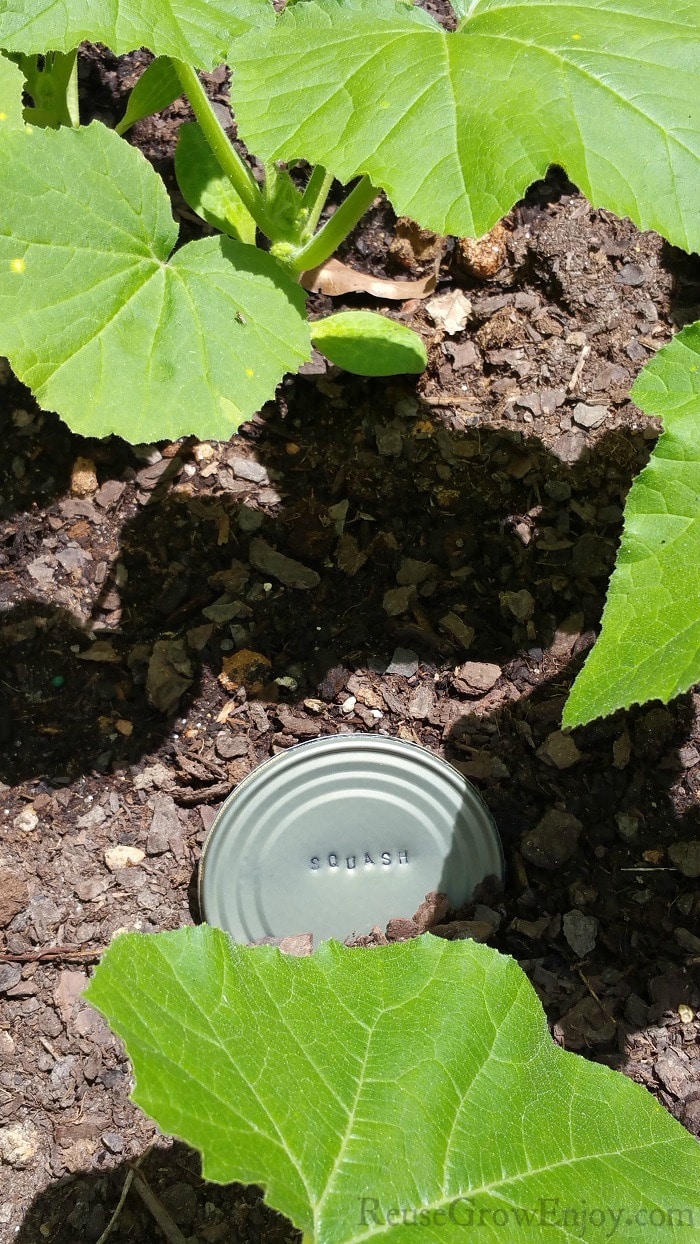
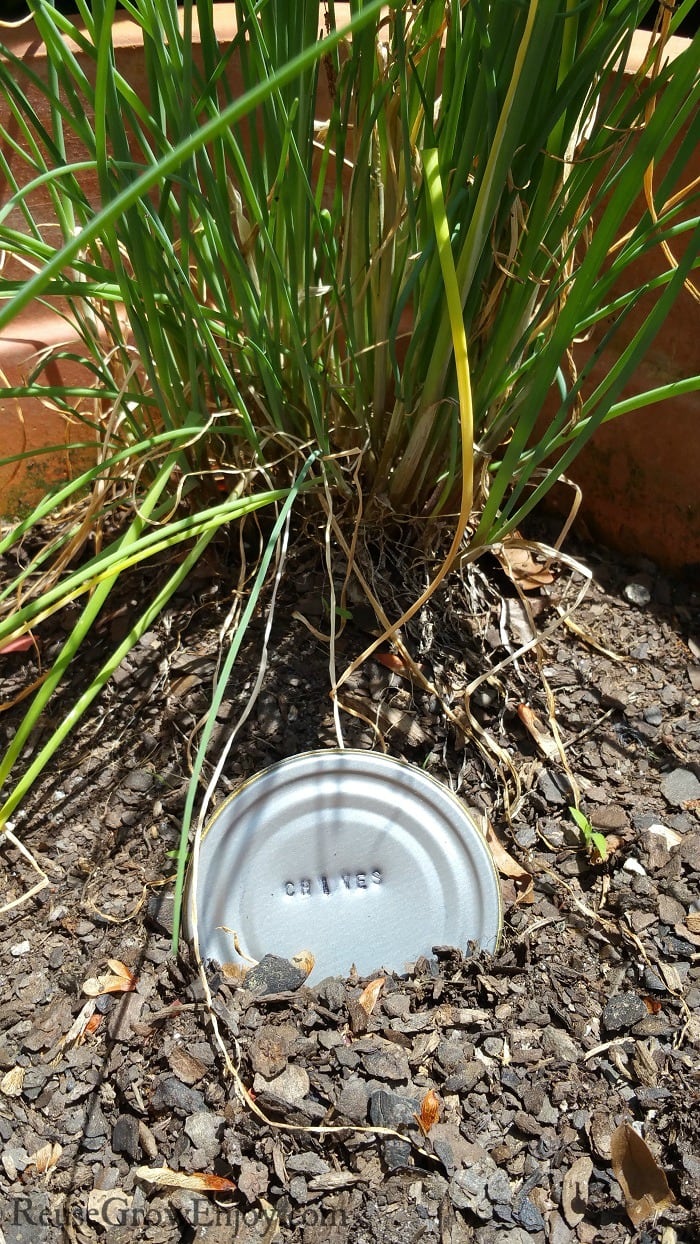
Displaying The Garden Markers:
There are a few options you can do to display your markers. You can do like I have done in the pictures and simply place the lid in the dirt next to the plant.
If you want it to stand out a little more or above the ground, try using a fork. You can push the handle of the fork into the ground. Then slide the top through the tines of the fork.
You may need to expand the tines a little using a pair of pliers so you can get the top in.