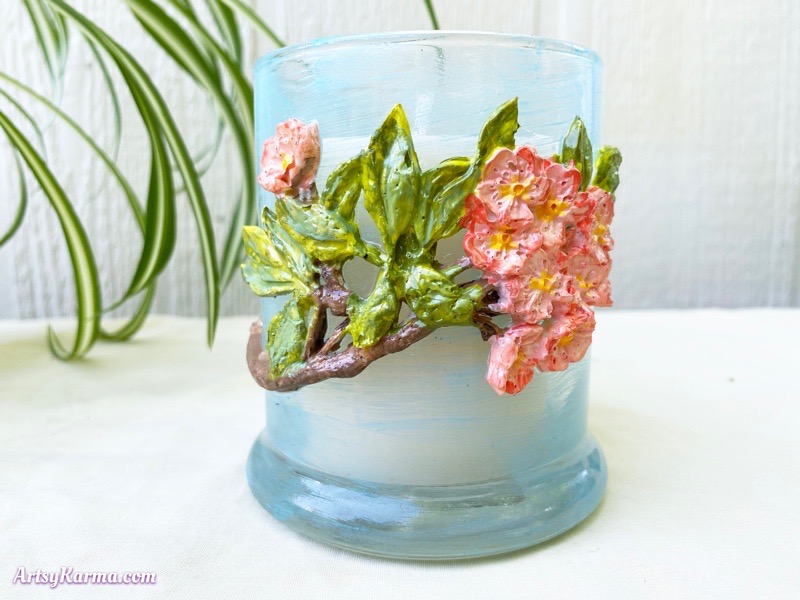
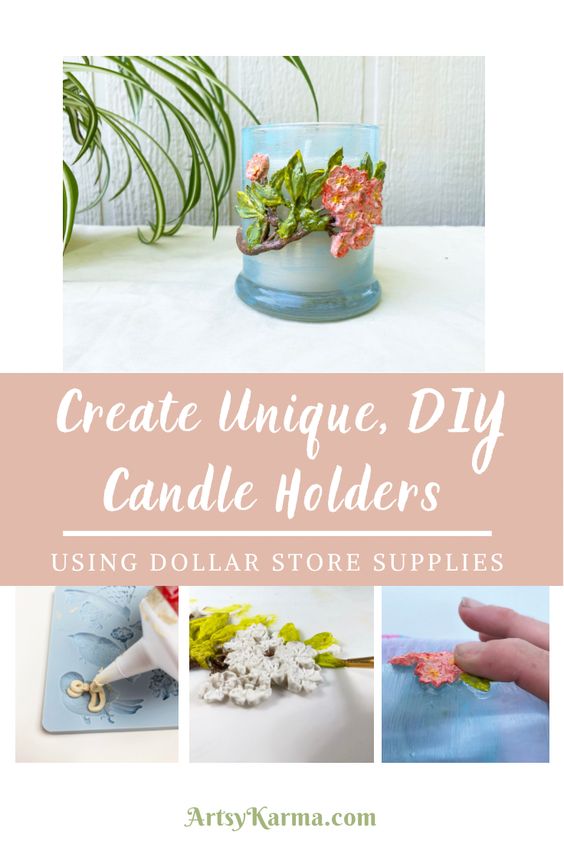
DIY Candle Holder Using Molds
Are you tired of the same old candle holders you find in stores? Why not unleash your creativity and make your own unique candle holder using molds? This exciting DIY project allows you to personalize your candle holder to match your style and taste. You can experiment with different molds, colors, and decorations to create a collection of unique candle holders that will add a touch of elegance and charm to any room in your home. This exciting DIY endeavor allows you to unleash your creativity and design a candle holder that perfectly reflects your personal style and preferences.
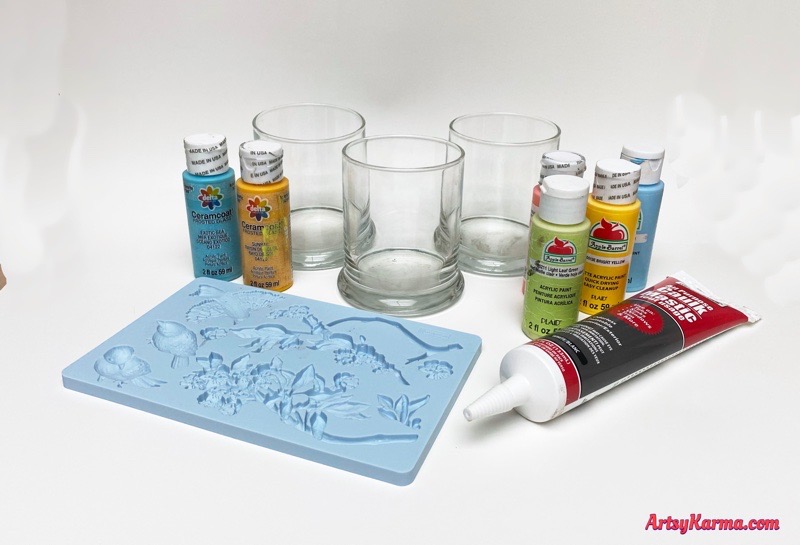
Supplies:
- glass candle holders (or tumblers)
- frost glass paint
- silicone mould
- plumbers mastic (or caulk)
- acrylic craft paint
- epoxy glue
- acrylic sealer
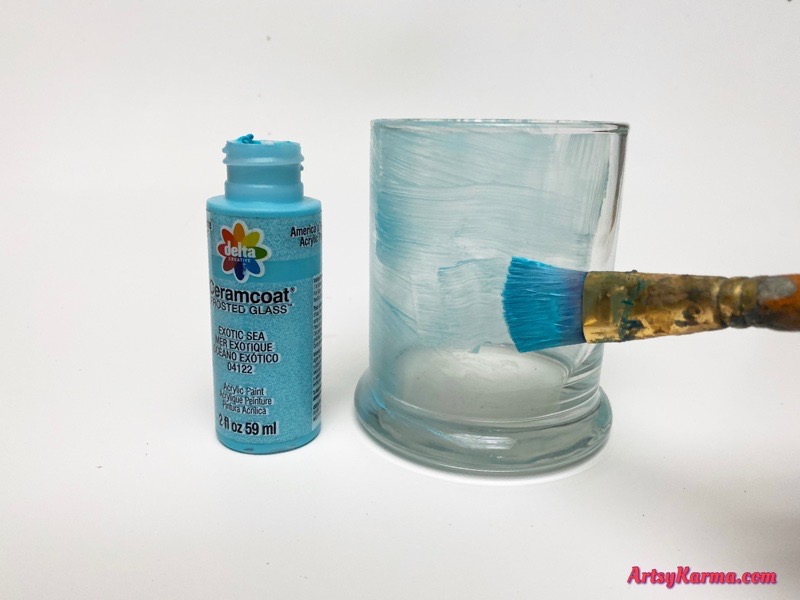
Step 1
Paint a coat of frost glass paint over the entire outside of the glass tumbler and let dry.
It’s up to you if you want more coats. I ended up only doing one.
Step 2
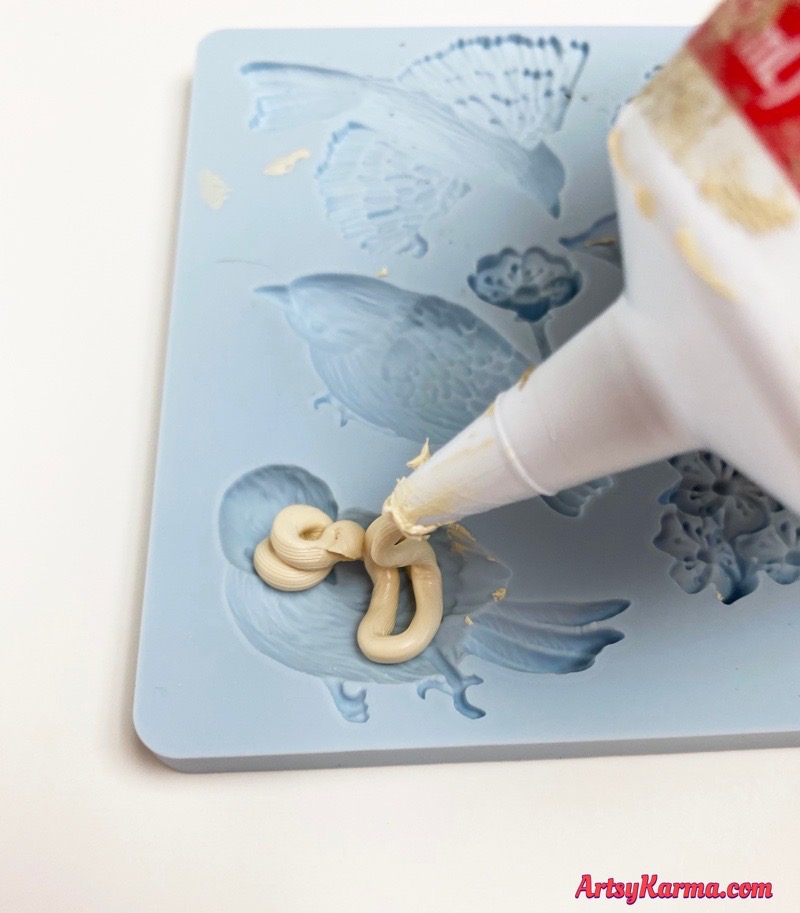
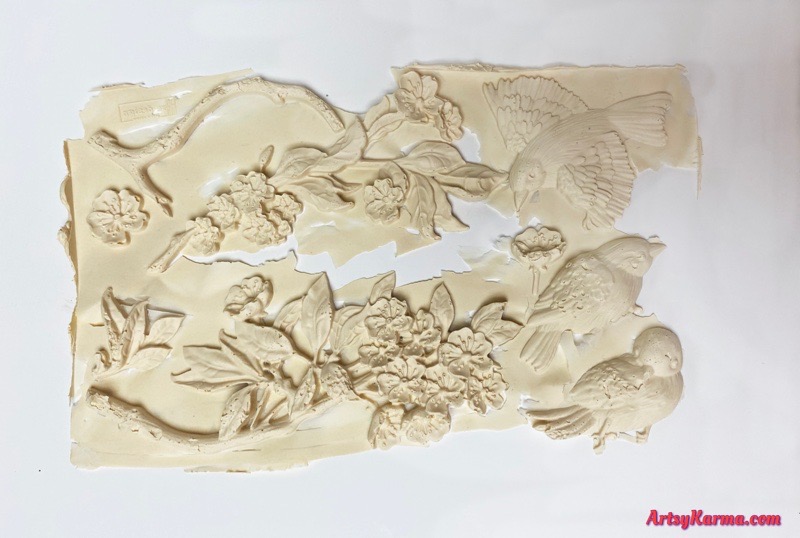
Take your tube of mastic and squeeze some into the mould. You can be liberal with the mastic. It’s totally ok if it goes over the top of the mould.
You might be able to find a silicone mold somewhere for cheap, in the disguise of an ice cube tray. Always be on the lookout for turning something into a crafting purpose
Step 3
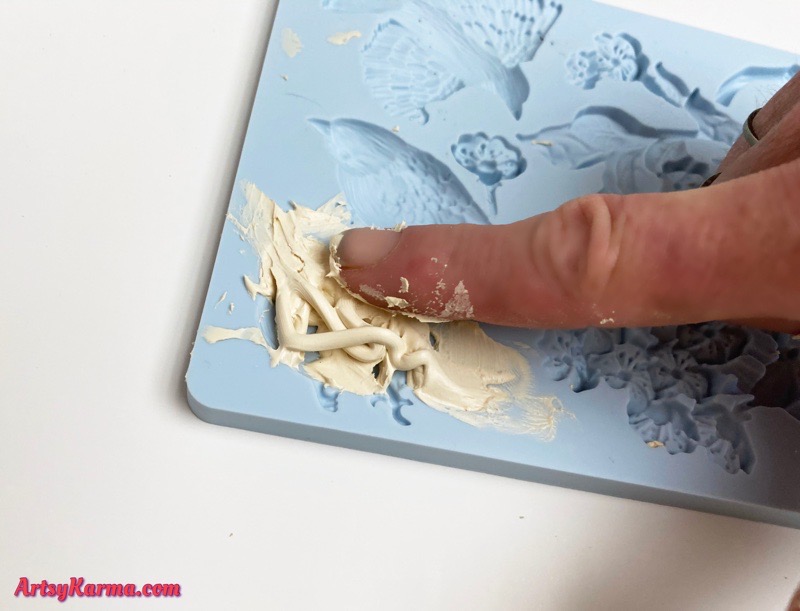
Using your finger, gently go over the entire filled mould in a circle. What you’re doing is finding any air pockets in the mastic. When you see one surface, just push more mastic in the area.
Inevitably, you won’t be able to get all the small air pockets out and some will probably show when you take it out, so don’t be disappointed. I think it gives the shape or sort of antiqued look.
Step 4
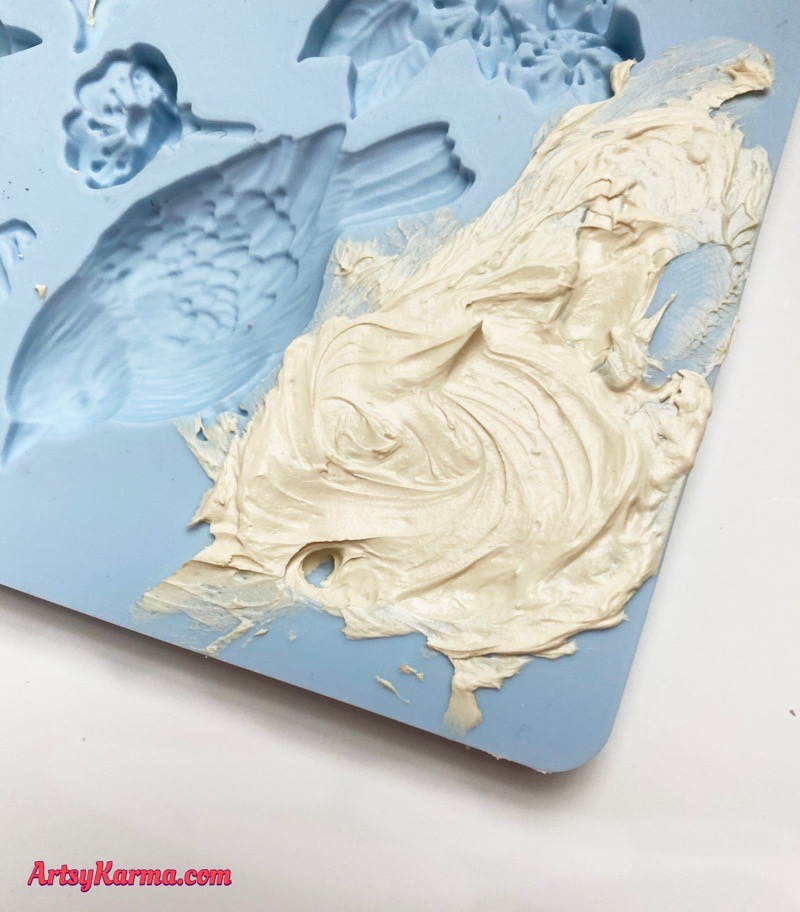
Use a palette or butter knife to even the mastic on the mould. It’s still ok if some goes over and you get a layer on the top of the mould.

I decided to fill all the shapes on my mould..

Ok. So the downside to using mastic is it takes a while to dry. I left mine in the sun, but it still took a couple of days to fully dry. However, the drying time also depends on how thick your mould form is.
You can tell when it’s close to being dry by pressing on the shape. If it’s kinda squishy still, it’s not dry.
Step 5
When the mastic is finally dry, gently pull on the mastic if it’s over the edge. If not, you can bend the silicone mould to get it out.
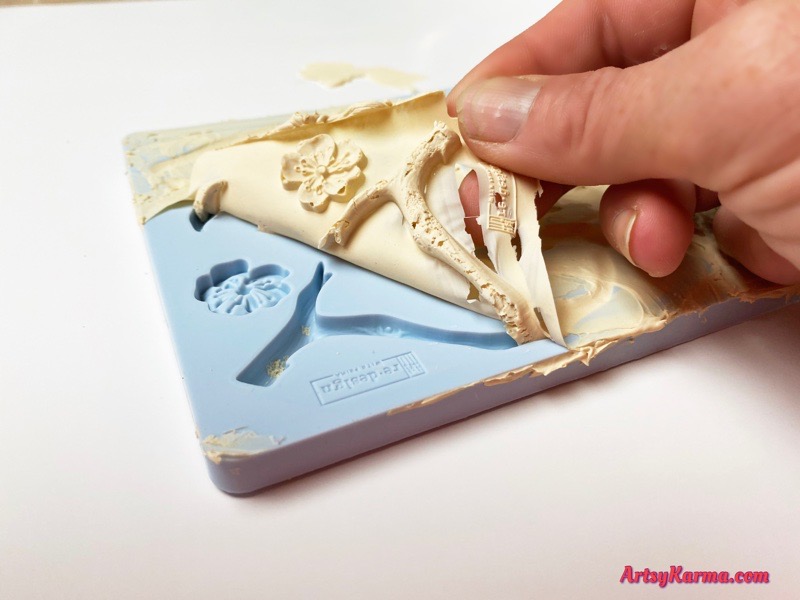
I got mine out all connected together:
Step 6
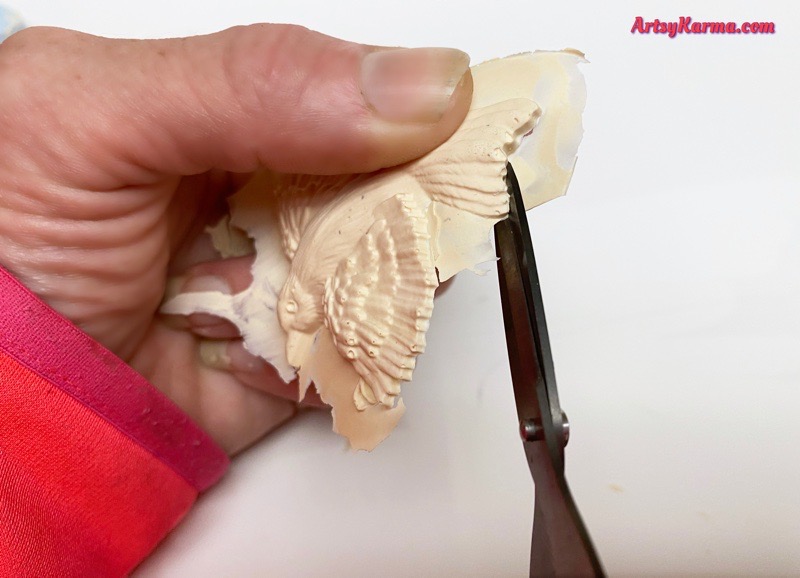
Carefully cut the extra mastic around the edges using small scissors, like scrapbooking scissors.
Step 7
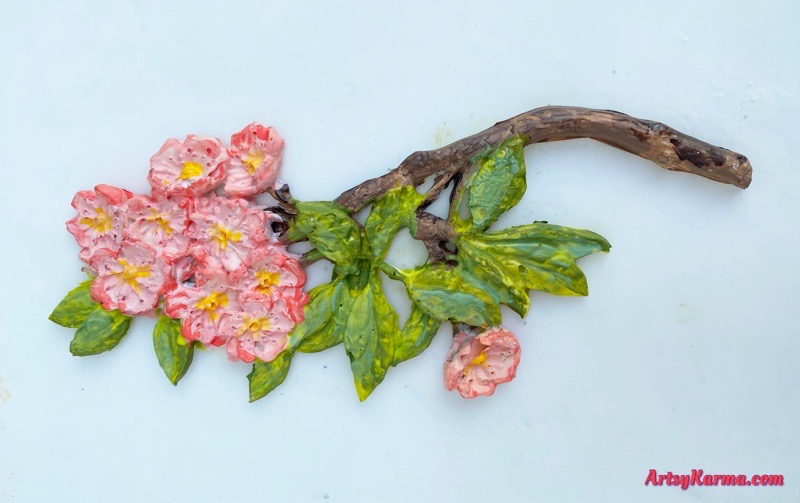
Use acrylic craft paint to paint your mastic shape or shapes.
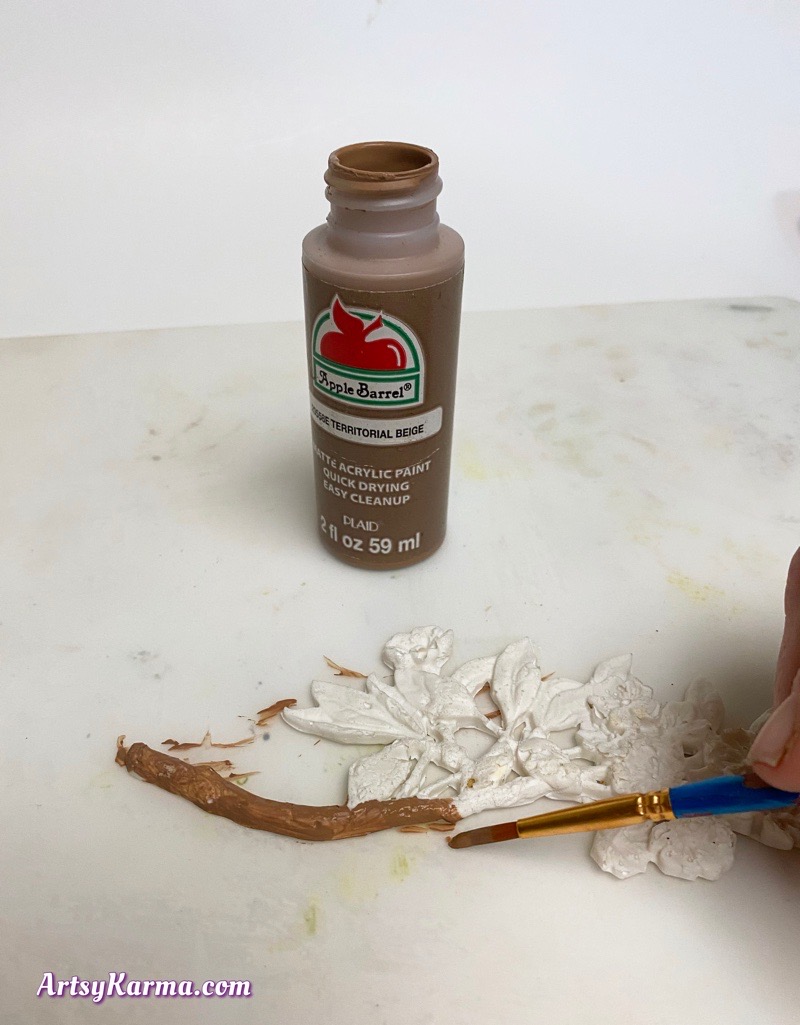
Make sure you paint all the sides and nooks and crannies.
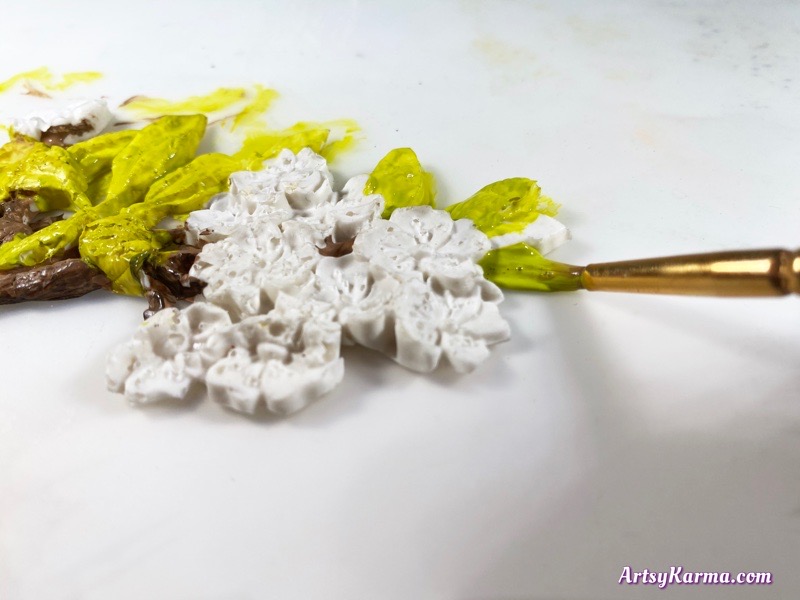
I used multiple shades of colors to look a little more realistic and artistic.
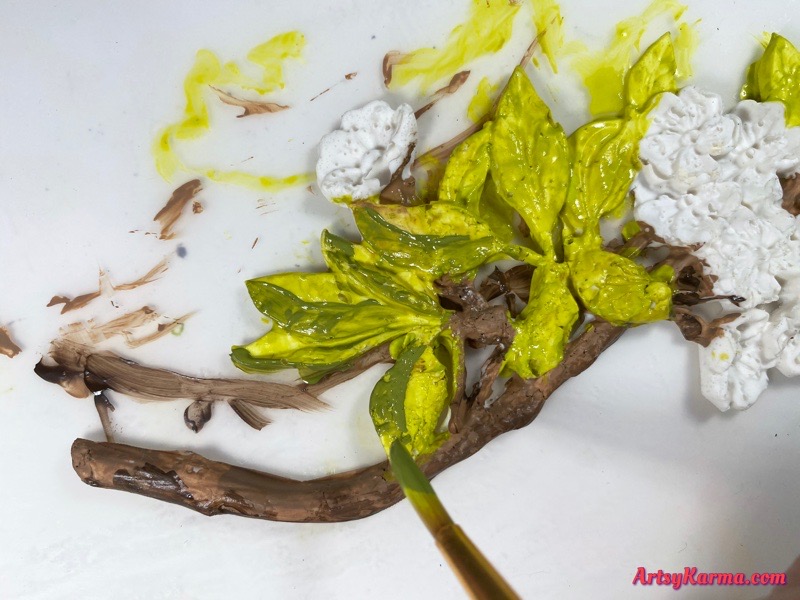
My finished paint job:
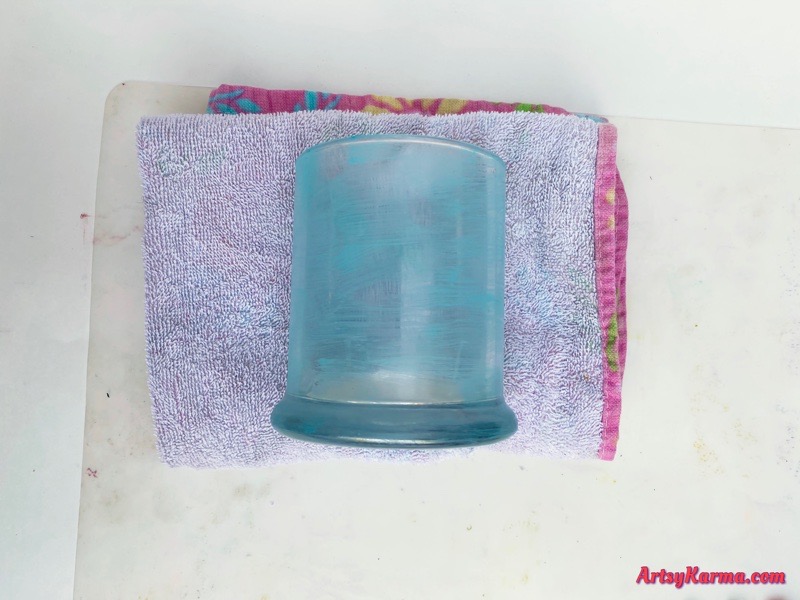
Step 8
Place your glass tumbler on a dish towel or something, so it won't roll around.
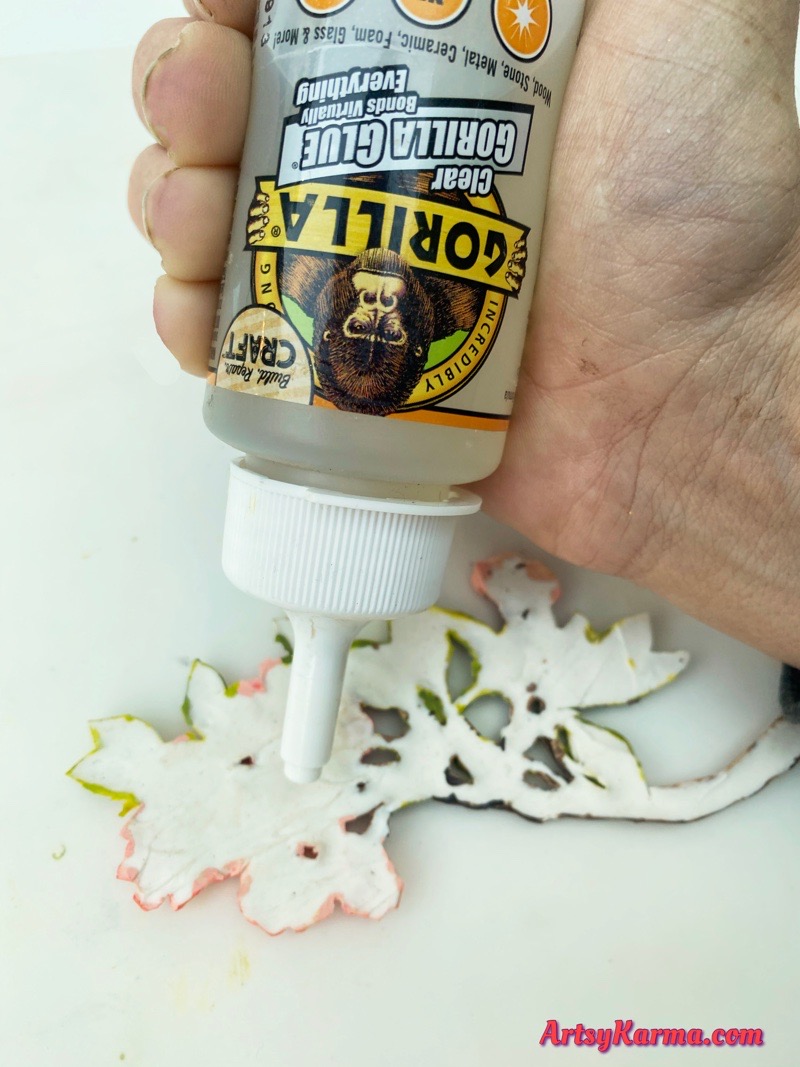
Step 9
Flip your mastic form on its back and cover the whole thing with epoxy glue or any other glue that works on glass. Check out what crafting glues to use for different projects here.
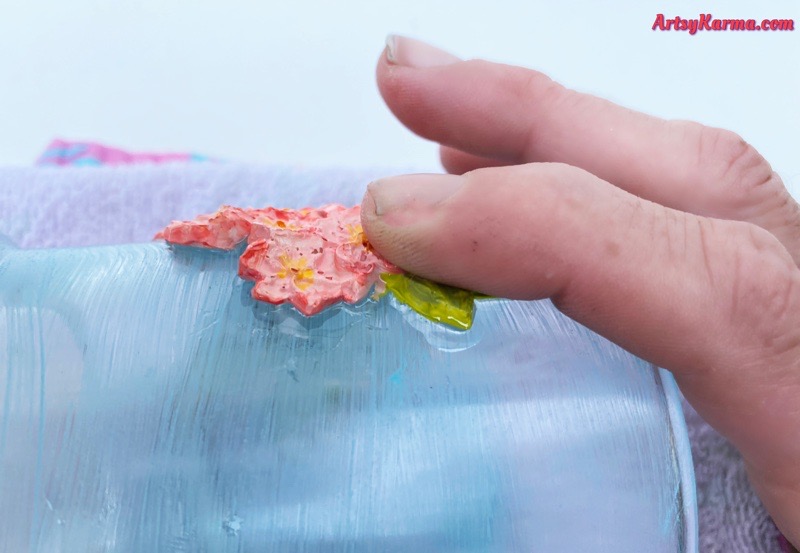
Step 10
Place the mastic shape on to your candle holder in the position you want.
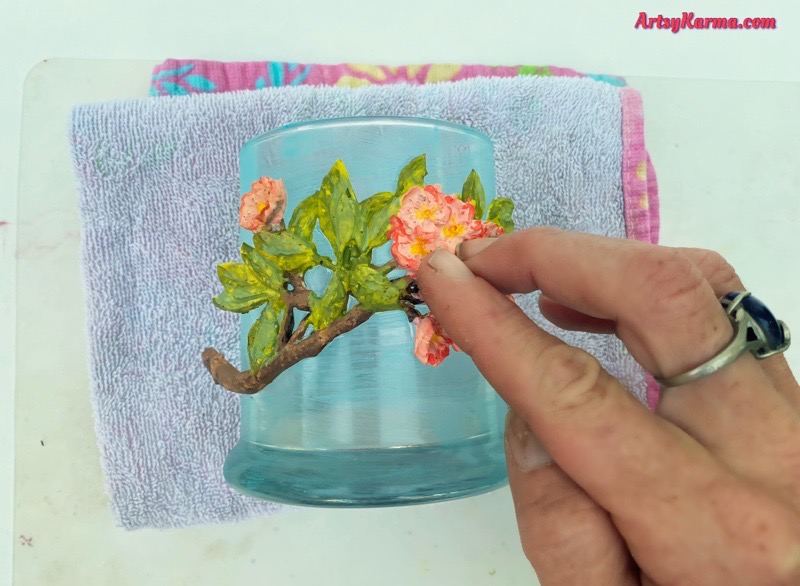
Make sure all the back side of the mastic is pressed down. You'll probably need to keep your fingers holding it down for 10 seconds in some parts, depending on the mould you used.
Step 11
Once your shape is good and stuck on the glass, spray the whole thing, including the painted glass, with an acrylic sealer.
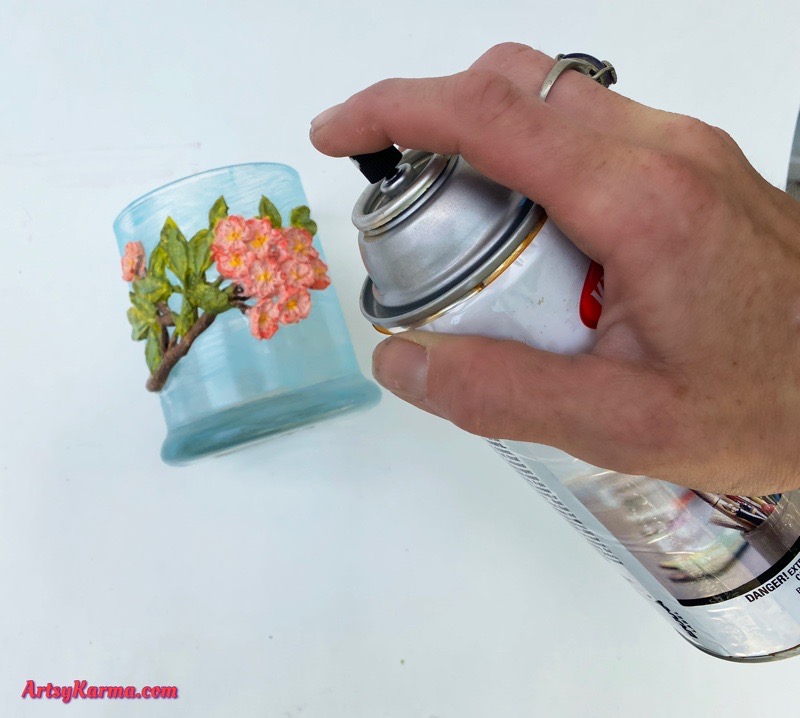
Once that quickly dries, you'll be able to wrap it in pretty paper and give it to your mom for mothers day