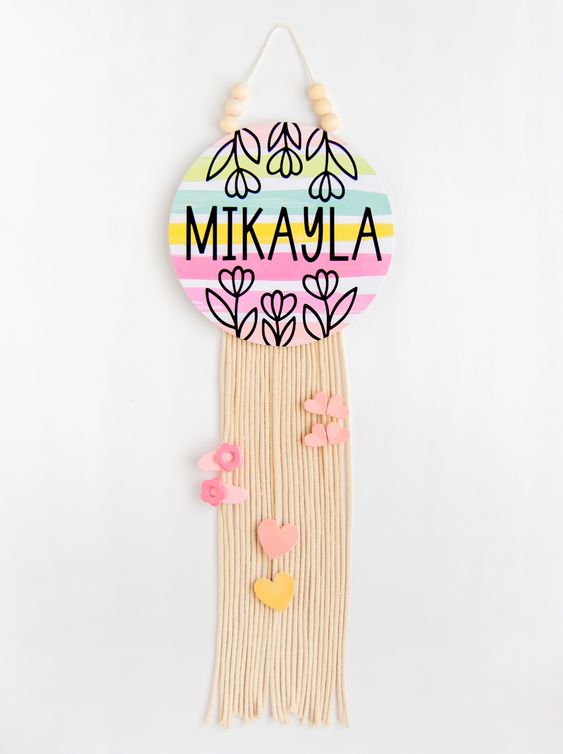
DIY Bow Holder
Looking to add a touch of creativity to your home decor? Why not try making your very own DIY bow holder? This fun and easy project will not only help you organize your bows but also add a charming and personalized touch to any room. This simple yet creative project allows you to customize your bow holder to match your personal style and add a touch of charm to any space. You can also get creative by adding decorative knobs or small wooden shapes to make your bow holder truly unique. This will not only make your bow holder visually appealing but also provide a practical way to store additional bows or accessories.
Skills Required: Advanced Beginner.
Materials
- Round wood plaque
- Scrapbook paper
- Mod Podge Gloss
- Vinyl
- Transfer tape
- Macrame cotton cord
- Thin cotton cord
- Popsicle sticks - 2
- Wood beads
- Floral design
Tools
- Electronic die-cutting machine
- Scissors
- Hot glue gun
- Paintbrush
- Squeegee tool
Instructions
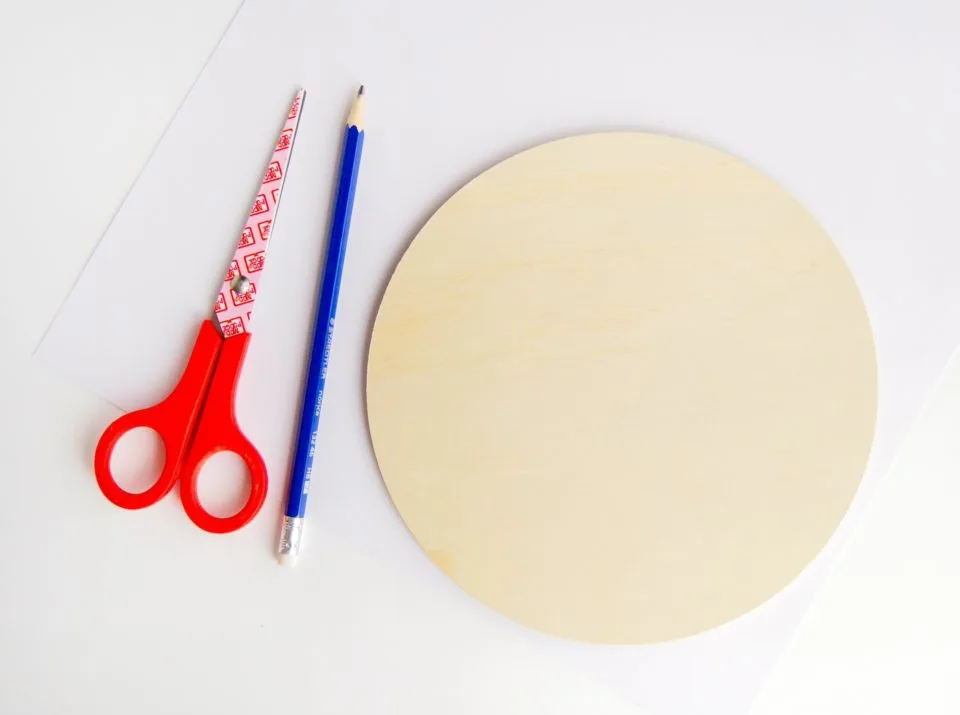
- Trace the circle (or whatever shape of plaque you have) onto the back of your scrapbook paper of choice and cut to size with the scissors.
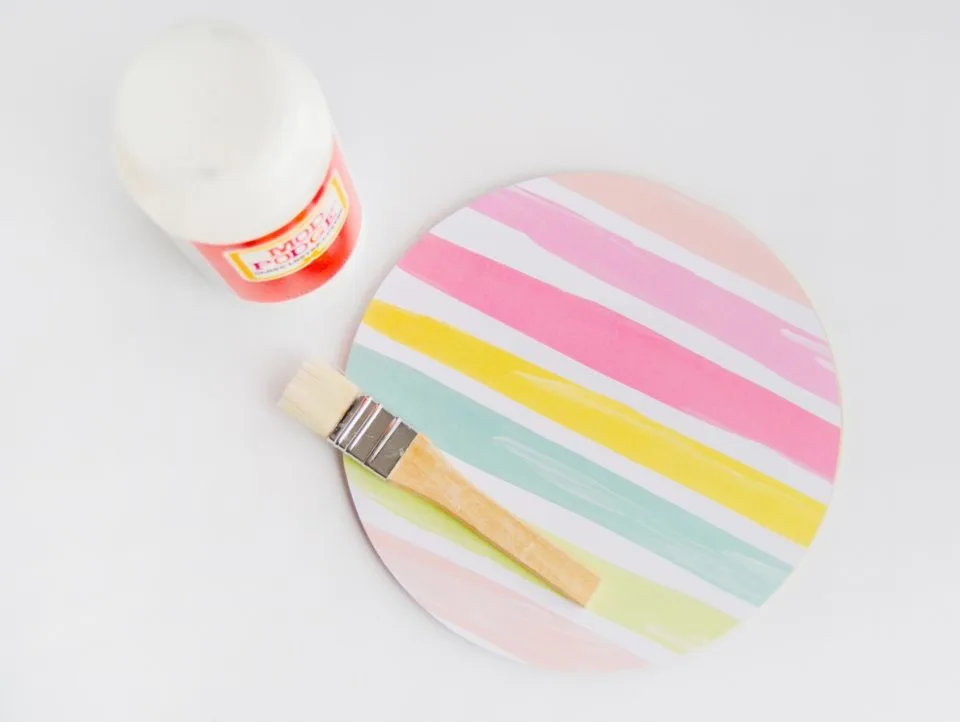
Apply a thin but even amount of Mod Podge onto the surface of your plaque and adhere your scrapbook paper. Use a squeegee tool to push excess Mod Podge to the sides of the plaque and ensure an even, smooth surface. Let it dry for 15 - 20 minutes.
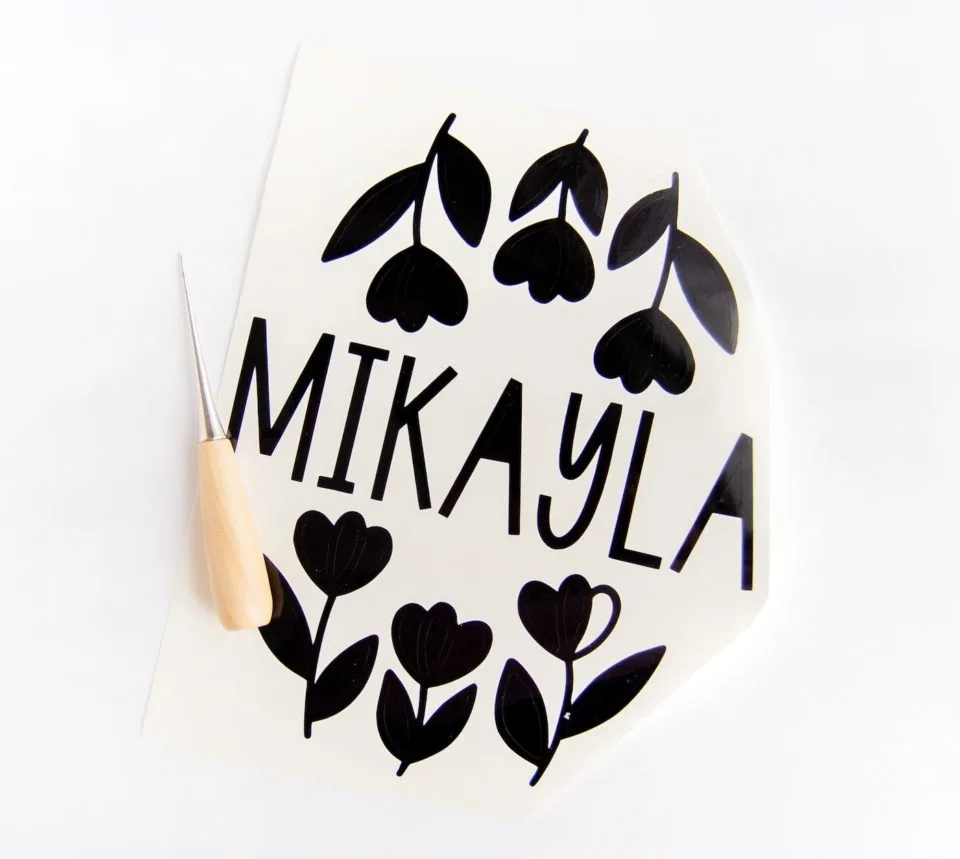
Size the floral design and your chosen name depending on how big your plaque is on your cutting software, and cut. Weed (remove) the excess vinyl and the insides of the letters and floral design.
Use transfer tape to apply your vinyl design onto the plaque, making sure it’s adhered before carefully peeling the transfer tape off. Cut any excess vinyl that goes over the edge of your plaque.
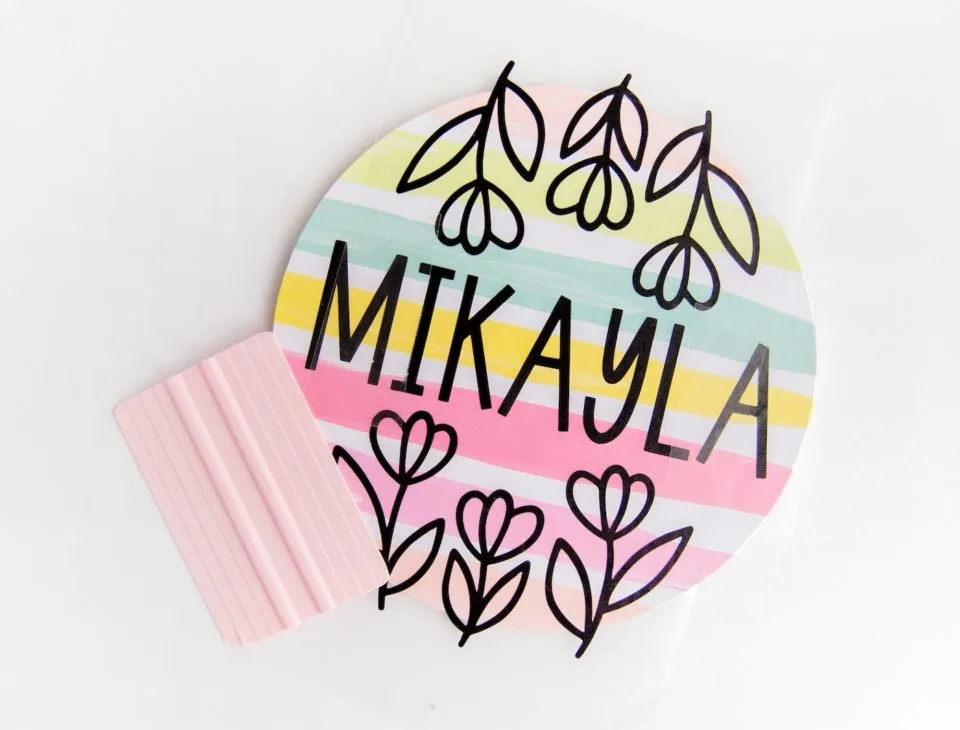
Apply a thin coat of Mod Podge over the vinyl-ed plaque to protect the paper and vinyl from getting stained, scraped, or damaged. Let dry.

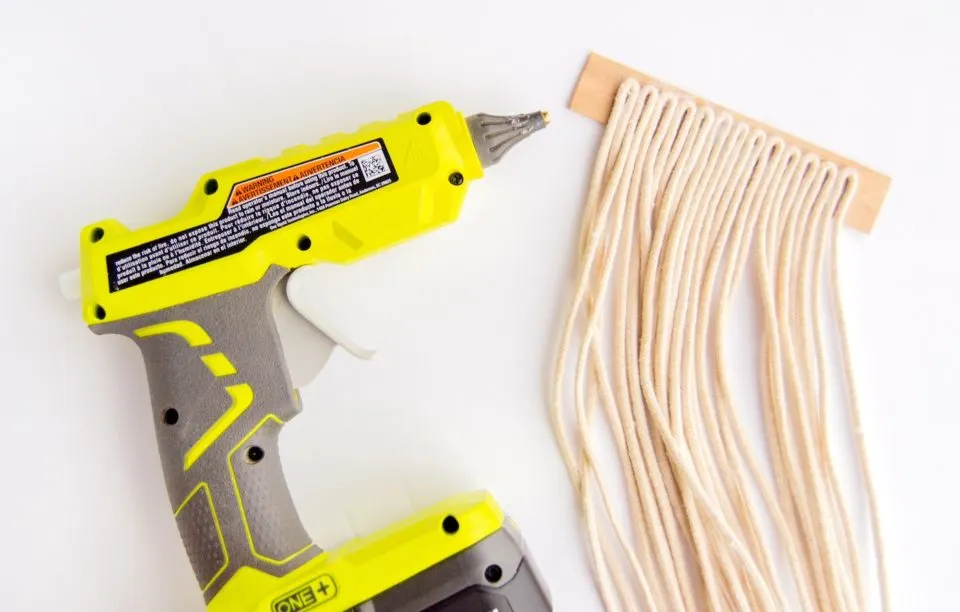
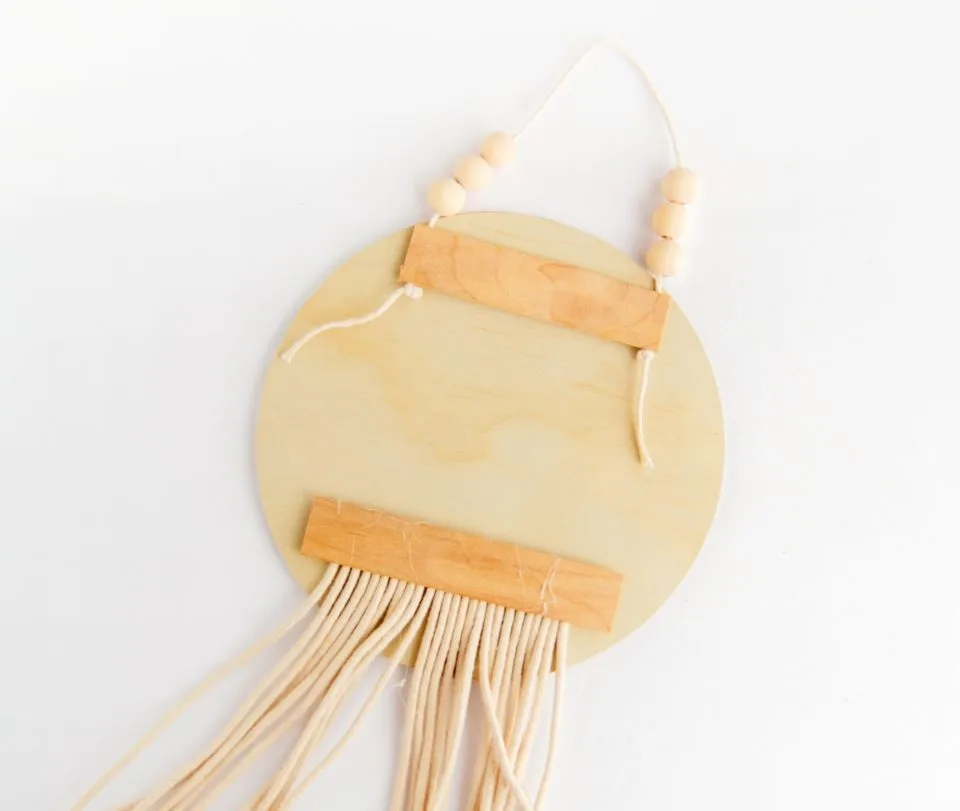
Cut 24” long strands of macrame cord (or shorter if you want a shorter holder). I cut 13 lengths. Fold them in half and use hot glue to adhere all of them onto a piece of a wide popsicle stick. You may want to cut the ends of the popsicle stick if there is any excess, or if it hangs over the edges of your plaque.
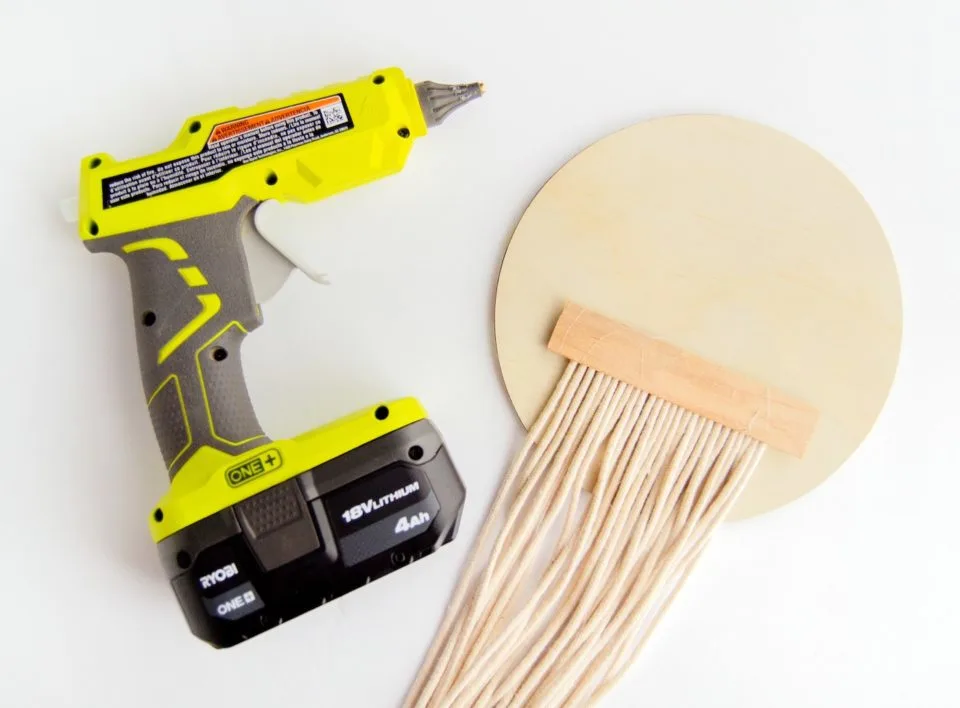
Use hot glue to attach the bottom hanger onto the back of the plaque, making sure it’s centered and straight when you look at it from the front side of the plaque.
Cut a length of thin cotton cord and tie a knot on each end. You can also choose to add beads for a more boho-modern look, but you can skip this if desired. Use hot glue and attach each end onto one side of a popsicle stick.
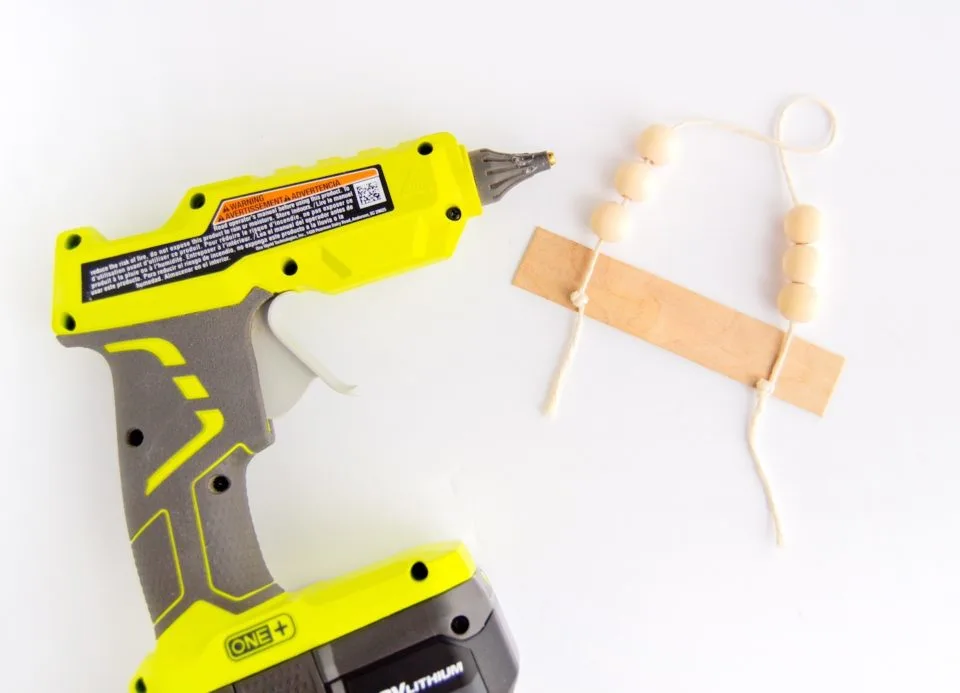
Use hot glue to attach the hanger onto the back of the plaque, making sure it’s centered and straight like step 7. Let the hot glue cool completely before hanging.
Notes
No cutting machine? No problem - you can use vinyl letters and stickers from the craft store to add to your hanger.