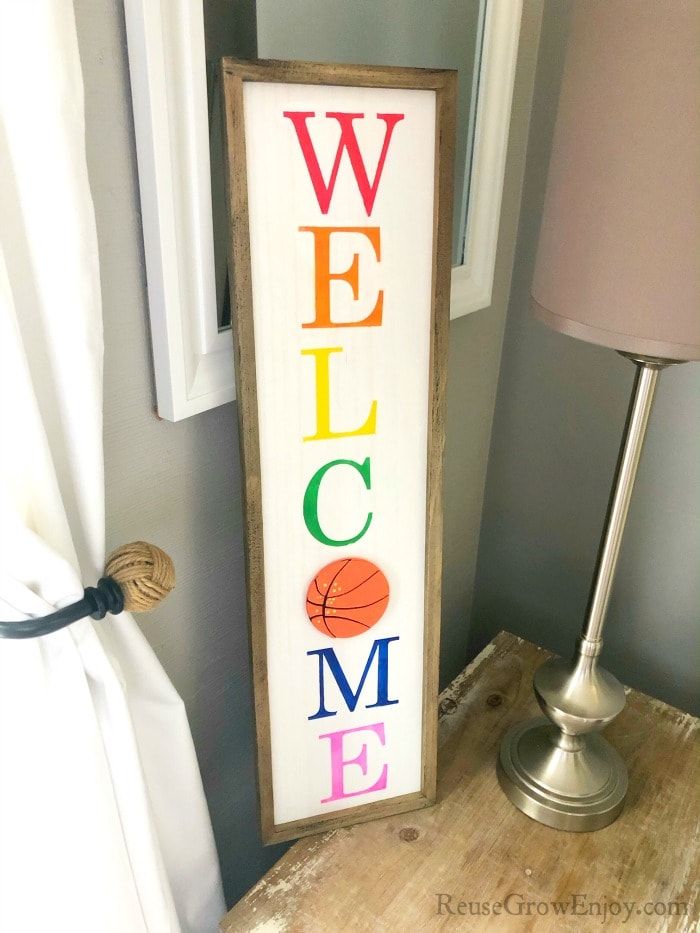
DIY Welcome Sign With Changeable Decor
Get ready to unleash your creativity and make a one-of-a-kind welcome sign that will impress your guests! Start by selecting a wooden board or plaque that suits your style and desired size. You can find these at your local craft store or repurpose an old piece of wood for a rustic touch. Next, gather your favorite paint colors, brushes, and stencils to add a personal touch to your sign. Whether you prefer a classic design or something more whimsical, the possibilities are endless. Don't forget to leave space for interchangeable decorations! These interchangeable pieces can be easily swapped out to reflect the current holiday or theme. Your guests will be amazed at your creativity and attention to detail as they are greeted by a fresh and inviting welcome sign every time they visit. So, let your imagination run wild and create a DIY welcome sign that will leave a lasting impression!
Supplies Needed:
- Cutting Mat
- Foam Paint Brushes (one for each color or wash the brush between colors)
- White Washed Wood Sign with Frame or Piece of Reclaimed Wood (ours was about 7.87 x 0.98 x 29.92 inches)
- Stencil Vinyl
- Clear Spray Paint
- Wooden Painted Shapes
- Stick on Velcro Squares
- Craft Paint (Use the color of choice, we used Red, orange, yellow, green, blue and pink)
- Tape measure
- Pencil
- Vinyl Cutter (Cricut, Silhouette, etc)
Directions:
First, start by measuring the length of your board and divide it by 7. 28.92” divided by 7 = 4.27” so I know that each of my letters has to fit in a 4.27” x the width of the board 7.87”. To make the word welcome and have it all fit. The sizing may be different if you chose to do a different word.
Now lay a piece of 12×12” vinyl onto your cutting mat.
Using your vinyl cutter, cut out the letters in the size we just figure out above to make the word Welcome. Cutt all letters except for the o. We will be replacing the O with the wooden interchangeable piece.
Repeat those steps until all the letters are cut out.
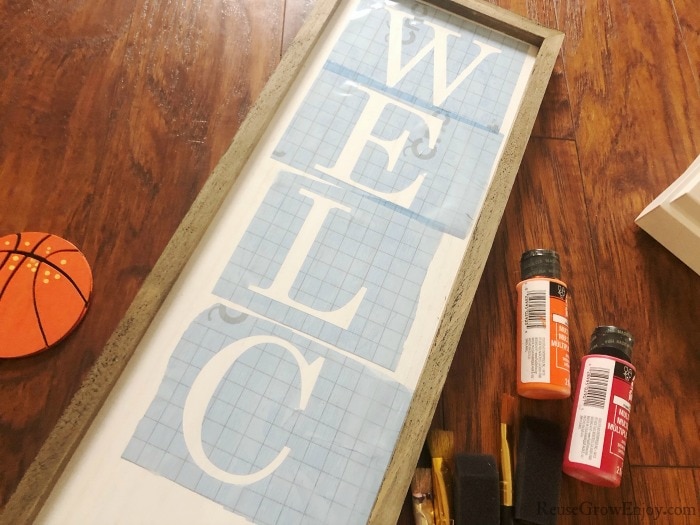
Next, peel the actual vinyl letter off. Then carefully cut around the letters away from the mat and stick them onto the board vertically.
Be sure that all the letters are pressed down tight around the edges. As this will be our stencil for painting.
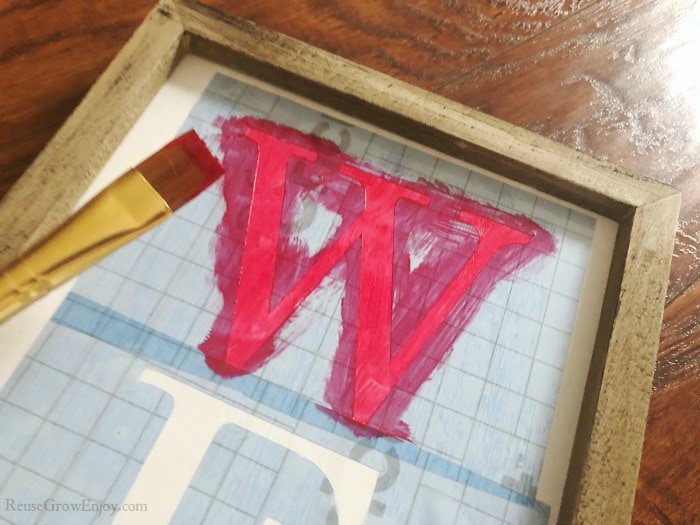
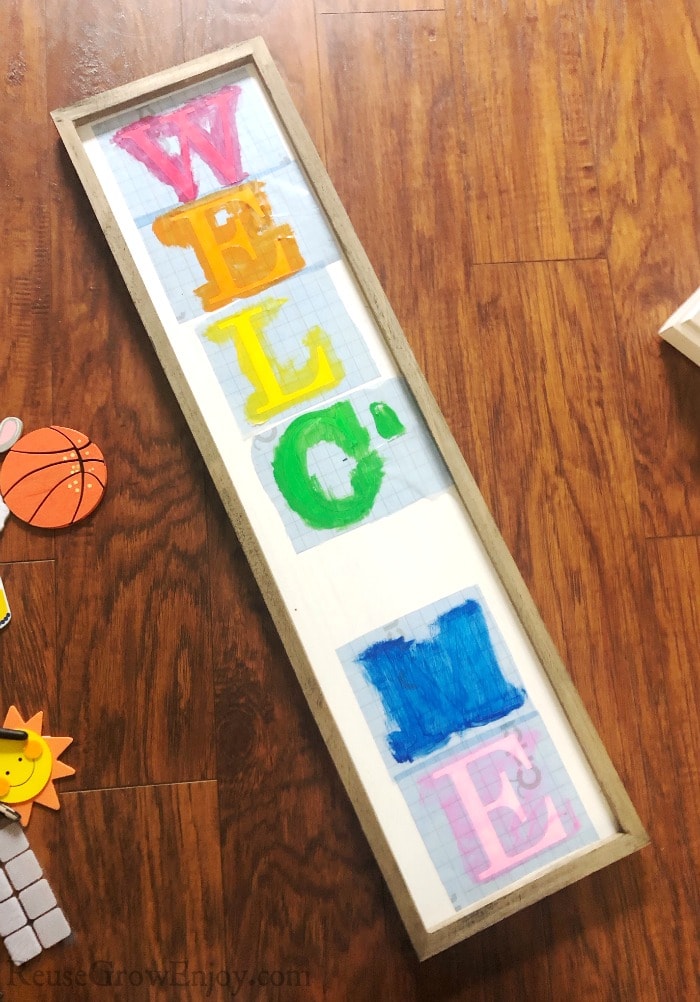
Use a paint brush to paint the letters. We started with red, then orange, yellow, green, blue and pink however you could do all one color if you wanted. Let dry and then peel off the vinyl.
Give the board a good spray of clear coat spray paint to protect against the weather.
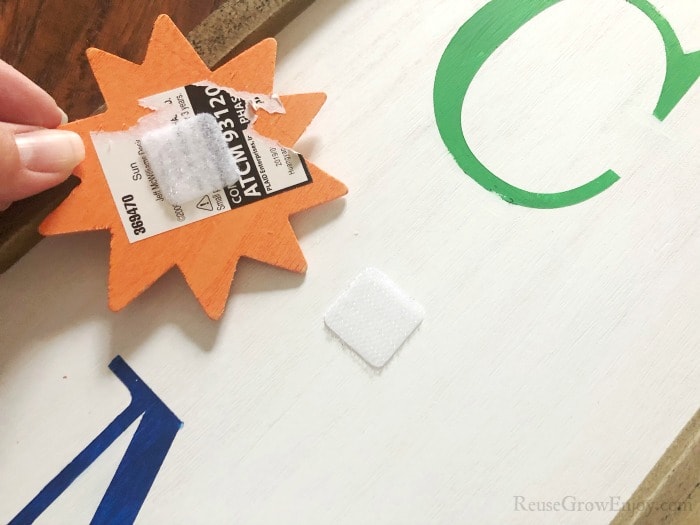
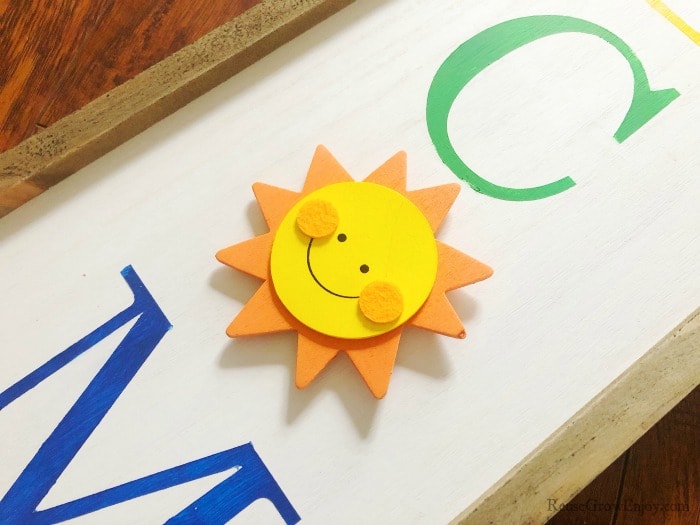
The last step is to stick a piece of velcro onto the backs of the wooden shapes. Then place a piece on the board where the O would be. This will make it interchange for different seasons and occasions.
Now simply hang it or lean it on something on the porch or even in the house and you are all set.