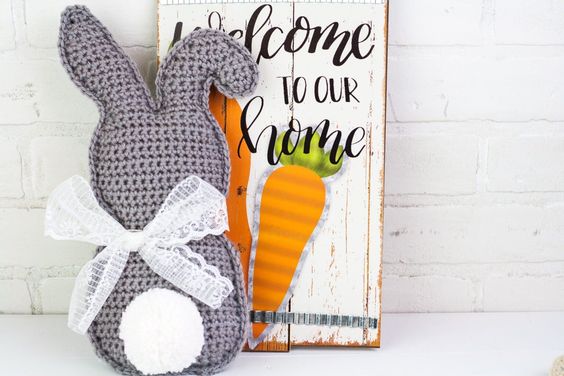
Crochet Easter Bunny Decor
Create a charming and whimsical Easter atmosphere with this delightful Crochet Easter Bunny Decor. Handcrafted with love and attention to detail, these adorable bunnies will add a touch of sweetness to your home during the festive season. Made from soft and cozy yarn, these bunnies are perfect for cuddling or displaying as part of your Easter decorations. With their floppy ears, fluffy tails, and cute button eyes, these bunnies are sure to capture the hearts of both children and adults alike. Whether you place them on your mantelpiece, hang them from a doorknob, or use them as table centerpieces, these bunnies will bring a sense of joy and playfulness to any space.
Materials Needed
- 2.5 oz or 130 yds Red Heart Super Saver, Dusty Grey
- 0.5 oz or 26 yds Red Heart Super Saver, White
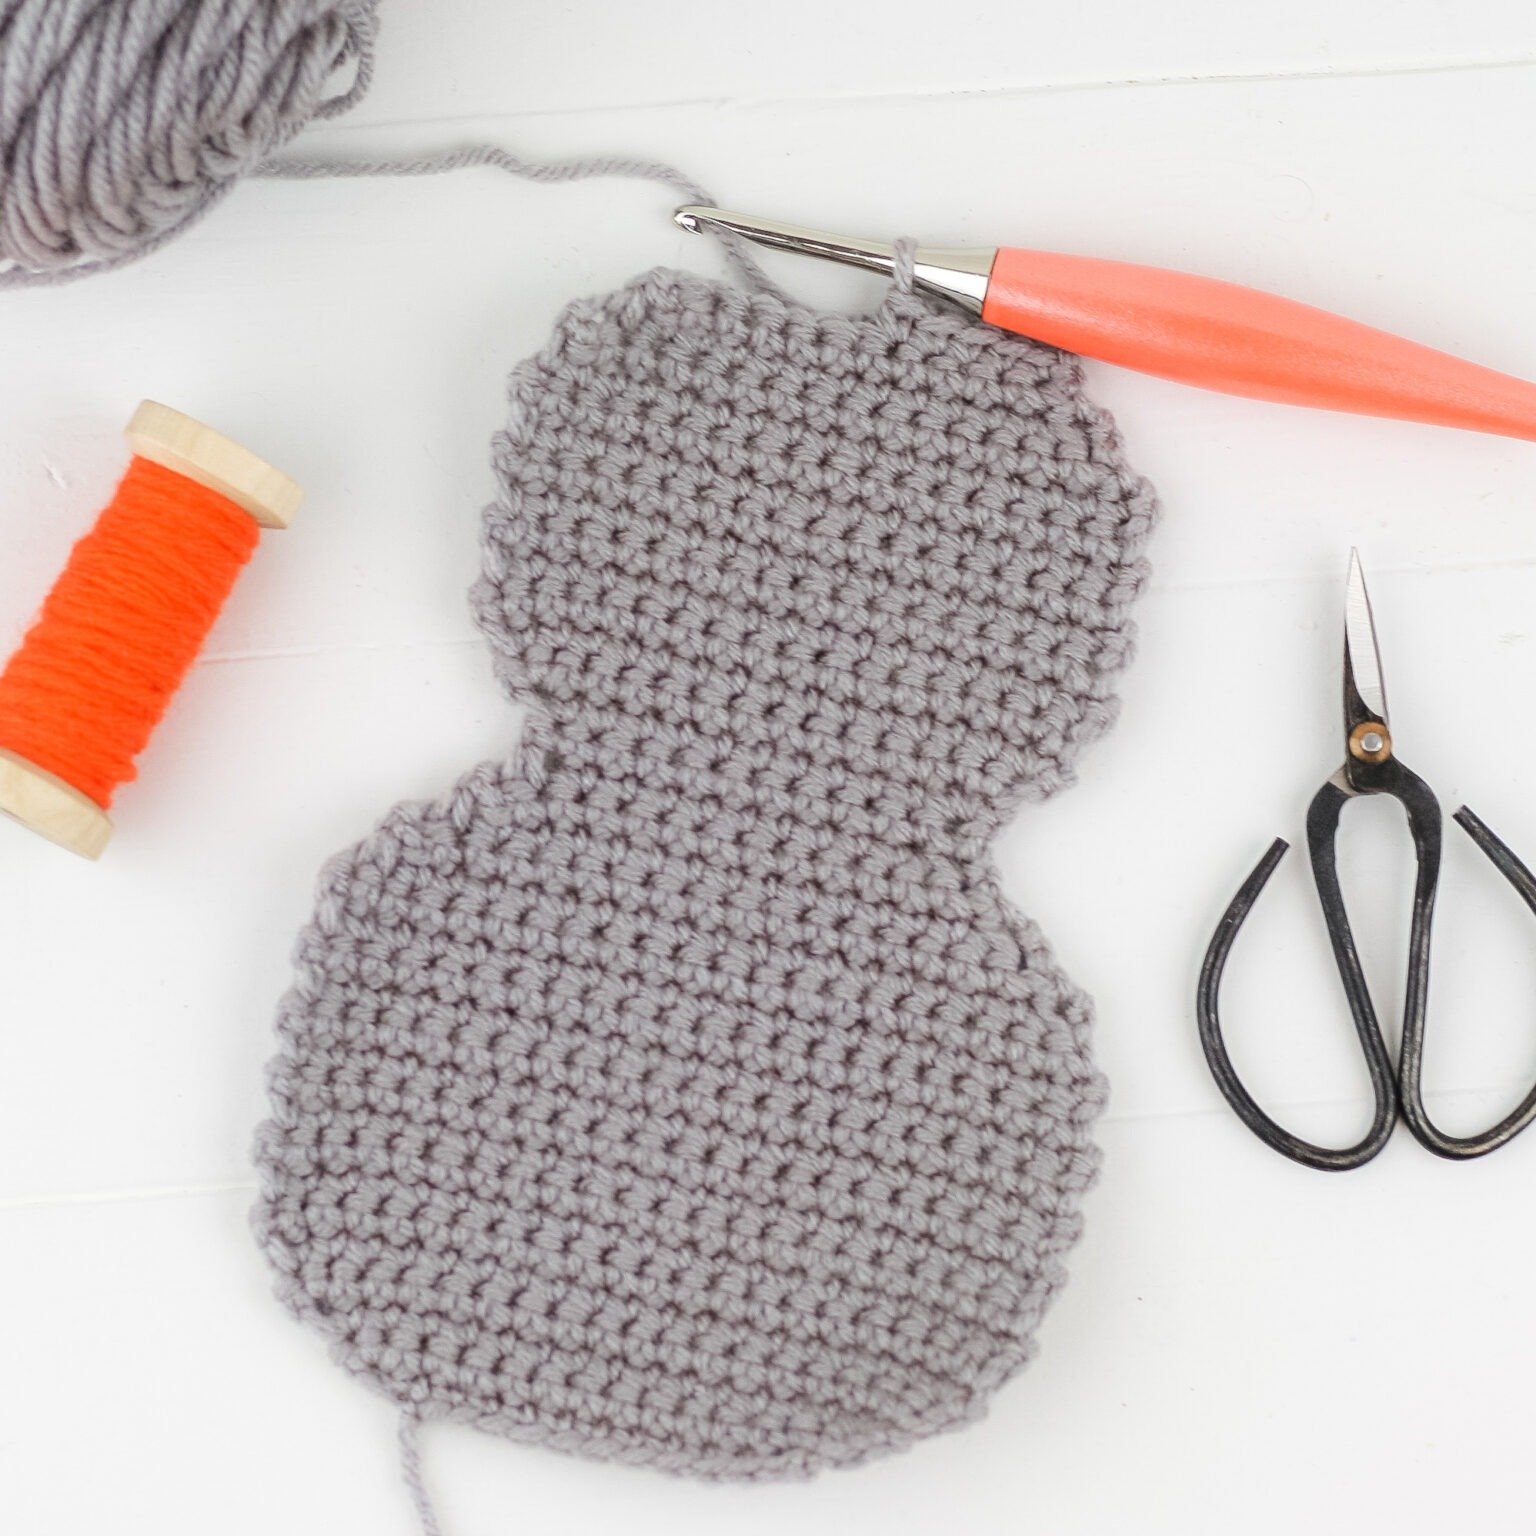
- Crochet Hook Size J, 6mm
- Yarn Needle
- Scissors
- Polyfil
- Ribbon or lace (optional)
- Pom Pom Maker (optional)
- Row Counter (optional)
Stitches and Abbreviations
CH – Chain
SC – Single Crochet
SC2TOG – Single Crochet 2 Stitches Together
ST(s) – Stitch(es)
SLST – Slip stitch
Gauge and Size
Gauge – 7 Single Crochet X 8 Rows = 2 inches
Final Size – 5.5 inches wide X 12.5 inches tall
Special Stitches
SC2TOG – Single Crochet 2 Stitches Together – Insert your hook into the next stitch, yarn over, pull the loop through the hook (2 loops on hook), insert hook into the next stitch, yarn over, pull the loop through the hook, (3 loops on the hook) yarn over and pull the first loop through all the loops on the hook. Your decrease is complete.
Crochet Easter Bunny Pattern
Notes:
Written in US terms.
I recommend using a row counter to keep track of your rows.
All increases and decreases are done in the first or last stitch of the row.
The fold of the bunny ear is worked separately then joined when working the rest of the folded ear.
CH12 (Make 2)
Row 1: Work 2 SC into 2nd CH from hook, SC in the next 9 CH. Work 2 SC in last CH. (13)
Row 2: CH1, turn, Work 2 SC in first ST, SC in next 11 STs, Work 2 SC in last ST. (15)
Row 3: CH1, turn, Work 2 SC in first ST, SC in next 13 STs, Work 2 SC in last ST. (17)
Row 4: CH1, turn, Work 2 SC in first ST, SC in next 15 STs, Work 2 SC in last ST. (19)
Row 5: CH1, turn, Work 2 SC in first ST, SC in next 17 STs, Work 2 SC in last ST. (21)
Row 6 – 16: CH1, turn, SC in next 21 STs.
Row 17: CH1, turn, SC2TOG, SC in next 17 STs, SC2TOG. (19)
Row 18: CH1, turn, SC2TOG, SC in next 15 STs, SC2TOG. (17)
Row 19: CH1, turn, SC2TOG, SC in next 13 STs, SC2TOG. (15)
Row 20: CH1, turn, SC2TOG, SC in next 11 STs, SC2TOG. (13)
Row 21: CH1, turn, SC2TOG, SC in next 9 STs, SC2TOG. (11)
Row 22: CH1, turn, SC in next 11 STs.
Row 23: CH1, turn, Work 2 SC into first ST, SC into next 9 STs, Work 2 SC into last ST. (13)
Row 24: CH1, turn, Work 2 SC into first ST, SC into next 11 STs, Work 2 SC into last ST. (15)
Row 25: CH1, turn, Work 2 SC into first ST, SC into next 13 STs, Work 2 SC into last ST. (17)
Row 26 – 33: CH1, turn, SC in next 17 STs.
Row 34: CH1, turn, SC2TOG, SC in next 13 STs, SC2TOG. (15)
Row 35: CH1, turn, SC2TOG, SC in next 11 STs, SC2TOG. (13)
Row 36: CH1, turn, SC2TOG, SC in next 9 STs, SC2TOG. (11)
Working the Straight Bunny Ear
Row 37: CH1, turn, SC in next 5 STs. Leave the rest of the stitches unworked. (5)
Row 38: CH1, turn, SC in next 4 STs, Work 2 SC in last ST. (6)
Row 39: CH1, turn, SC in next 4 STs, SC2TOG. (5)
Row 40: CH1, turn, SC in next 4 STs, Work 2 Sc into last ST. (6)
Row 41: CH1, turn, Work 2 SC into first ST, SC in next 5 STs. (7)
Row 42: CH1, turn, Sc into next 7 STs. (7)
Row 43: CH1, turn, Work 2 SC into first ST, Sc in next 4 STs, SC2TOG. (7)
Row 44: CH1, turn, Sc in next 7 STs. (7)
Row 45: CH1, turn, Sc in next 5 STs, SC2TOG. (6)
Row 46: CH1, turn, Sc in next 6 STs. (6)
Row 47: CH1, turn, SC2TOG, SC in next 4 STs. (5)
Row 48: CH1, turn, Sc in next 5 STs. (5)
Row 49: CH1, turn, SC2TOG, Sc in next ST. SC2TOG. (3)
Row 50: CH1, turn, Sc in next 3 STs. (3)
Row 51: CH1, turn, SC in next ST. SC2TOG. Fasten off and weave in your end.
Bent Bunny Ear
Notes: You will start by crocheting the tip of the pointed ear and then work into that ear when working the larger portion of the bent ear.
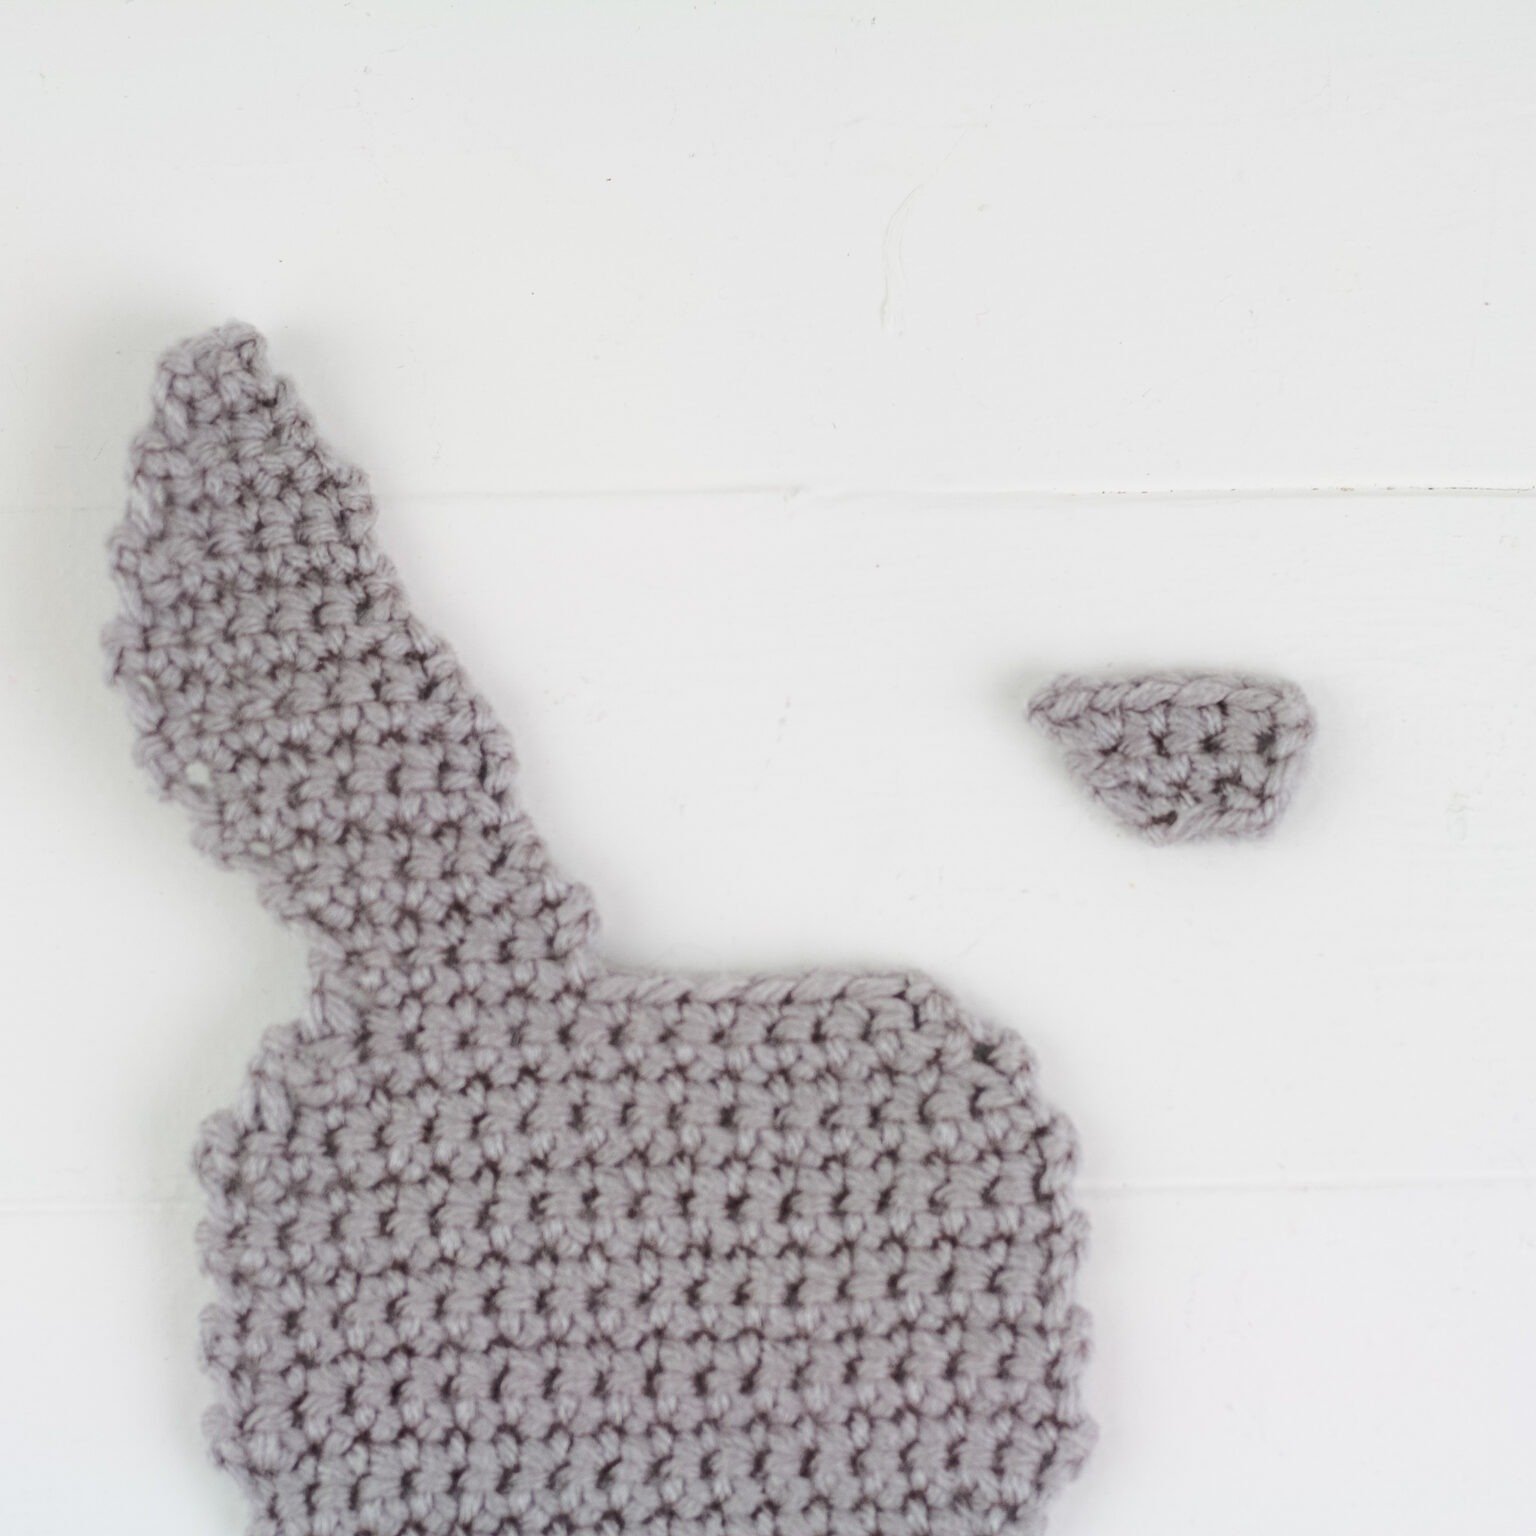
Bent Ear Tip
CH3
Row 1: Work 2 SC into the 2nd and 3rd CH from the hook. (4)
Row 2: CH1, turn, SC in next 4 STs. (4)
Row 3: CH1, turn, SC into next 3 STs, Work 2 SC into last ST. Fasten off and weave in your ends.
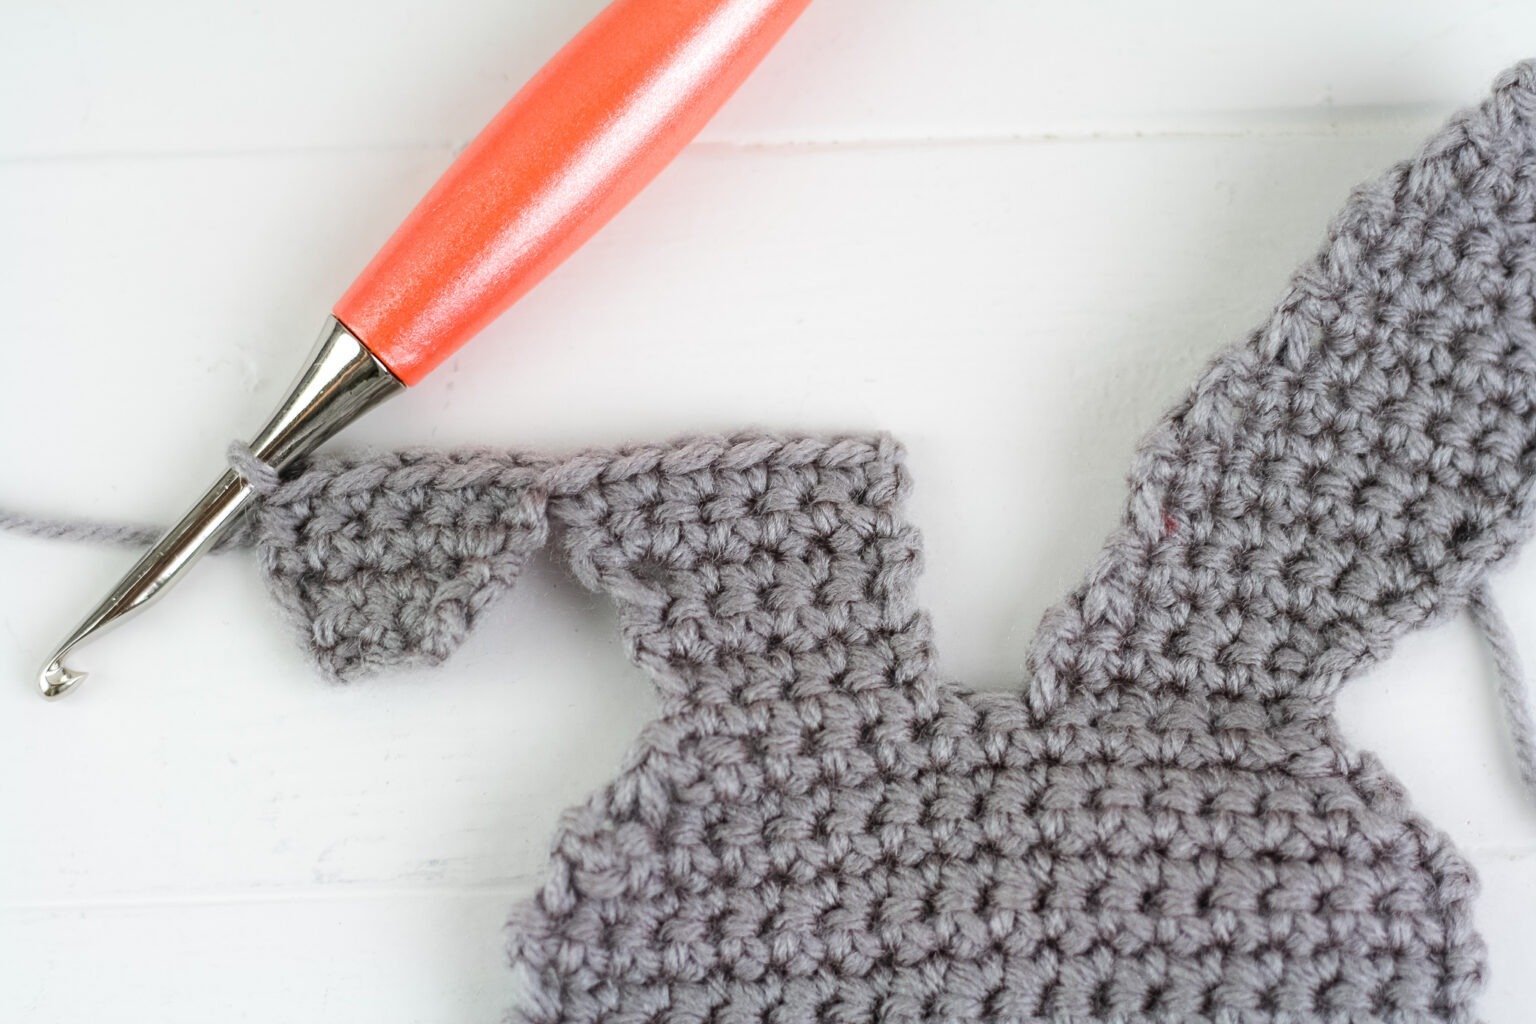
Large Portion of Bent Ear
Row 1: SLST to the first ST of row 36. CH1, SC into the next 5 STs. (5)
This should leave one unworked stitch between this ear and the straight ear.
Row 2 – 4: CH1, turn, Sc in next 5 STs. (5)
Row 5: CH1, turn, Work 2 SC into first ST, Sc into next 4 STs. (6)
Row 6: CH1, turn, SC into next 6 STs, Sc into the 5 STs of Row 3 of the Bent ear tip. (11)
You want to have the last increase worked in the Bent Ear Tip Row 3 facing the rest of the bent ear.
Row 7: CH1, turn, SC2TOG, SC in next 7 STs, SC2TOG. (9)
Row 8: CH1, turn, SC2TOG, SC in next 5 STs, SC2TOG. (7)
Row 9: CH1, turn, SC2TOG, SC in next 3 STs, SC2TOG. (5)
Row 10: CH1, turn, SC2TOG, SC in next ST, SC2TOG. (3)
Fasten off and weave in your ends.
Crocheting it all Together
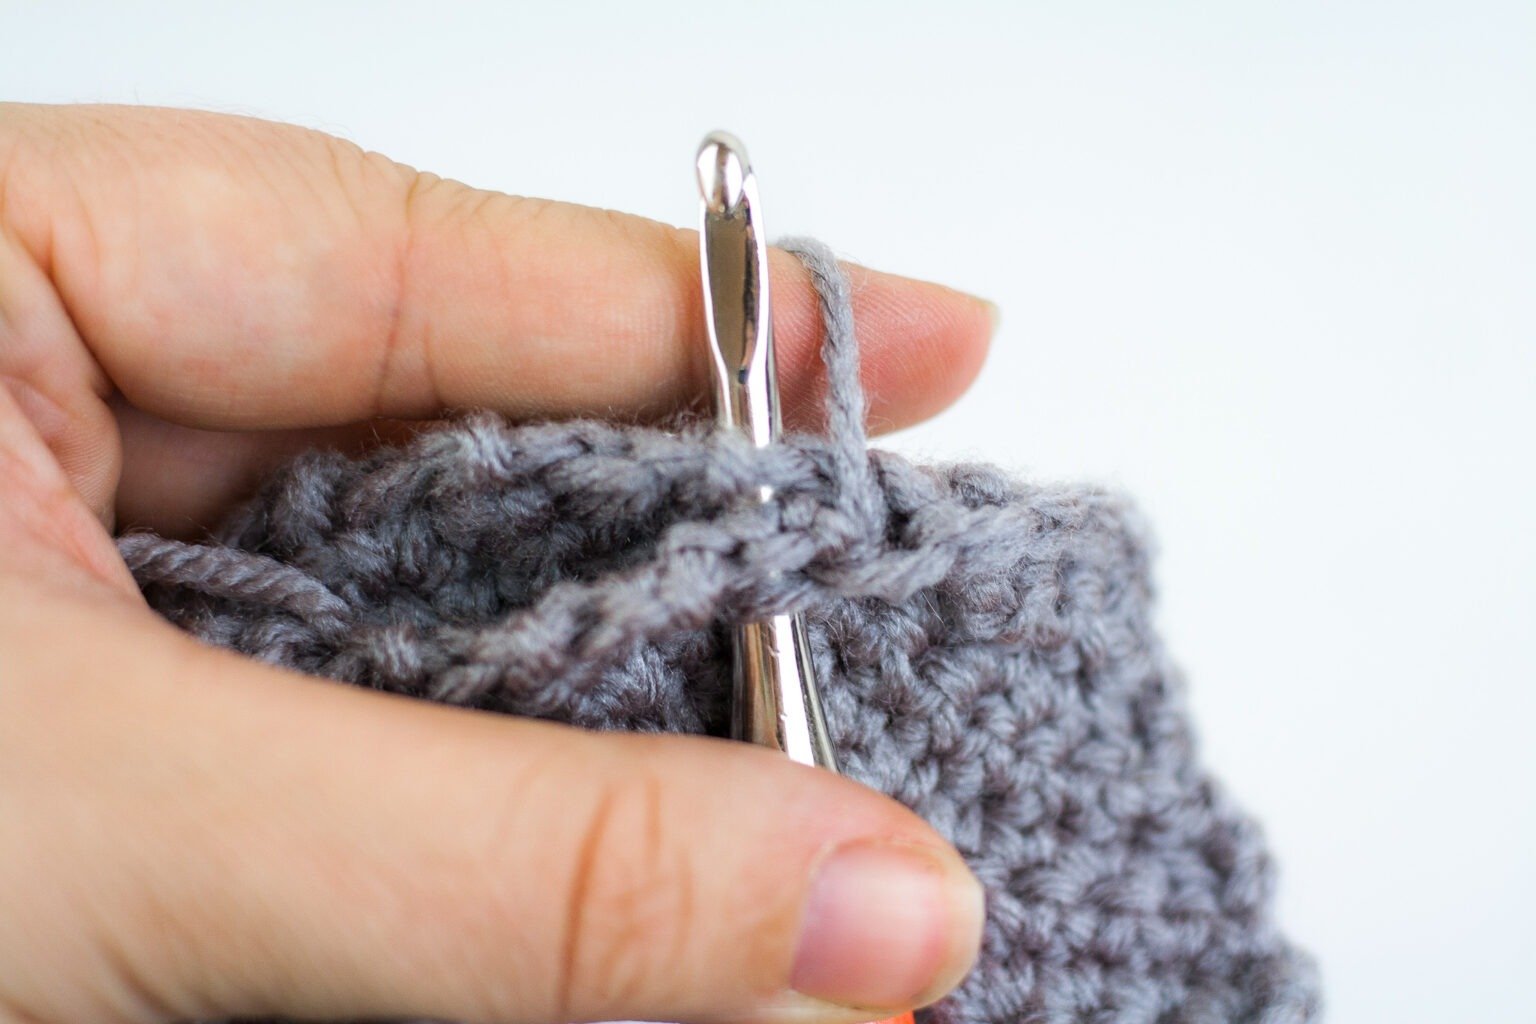
Once you have made your two crochet bunny sides. Lay one on top of the other. Using your hook and yarn pick any stitch and slip stitch to both sides at once.
Chain one and begin to single crochet around the whole project. Remember that you are working through both sides of the Easter bunny at a time. You will work one single crochet into the side of each row and into the top or bottom of each row, where they are exposed.
Pom Pom for the Bunny Tail
To add a cute tail to the bunny I just sewed on a pom pom. I also made a bow from ribbon or lace and sewed that on as well.
Attach the pom pom to your crochet Easter bunny and it is complete.