Plastic Egg Bunnies
Introducing the adorable world of Plastic Egg Bunnies! These delightful little creatures are the perfect addition to any Easter celebration or springtime decoration. Made from durable plastic, these bunnies are not only cute but also long-lasting, ensuring that they can be enjoyed for years to come. Step into a world of whimsy and charm with Plastic Egg Bunnies! These enchanting little figurines are crafted from high-quality plastic, bringing a touch of magic to your Easter festivities. With their vibrant colors and intricate details, these bunnies are sure to capture the hearts of both children and adults alike. Whether you use them as table centerpieces, hide them for an exciting Easter egg hunt, or simply display them as a delightful decoration, Plastic Egg Bunnies are guaranteed to add a playful and joyful touch to your celebrations.
Materials:
- Plastic Easter egg
- Pastel pipe cleaners
- White pom pom(s) (1 INCH SIZE; OR COTTON BALL)
- Washable markers (BLACK OR COLOUR OF CHOICE)
Equipment:
- Ruler (optional)
- Glue gun
Instructions:
Step 1: Find what you need
- Gather your supplies and materials.

Step 2: Make the bunny's ears
- Start with a 6 inch pipe cleaner that matches the colour of your plastic Easter egg (or cut a 12 inch pipe cleaner in half).Bring the ends of the pipe cleaner together so that the middle forms a loop.


Repeat with another 6 inch pipe cleaner. You've just made the bunny's ears!

Step 3: Attach the bunny's ears
- Insert the twisted bottom of the ear into one of the holes on the top of the egg.If your egg doesn't have holes in it, you can hot glue the ears right to the egg.

Open the egg and add a dot of hot glue beside where the pipe cleaner ear comes in.

Push the ends of the pipe cleaner into the glue, bending it if you need to and hold it in place until the hot glue is dry.


Step 4: Make and attach the bunny's feet
- Cut 2 pieces of pipe cleaner about 3 inches long.

Do the same as you did for the ears, twisting the ends of one of the pieces together, creating a rounded foot. Repeat with the second 3 inch piece.

Place the feet down with the twisted ends meeting and add hot glue to join them together.

Set the egg down on the feet, so that they stick out from the front of the egg.

Step 5: Attach the bunny's tail and draw the face
- Add a dot of hot glue to the pom pom.

Attach the pom pom to the back of the egg, close to the bottom so the bunny is almost sitting on it. This will balance the bunny and help it stand.

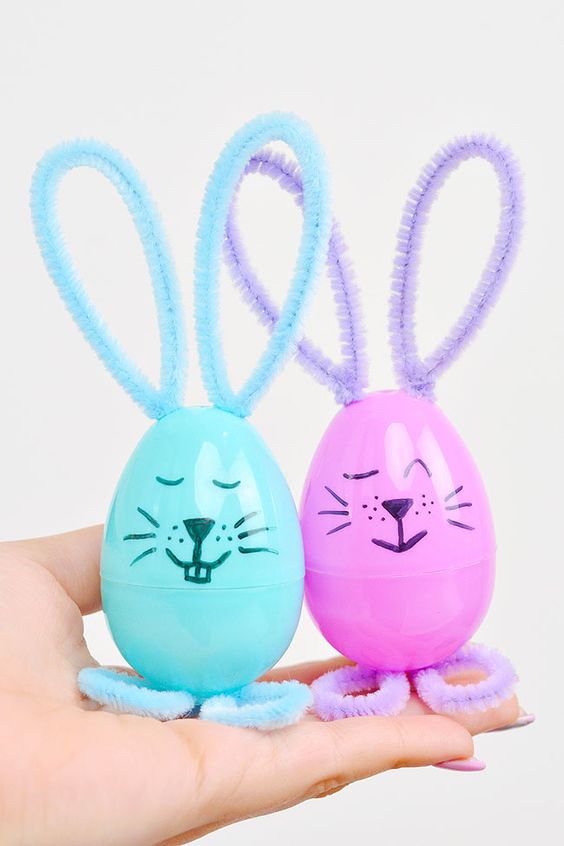
Use a marker to draw the bunny's face.

Your plastic egg bunny is complete!