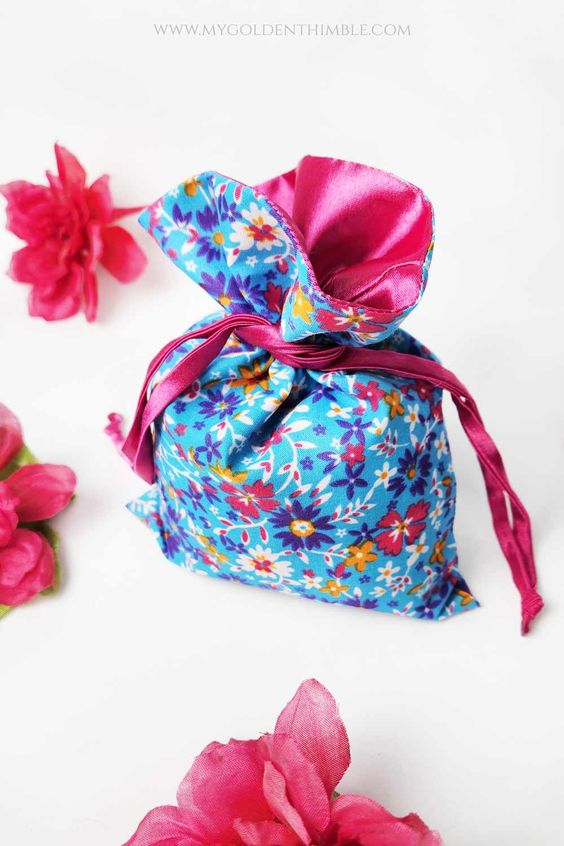
How To Make A Lined Drawstring Bag In Different Sizes.
Discover the perfect sewing pattern to create your very own lined drawstring bag! This versatile accessory is not only practical but also allows you to showcase your creativity and personal style. With this pattern, you can choose from a variety of fabrics, colors, and patterns to design a bag that is uniquely yours. Whether you're looking to make a small drawstring bag for storing jewelry or a larger one for carrying your everyday essentials, this pattern can be easily customized to suit your needs. Additionally, you can experiment with different embellishments such as embroidery, appliqué, or decorative trims to add a personal touch to your creation. Sewing your own lined drawstring bag not only allows you to express your individuality but also gives you the satisfaction of crafting a functional and stylish accessory. So, grab your sewing machine, choose your favorite fabrics, and let your creativity soar as you bring this sewing pattern to life!
Materials:
- One or two fat quarter fabrics
- Ribbon or Cord
- Sewing Machine
- Loop Turner
- Elastic Threader
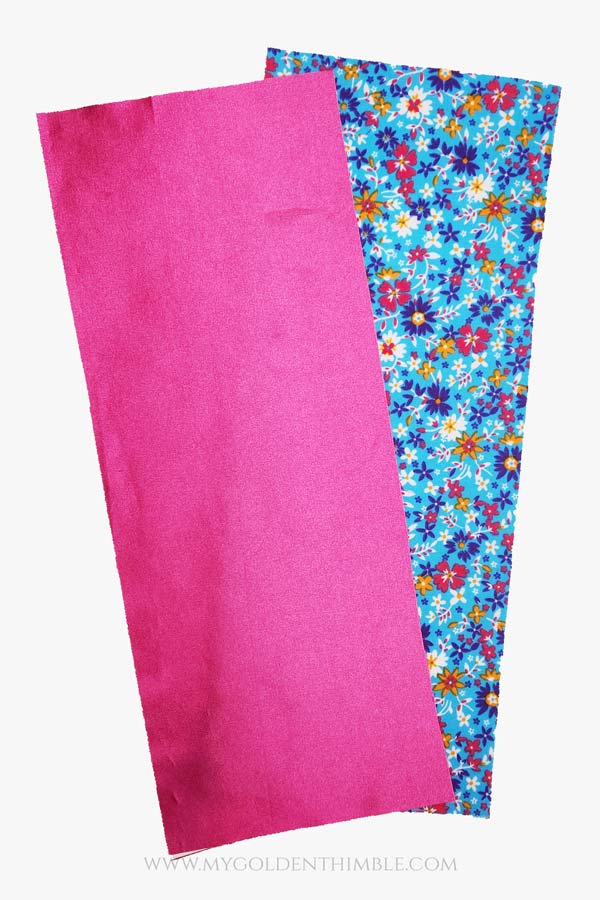
1. Cut Your Fabric Pieces.
To get started, you’ll need two rectangles of fabric – one for the lining and one for the exterior (main fabric).
For this tutorial, we’re making a small bag with final measurements of 8” x 6”.
So, for that end measurement, let’s cut two rectangles that measure 6 ½” x 16 ½”. This is going to be our pattern for both the main fabric and the lining.
Easy peasy, right?
But hey, if you want to make a different-sized bag, don’t worry!
Just refer to the chart below for the appropriate measurements.
Large 8 1/2″ x 20 1/2″
With these two rectangles, you’ll be all set to follow along with the tutorial and create your very own bag. So, let’s go to the next step.
2. Sew The Ends.
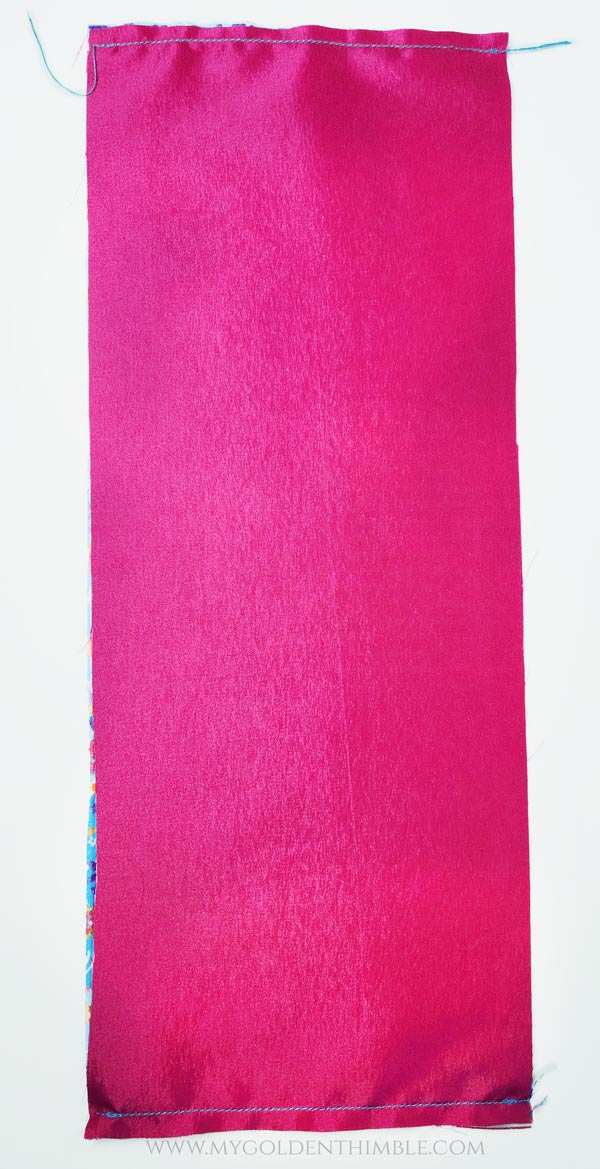
After cutting out your rectangles, it’s time to join them together. Place the rectangles with their right sides facing each other. Align the edges carefully and pin them together. Make sure that the shorter ends are in line with each other.
Now, it’s time to join both fabrics together.
Stitch along the pinned edges using a sewing machine at a ¼” seam allowance. Remember to backstitch at the beginning and end of the seam to secure it in place.
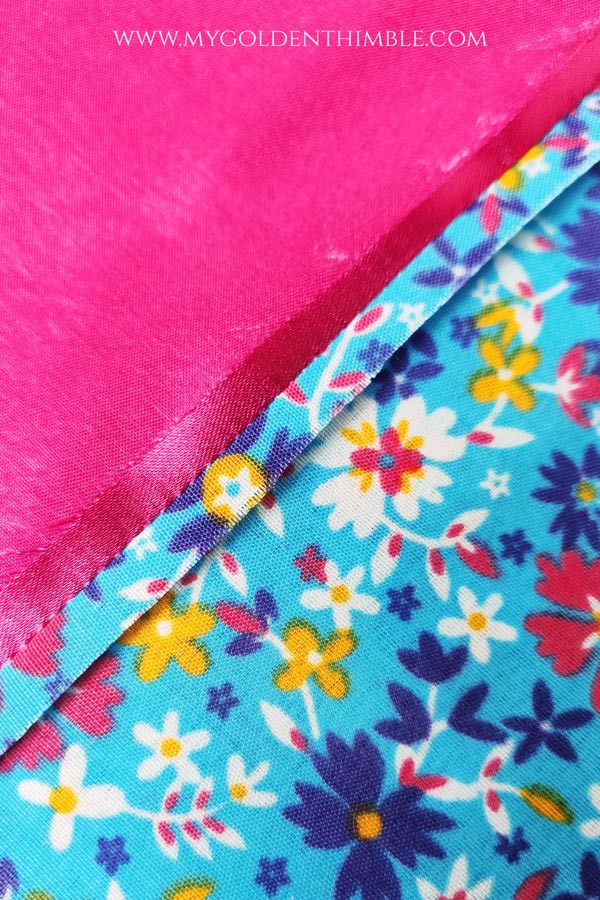
After sewing, remove the pins and open up the seam allowance. Press the seam open using a hot iron at a low temperature to ensure it lays flat.
Be careful not to burn the fabric while ironing.
3. Sew The Sides.
Can you believe how easy is this bag turning out to be?
Ok, now you will open the loop you created by sewing the ends of the drawstring bag pieces.
Align each one of the fabrics with their own correspondent right sides together. To do this super easily, just align the seams you just did with the right sides together.
Then, you will end up with the lining on one side and the main fabric on the other side.
Pin along the sides, making sure the seams on the center are aligned with each other.
Now, we are going to mark where the opening of our string is going to be.
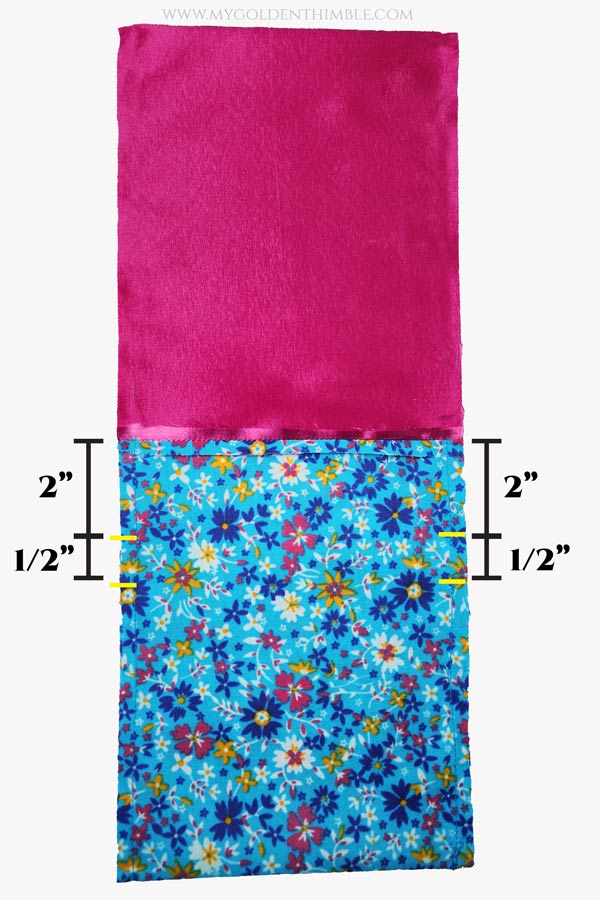
Measure 2” from the seam of the main fabric down and make the first mark. Then, from that mark, measure ½” and make a second mark. Do this on both sides.
*Note* If you are sewing the smallest size drawstring bag, make the marks at 1 ½” instead.
The space between these marks is the space you are going to leave OPEN. And this will only be on the main fabric side.
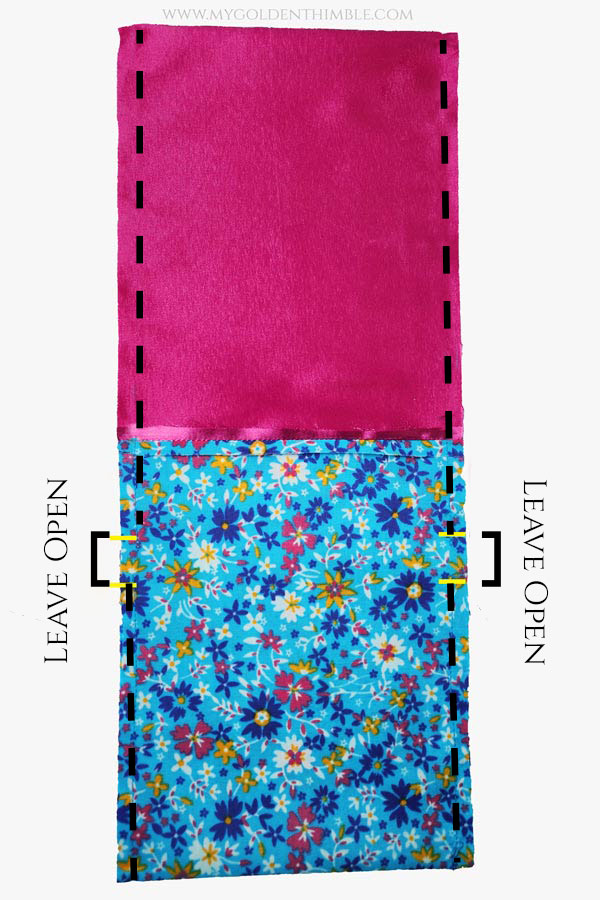
Now that you know that, sew the sides with a seam allowance of ¼”.
Cut the corners of the seam allowances and press the seams open with the help of a pressing ham.
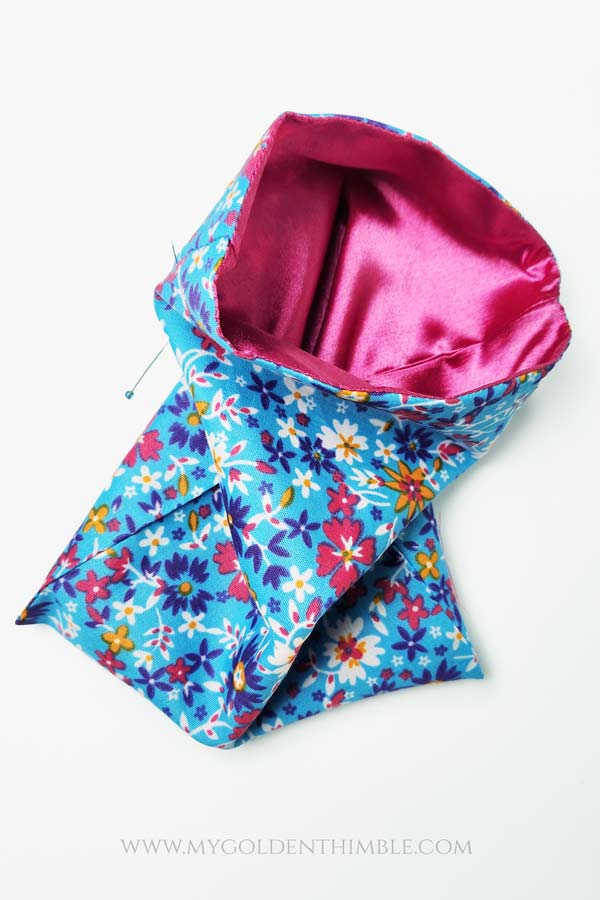
4. Turn Inside Out.
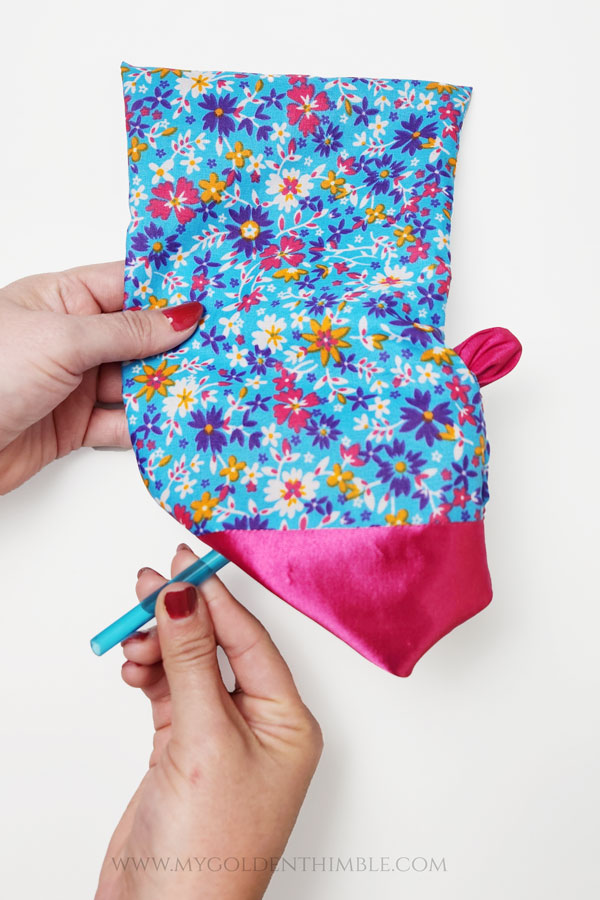
I know how crazy this is going to sound. But now we need to turn our piece right side out through the space we left open on the sides.
But, Dafhtne! It is such a small space! There is no way I can turn the bag inside out through that!!
Yes, you can! One, because you are amazing and so brilliant. And two, because we are going to use a tool to help us out.
In my case, I am using a plastic straw (I use this straw for so many hacks in sewing) to push the lining through the opening.
When you have enough of the lining out there, just use your fingers very carefully to pull the rest of the bag out.
5. Sew The Casing.
We are almost done!!
In this step, we are going to sew the casing from where our strings are going to go through.
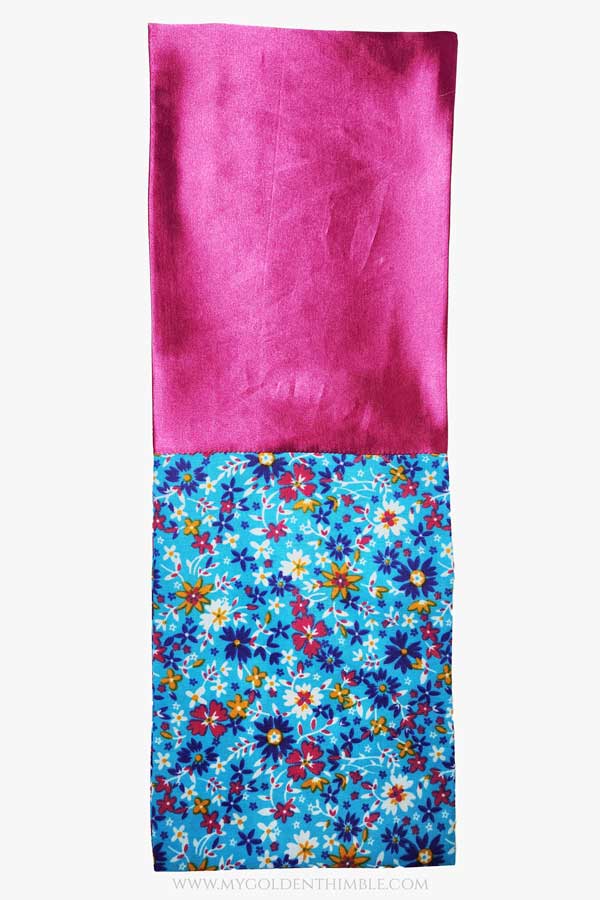
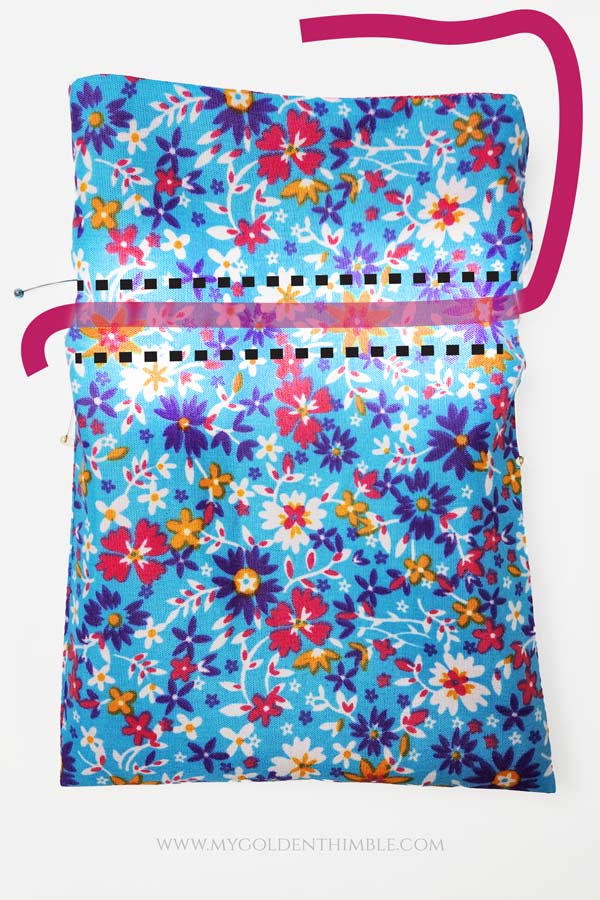
To do this, you will have to mark a horizontal line joining the top of the opening with the opposite side of the top opening. Then, do the same thing with the bottom opening.
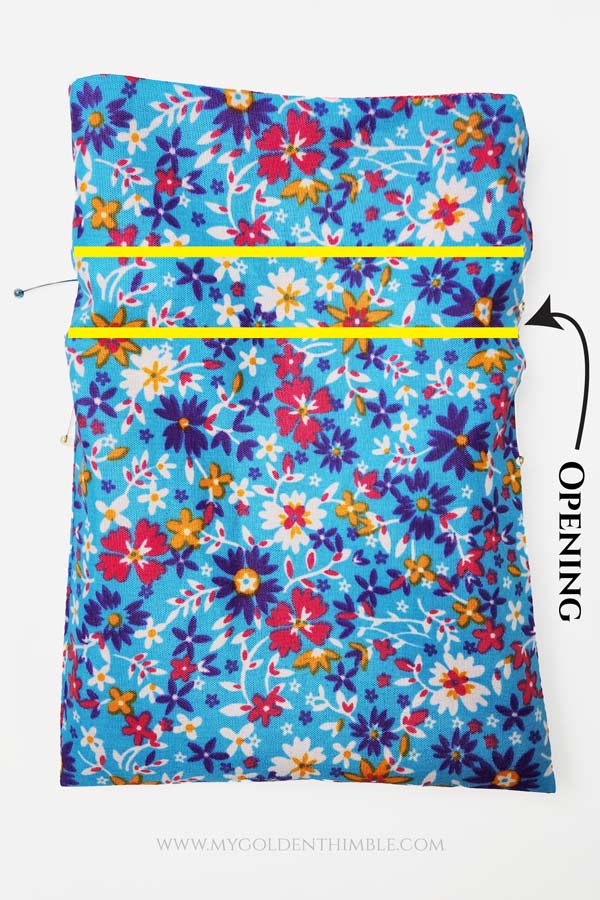
You will end up with two parallel lines like these.
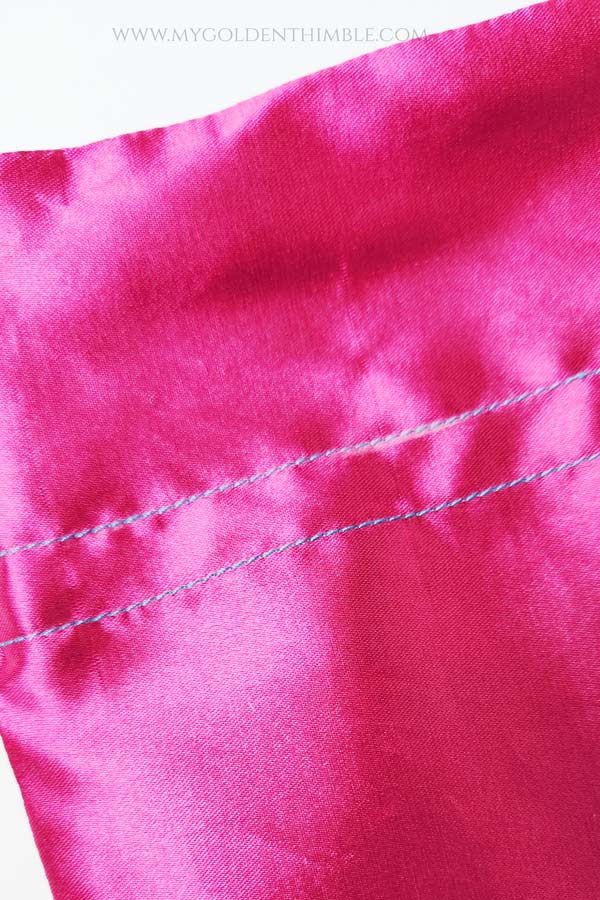
Use your sewing machine to sew a straight seam on top of both lines around the bag’s opening.
You will end up with something like this.
6. Make The Strings.
If you are using a ribbon or rat tail cord, you can skip this step.
Otherwise, let’s make our own string for our lined drawstring bag. I am going to be making spaghetti straps, which are skinny fabric straps.
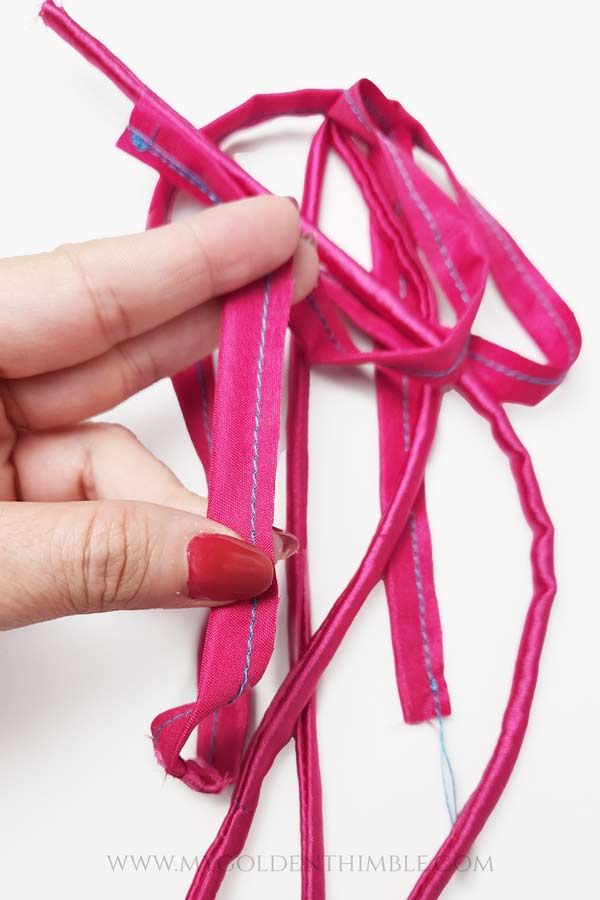
Cut two strips of fabric measuring 22” x 1 ¼”. Fold them in half lengthwise and sew them at ¼” seam allowance.
Use your loop turner to turn them right side out and press.
7. Insert The Strings Through The Casings.
The final step, my love!!
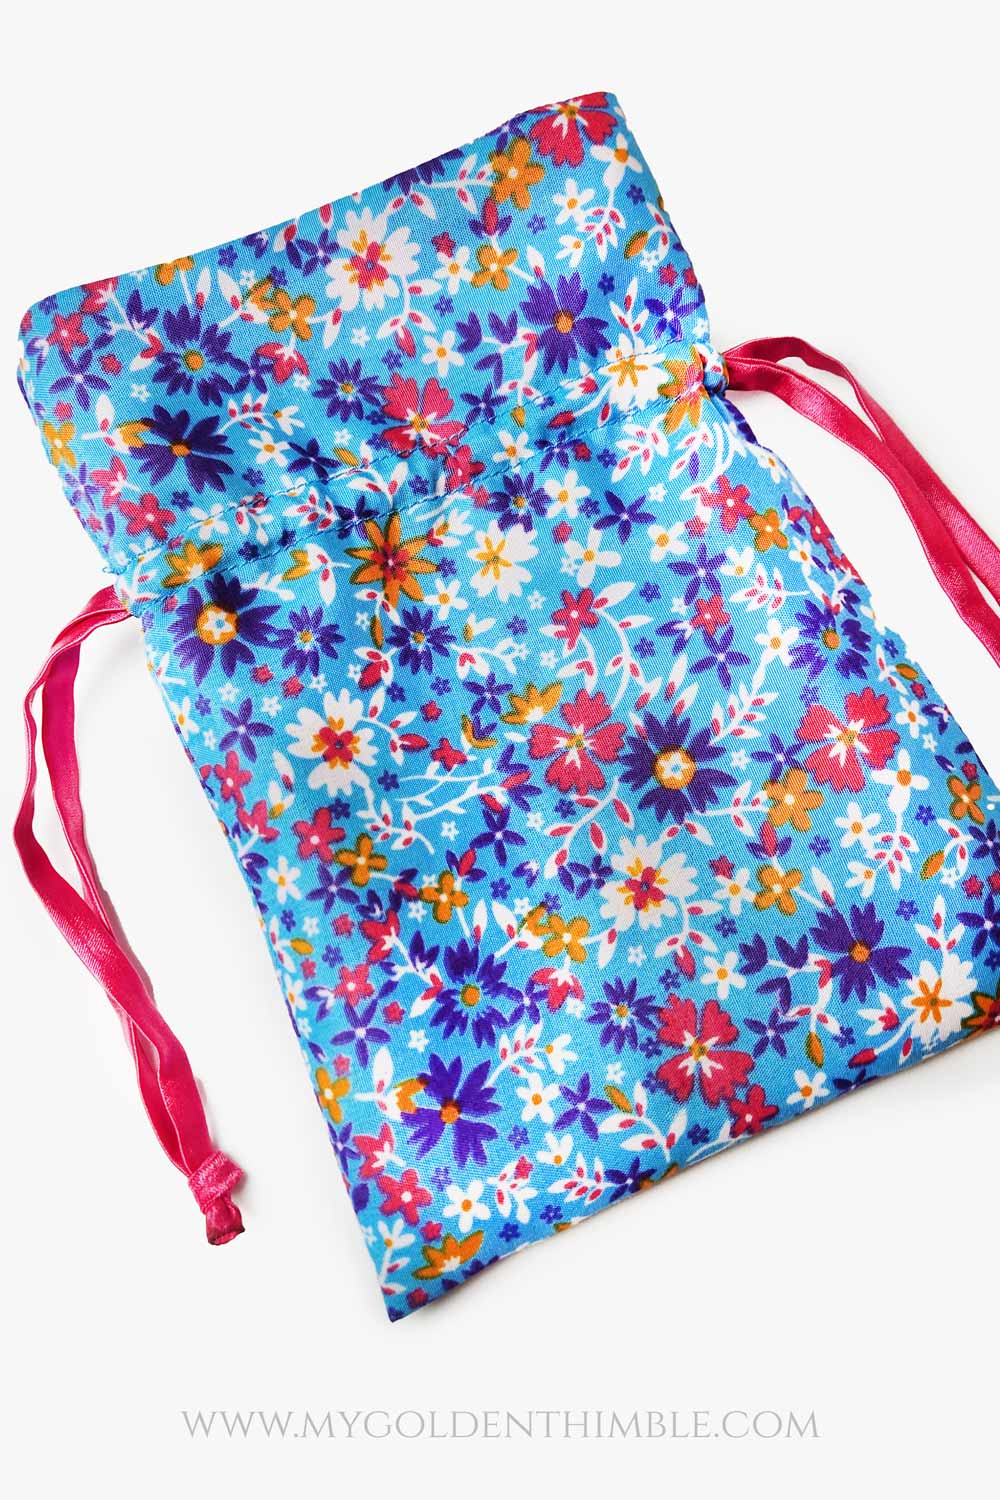
For any drawstring bag, you have two options for the strings. One is to have a double-pull drawstring bag like I am doing here.
The other option is to have a single string.
For the double-string bag, here is what you do.
Starting on the right side, insert one end of the string into the bag’s front casing until it goes out on the left side opening.
Use your loop turner or your elastic threader to make this step easier. If you don’t have any of these tools, you can also use a safety pin attached to the end of the strings.
Now, take the opposite end of the string and insert it through the back casing of the bag, starting from the right to the left.

Each end of the string has to get out through the opposite opening of the casing/channel in the shape of a “U”.
Now, do the exact same thing starting from the opposite side, meaning starting from the left and going out on the right.
And that’s it!!