How to Make a Drawstring Wet Bag
Discover the wonders of the Drawstring Wet Bag sewing pattern! This versatile pattern allows you to create a practical and stylish bag that is perfect for storing wet items. Whether you're heading to the beach, pool, or gym, this bag will keep your wet clothes, towels, or swimsuits separate from the rest of your belongings. The Drawstring Wet Bag is not only functional but also environmentally friendly. By using this bag, you can reduce your reliance on single-use plastic bags and contribute to a more sustainable lifestyle. Additionally, this bag is incredibly convenient to use. The drawstring closure ensures that your items stay securely inside the bag, while the waterproof lining prevents any leaks or spills. The bag is also compact and lightweight, making it easy to carry around wherever you go.
What you will Need: How to Make a Drawstring Wet Bag
- 1 yd Exterior fabric
- 1 yd Ripstop Nylon
- 1/4 yd accent fabric for straps and drawstring
- Standard sewing supplies
- Frixion Heat Erasable Pens
What you will Need wet bag
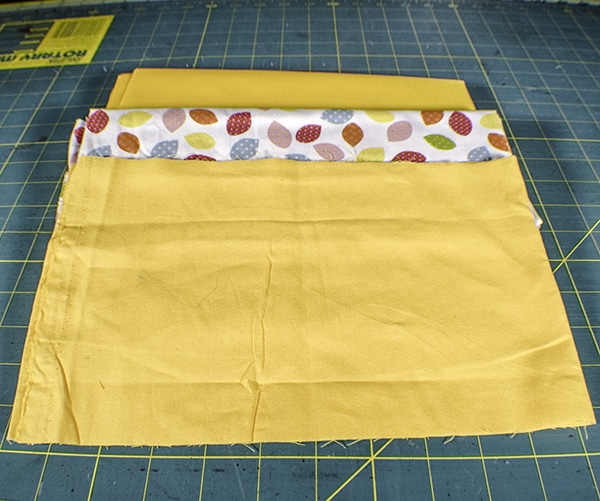
Step 1: Cut your Fabrics
Cut two outer and two ripstop pieces that measure 17″ x 14 1/2″. From the accent fabric cut three strips that measure 1 5/8″ x 44″.

Cut your Fabrics
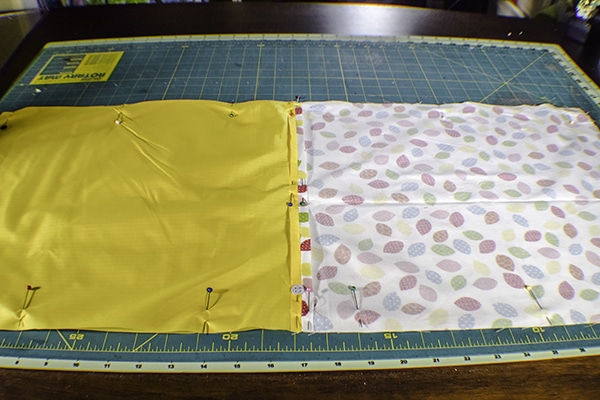
Step 2: Sew the outer and lining pieces together
Place one piece of outer fabric and one piece of lining fabric right sides together and stitch along one short end using a 3/8″ seam allowance. Repeat for the other outer and lining piece. Using a low temperature on your iron press the seams open.
Pin outer and lining right sides together
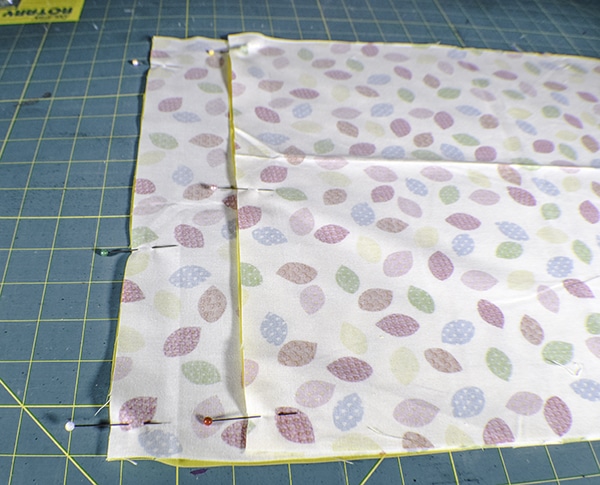
Step 3: Pin the Bag together
Place the two outer pieces right sides together and the two lining pieces right sides together and clip or pin.
Pin right sides together
Step 4: Mark the lines
Mark the lines for the drawstring channel and the drawstring bottom gaps. Start at the top of the bag. Measure down 1 1/4″ and mark a line on the outer bag and on the ripstop using a frixion heat erasable pen or some other erasable pen. Now, go to the bottom of your bag and measure up 3/8″ and make a mark. Measure up another 3/4″ and make a second mark. Do this on both sides of the bag. These are the drawstring bottom gaps. You will also leave an opening in the lining bottom for turning.
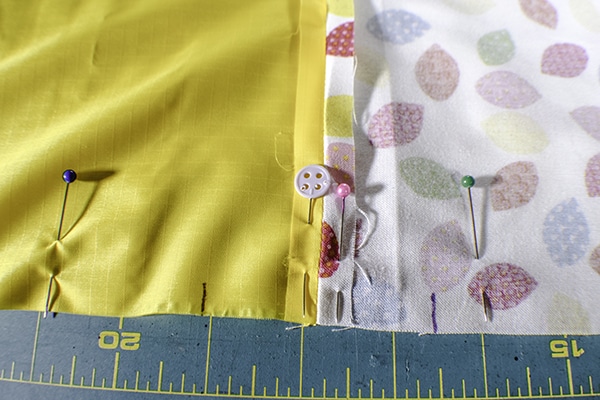
Mark your channel opening
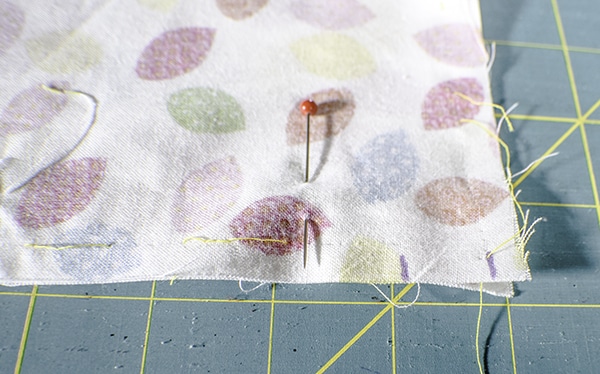
Mark bottom openings
Step 5: Sew the Bag together
Sew the bag together using a 3/8″ seam allowance leaving the drawstring opening, the drawstring bottom gaps, and the turning opening open. Press the seams open using a low temperature on your iron.
Step 6: Turn the Bag
Turn the bag right sides out through the opening that you left in the lining. Stitch the opening closed using ladder stitch or slip stitch.
Step 7: Create the drawstring channel
Measure down from the top of the bag 1 1/4″ and draw a line all the way around the front and back of the bag using a Frixion heat erasable pen. Top stitch around the top of the bag then stitch along the line you just drew. This will create the drawstring channel.
Step 8: Create the Drawstring
Cut off the selvedge of the accent fabric. Stitch the three strips of fabric right sides together along the short ends so that you have one long strip of fabric. Press the seams open. Press the long raw edges to the center of the strip. Then fold the strip in half lengthwise and press again. Top stitich along the open edge. Cut the drawstring in half widthwise.
Step 9: Add the drawstring
Place a safety pin at the end of one of the drawstrings and thread it through the drawstring channel and back through the side you inserted it. Tack the raw ends together. Place the drawstring into the matching bottom drawstring hole and pin. Make sure you do not pin it to the ripstop. Push that out of the way. Top stitch over the outer bag and drawstring a few times. Repeat for the other side and you have finished your drawstring wet bag.
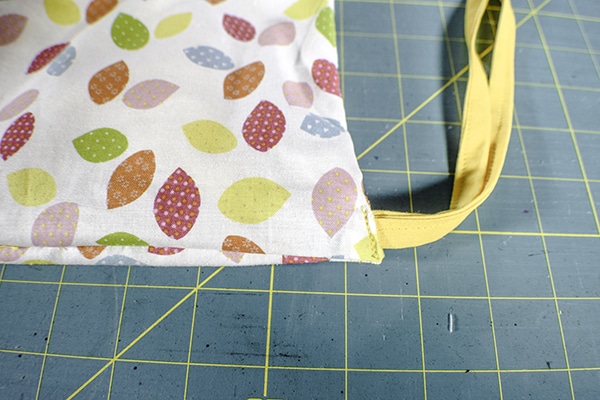
Stitch the bottom closed
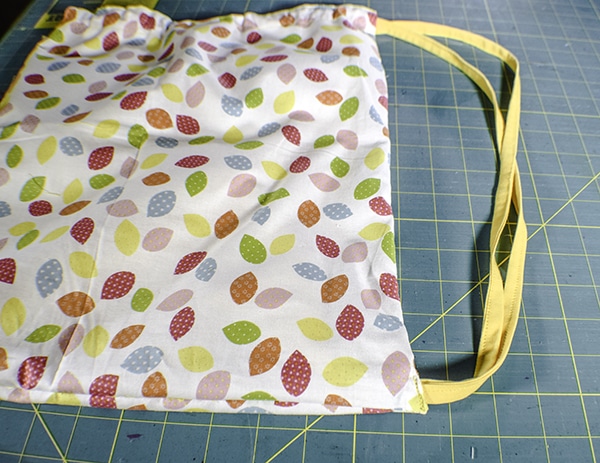
Finished drawstring

Finished Wet Bag