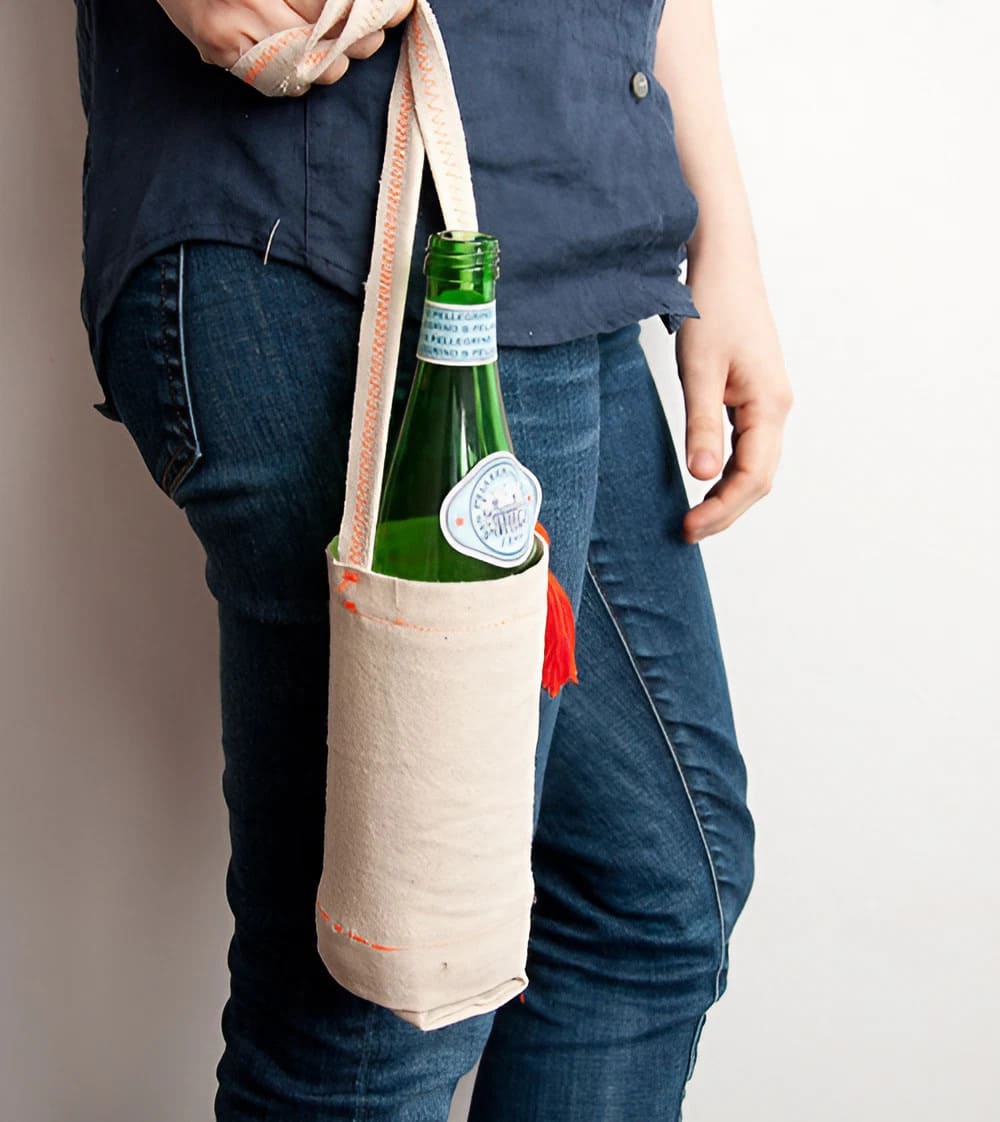
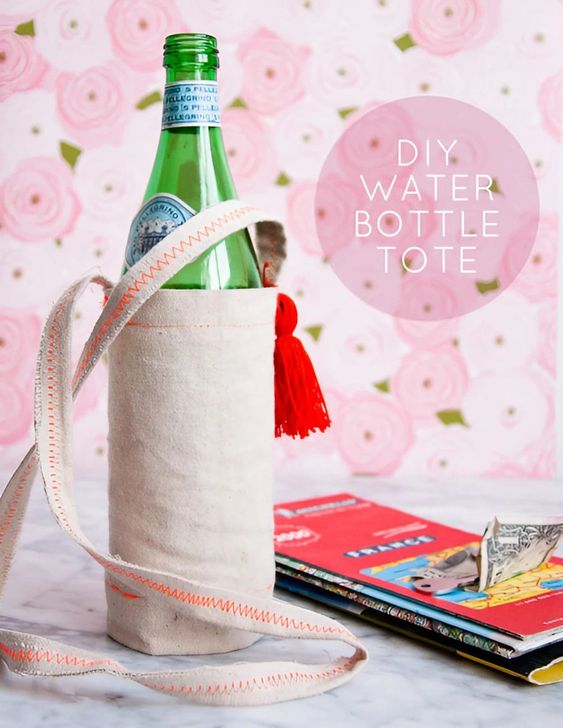
DIY Water Bottle Tote
Create your own personalized water bottle carrier with this easy do-it-yourself project. This DIY water bottle tote is perfect for carrying your favorite drink with you wherever you go. Whether you're heading to the gym, going for a hike, or just running errands, this tote will keep your water bottle secure and easily accessible. You can choose your favorite fabric to match your style and add any embellishments you like to make it unique. This project is a fun and practical way to showcase your creativity while also staying hydrated on the go. By making your own water bottle tote, you can customize it to fit your specific needs and preferences. Plus, it's a great way to reduce waste by using a reusable carrier instead of disposable plastic bags. So grab your sewing machine and get ready to craft a stylish and functional accessory that will make staying hydrated a breeze.
TOOLS
Sewing Machine with zigzag capability
Scissors
Ruler
Tape measure
Sewing needles
MATERIALS
Glass water bottle of any size
Canvas or canvas dropcloth (available at most hardware stores in the painting section)
Thread
DIRECTIONS
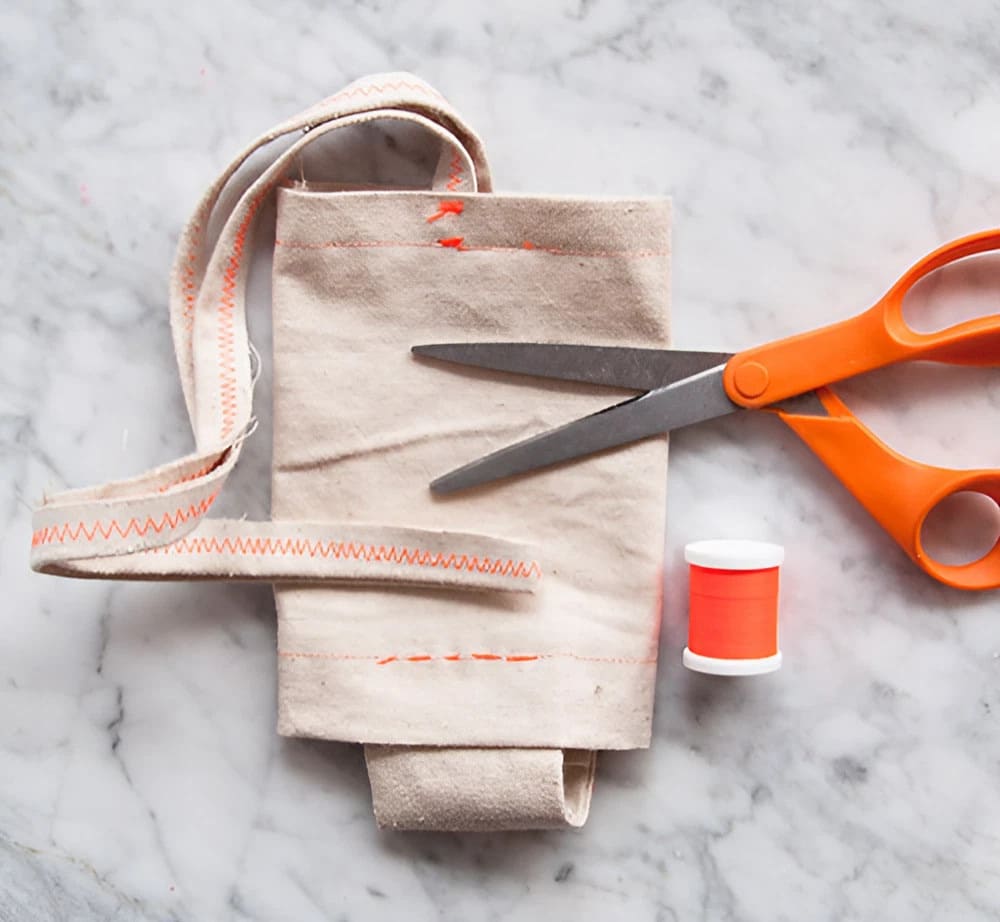
There are 3 separate components that make up the overall tote design: A shaft, a bottom ribbon, and a handle.
1) Measure the circumference and height of your water bottle up to where its neck begins.
2) Cut a rectangle that are roughly the dimensions measured in step 1, adding about an inch extra to the circumference measurement. This will be the shaft of your tote.
3) Fold about an inch of the canvas over on both the top and bottom of your rectangle. With your sewing machine, create a hem by sewing each of these folds down.
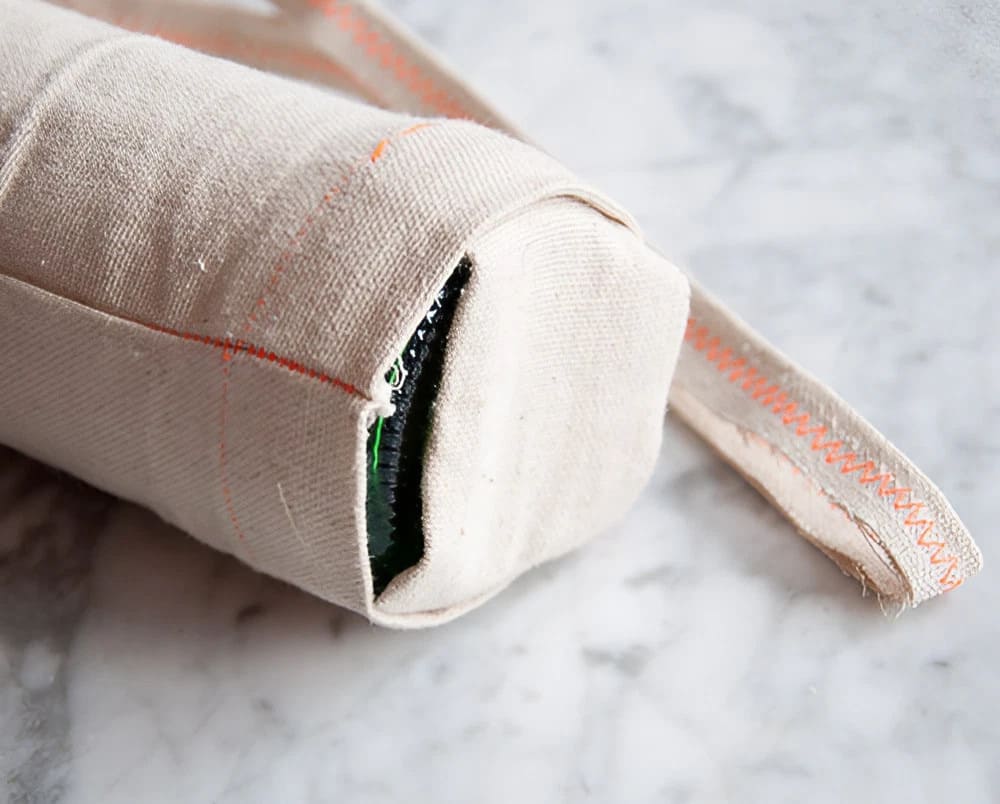
4) After wrapping your rectangle around your water bottle to determine how tightly to sew, place either side of your rectangle together and stitch, inside-out, the entire height of your tote sleeve. The shaft is now completely sewn.
5) Cut another piece of canvas out, this one about 4 inches by 6 inches. This will be the fabric used for the bottom of your tote.
6) Sew the sides of the long side of this rectangle together with your sewing machine. Then, turn this newly constructed tube inside out.
7) Hand sew one side of this tube, flattened out, to the inside of your tote’s shaft using a standard whip stitch.
8) Place your bottle inside the shaft to fill it out completely and bring the bottom fabric across the bottom of your bottle to determine where to trim off any excess material.
9) Hand stitch the other side of the bottom ribbon to the opposite side of the shaft.
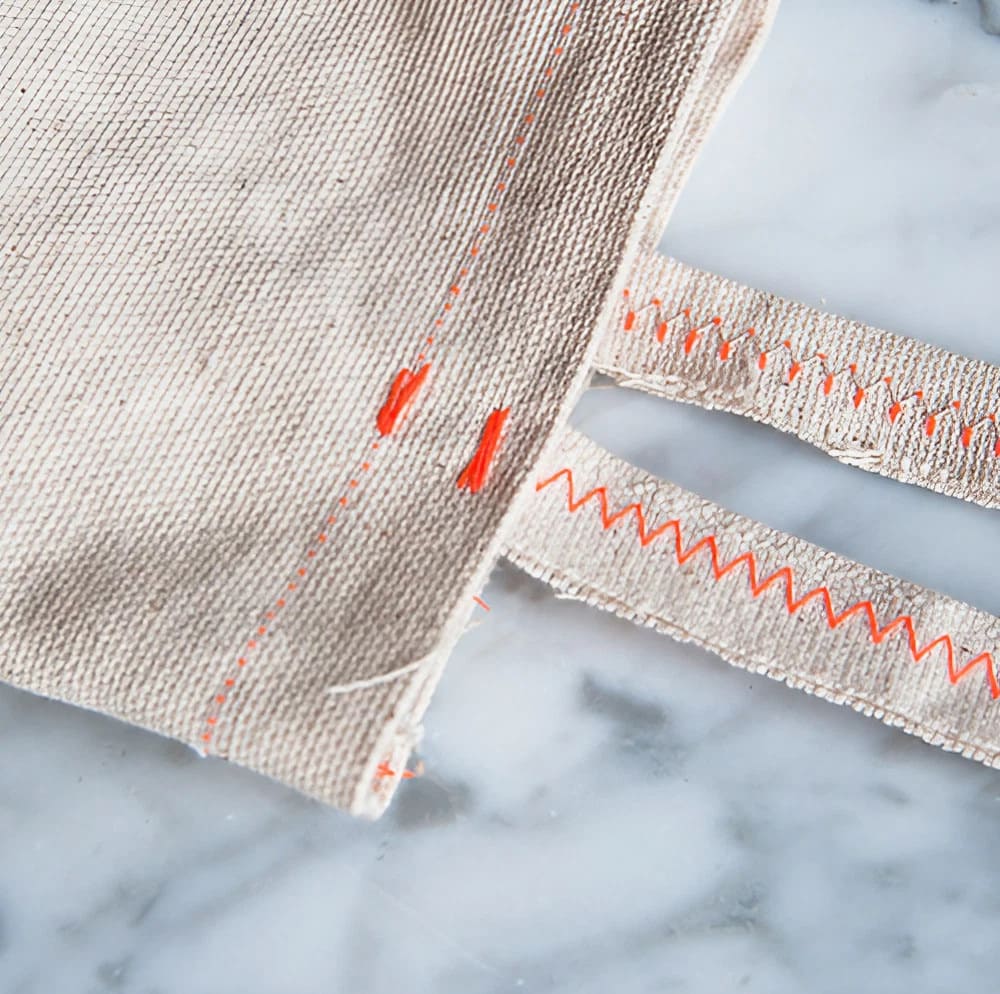
10) Lastly, create a handle by cutting out a thin, 4-foot strip from the canvas dropcloth’s hem or selvedge. Reinforce it with a zigzag stitch on the sewing machine and then sew it, the same way as the bottom, to the top of your tote.
11) BOOM! Done! That’s it! Now go get your water bottle swag on!