How to Make a Two Bottle Wine Tote
Introducing the stylish and practical Wine Carrier for Two Bottles! This chic tote is perfect for carrying your favorite wines to picnics, parties, or any other special occasion. With its durable construction and insulated lining, you can trust that your bottles will stay safe and at the perfect temperature. The adjustable shoulder strap makes it easy to carry, while the sleek design adds a touch of elegance to your wine-toting experience. Whether you're gifting a bottle of wine or bringing some along for yourself, this tote is a must-have accessory for any wine lover.

What you will Need: How to Make a Two Bottle Wine Tote
- 1/2 yd of outer fabric and lining fabric
- 1/2 yd of fusible fleece like Pellon 987F
- Standard sewing supplies
Step 1: Cut out your Fabrics
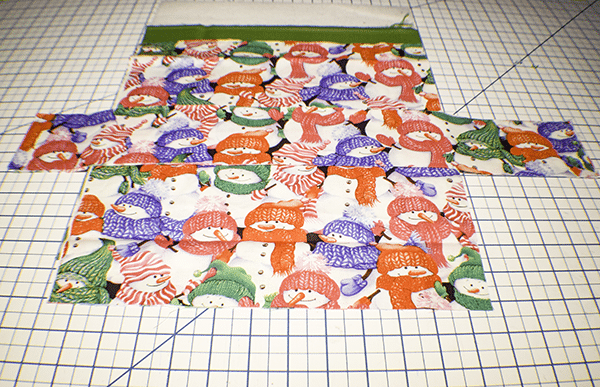
Cut two pieces of each fabric and fleece that measure 13″ x 12 1/2″. Then cut Two Pieces of outer Fabric that measure 3″ x 21″ for the straps.
Step 2: Fuse the Fleece
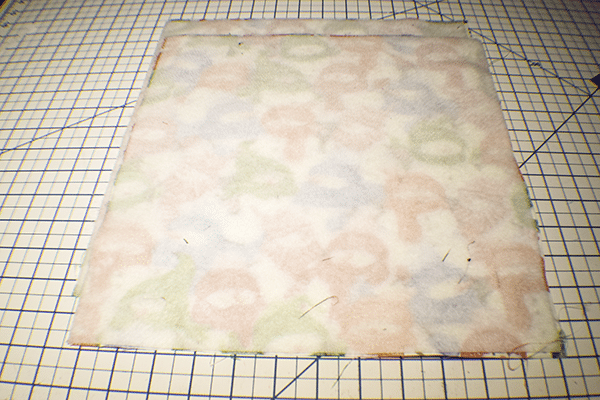
Fuse the fleece to the outer main fabric of your two bottle wine tote. Do this using a hot iron and following the manufacturer’s instructions.
Step 3: Stitch the Tote Pieces Together
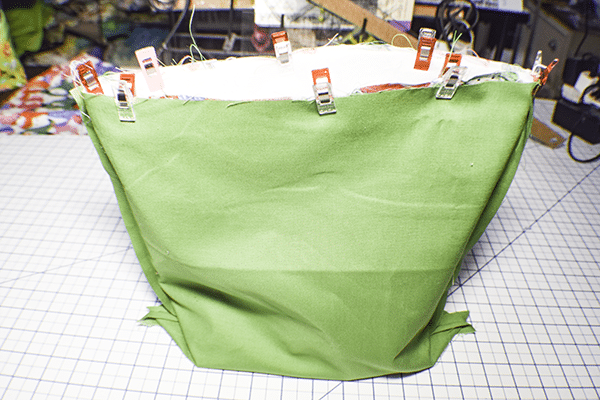
Place the outer pieces right sides together and the lining pieces right sides together and and stitch along the long sides and the bottom using a 3/8″ seam allowance. While stitching the bottom of the lining leave an opening for turning the tote.
Step 4: Box the Bottoms
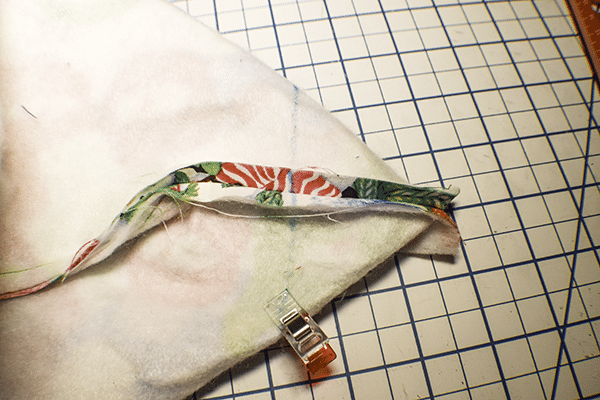
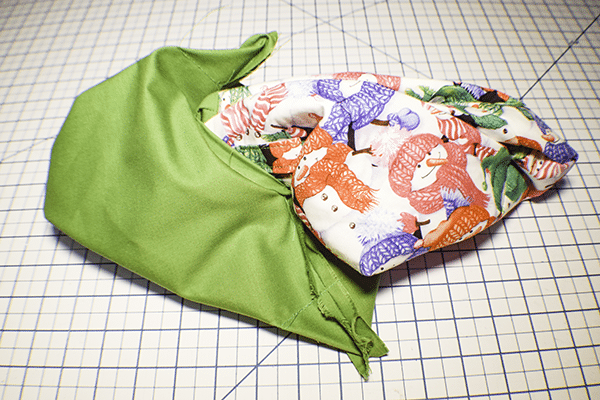
Box the bottoms of the lining and the outer bak. Do this by matching the side seam with the bottom seam and pinning. You will create a point. Measure down 2″ from the point and draw a line. Stitch along that line to create the boxed corner. Do this for all four corners. Cut off the excess fabric. Turn the outer bag right sides out but leave the lining wrong sides out.
Step 5: Create the Straps
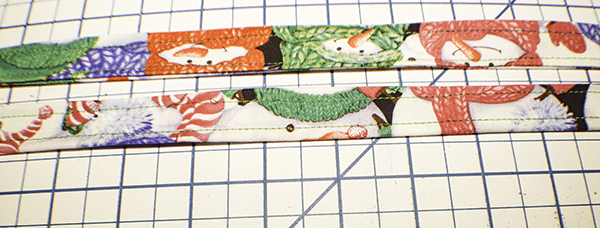
Fold the long raw edges to the center and press. Fold in half to enclose the raw edges and press again. Stitch up both sides of the strap to secure and for a more professional look.
Step 6: Add the Straps
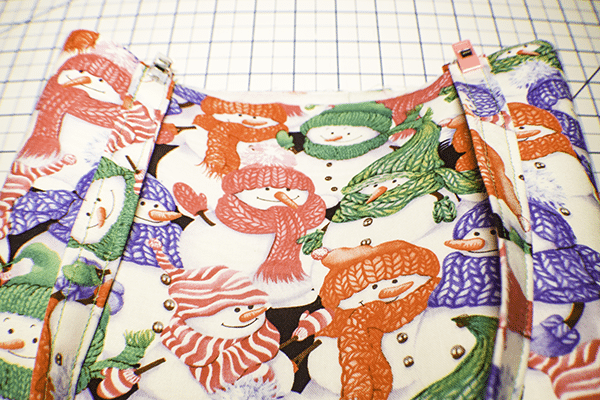
Place the straps to the 2 1/2″ from either side of the side seams and on the right side of the outer bag and stitch them to the tote to secure.
Step 7: Combine the Outer Bag with the Lining
Place the outer bag inside the lining bag so that the right sides are facing and the straps are sandwiched between the outer tote and the lining. Stitch all the way around the top of the two bottle wine tote using a 3/8″ seam allowance.
Step 8: Turn the Two Bottle Wine Tote
Reach int the opening you left in the lining and pull out the outer bag so that it is right sides out and the lining is right sides in. Press. Close the opening in the lining using ladder stitch or your machine. Top stitch all the way around the top of the tote to secure the lining and for a more professional look.
Step 9: Divide the Two Bottle Wine Tote
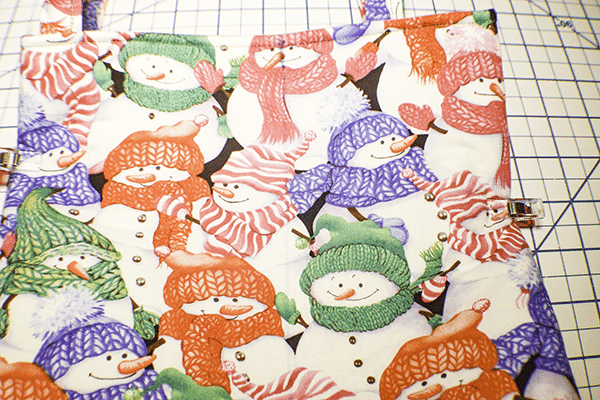
Lay the tote flat on your work surface and find the center. Draw a line down the center of the tote using an invisible pen or tailors chalk. Stitch a line all the way down the center to divide the tote in two but stopping about 6″ from the bottom. You have now finished your two bottle wine tote.
Draw a line down the center
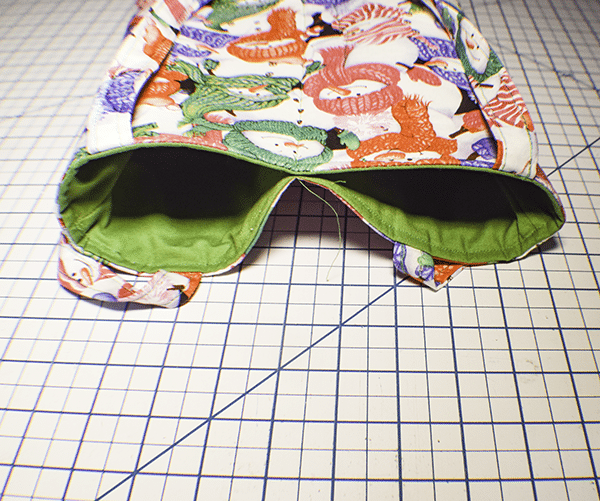
Inside of tote
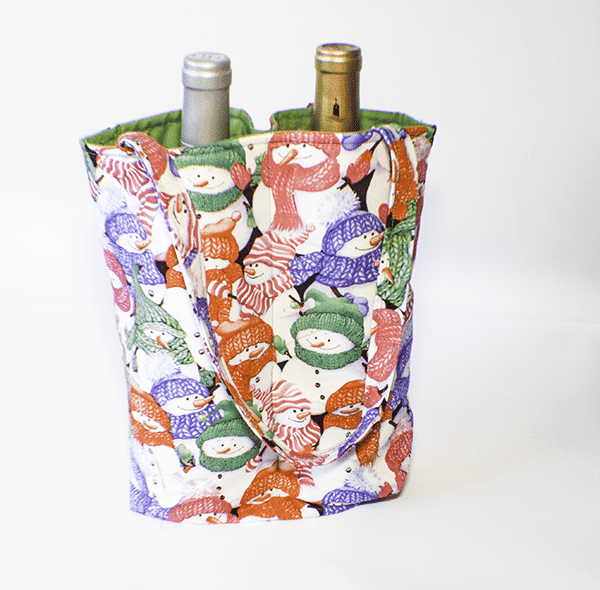
Finished 2 Bottle Wine Holder