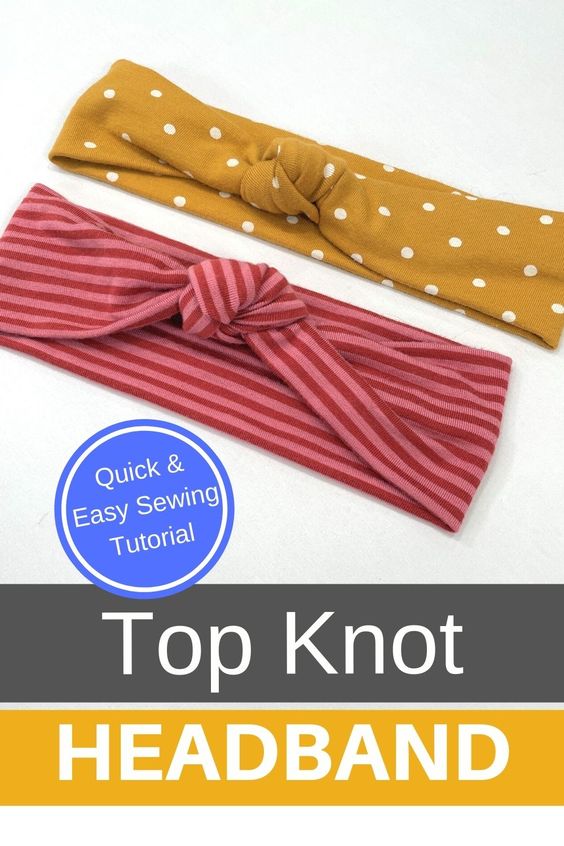
DIY Top Knot Headband | Easy Sewing Tutorial
Create your very own stylish top knot headband with this easy-to-follow sewing pattern. This do-it-yourself project allows you to customize the fabric and design to match your personal style. Whether you prefer a bold print or a subtle solid color, you can easily tailor this headband to suit your taste. The step-by-step instructions make it simple for beginners to sew their own headband, while more experienced sewers can add their own unique touches to make it truly one-of-a-kind. This DIY project is a fun and creative way to accessorize any outfit and show off your sewing skills. The top knot design adds a trendy twist to a classic accessory, making it a versatile piece that can be worn for various occasions. Whether you're looking to add a pop of color to your everyday look or create a statement piece for a special event, this DIY top knot headband is the perfect project to showcase your creativity and sewing abilities. So grab your sewing machine and fabric, and get ready to craft a stylish accessory that is sure to turn heads!
Top Knot Headband Materials & Items Needed
- Sewing machine/Serger (optional)
- Scissors/Rotary Cutter-Mat
- Knit Fabric or UPCYCLED KNIT CLOTHING
- Pins/Fabric clips (optional)
- Measuring tape
- Turning stick
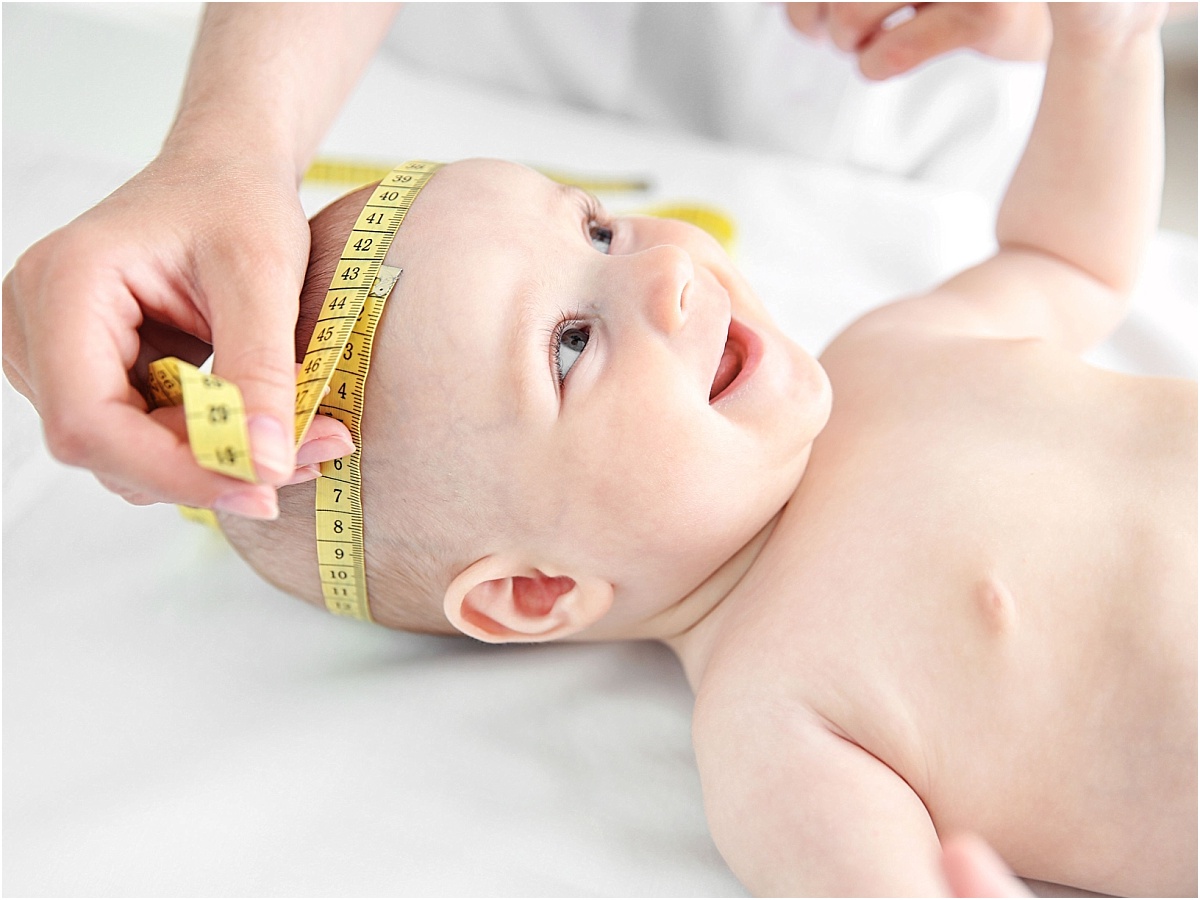
HEAD MEASUREMENT
The best way to get the correct size is to measure the head you are making the headband for. If that’s not possible, refer to the Average Head Circumference Chart. Knit fabric will stretch to fit a wide variety of heads sizes in that range so don’t be too stressed about it!
Using a measuring tape, measure the widest part of the head. Write that measurement down.
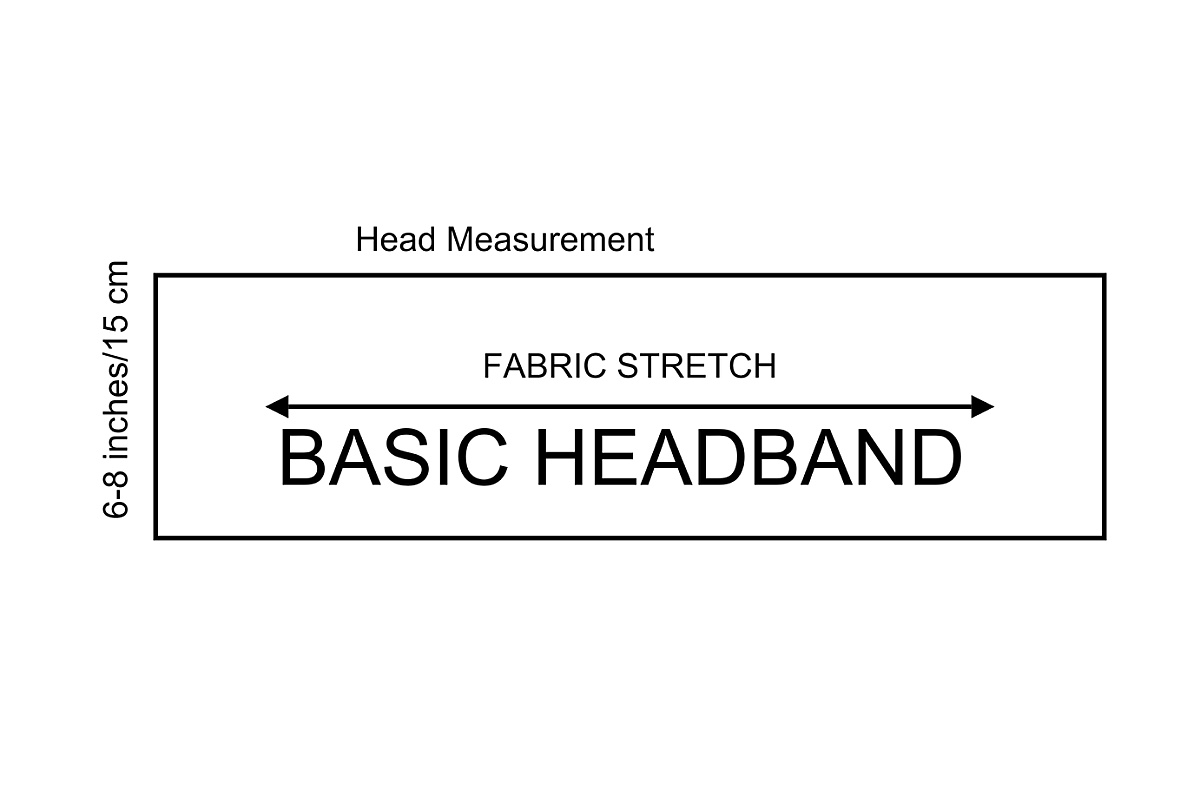
CUTTING OUT
Cut a strip of knit fabric (6-8 inches/15.5 cm x HEAD MEASUREMENT)
Feel free to alter the thickness of the headband. You may want a thicker, bulkier, or even a thinner headband. It’s all your preference and you can cut them out accordingly.
Make sure you cut out the strips with the stretchiness of the fabric for the widest part.

Upcycled t-shirts work really well
SEWING TOP KNOT HEADBAND
SEAM ALLOWANCE IS 3/8 INCH
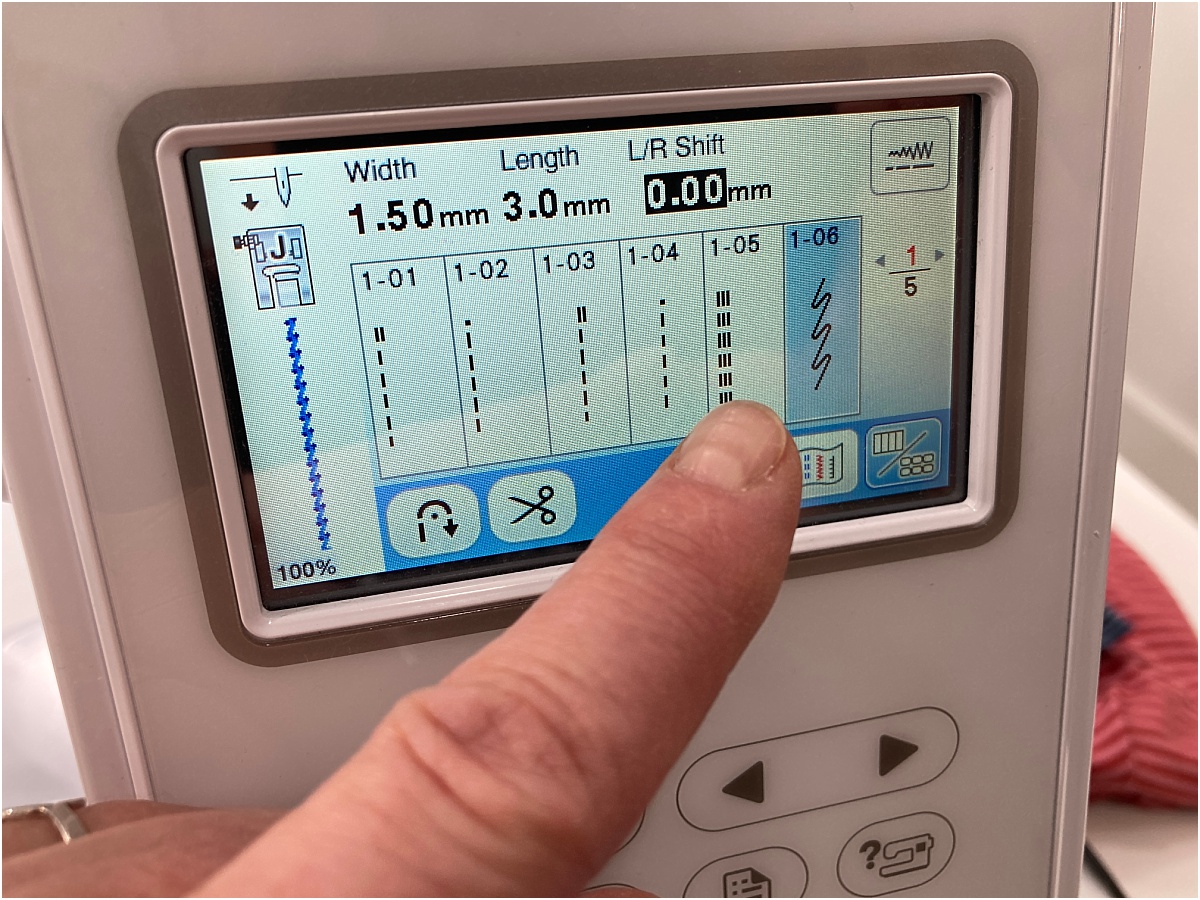
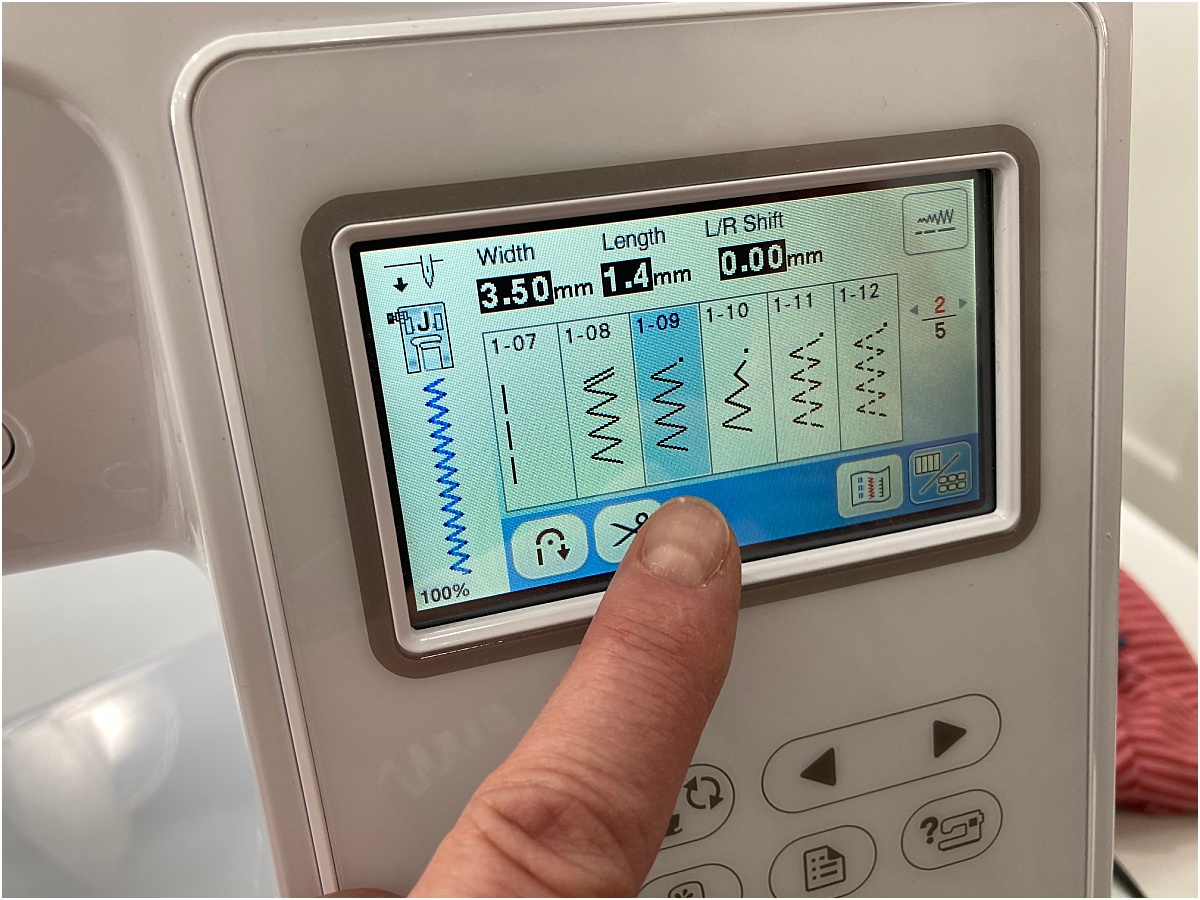
STITCH TYPE:
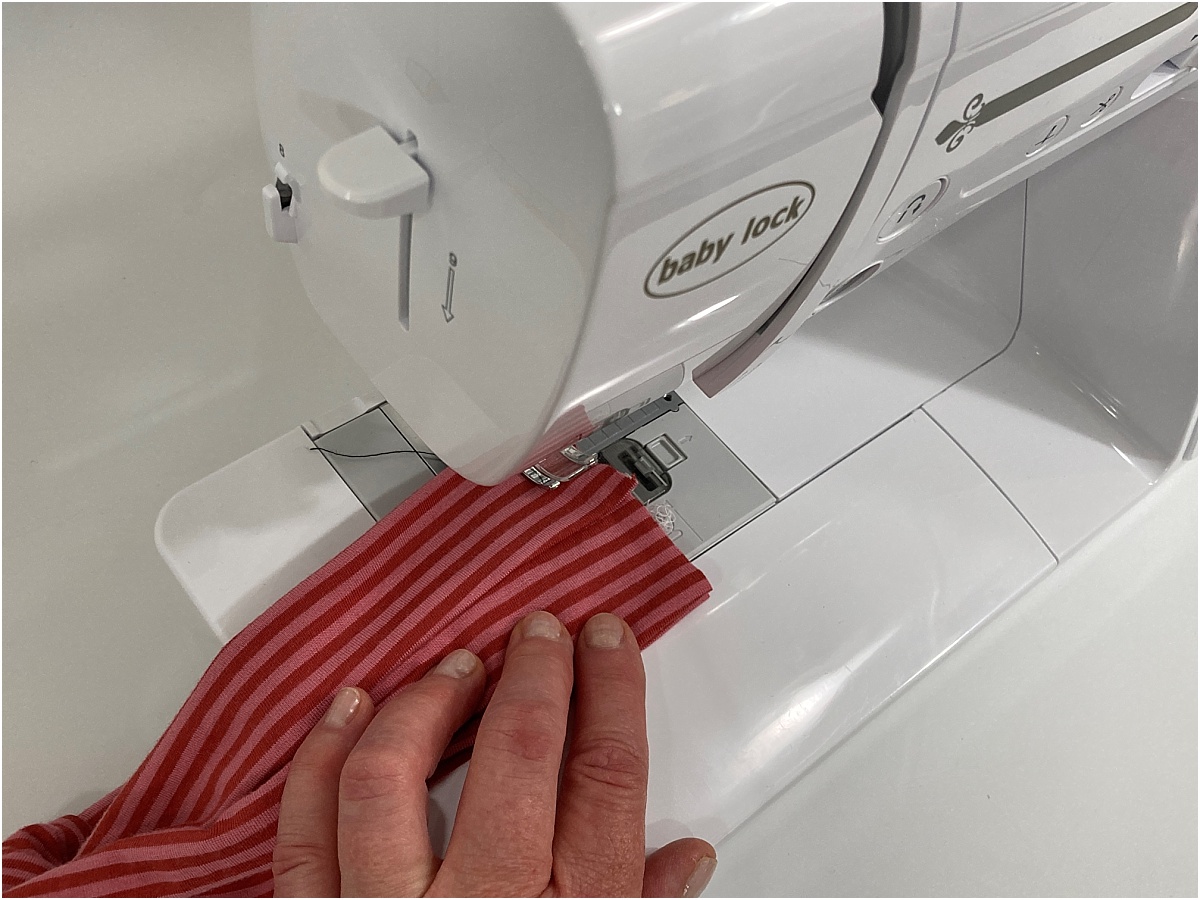
Use a lightning bolt stitch, a small narrow zigzag stitch, this is so the seams won’t pop and break when the fabric is stretched, or you can use a 3-4 thread serger.
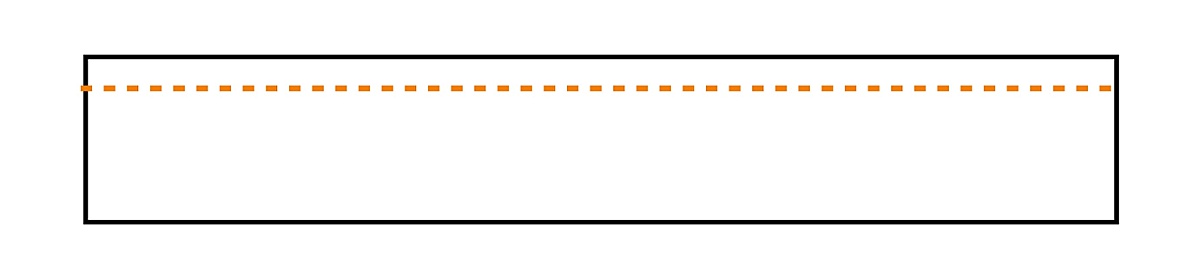
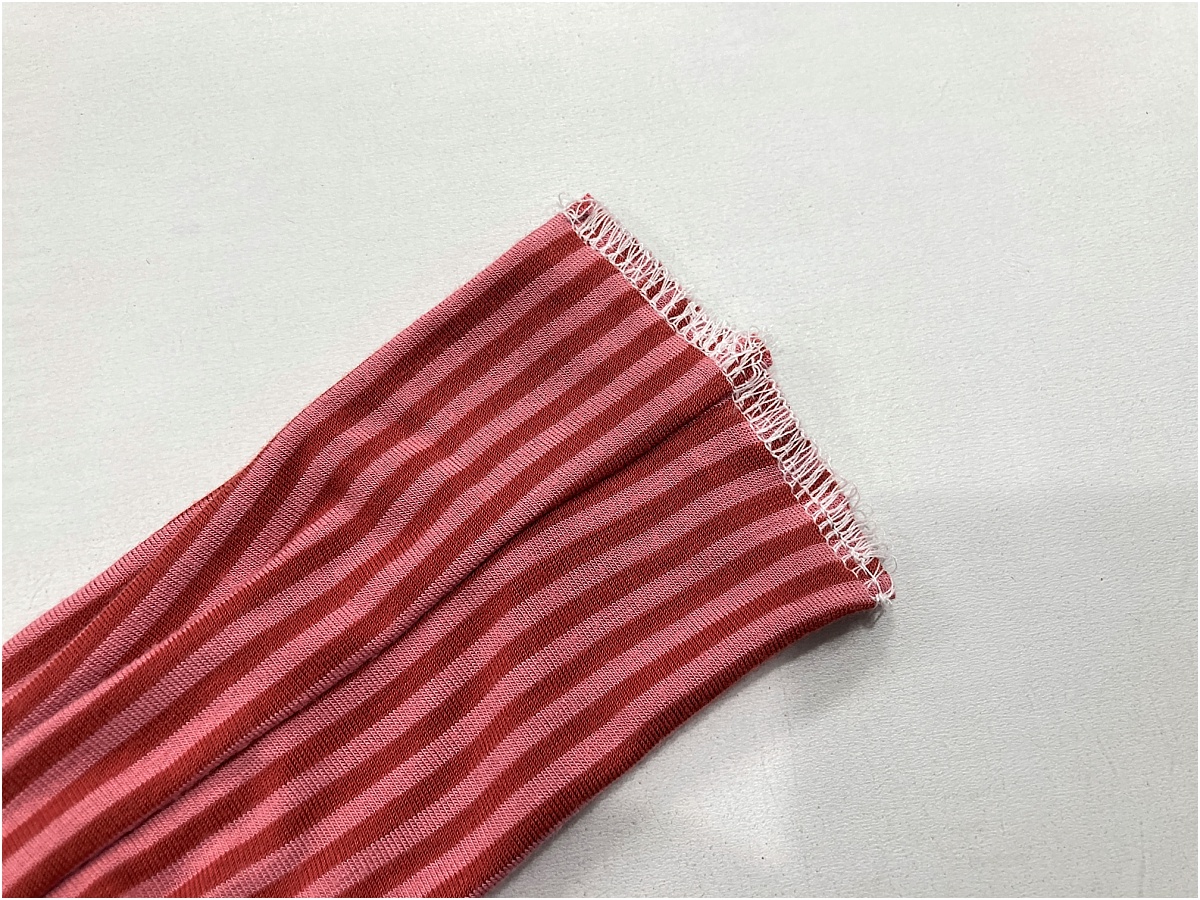
Fold the fabric strip in half lengthwise. Sew along the unfinished edge. Backstitch at the beginning and end of the seam.
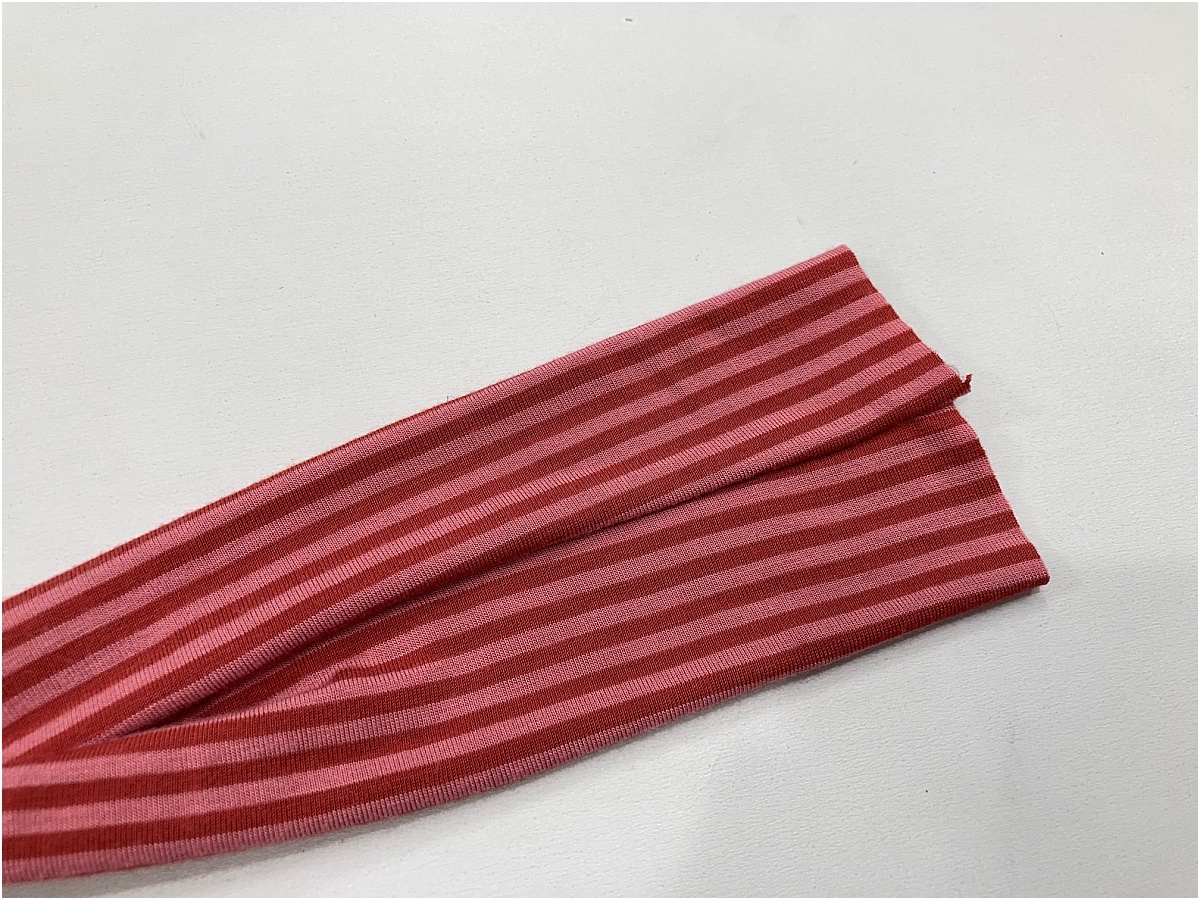
Turn right side facing out using a turning stick or the eraser end of a pencil.
Align the seam so it is in the center of the headband.
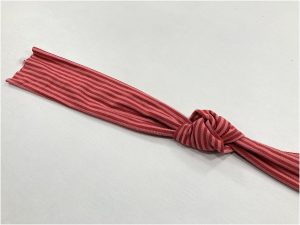
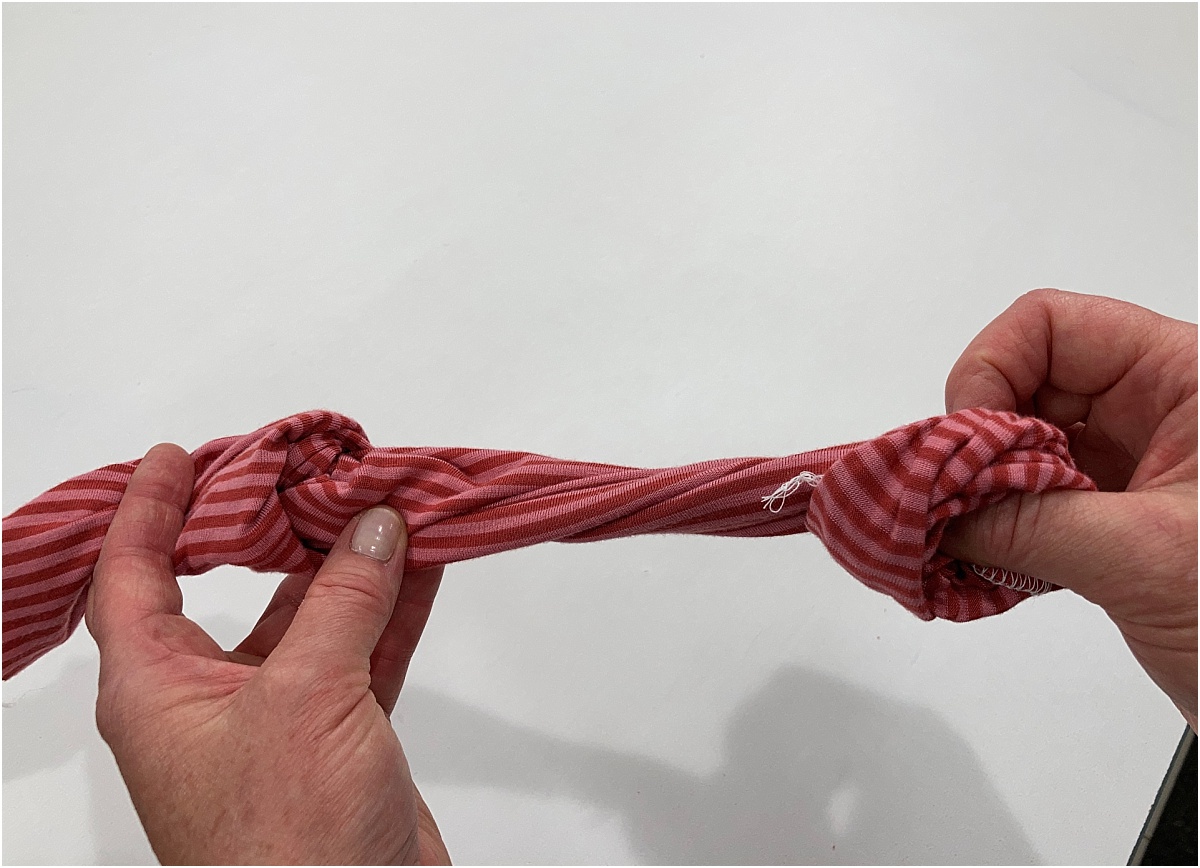
Take the short ends and tie a very loose knot.
Place the shorts ends Right Sides Together and with the seams lined up. Using a regular straight stitch, sew along the unfinished edge using a 3/8 inch seam allowance. (Basically the edge of your presser foot). Trim seam allowance.
I love this method because there is NO SEAM on the back of the headband, therefore making it so much more comfortable to wear.
Slide the knot down so it covers the seam you just made. Adjust the knot how you want it and you’re finished!