How to Make Fabric Storage Cubes
Looking for a stylish and practical storage solution? Look no further than fabric storage cubes! These versatile cubes are a game-changer when it comes to organizing your home. Made from durable and high-quality fabric, they are designed to withstand the test of time while adding a touch of elegance to any room. Not only are fabric storage cubes functional, but they are also incredibly easy to use. With their collapsible design, you can effortlessly fold them flat when not in use, saving valuable space. The sturdy handles make it convenient to transport the cubes from one room to another, making them ideal for those who like to rearrange their living spaces frequently.
What you will Need: How to Make a Fabric Storage Cubes
- 1/4 yd outer and lining fabric
- 1/4 yd Pellon 808 fusible interfacing or equivalent
- 5″ square piece of cardboard

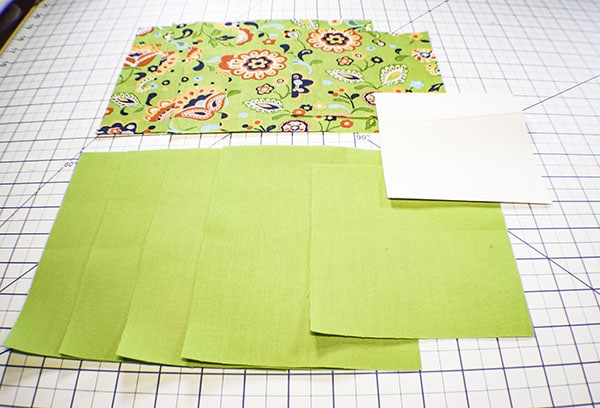
Step 1: Cut your Fabrics
Cut your outer, lining and interfacing pieces as follows:
- 4 each that measure 5 1/2″ x 7″
- 1 each that measures 5 1/2″ square
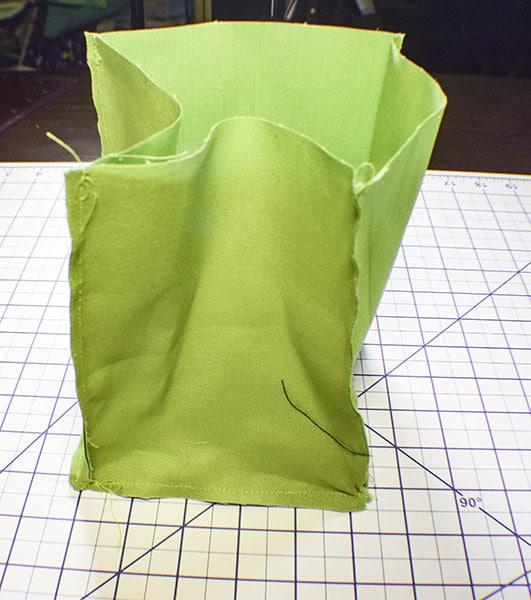
Step 2: Stitch sides of cube
Fuse the interfacing to the wrong sides of the outer fabric following the manufacturer’s instructions. Take two of the the 5 1/2″ x 7″ pieces of outer fabric and sew them right sides together along the long edge stopping 1/4″ from the bottom. Stitch another 5 1/2″ x 7″ to the two you just sewed right sides together again stopping 1/4″ from the bottom. Repeat for the fourth piece. Join the fourth piece with the first piece creating a box with no top or bottom.
Fuse the interfacing
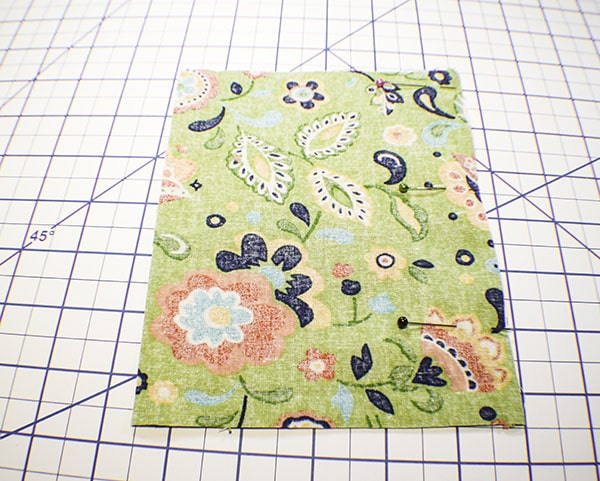
Place rectangles right sides together

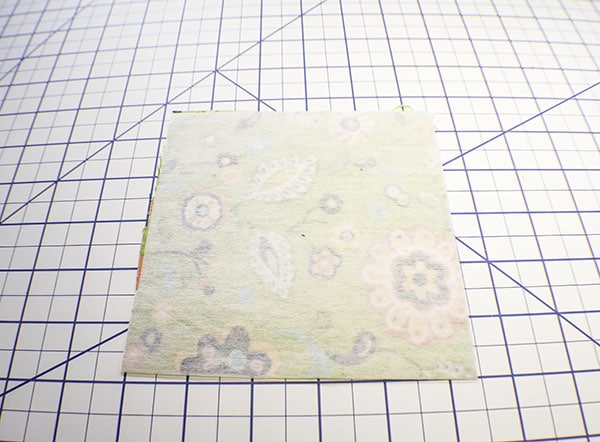
Step 3: add the bottom
Take the 5 1/2″ square and pin it to the bottom using the 1/4″ you left on the bottom as the seam allowance. Stitch all the way around to create a cube with no top. Turn right sides out.
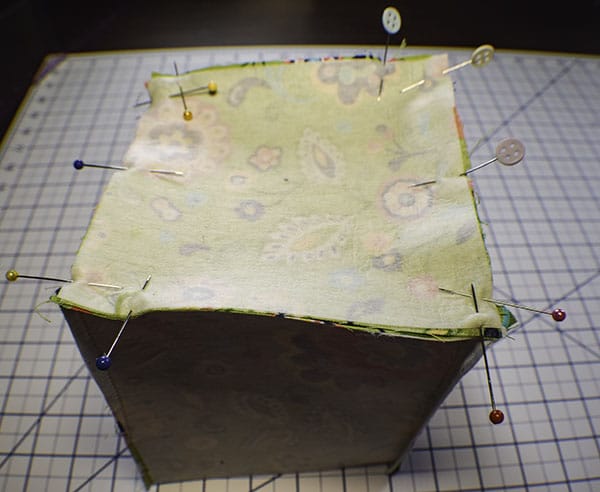
Add the bottom
Step 4: Create the lining
Create the lining in the same way that you created the outer cube.
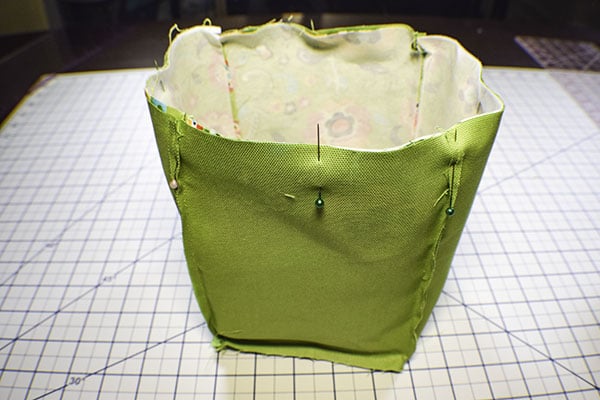
Step 5: Join the two pieces
Place the outer piece into the lining piece so that they are right sides together. Pin the raw edges along the top. Stitch the top using a 1/4″ seam allowance but leaving an opening along one side for turning and inserting the cardboard.
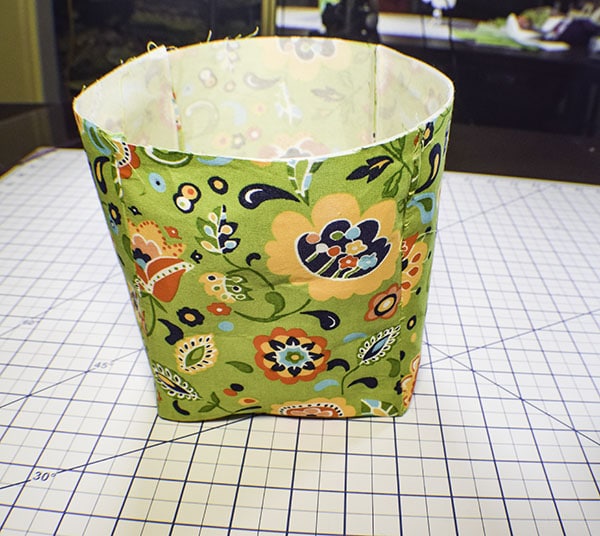
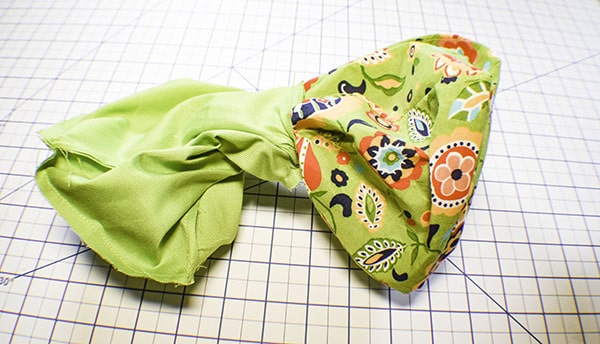
Step 6: Turn the fabric storage cube
Turn the storage cube right sides out through the opening you left in the top.
Step 7: Add the Cardboard and finish the cube
Fold the cardboard slightly and slip it into the opening you left in the top and place it onto the bottom. Stuff the lining into the outer cube and press the top seam. Pin or clip the seam and the opening closed. Topstitch all the way around. Fold down the top of the cube 1″ – 1 1/2″. Embellish if you like. You have now finished your fabric storage cube.
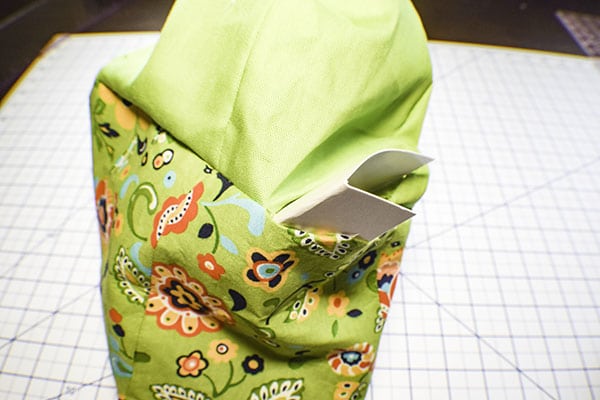
Add the cardboard
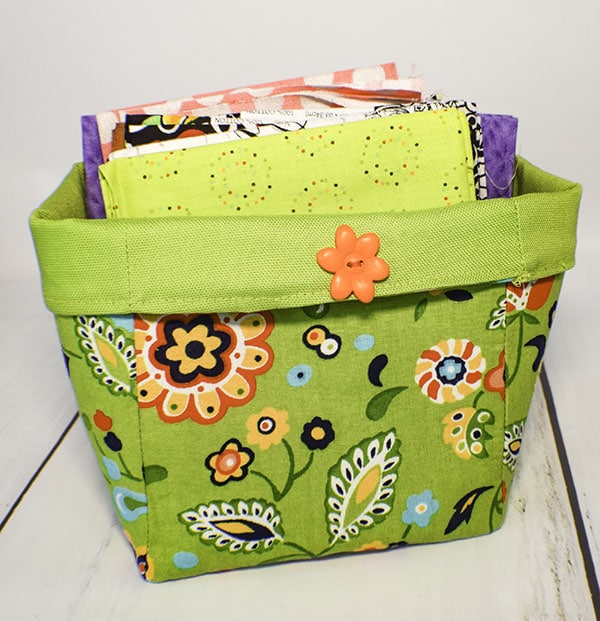
Storage Cube