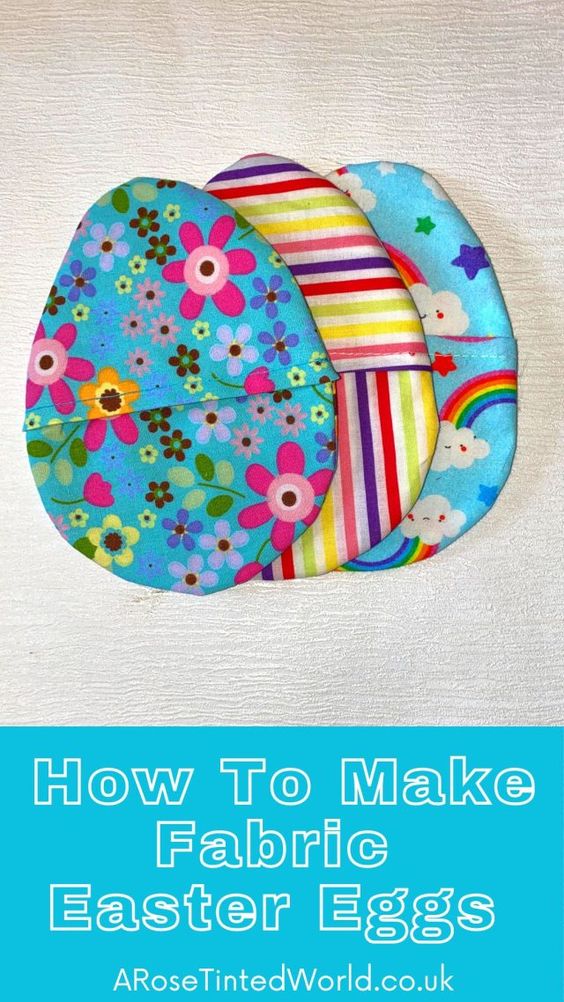
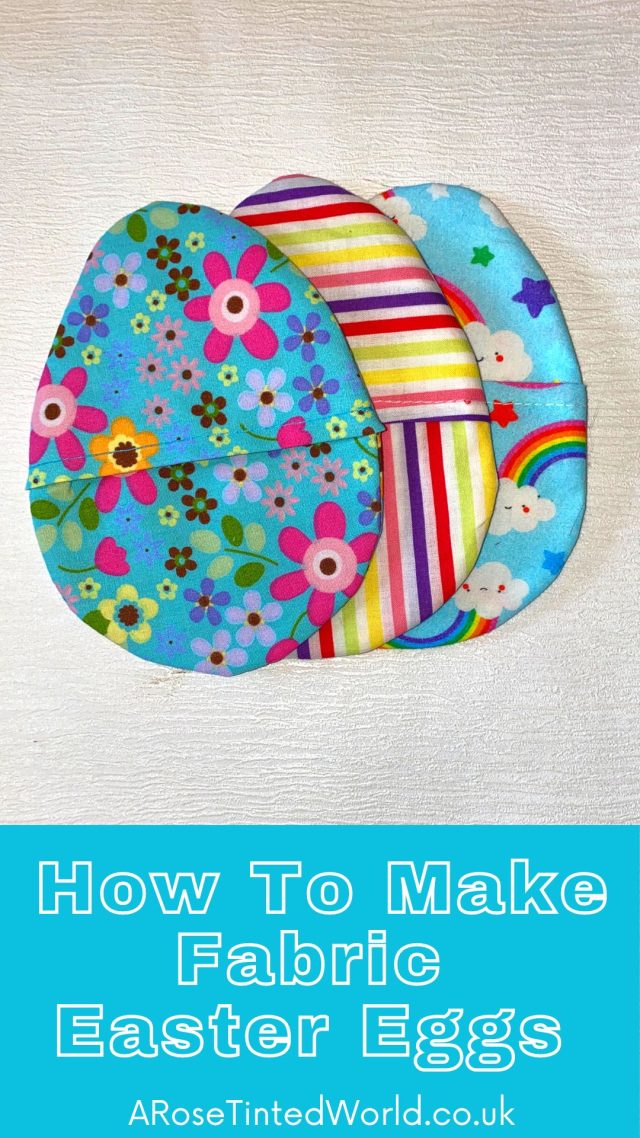
How To Make Fabric Easter Eggs
These fabric Easter eggs make a wonderful addition to your holiday decor or a thoughtful gift for friends and family. Whether you display them in a decorative bowl, hang them on a tree, or use them as part of a festive centerpiece, these fabric eggs are sure to bring a touch of whimsy to your Easter celebrations. Get started on this fun and festive sewing project today and enjoy the satisfaction of creating something beautiful with your own two hands. The pattern includes step-by-step instructions on how to cut, sew, and stuff the eggs, making it easy for both beginners and experienced sewers to follow along. Choose your favorite fabrics in pastel colors or fun prints to customize your Easter eggs to match your personal style.
- Fabric – I used cotton fabric scraps
- Scissors
- Thread
- Pins
- A Sewing Machine
- An Iron
- A Heat erase pen
- My Easter Egg Template
Please note – the free pattern template is for the size of fabric egg that I made. But if you want them a touch larger or smaller, all you need to do is reduce or expand the size.
Making Refillable Fabric Eggs
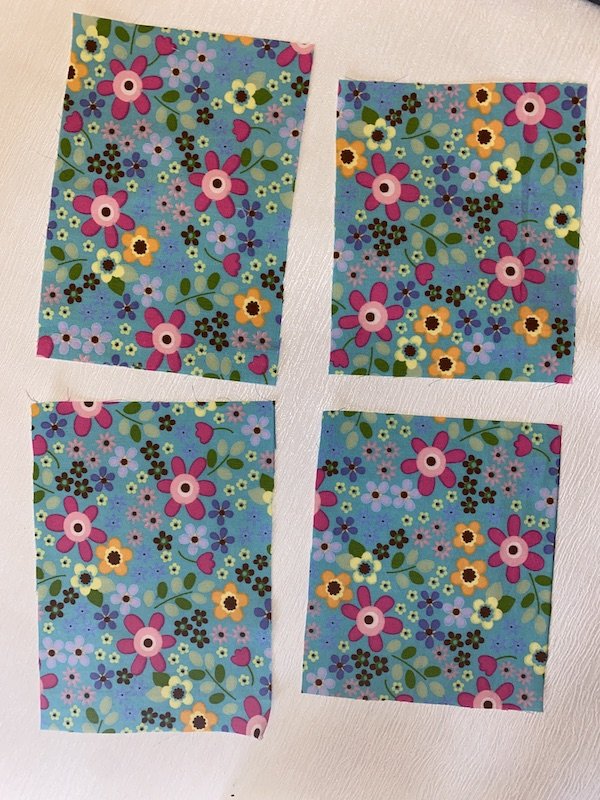
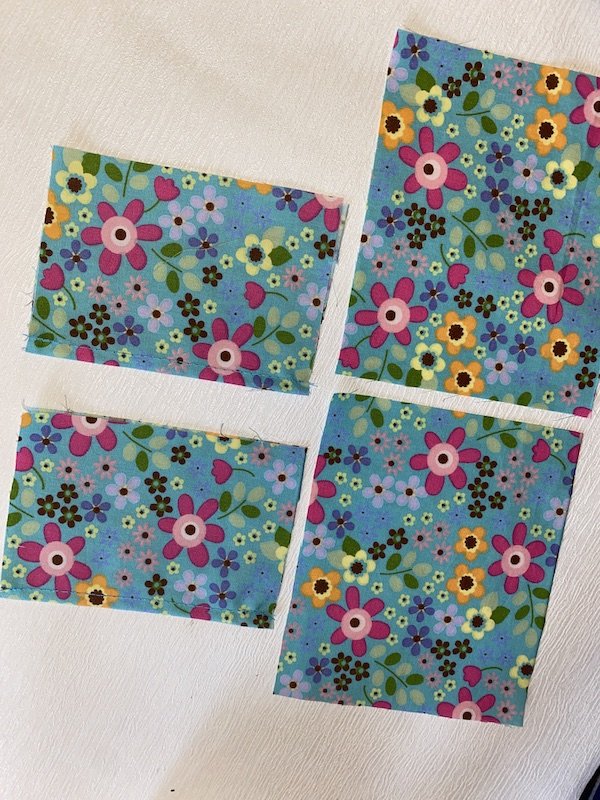
Take four pieces of fabric. Mine were 2 pieces 6×5 inch and 2 pieces 7×5 inch.
Fold the larger pieces in half wrong sides together and sew a line of topstitching along the folded edge.
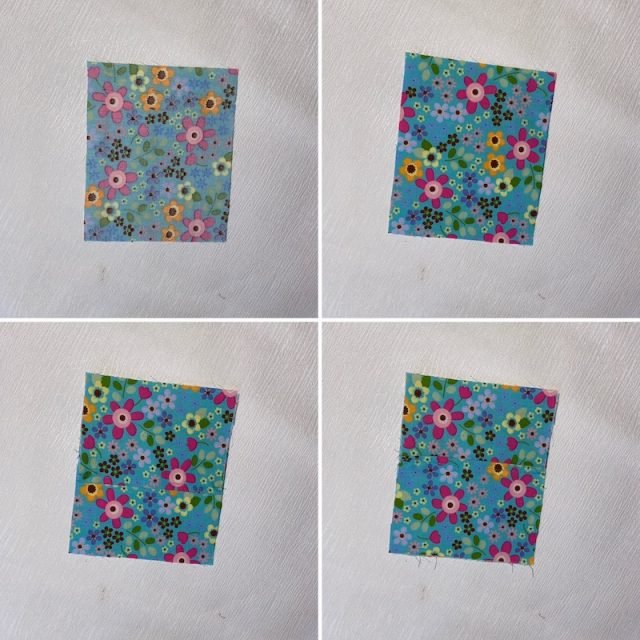
Layer the pieces as follows. Place one of the smaller pieces face down. Place the second of the smaller pieces wrong sides together face up on top. Then place one of the folded pieces with the raw edges to the top and the folded edge to the centre. Lastly place the second folded piece with the raw edges to the bottom and the folded edge to the centre.
(Note: This will mean that the topstitched folded edges overlap slightly)
Pin all these layers together. Cut out the fabric Easter eggs pattern and draw around this template onto the layers using a heat erase pen.
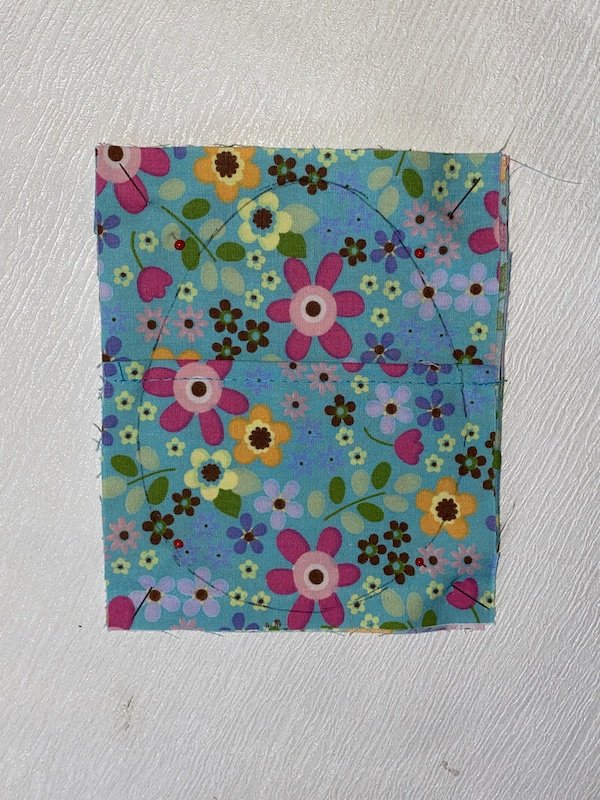
Take it to your sewing machine and sew all around the line that you have just drawn. I like to reinforce over the opening edge a few times (where the topstitched folds overlap)

Trim around at a few mm seam allowance using pinking shears – you could also use an overlocker.
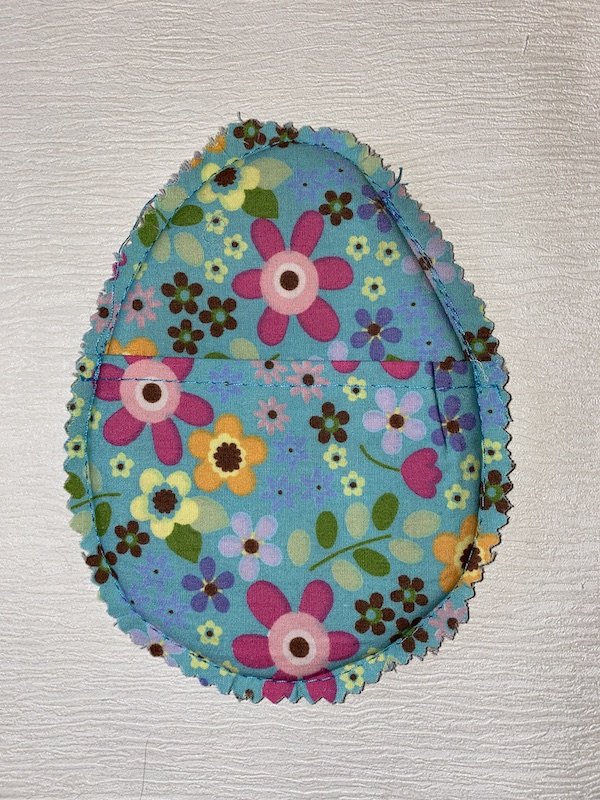
Turn the egg the right way out, push out the seams and give it a good press.
Your egg is complete! You can make your DIY fillable Easter eggs in whichever fabric suits the recipient the most. Or why not personalise them more by adding a name using embroidery or heat transfer vinyl?