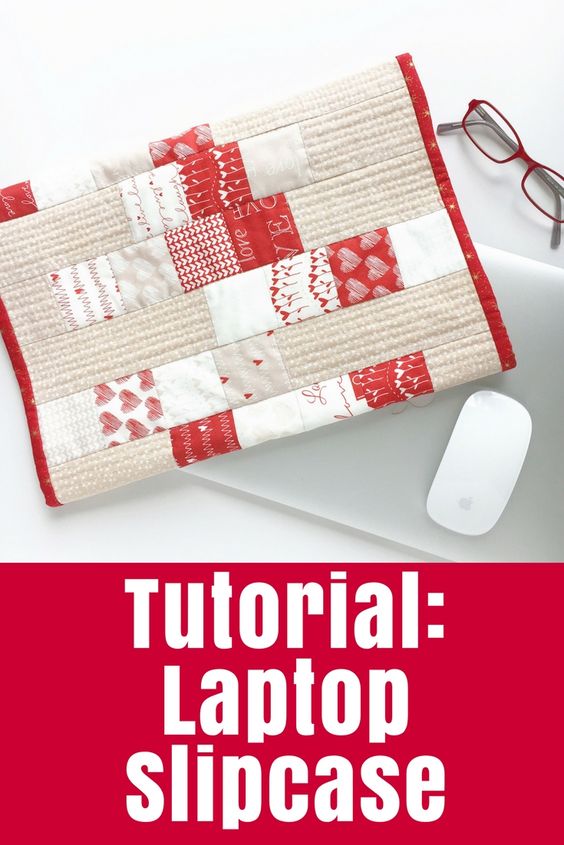
Simple Laptop Slipcase
Create your own stylish laptop slipcase with this easy-to-follow sewing pattern. Whether you're a beginner or an experienced seamstress, this pattern will guide you through the process of making a custom slipcase for your laptop. Choose your favorite fabric and personalize it to match your unique style. This pattern is perfect for protecting your laptop from scratches and bumps while on the go. With detailed instructions and step-by-step illustrations, you'll have a professional-looking slipcase in no time. The slipcase is designed to be slim and lightweight, making it easy to carry around in your bag or backpack. Whether you're a student, a professional, or someone who just loves to DIY, this pattern is a fun and practical project to take on. Upgrade your laptop's protection with a handmade slipcase that reflects your personal style.
What You Need
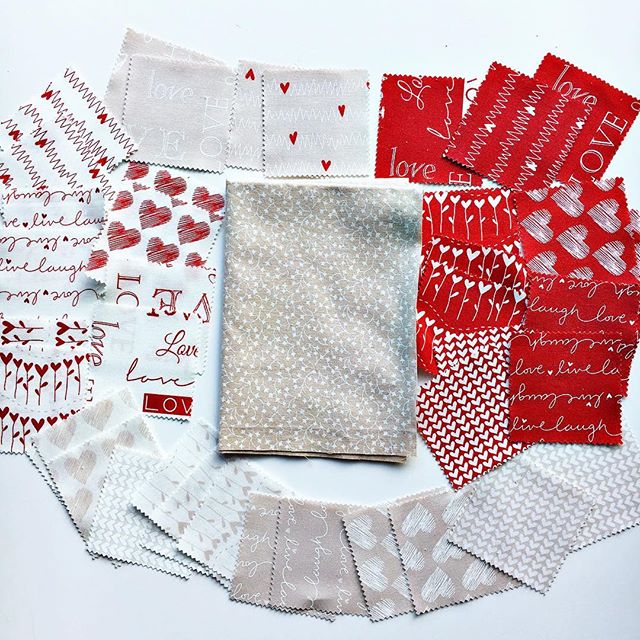
- Fabric for the patchwork – see note below about calculating the size – I used a mini charm square pack and a fat quarter of extra fabric to create 11 x 2.5″ strips
- Backing fabric – I used flannel so it is soft and adds a little more thickness – 23″ x 15″ or the same as your patchwork piece
- Iron on pellon or quilt batting – 23″ x 15″ or the same as your patchwork piece
- Fabric for binding – two strips 2.5″ x 28″ (my 23″ computer girth plus some extra for overlapping.)
- Usual sewing supplies
A note about fabric for the patchwork
Your slipcase sizing will depend on your computer.
Measure the width across your laptop and add 1″. My computer measurement is 14″ so my fabric measurement is 15″.
Wrap your tape measure around your closed laptop to find a girth measurement. Add 2.5″ for overlap. My computer measurement is 20.5″ so my fabric measurement is 23″.
My outer fabric needs to be 23″ x 15″.
You could easily make this slipcase with a single piece of fabric rather than a pieced patchwork outer layer.
Or you could make it with eleven 2.5″ x 15″ jelly roll strips. (Add more strips if your girth measurement is greater than 23″.)
Or you could create the 2.5″ strips using a mini charm square pack (2.5″ x 2.5″ squares) and some extra fabric.
What To Do
Piecing:
First, we need to piece the outer patchwork piece.
If you’re are using a single piece of fabric for this, you’re all set to go on to the basting and quilting step below.
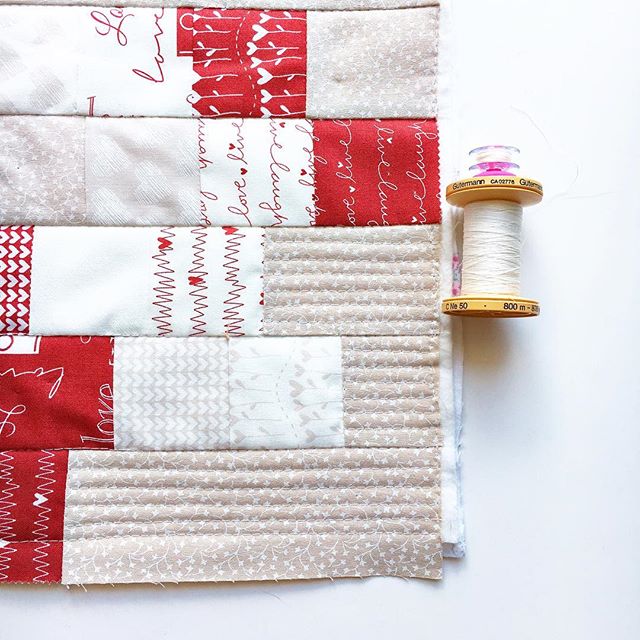
If you’re using jelly roll strips, trim them to 15″ long (or your width measurement), then join 11 strips (or enough for your girth measurement), pressing the seams to one side as you go. You can see my original slipcase using jelly roll strips in the photo below.
If you’re using mini charm squares:
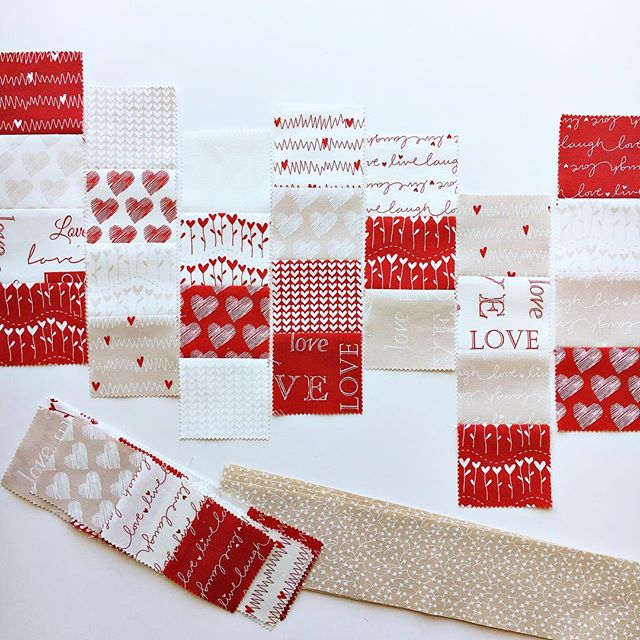
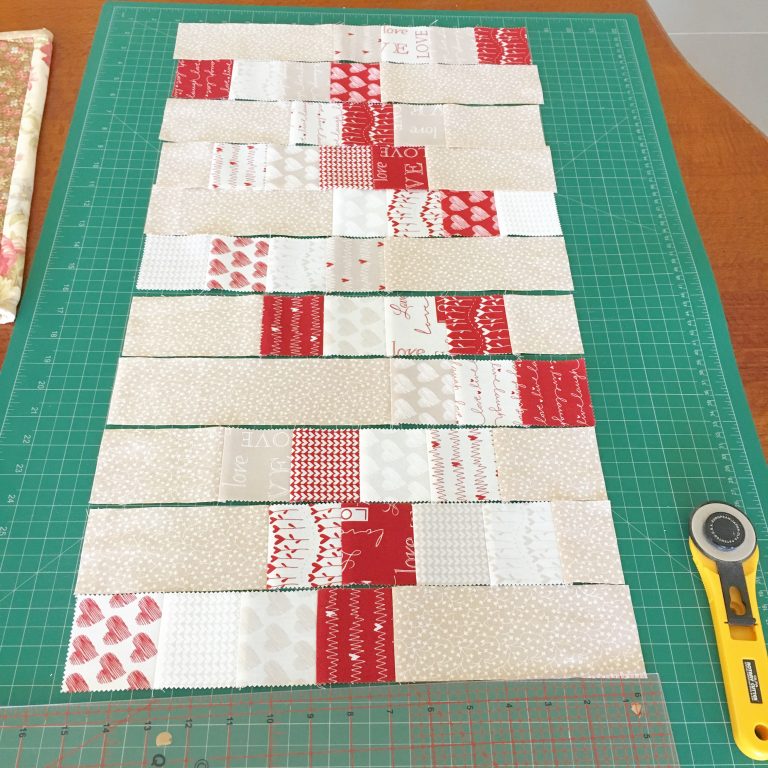
Start by dividing them into 11 groups of 3 or 4. (If your girth measurement is more than 23″ then you will need more than 11 groups.) I tried to mix the patterns by laying them out on my cutting mat. I also thought about which sets would sit beside each other in the finished strips so I didn’t have the same patterns next to each other. Join the sets into mini strips, pressing the seams as you go. I pressed mine all to the same side but you could press them open if you prefer. I used quarter-inch seams.
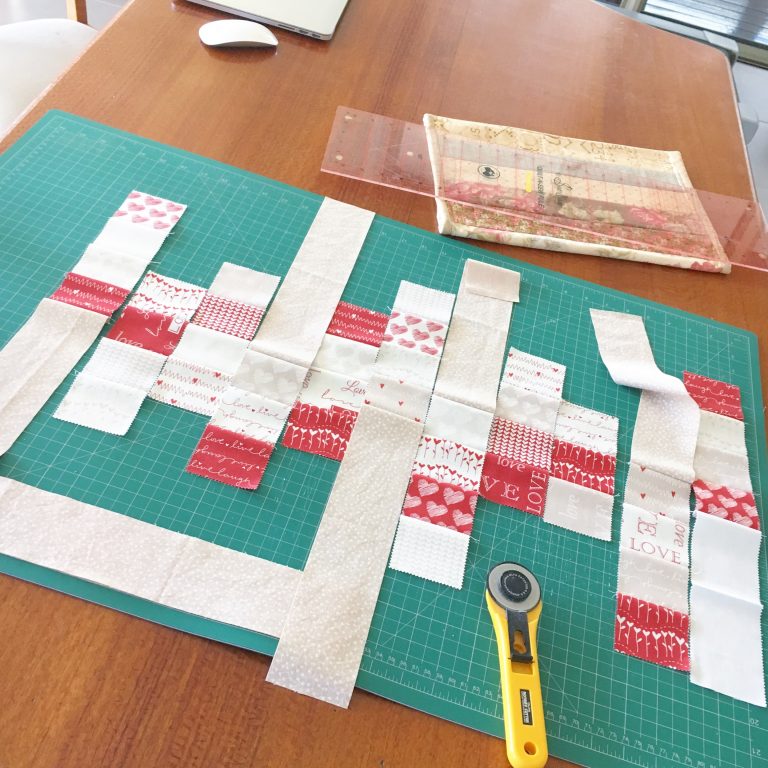
Lay out all the mini strip sets on your mat and decide where you want them to line up. I wanted a sort of staggered line. I used a line on my cutting mat as the top line of my 15″ pieces and then another line as the lower end of the 15″ strips – 15″ away obviously. Some sets were against one or other of the lines, while others fell somewhere in the middle.
Next, we need to make all these sets into 15″ strips. I cut my fat quarter of background fabric into 2.5″ strips. I started by joining background strips to the mini strip sets that were against the ends of my 15″ line as they needed the biggest background strips added. I joined a background strip then trimmed the excess down to 15″. After joining the strips that needed the largest background additions, I went back and used the offcuts to add background to both ends of the other mini strips until all my strips were 15″ long. Press all the strips as you go along to make sure your measuring is accurate.
Finally join all the strips together to create a patchwork piece that is 23″ x 15″ (or your custom measurement).
Basting & Quilting:
Next baste your patchwork top, batting or pellon, and backing piece together.
This is just like basting a mini quilt!
Then it is time to quilt. This is just joining the three layers together with stitching.
I started by stitching along all the strip joins in the seam line. This is called stitching “in the ditch”. Then I added some simple straight line quilting on the background areas. This is simple with a walking foot. My lines are about half an inch apart which is easy to do by using the machine foot as a guide.
Finishing the Slipcase
Once your quilting is all done, fold the whole cover with right sides together and join the seam to create a tube that fits over your computer. I also used my overlocker (serger) on this seam to stop it fraying. You could alternatively zig zag the seam.
Turn through your tube and make sure it fits. If it is too loose, you can create a second seam just in from the first to make it slightly smaller. (If it is too small, oh no! Something must have been out in your measurements! Never fear. Unpick the join then go back and add some extra fabric and batting to make your whole case a little longer before you join the seam again.)
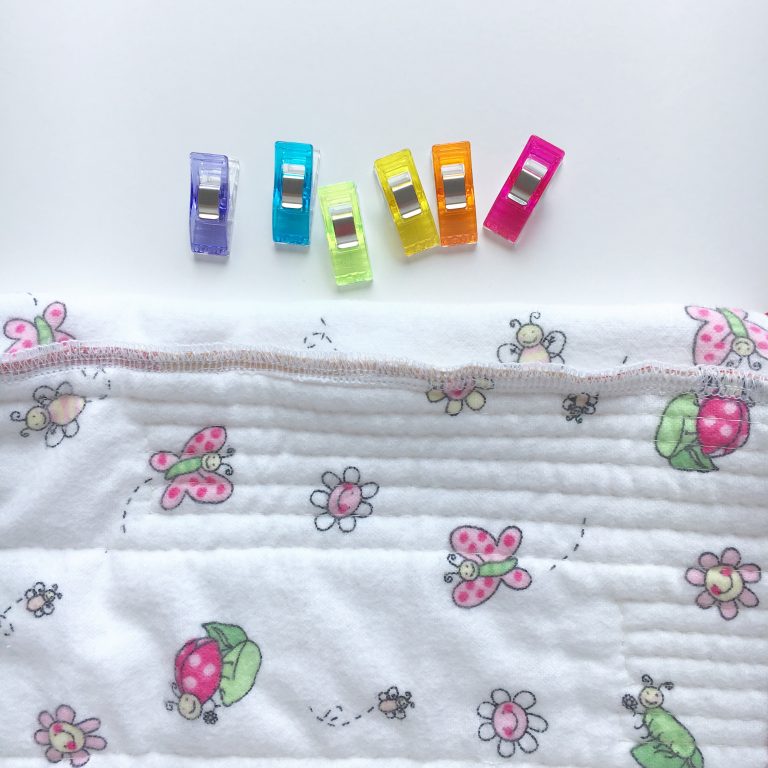
Finally, add binding to each end of the tube to cover the raw edges and finish it nicely. I used the same method as I would for adding binding to a quilt. You won’t need to turn corners but this post also explains the binding basics.
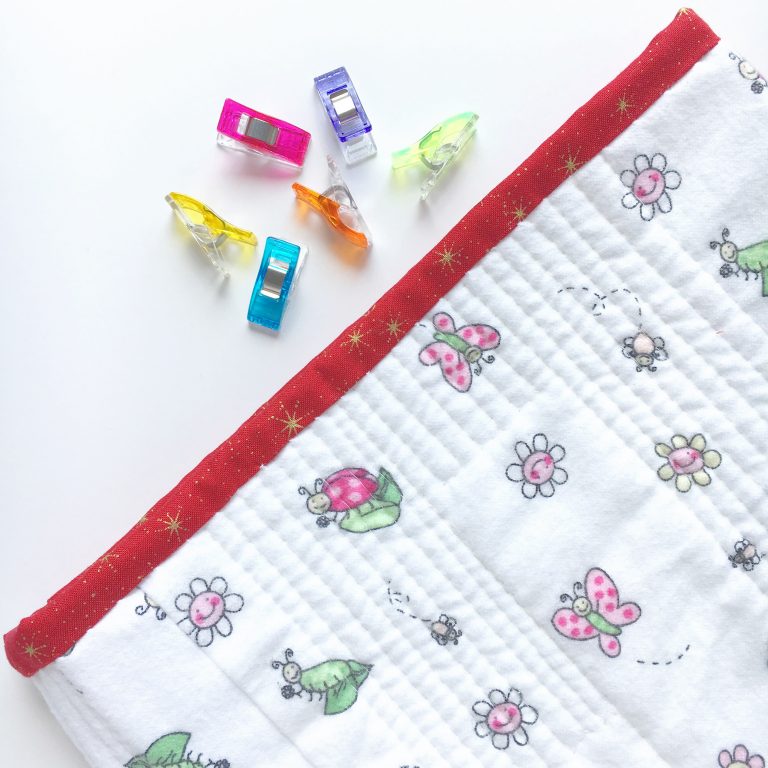
All done!
if you’re concerned about the laptop sliding out of the case, just wrap a piece of 2″ elastic around the case to get the length and join the ends like a giant rubber band.
