How to Make a Simple Beach Coverup
Looking for a chic and trendy beach coverup? Look no further! This sewing pattern is perfect for creating a simple yet stylish coverup that will make you stand out on the sandy shores. Whether you're lounging by the pool or strolling along the beach, this pattern will help you create a versatile and fashionable coverup that suits your personal style. With this sewing pattern, you'll be able to customize your beach coverup to your liking. Choose from a variety of fabrics, colors, and patterns to create a unique piece that reflects your individuality. The pattern provides step-by-step instructions, making it easy for both beginners and experienced sewers to follow along. From cutting the fabric to stitching it together, you'll be guided through the entire process, ensuring a professional-looking finish. Not only is this sewing pattern a fun and creative project, but it also allows you to save money by making your own beach coverup. Instead of spending a fortune on store-bought options, you can create a high-quality coverup at a fraction of the cost. Plus, you'll have the satisfaction of wearing something you made with your own hands. So why settle for a plain and ordinary coverup when you can make a statement with this stylish sewing pattern? Get ready to turn heads and make a splash at the beach with your one-of-a-kind creation!
What you will Need: How to Make a Simple Beach Coverup
- 2 yds of cotton or knit fabric
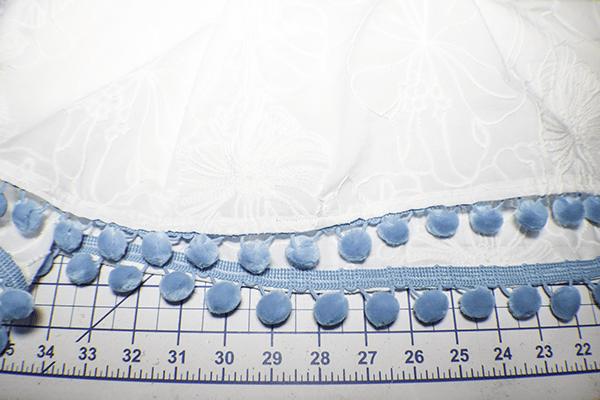
- 2 yds of pompom trim
- 2 yds of neck trim
- Standard sewing supplies
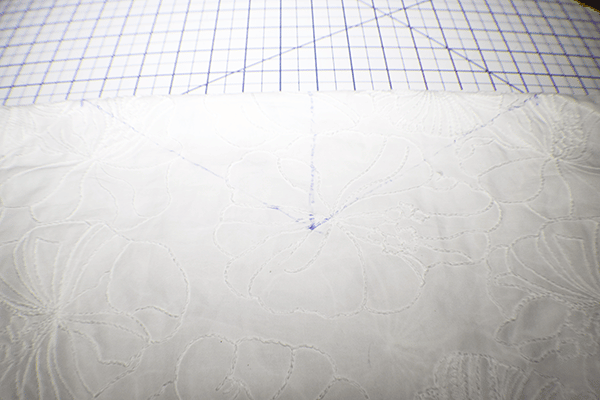
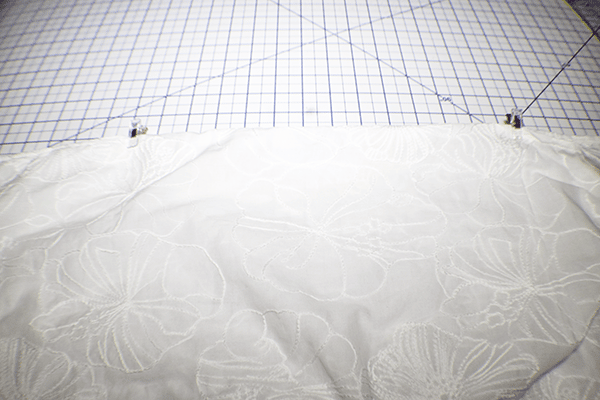
Step 1: Cut the Head Opening
Unfold the fabric and fold it in the opposite direction. Cut the fabric about 40″ wide and whatever length you want your coverup to be. I cut mine to be about 35″. Find the center of the fabric on the fold and mark with an erasible pen or pin. Determine if you would like a V-neck or a U-neck and draw it out. I chose a V-Neck for my coverup.
I measured 4″ down from the center and 6″ on either side of the center and drew a V. Cut out the V to be the hole for your head. You can try it on now and adjust it as needed.
Step 2: Create the Armholes
Place the fabric right sides together and stitch the sides starting at 10″ from the bottom and stopping at 13″ from the top. This should hopefully mean that you are stitching about 13″. This way you are leaving a slit on either side at the bottom. Stitch using a 1/2″ seam allowance. This will create the armholes.
Step 3: Hem the Raw Edges
Wherever you see a raw edge hem it by folding the raw edge under 1/4″ and another 1/4″ and stitching using your machine or by hand whichever you feel most comfortable with. If you are working with knits I would recommend that you use a serger or zigzag stitch so that it will stretch with the fabric.
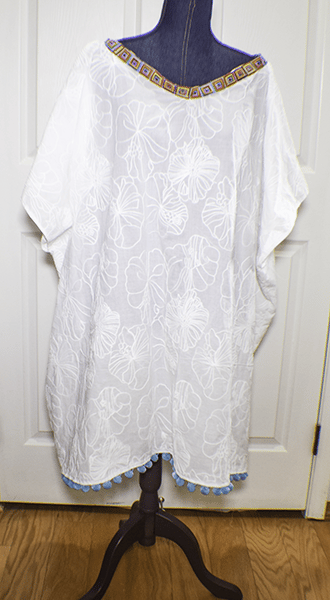
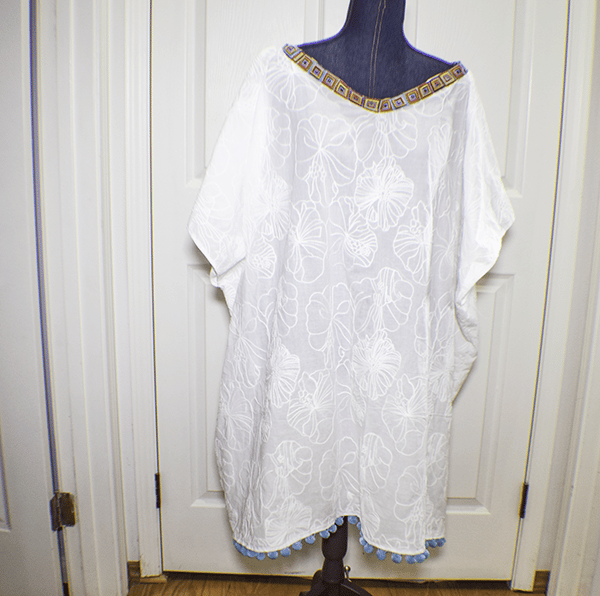
Step 4: Add the Trim
Once you have hemmed everything it is time to add the trim. This is optional. I added pompom trim to the bottom of my beach coverup and a square multicolored trim to the neckline. I just stitched it into place. The V-neck trim was a little fidgety but once I played around with it it was fine.
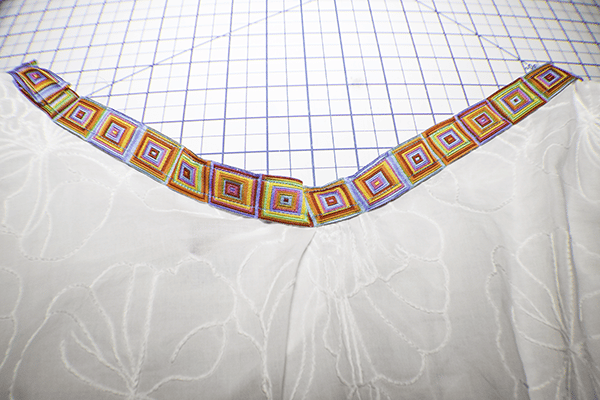
Add the neck trim