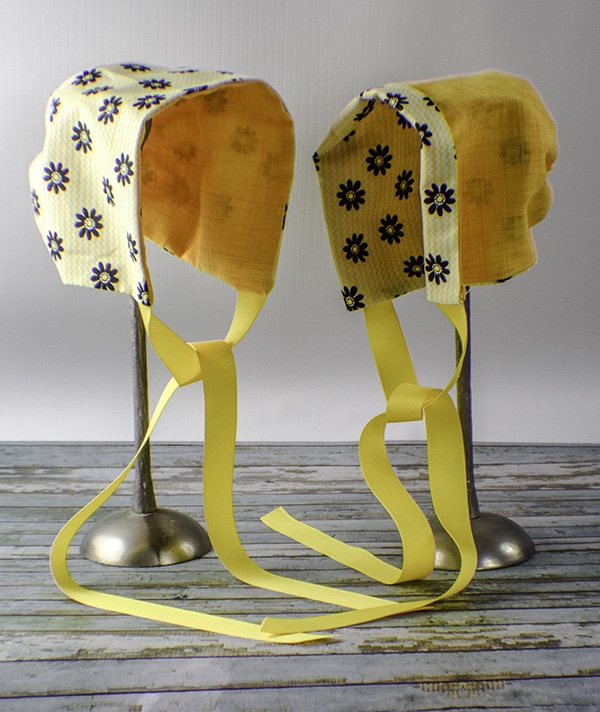
How to Make a Simple Reversible Baby Bonnet
Discover the wonders of the Reversible Baby Bonnet - Sewing Pattern! This incredible pattern allows you to create a charming and versatile bonnet for your little one. With its reversible design, you can easily switch between two adorable looks with just a flip. Whether you prefer a playful print or a solid color, this pattern has got you covered. This pattern is a treasure trove of possibilities, offering you the chance to experiment with different fabrics, colors, and trims. From delicate lace to vibrant floral prints, you can let your imagination run wild and create a bonnet that perfectly matches your baby's unique style. With clear instructions and step-by-step illustrations, this sewing pattern ensures that even beginners can achieve stunning results. So, grab your sewing machine and get ready to craft a beautiful and functional bonnet that will keep your little one looking adorable in any season.

What you will Need: How to make a simple reversible baby bonnet
- 9″ x 14″ piece of main fabric
- 9″ x 14″ piece of lining fabric
- 1 Yd 7/8″ ribbon
- 4″ of 5/8″ elastic
- Standard Sewing supplies
Step 1: Cut Your Fabrics and Ribbon:
Cut your fabrics so that they measure 9″ x 14″ each. Cut the ribbon so that there are two 18″ pieces
Step 2: Stitch the fabrics and ribbon:
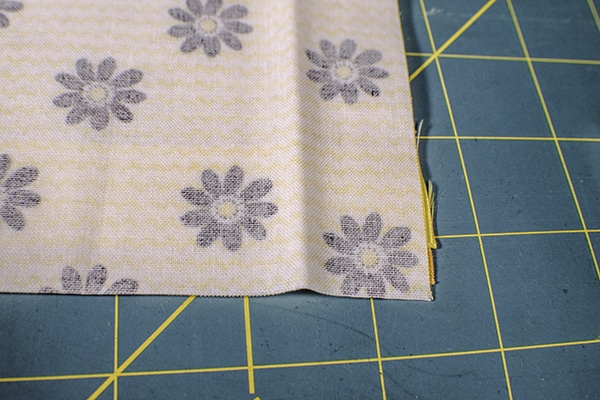
Lay your fabrics right sides together so that they are positioned longways on your work surface. Measure up 1/2″ from the bottom and pin your ribbon between the two layers. Pin the two fabrics together. Stitch from the top side down 1/4″ and backstitch using a 1/4″ seam allowance. Skip down 7/8″ and begin sewing again to the end of the side around the bottom and up the other side until you are 1 1/8″ from the end and backstitch. Skip to the last 1/4″ and sew to the end and along the top. This will leave a gap in the side seams for the casing. Sew the top closed leaving an opening for turning.
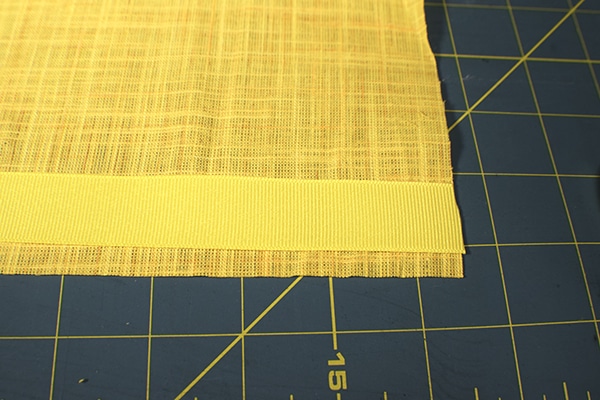
Add the ribbon
Sandwich the ribbon
Step 3: Turn the fabrics and Press
Turn the fabrics right sides out and sew the opening closed using ladder stitch. I like using that Purple Thing for turning because it really helps to poke out those corners for me. But if you don’t have that Purple Thing a knitting needle or chopstick will also work. Press. Sew a straight line across the length of the fabric just beneath the opening you created on the sides of the fabric. This creates a casing for the elastic.
Step 4: Add the elastic
Using a safety pin thread your elastic through the opening you left in the side so that it goes in one side and comes out the other. Pull the elastic tight and stitch the ends together using zig zag stitch. The elastic will slide into the casing you have created. The back of the bonnet will form a circle. You have now completed your reversible baby bonnet. How cute!