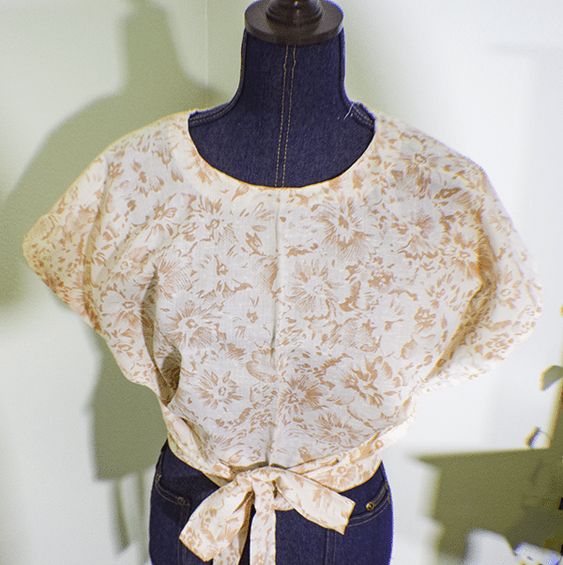
How to Make a Wrap Top without a Pattern
Discover the art of creating your own stylish and unique Wrap Top with this fabulous Sewing Pattern! Unleash your creativity and dive into the world of fashion design as you embark on this exciting sewing project. This pattern provides you with all the necessary instructions and measurements to craft a stunning Wrap Top that will make heads turn wherever you go. With this Sewing Pattern, you have the opportunity to customize your Wrap Top to perfectly suit your personal style and preferences. Choose from a variety of fabrics, colors, and patterns to create a garment that truly reflects your individuality. Whether you prefer a classic and elegant Wrap Top for a formal occasion or a fun and vibrant one for a casual outing, this pattern allows you to bring your vision to life.
What you will Need: How to Make a Wrap Top without a Pattern
- 1 1/2 yds of fabric
- Standard sewing supplies
Step 1: Cut Your Fabrics
Cut one piece of fabric 20″ x 36″ and a second piece that measures 12″ x 12″. Then cut one that measure 71″ x 4″ and a second that measures 59″ x 2″ for the straps. The first measurement may be longer and wider depending on your body size. Just make them proportionate.
Step 2: Hem the Long Sides of the Main Piece
Create a small hem by folding the long edges of the main piece twice to enclose the raw edges. Stitch.
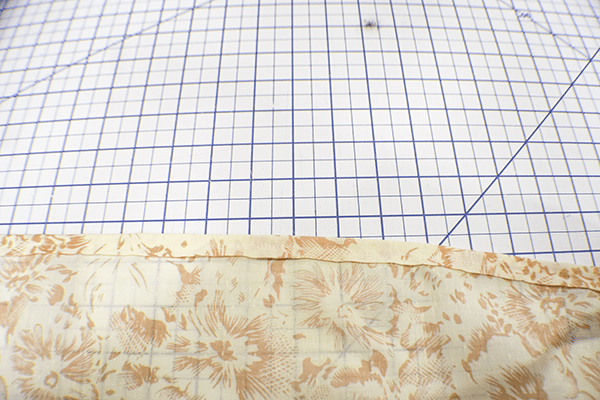
Hem the long sides
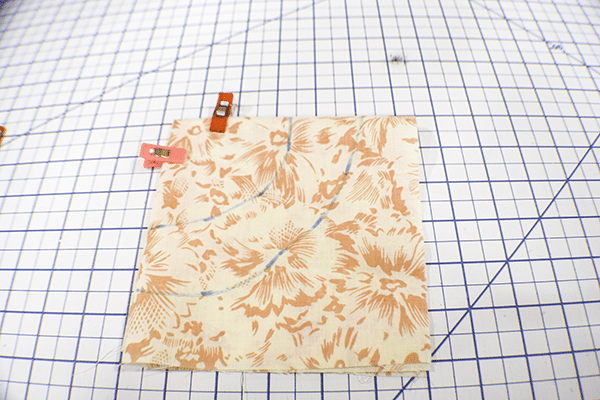
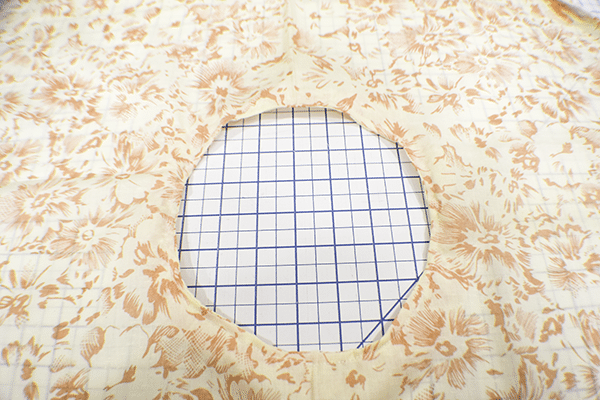
Step 3: Create the Hole for the Head
Fold the main piece in Hal width wise, Then, fold it lengthwise. Clip the sides together so the fabric doesn’t move. Using a ruler or measuring tape measure 3 1/4″ from the folded corner down each side and the middle and mark creating an arc. Connect the marks. Cut out the arc to reveal a circle in the center of the main fabric. This is similar to creating the4 facing below.
Step 4: Create the Facing
Take the 12″ x 12″ piece of fabric and fold it in half twice. Marc a 3 1/4″ arc the same way you did on the main fabric. Then mark another arc 1 1/2″ below the first arc. Cut out the two arcs creating a 1 1/2″ strip of fabric to use for the facing. Zigzag stitch around the outer raw edge of the facing or use your serger if you have one.
Mark the Facing
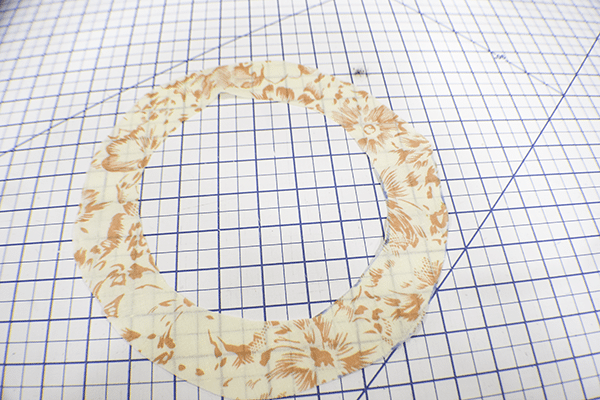
Cut facing
Step 5: Add the Facing
Place the facing right sides together with the main fabric piece so that the hole’s match. Stitch the facing to the main fabric piece using a 1/2″ seam allowance. Turn the facing to the wrong side. Clip the curves and press. top stitch the facing to the main fabric piece. You will want to use a fair number of pins in this section.
Stitch the facing
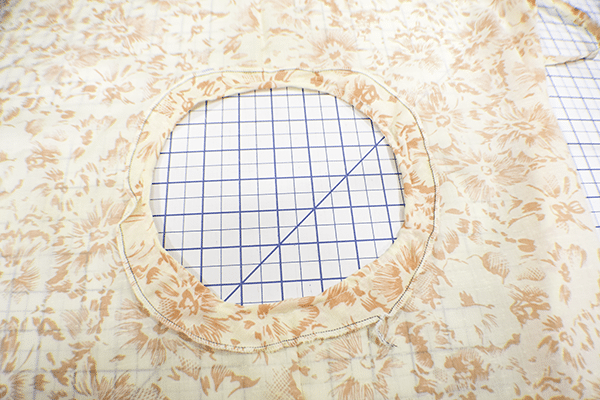
Reverse of facing
Step 6: Add the Straps
Find the Center of the shorter strap and mark. Find the center of one of the short sides of the main fabric piece and mark. Place the shorter strap right sides together with the main fabric piece matching the marks and pin. Stitch. Repeat for the longer strap.
Step 7: Finish the Straps
Fold the straps to the wrong sides of the main fabric pi3ece and fold the raw edges twice to conceal them. Pin all the way down. When you get to the part that is just strap fold the raw edges toward the center and fold in half. Fold the short raw edges to the inside and pin. Do the same for both sides on the long and short straps. Stitch.
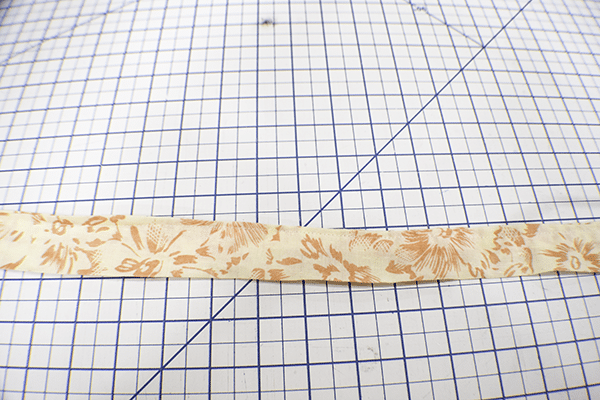
Create the straps
Step 8: Wear your Wrap Top
Put the wrap top on with the long straps facing the back. Tie the short straps in the back and the long straps in the front and you have now finished your wrap top without a pattern.
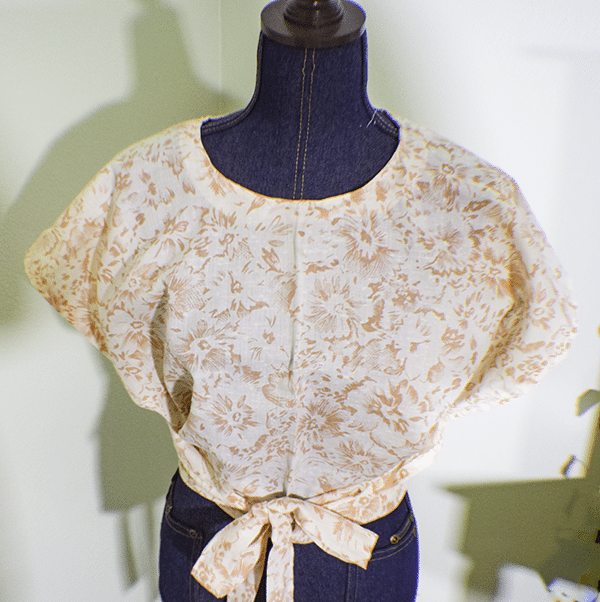
I hope you enjoyed this wrap top project.