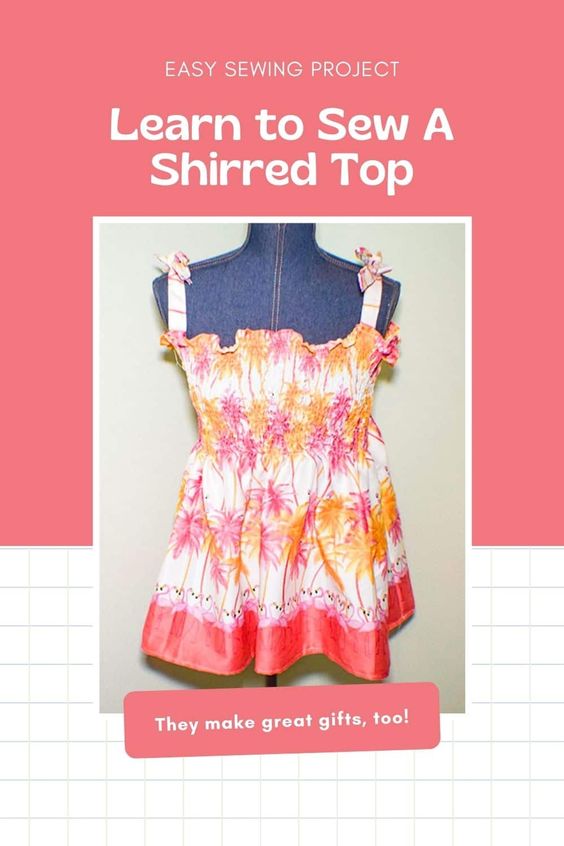
How to Make a Shirred Summer Top
Get ready to turn heads this summer with our fabulous sewing pattern for a shirred summer top! This pattern is designed to help you create a stylish and trendy top that will keep you cool and comfortable during those hot summer days. The shirred detailing adds a touch of elegance and sophistication to the design, making it perfect for both casual outings and special occasions. With our detailed instructions and step-by-step illustrations, even beginners can easily follow along and create a professional-looking garment. The pattern includes multiple size options, ensuring a perfect fit for everyone. Whether you prefer a loose and flowy style or a more fitted look, this pattern can be easily customized to suit your personal taste and body shape.
What you will Need: How to Make a Shirred Summer Top
- 1 1/2 yds – 2 yds of fashion fabric
- Coordinating all purpose threads
- Elastic thread
- Standard sewing supplies

What you will Need Shirred Summer Top
Step 1: Take your Measurements
Measure your bust measurement and the length you want your top to be plus seam allowance for hem at the top and bottom. Cut four pieces of fabric that measure 4″ x the length that you want.
Step 2: Cut your Fashion Fabric
Cut the width of your fabric 1 1/2 times your bust measurement and the length you like plus enough for hem at the top and bottom. Remember that the lighter weight your fabric the more impact the shirring will have so you will want to cut a width that is 2 times your bust if you are using very light fabric. I used 1 1/2 times for my lightweight cotton. Because I used a boarder print for my summer top I cut my fabrics so that the boarder would be on the bottom and measured from the bottom to the top when measuring the length. The boarder was also along the selvege so I needed to cut the selvage off to get an accurate measurement for the length of my summer top.
Step 3: Hem the Top
Fold the top down 1/2″ then 1/2″ again and press. Stitch the hem.
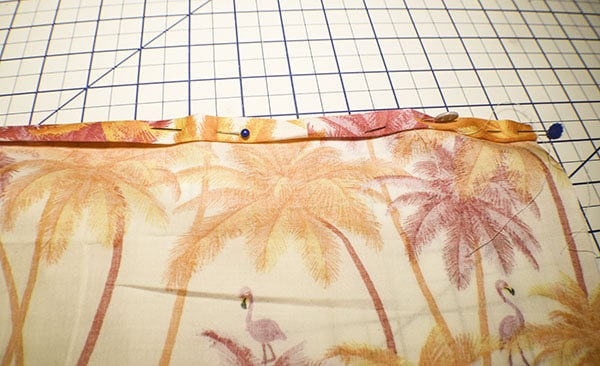
Hem the top
Step 4: Thread your Bobbin
The first thing you will want to do is thread your bobbin using the elastic thread. Keep in mind that elastic thread comes in two colors, white and black. Choose the one that works best for your project. Because it will be in the bobbin it will not be seen on the surface of the shirred summer top. You will be using standard all purpose thread in the needle and the elastic thread in the bobbin. You will likely have to hand wind your bobbin as it is very difficult if not impossible on most machines.
Step 5: Adjust your Stitch Length
Before beginning to sew, adjust your stitch length to the longest length. On my machine it is 6.0. But I settled on 4.0 as the perfect length. This is an important step as the longer the length the nicer the shirring.
Step 6: Stitch the Lines
Start stitching on the lines 1/4″ from the top and continuing until you are finished. As you stitch each line pull the fabric taut so that you are stitching on flat fabric. Backstitch at the beginning and end of each line to secure the elastic thread.
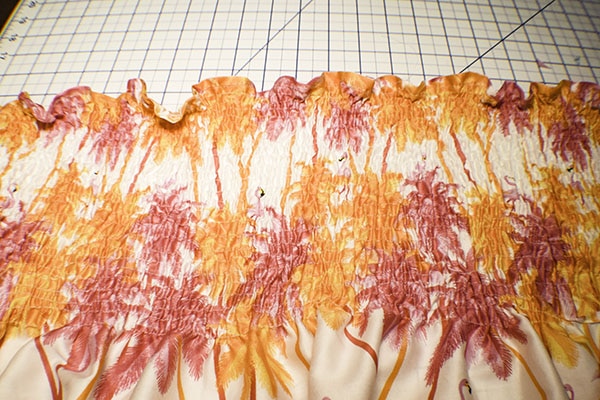
Shir the top
***TIP*** if you have an automatic thread cutter on your machine don’t use it. Instead pull the thread out and cut it so there is a tail or the elastic thread will recoil into the bobbin and you will have to rethread your bobbin after every line.
Step 7: Stitch the Top
With right sides together stitch the rectangle into a tube using a 5/8″ seam allowance. Once you have finished stitching the tube press the shirring using a hot iron. Do not iron back and forth. Just press down onto the shirring and the shirring will really become gathered.
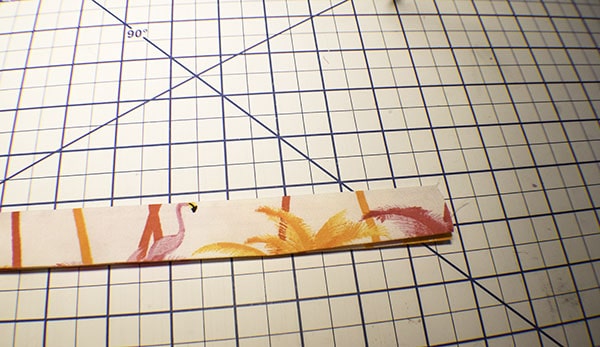
Step 8: Create the Straps
Take the strap pieces and fold the raw edges to the center lengthwise and press. Fold in half lengthwise to enclose the raw edges. Open up the folds and fold down the short raw edges and refold. Topstitch down both sides using all-purpose thread in both the needle and the bobbin. Place two straps on the front and two on the back where you want them to be. These straps tie so make sure you leave them long enough. You have now completed your shirred summer top.
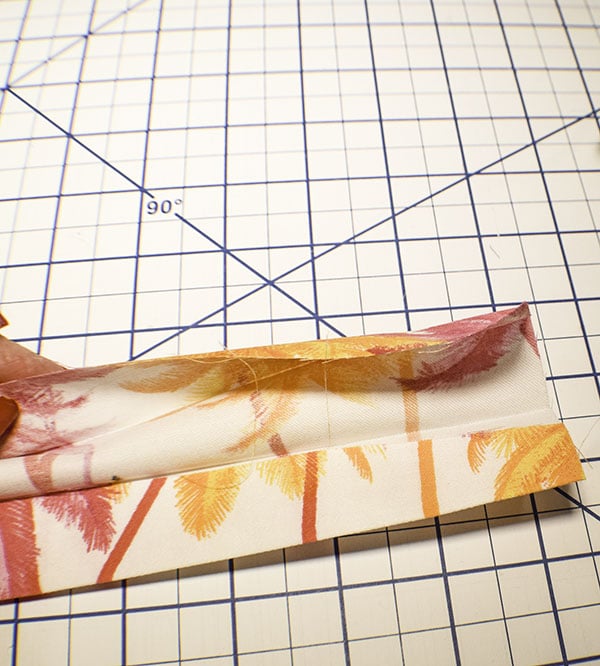
Create the straps
Created strap
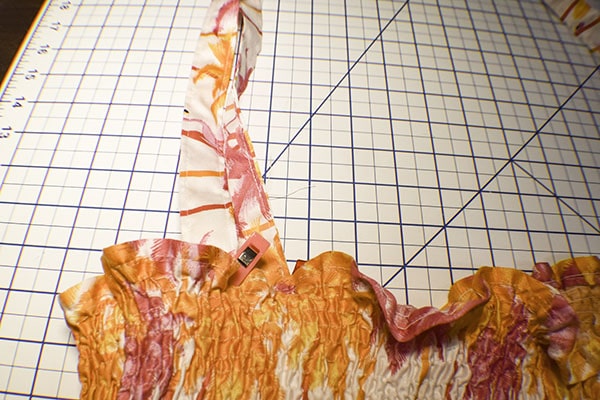
Add the straps
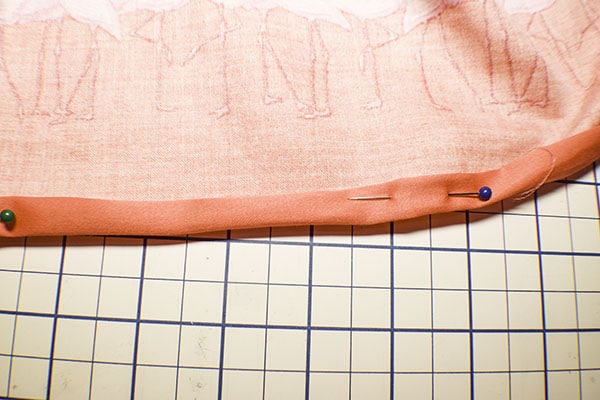
Hem the bottom
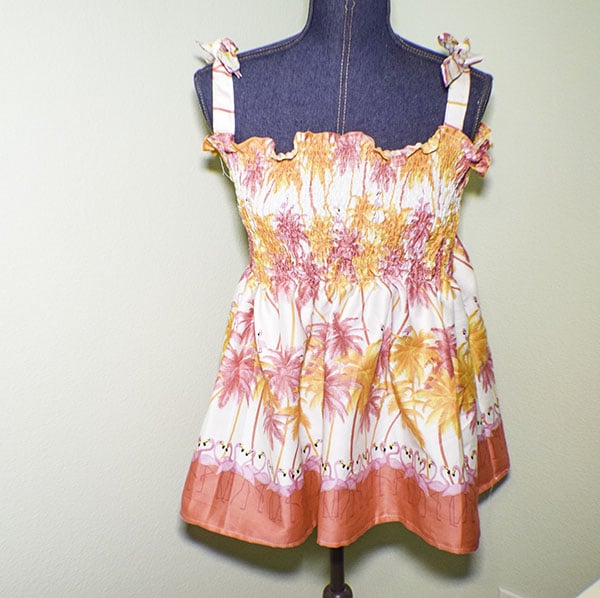
Finished Shirred Top