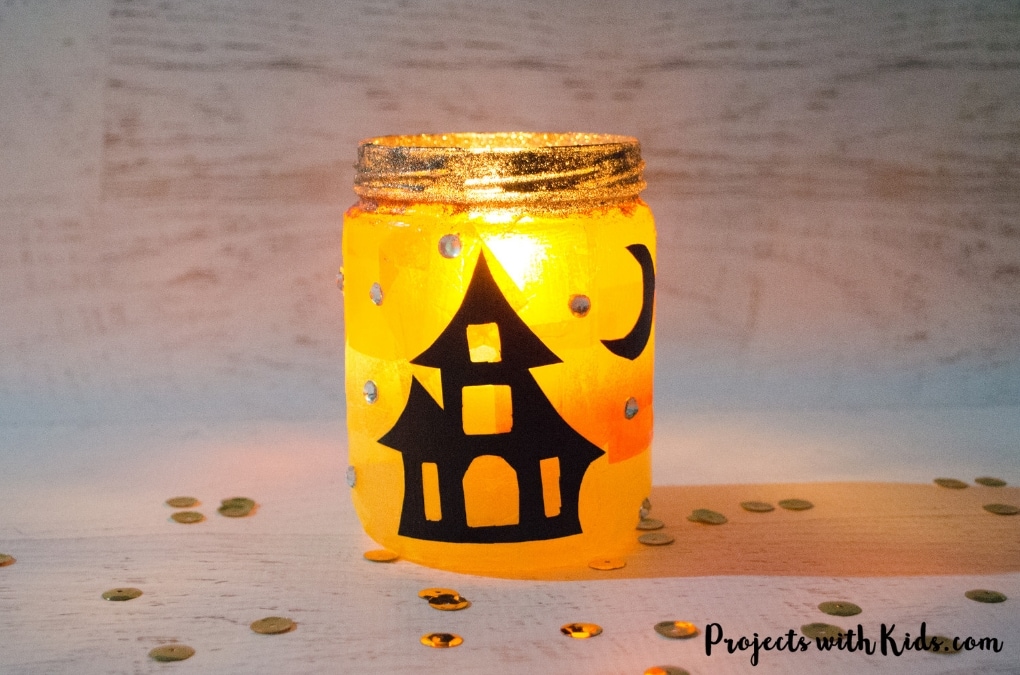
Spooky DIY Halloween Lanterns
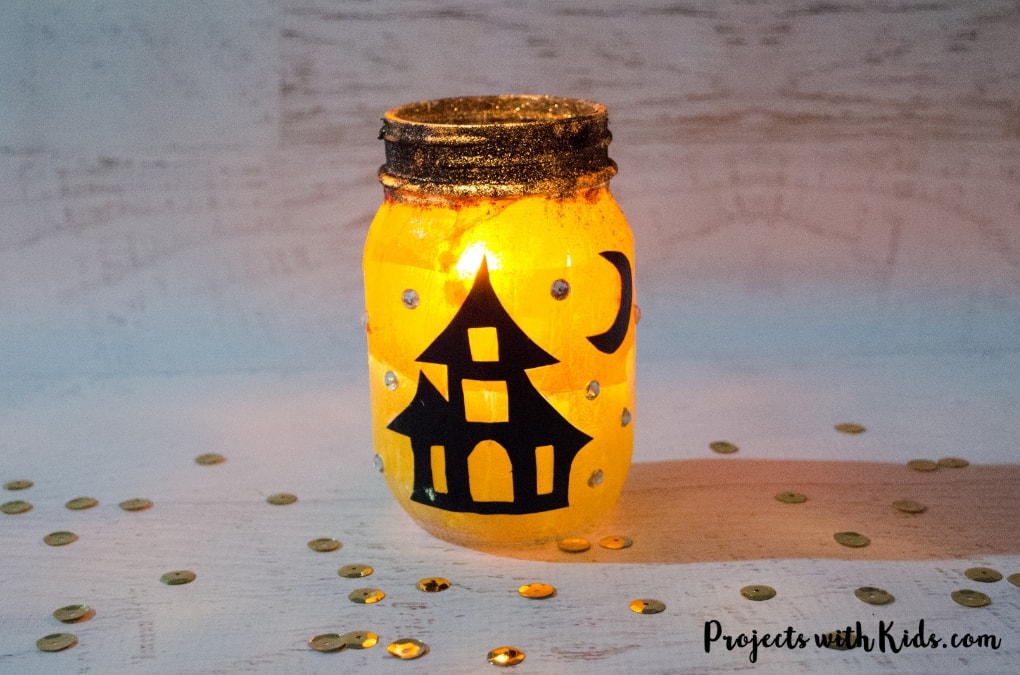
Get ready to add a touch of spookiness to your Halloween decor with these easy DIY lanterns! Transform your home into a haunted haven with these hauntingly beautiful lanterns that will surely impress your guests. Whether you're hosting a Halloween party or simply want to set the mood for trick-or-treaters, these lanterns are the perfect addition to your spooky setup. These DIY lanterns are the perfect way to create a magical ambiance for your spooky celebrations. Whether you're hosting a costume party or simply want to add a bewitching glow to your home, these lanterns will do the trick.
SUPPLIES
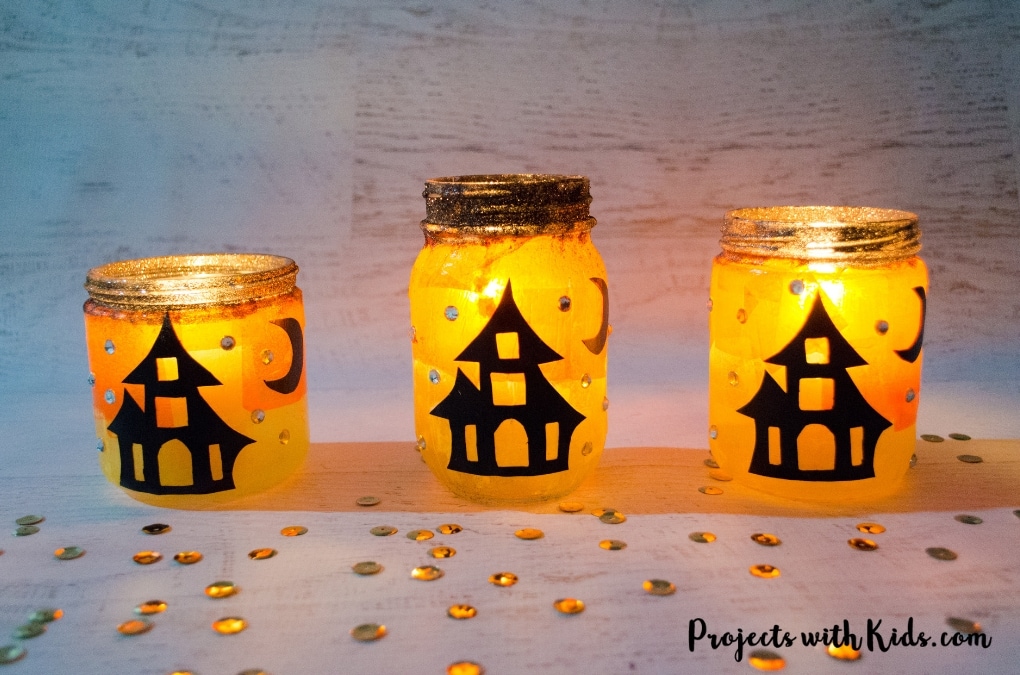
- Glass jars, we used different sizes
- Orange and yellow tissue paper
- Black paper
- Black or dark silver glitter (optional)
- Mod Podge
- Silver jewel stickers
- Brush to apply Mod Podge (I have a few brushes I keep for Mod Podge and glue and keep them separate from my paintbrushes)
INSTRUCTIONS TO MAKE YOUR HALLOWEEN LANTERN
1. First, prepare your jars. Make sure that they are clean and dry. Print out your templates, cut them out, and trace them onto black paper. Depending on the age of the kids, you might have to do this step for them. We used cardstock, but thinner paper would also work.
Tip: Use a white pencil crayon to trace the template onto black paper to make it easier to see.
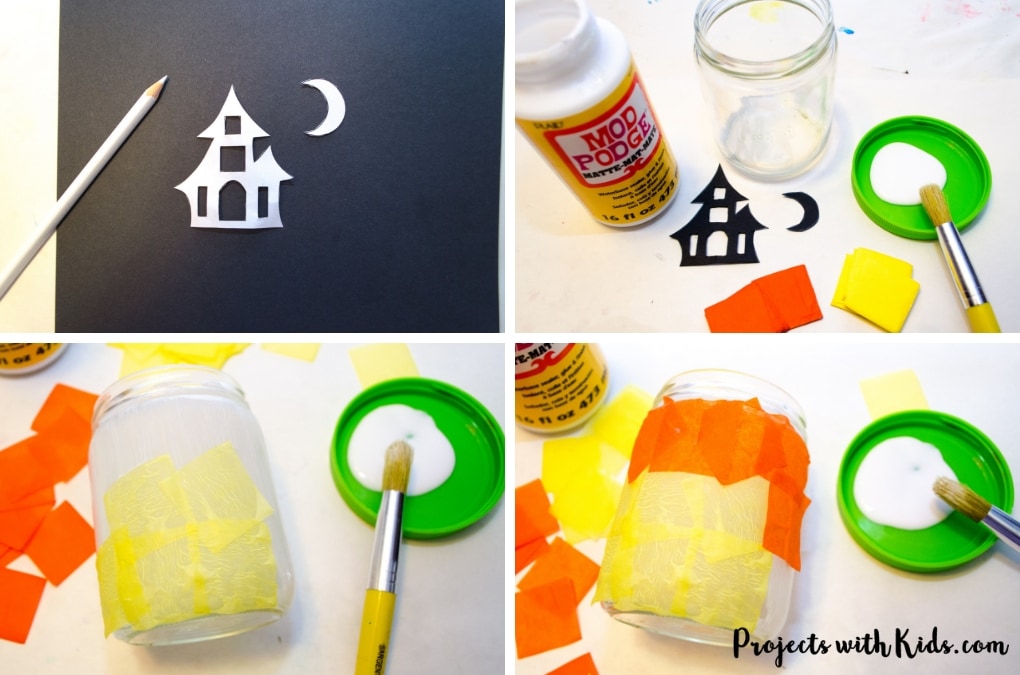
2. Get your tissue paper ready. I used tissue paper that was already cut into squares, but if you can’t find that you could use regular tissue paper (I always try and save tissue paper when the kids get birthday presents) and cut or tear it into pieces as we did for our magical Christmas lanterns.
3. Cover your jar in Mod Podge with a brush (I like to use a matte finish). Stick your tissue paper onto your jar however you like. We did yellow on the bottom half and orange on the top but overlapped the colors here and there.
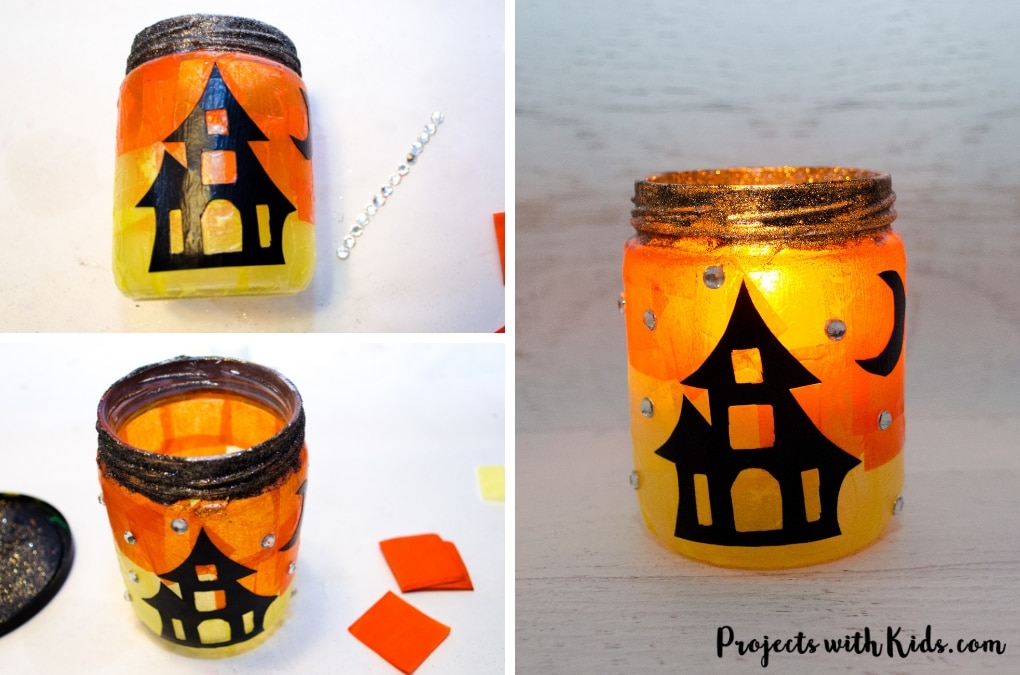
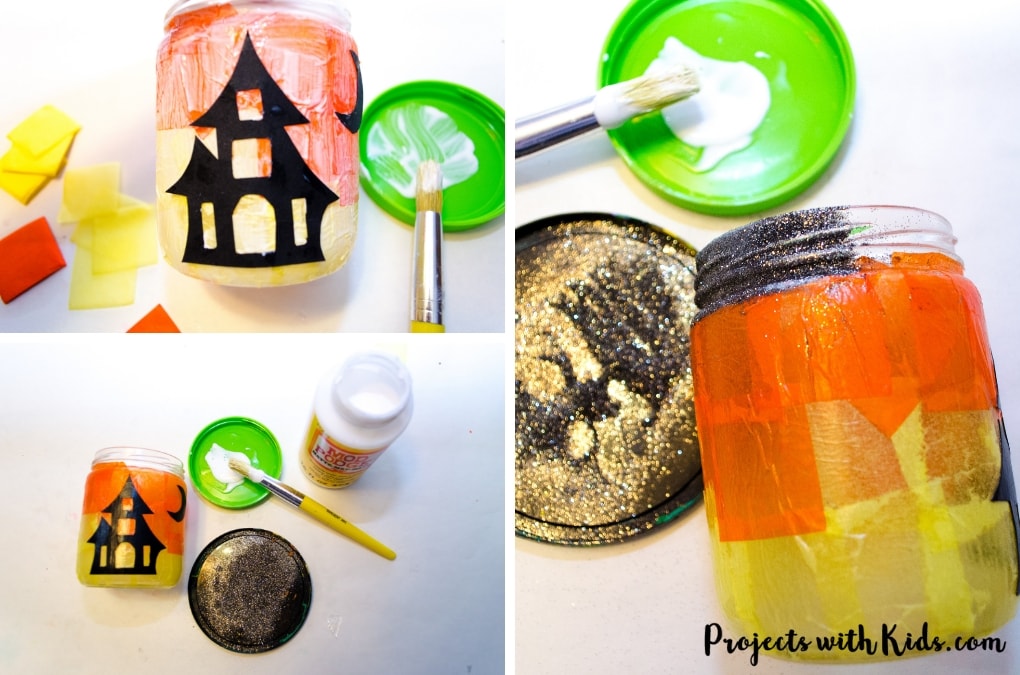
4. When you have covered your entire jar in tissue paper stick on your haunted house and moon. Then brush on a final coat of Mod Podge to seal everything.
5. When your jar is completely dry, it’s time to do the glitter rim. Paint on Mod Podge around the rim, then sprinkle or dip your jar into the glitter. Shake off any excess and let dry. Cover the glitter rim in a coat of Mod Podge to avoid a glitter mess all over your house!
6. The final step is adding your jewel stickers. Our stickers weren’t very sticky so we also used some Mod Podge to stick them on but you could use white glue or even a glue gun.