How to Make a DIY Beeswax Wrap
Looking for a creative and sustainable way to reduce your use of plastic wrap? Why not try making your own beeswax wrap? This DIY project is not only fun and easy, but it also helps you contribute to a greener planet. Beeswax wraps are a fantastic alternative to single-use plastic wrap, as they can be reused multiple times and are biodegradable. This eco-friendly DIY project not only allows you to reduce your plastic waste but also adds a touch of personalization to your kitchen essentials. Beeswax wraps are a fantastic alternative to traditional plastic wrap as they are reusable, biodegradable, and can help keep your food fresh for longer.
WHAT YOU’LL NEED
- Fabric (preferably cotton)
- Beeswax
- Baking sheet
- Tin foil
- Scissors
- Ruler
- Sewing machine
- Timer
INSTRUCTIONS
- Measure 5 x 9 inch rectangles onto your fabric. Alternatively, measure rectangles that will fit onto the baking sheet you are using. The measurements aren’t fussy, but whatever size you make cut out rectangles.
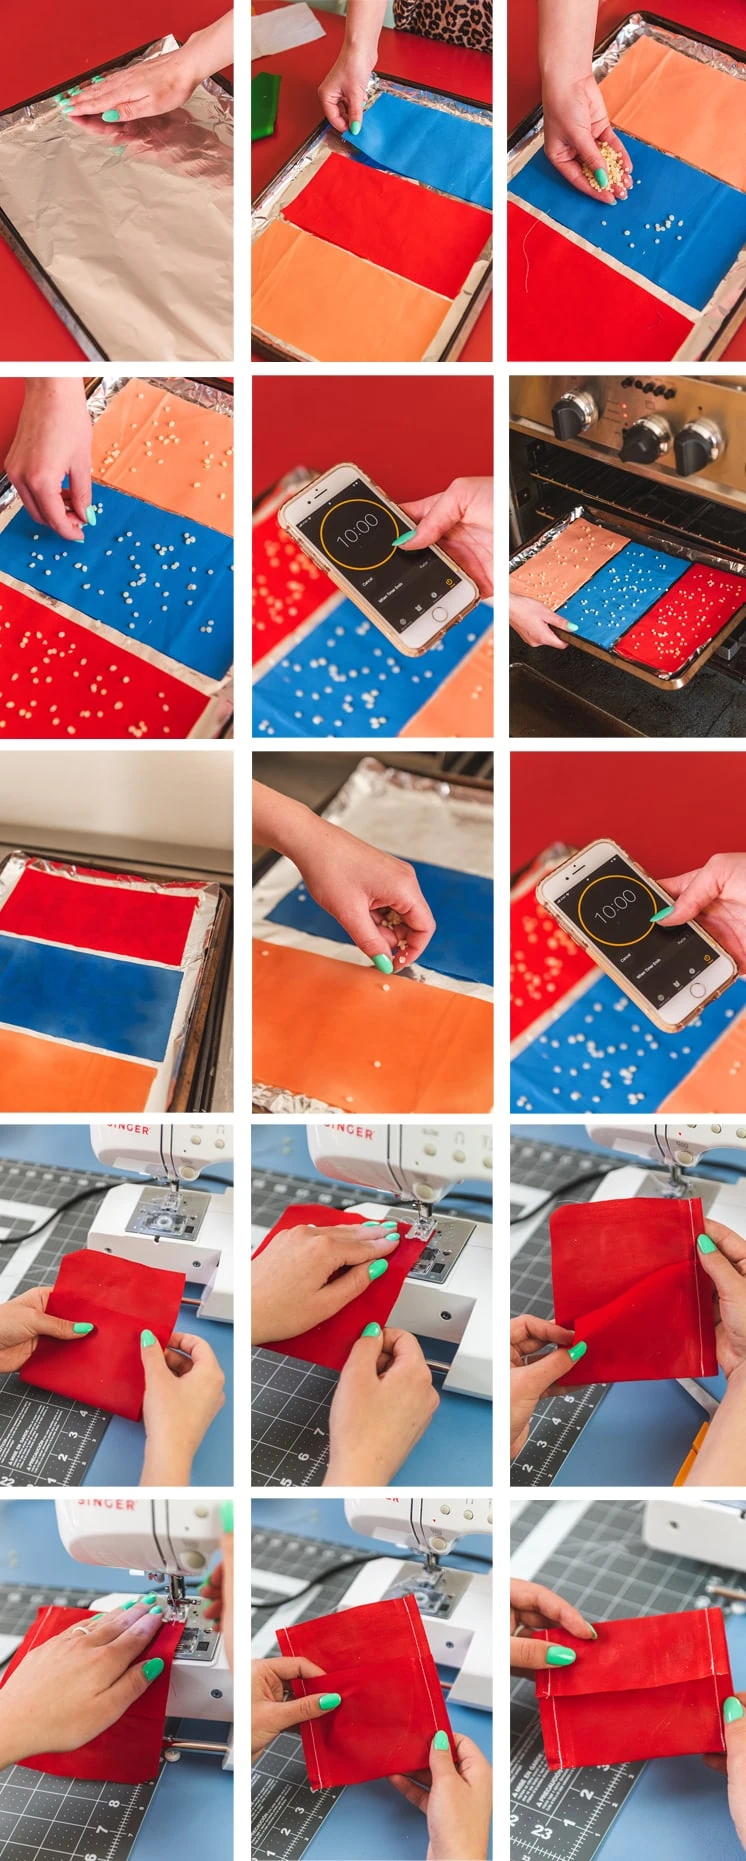
- Lining a baking sheet with tin foil, then lay down the fabric rectangles flat side by side.
- Begin to sprinkle beeswax making sure to distribute evenly (Tip: Because the beeswax will melt in the oven, you don’t have to cover generously. Think sprinkling an ice cream sundae instead of salting a sidewalk).
- When all three rectangles have been covered with beeswax, place in the oven at 350 degrees Fahrenheit for 10 minutes. Don’t forget to set your timer!
- After 10 minutes, the beeswax should be melted. When you pull your baking tray out of the oven, the fabric color will look uneven. Don’t be afraid of the splotchiness!
- Sprinkle a second layer of beeswax, especially making sure to target the areas that didn’t have enough wax the first time around. You’ll be able to see them because they’ll be lighter.
- Put back in the oven at the same temperature for another 10 minutes.
- Pull out of the oven and let cool. Fabric should feel firm and waxy.
- Take one rectangle and fold onto itself leaving a 2 inch flap similar to a plastic sandwich bag.
- With a sewing machine, sew up one side using a zigzag stitch. Repeat on the other side.
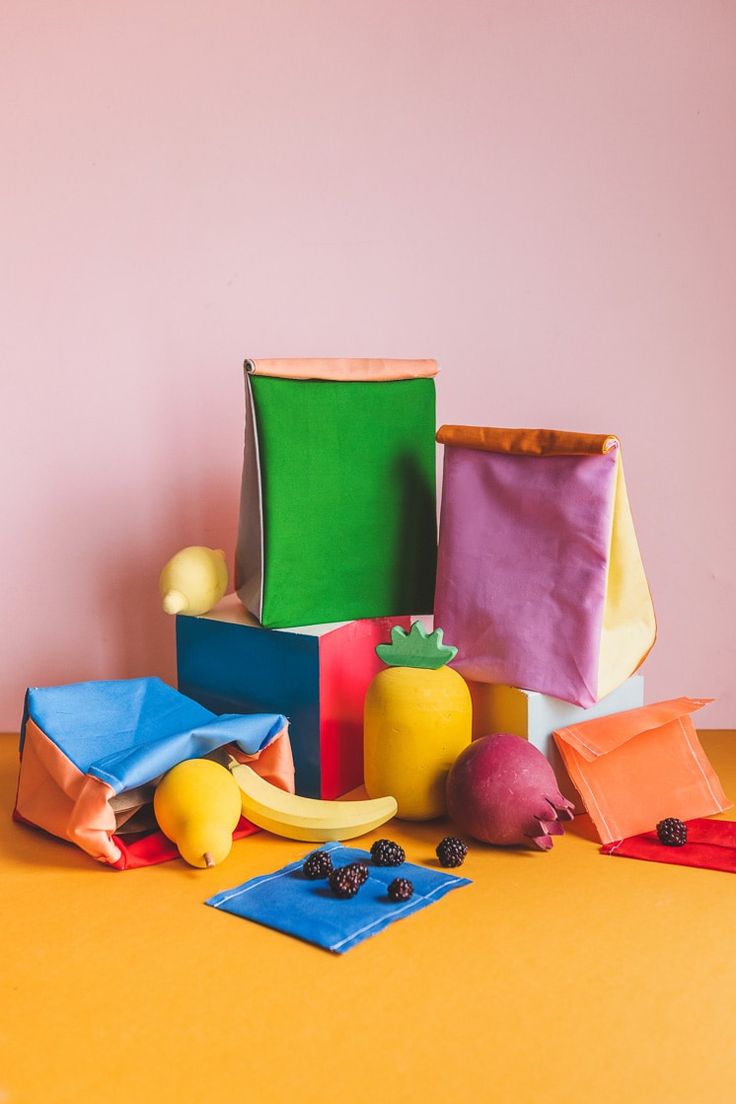
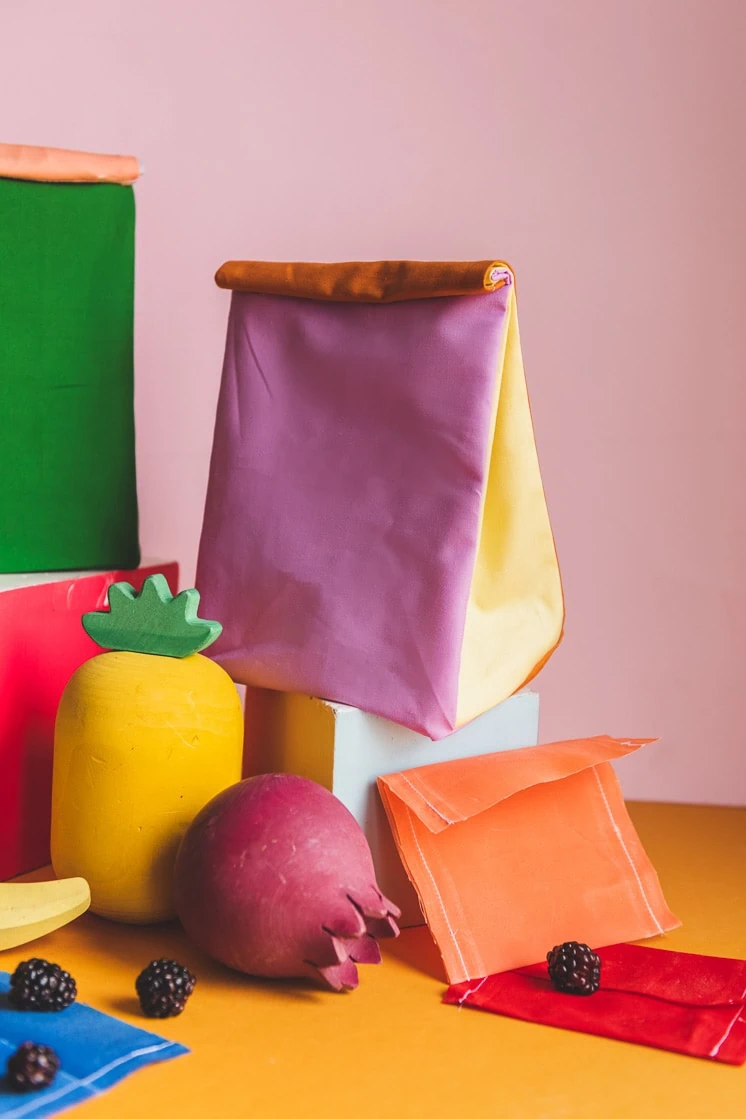
- You should now have a little pouch. Fold over the 2 inch flap to close. Voila! The perfect on-the-go snack pouch!
No comments
Write a comment