Make a Fall DIY Rustic Wreath in Less Than 15 Minutes
Create your own charming autumn wreath with a rustic touch by following these simple do-it-yourself steps. Once you've completed your rustic wreath, hang it on your front door to welcome guests with a warm and inviting touch. This DIY project is not only a fun way to get into the fall spirit, but it also allows you to showcase your creativity and add a personalized touch to your home decor. Consider making multiple wreaths to give as gifts to friends and family, spreading the cozy autumn vibes to your loved ones. With just a few materials and a bit of creativity, you can create a beautiful and unique fall wreath that will be sure to impress all who see it.
How to Make This Easy DIY Wreath
If your oak leaves are attached to a branch, begin by removing them and creating a pile of leaves that you’re going to attach to the wreath.
Collect the best looking leaves (both big & small). You’ll want to discard any leaves that have big holes or large chunks of the leaves missing from them.

The next step is securing the leaves onto the wreath with a hot glue gun.
Apply a small dab of hot glue to the base of each leaf and press it firmly onto the grapevine wreath.
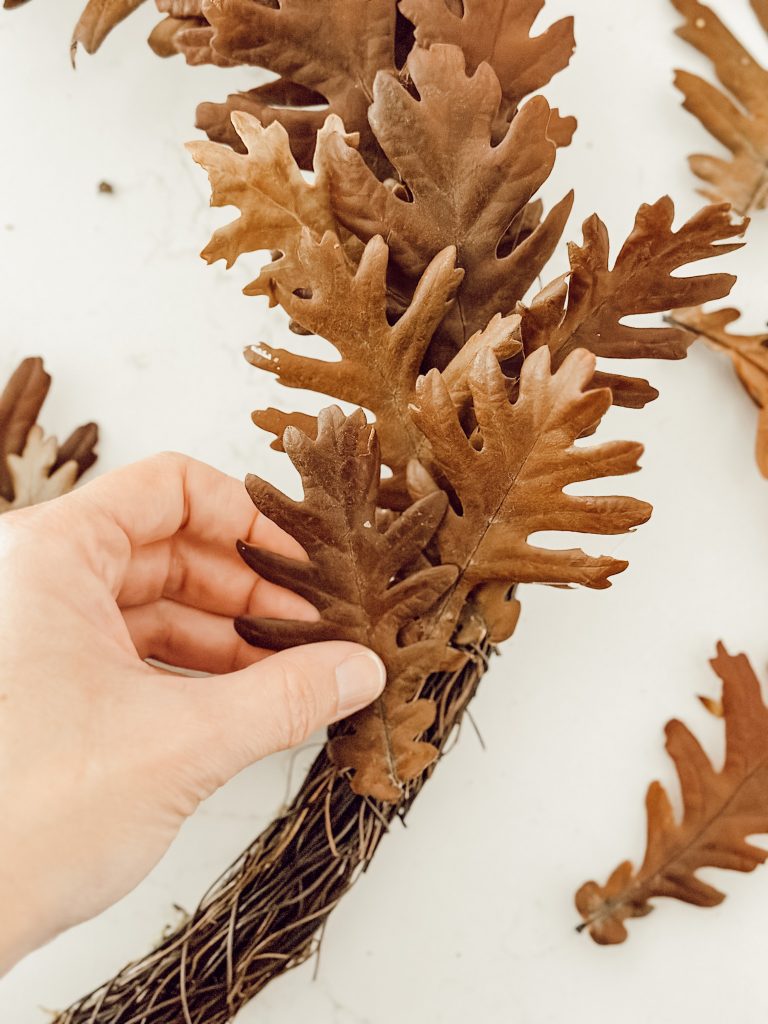
As you work your way around the wreath, you’ll see your creation coming to life, each leaf adding its own unique texture and character.
Note: Don’t worry about perfection when attaching the leaves to the wreath. The charm of this rustic wreath lies in its organic, slightly messy arrangement.
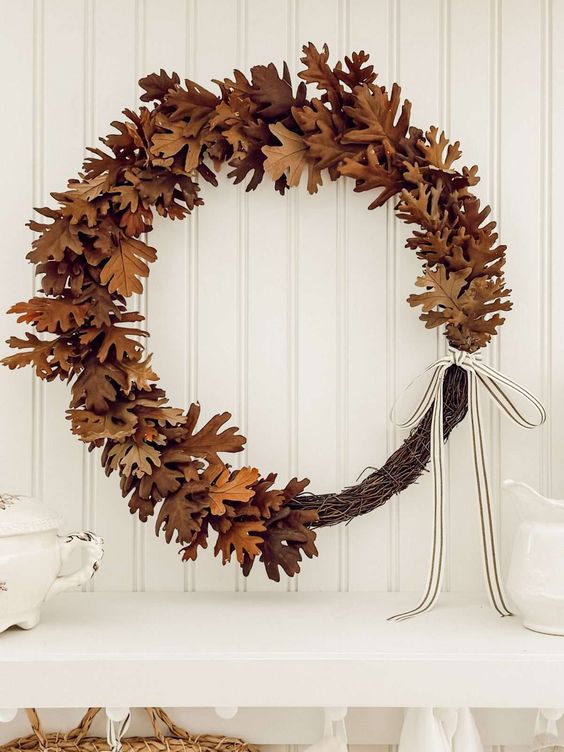
Now, here’s where your wreath is going to be different than those traditional wreaths!
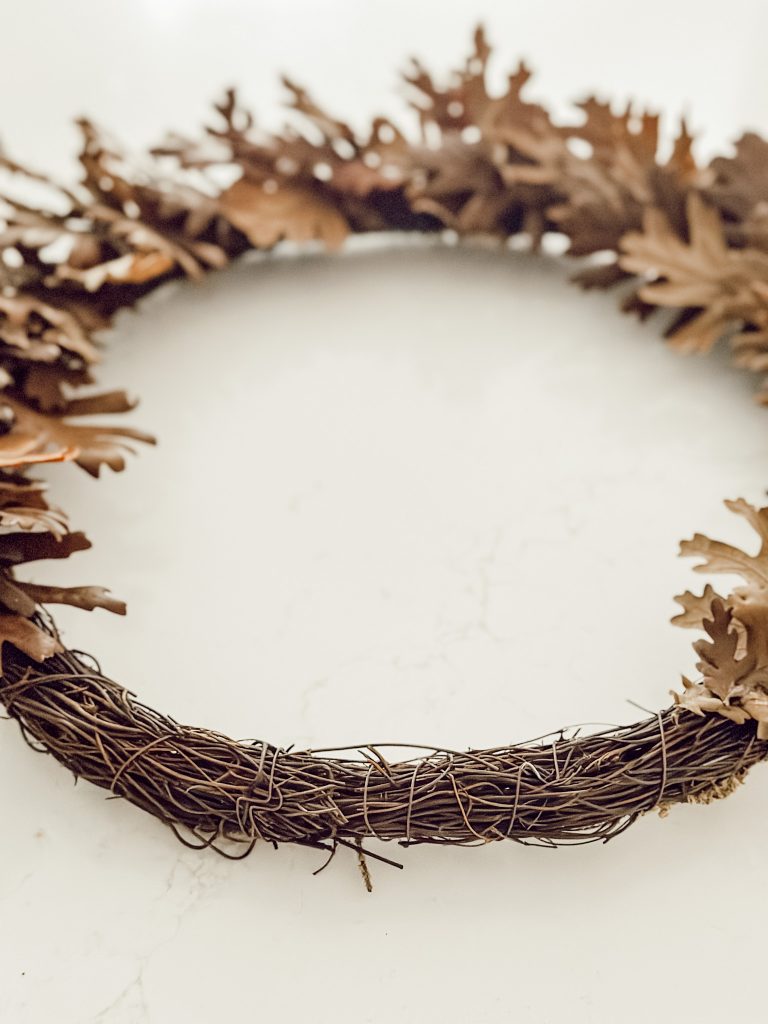
Don’t add the oak leaves in a full circle around the wreath. Stop when you are about 3/4 of the way around the wreath, leaving 1/4 of the grapevine wreath showing.
This is going to add visual appeal to your wreath, and make your wreath stand out.

Finally, tie a ribbon into a bow to the side of the wreath where you stopped adding leaves for the finishing touch.
TIPS
- Before gluing, play around with leaf placement on the wreath base. Arrange them in creative ways to find a pattern you love. Remember, the beauty of a rustic wreath lies in its organic, imperfect arrangement.
- When applying hot glue, use a small amount. Too much glue can make your wreath look messy and may seep through the leaves. A little glue goes a long way in securing the leaves firmly.
- Add your own personal touches to your wreath. Incorporating small pinecones, acorns, or faux berries would be a great addition for extra texture and visual interest.
- Remember that imperfections add to the charm of a rustic wreath. Don’t worry if it’s not absolutely perfect. The handmade, organic feel is what makes it special.
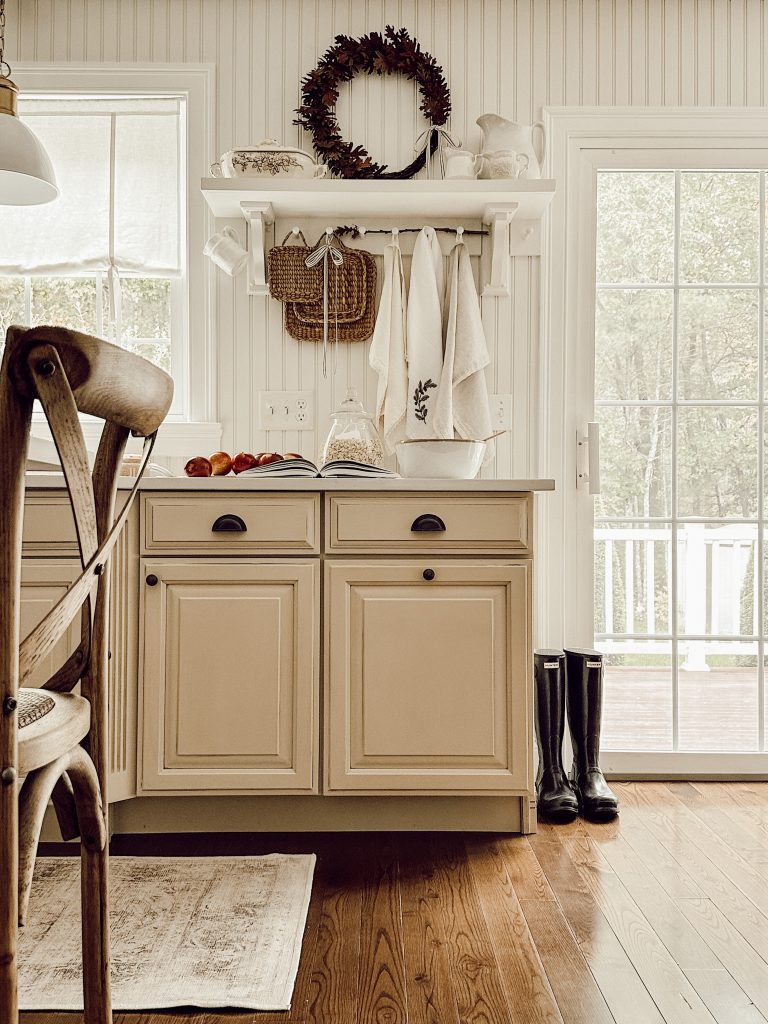
Displaying Your Fall Wreath
Once your wreath is complete, find the perfect spot to display your creation.
I hung ours in the kitchen, I just loved the natural element it added to this space.