Map-Themed Wall Decor
Transform your living space into a captivating adventure with our exquisite collection of map-themed wall decor. These stunning pieces are designed to transport you to far-off lands and ignite your wanderlust. Whether you're a seasoned traveler or simply have a passion for exploration, our map-themed wall decor is the perfect addition to any room. Whether you're a globetrotter or an armchair traveler, our map-themed wall decor is a must-have for anyone who wants to infuse their space with a sense of wanderlust and curiosity. So, embark on a journey of style and imagination with our captivating collection and let your walls tell the story of your love for exploration.
For your map-themed wall decor you need:
- small box canvas 152mm x 152mm / 6′′ x 6′′ (you can even use a “used” one as you only need the frame)
- scissors
- small scissors
- map (if you don’t have the one you need, maybe you’ll find it in the Internet to print out)
- template
- paper glue
- pencil
- cardboard in matching colour
- pushpins
- a piece of fine wire or thread
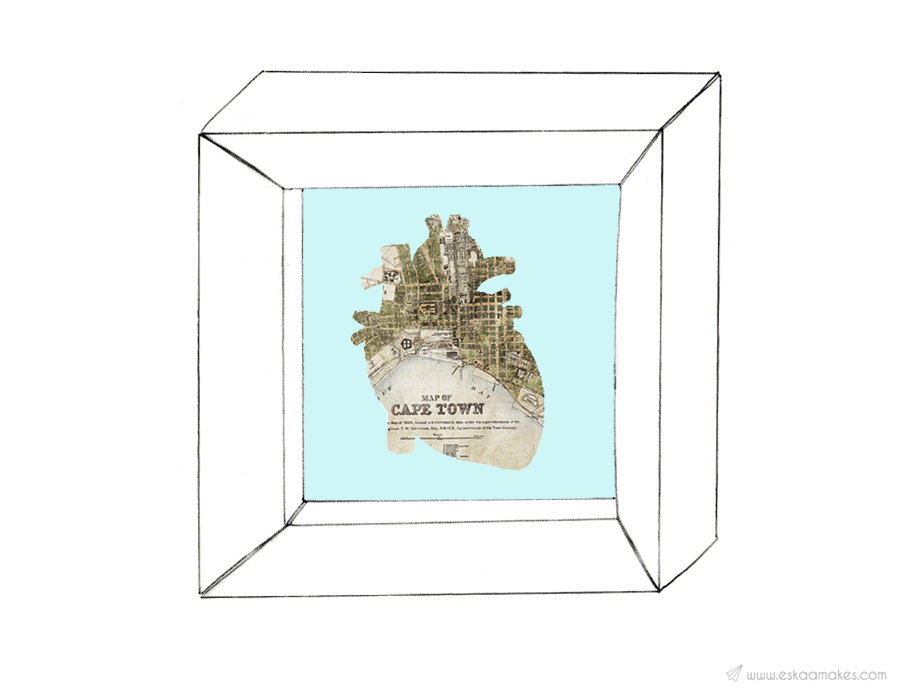
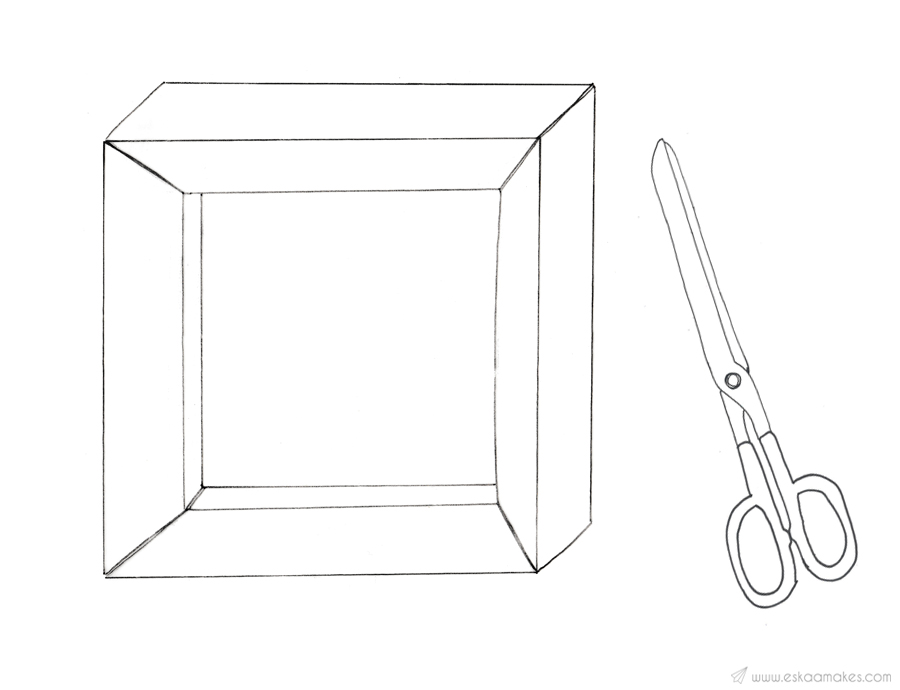
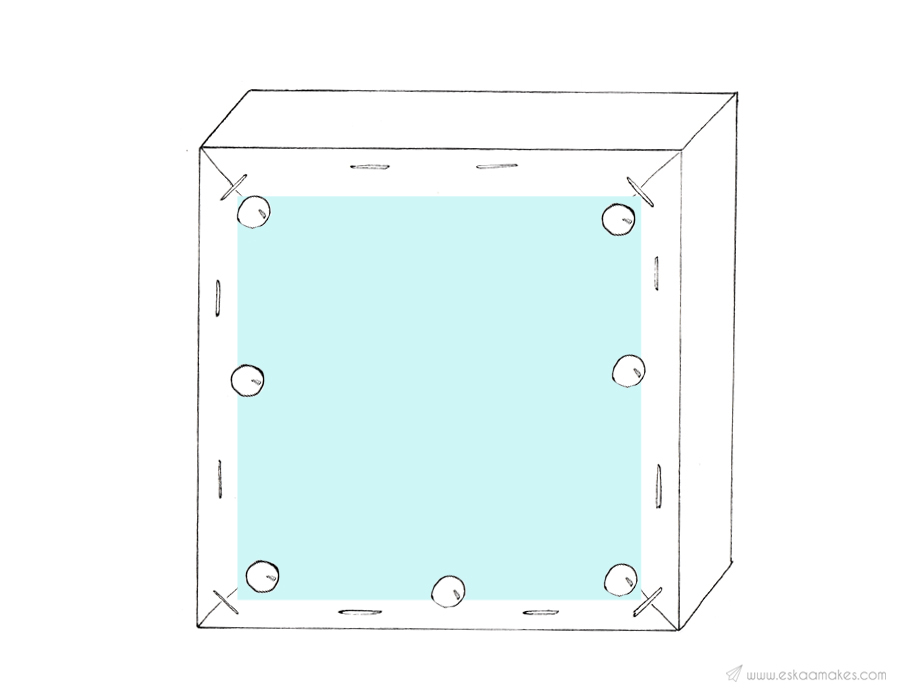
1 – Remove the canvas from the frame, so that you have only the wooden frame left.
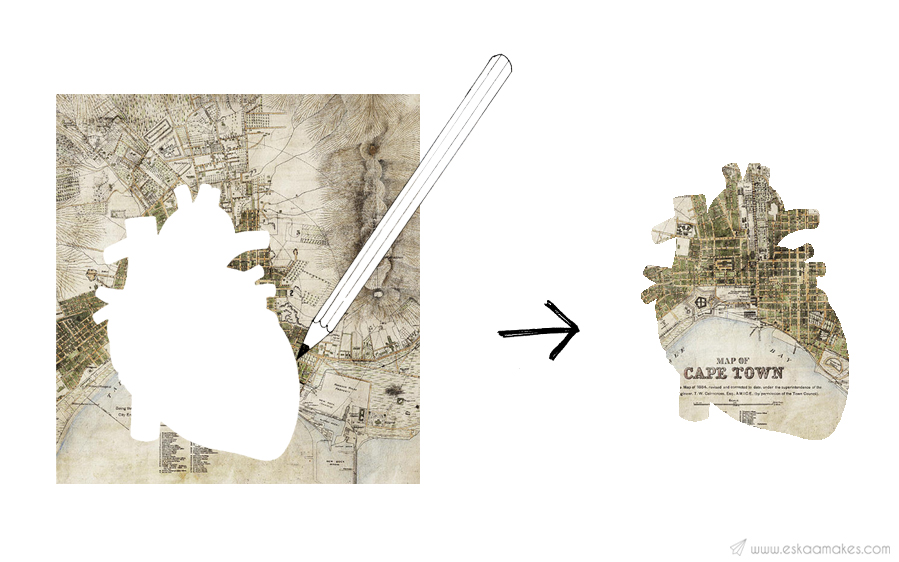
2 – Cut out the heart on the template (download it here) and place it on the map. Reposition it until you’re happy with the content of the heart (the full name of your city, your street, the area you had this adventure etc.). Trace the heart with the pencil and cut it out.
3 – Do the same on the cardboard. Glue the map heart onto the cardboard heart.
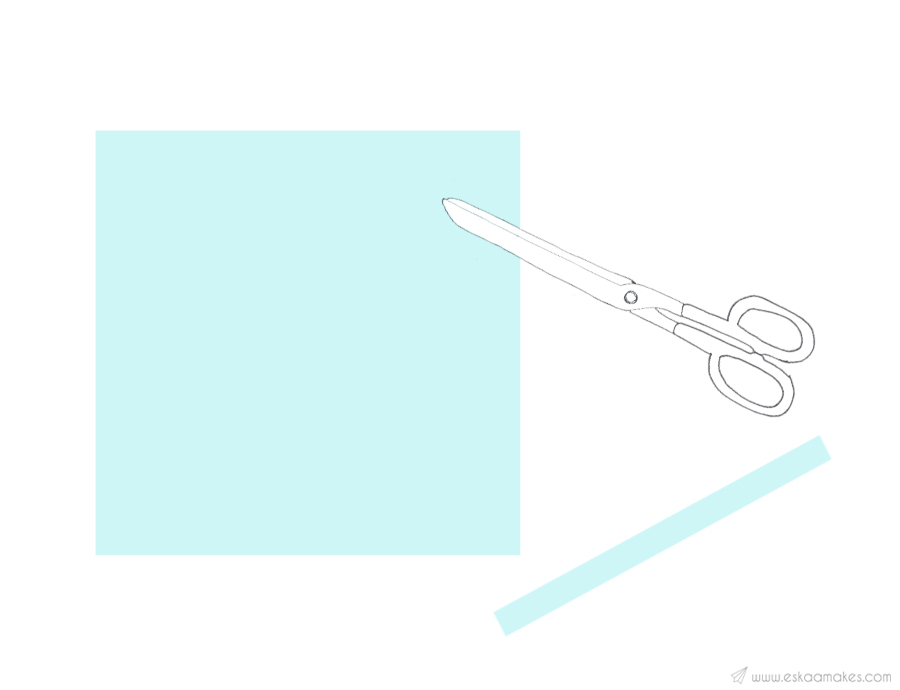
4-Cut a 13 cm x 13 cm/ 51⁄2′′x 51⁄2′′square from the cardboard and a thin strip of 11cm x 1 cm / 4 1⁄2′′ x 1′′.
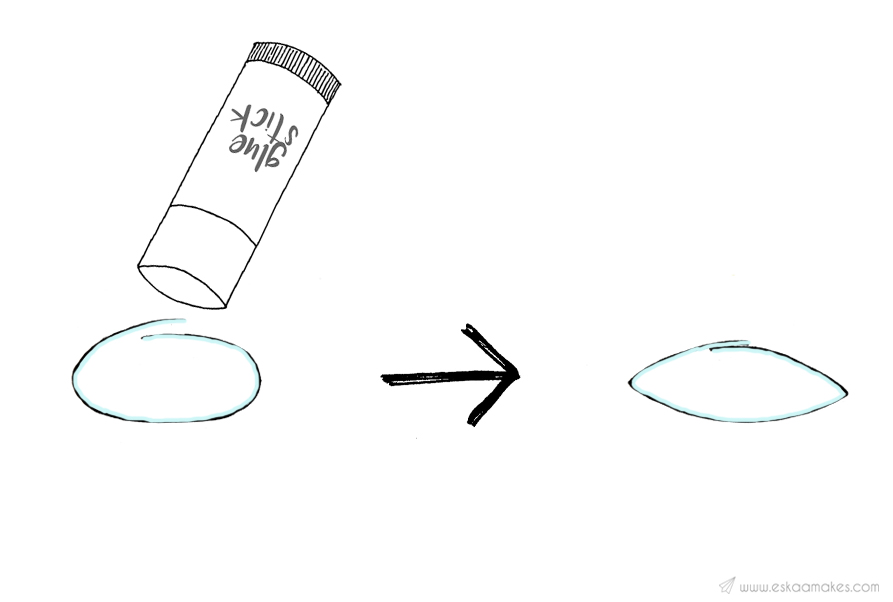
5 – Glue the cardboard strip into a loop and squeeze it flat. Open it again, so that it looks like a leaf.
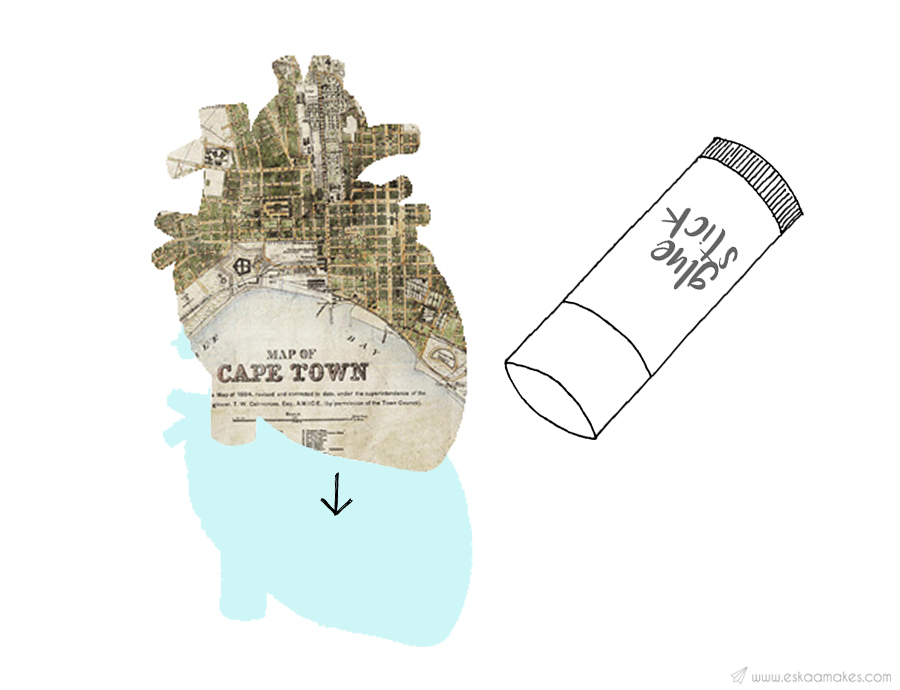
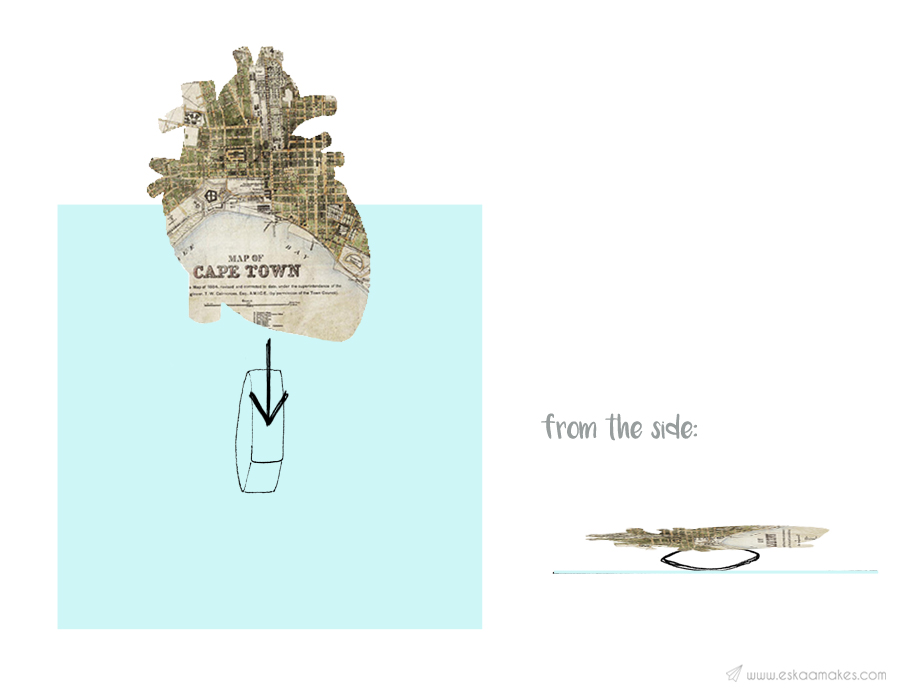
6 – Glue the cardboard strip loop into the middle of the cardboard square. Then glue the map heart onto the cardboard strip loop. It will create a 3D effect as the loop will keep the heart away from the background.
7 – Turn the wooden frame around and place the cardboard square with the heart facing to the front onto the frame. Check if the map heart in the front is positioned in the centre, then pin the square onto the back of the frame.
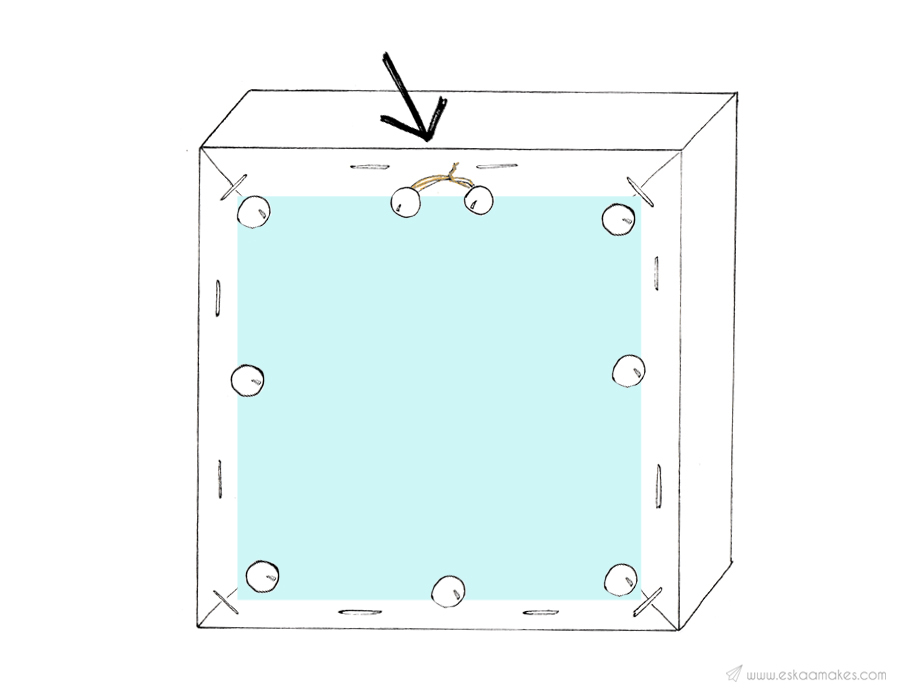
8 – To make the hanger: press two pushpins into the frame, 1cm / 1⁄2′′ left and right from the centre line of the top edge. Do not push the pins in all the way. Wind the wire loosely around the two pushpins, twirl the wire ends together and cut off.
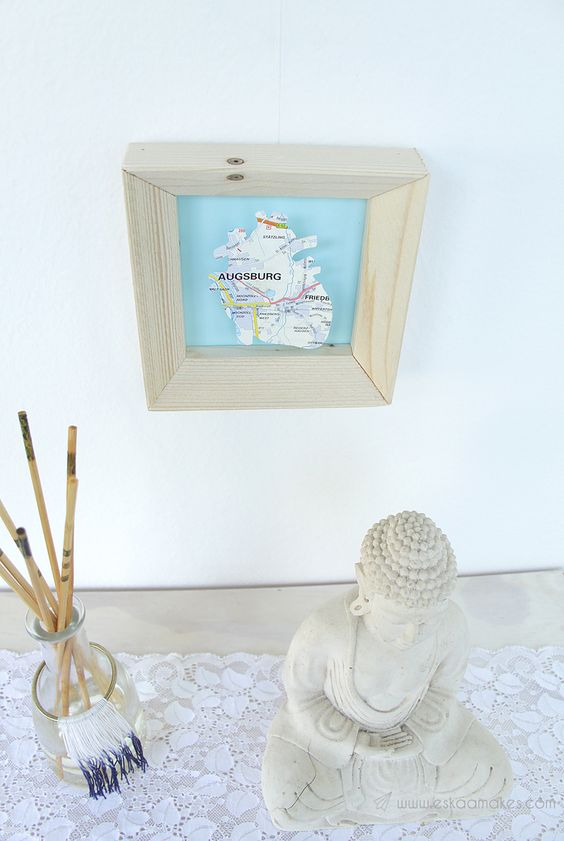
9 – Display your upcycled map heart proudly. Done.