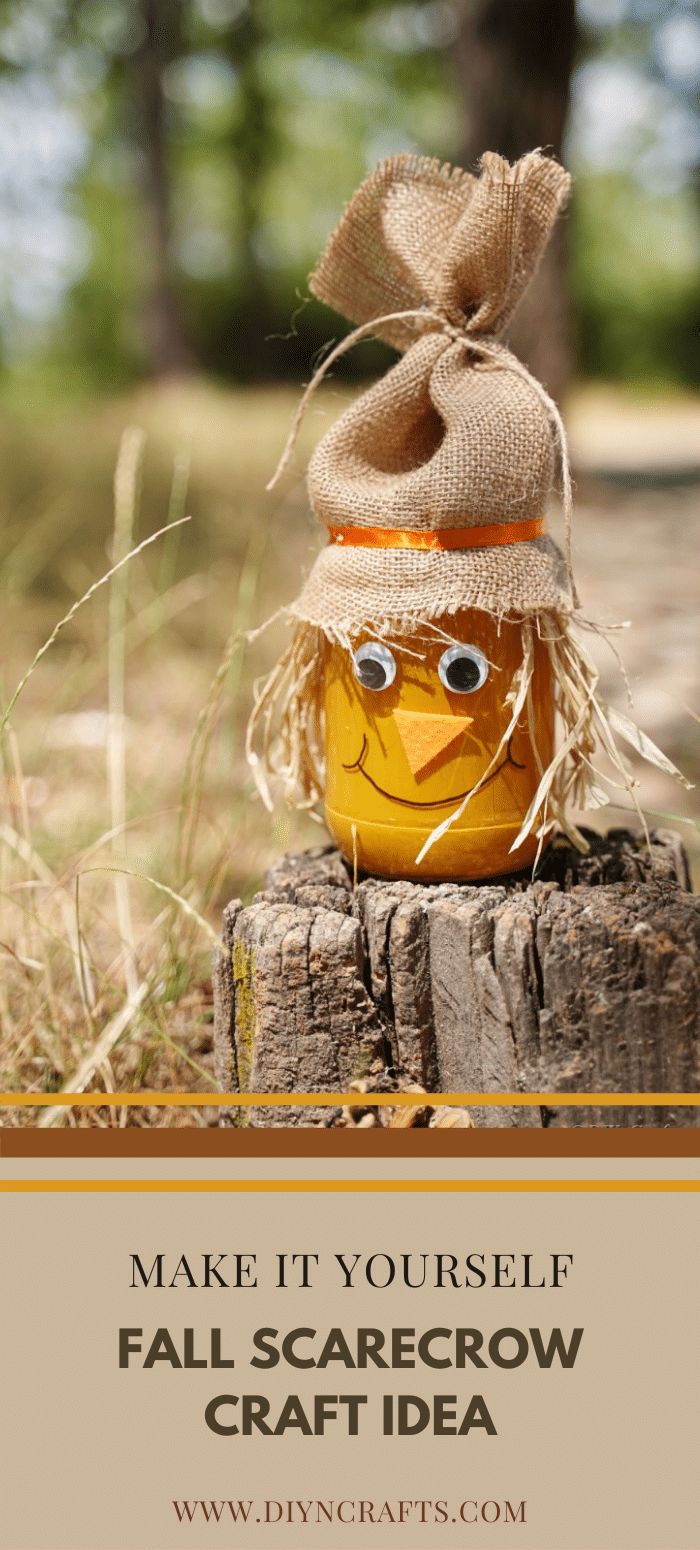
Super Cute Scarecrow Jar Craft For Fall
Create an adorable scarecrow jar craft perfect for the fall season. This fun and festive DIY project will add a touch of charm to your home decor. Using simple materials like mason jars, paint, and felt, you can easily transform a plain jar into a cute scarecrow that will bring a smile to your face every time you see it. This craft is a great way to get into the autumn spirit and showcase your creativity. With just a few steps, you can have a unique and charming decoration that will brighten up any room. Whether you're looking for a fun activity to do with kids or simply want to add some seasonal flair to your home, this scarecrow jar craft is the perfect choice. Get ready to impress your friends and family with this super cute fall-themed creation that will be the envy of all who see it.
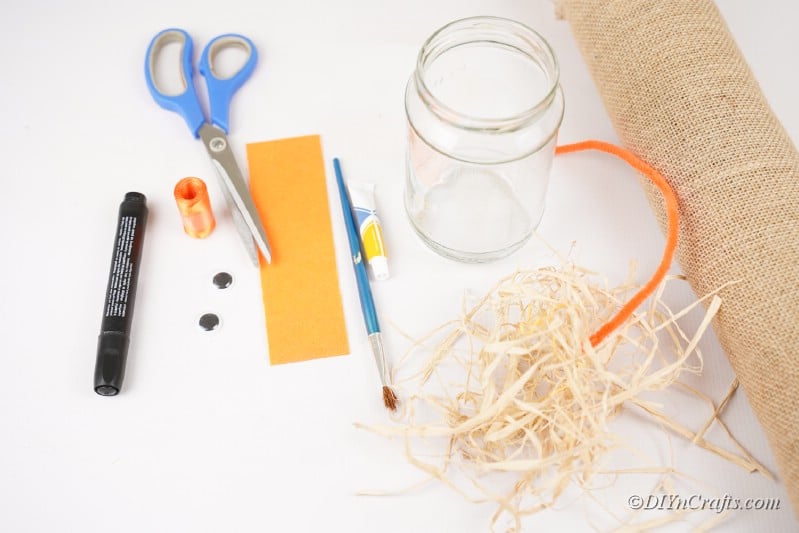
Supplies Needed
- Black Marker
- Orange ribbon
- Craft brush
- Straw
- Jar
- Scissors
- Burlap
- Orange foam paper
- Glue
- Orange Paint
How to Make Your Own Super-Cute Scarecrow Jar Craft For Fall
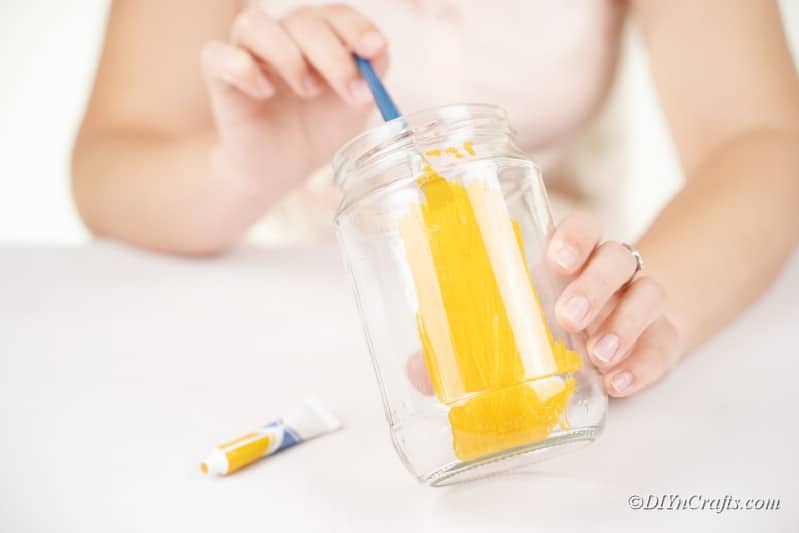
First, start by wiping the inside of your jar. As soon as it's dry, apply a coat of orange paint to the interior of the jar.
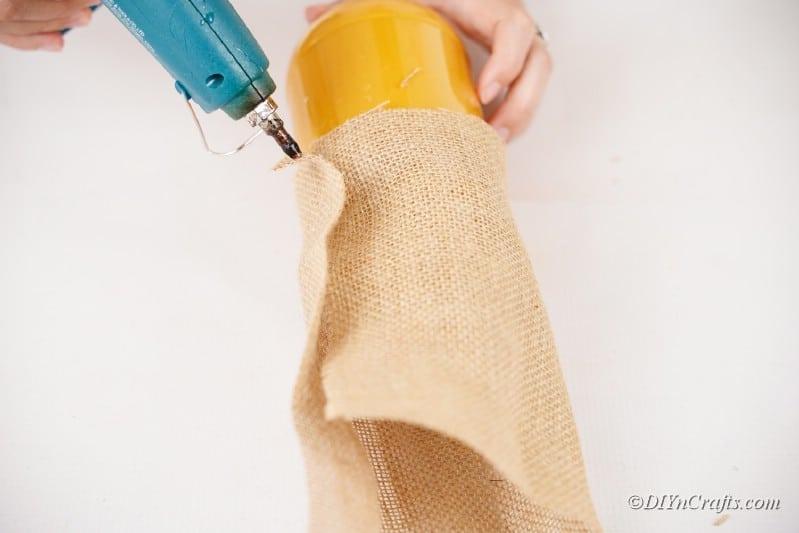
After that, measure the amount of burlap you need for the top of your scarecrow jar! Do this simply by wrapping it around the top of the jar and pinching where the material meets itself again. Cut at this point.

Now, use the hot glue gun to apply a small strip on the bottom half of the burlap, securing it together around the top of the jar. If desired, apply more glue where the burlap meets the jar in some places.
Do not, however, apply glue to the entire circumference, since we want this part of the material to be able to lift from the jar later on!
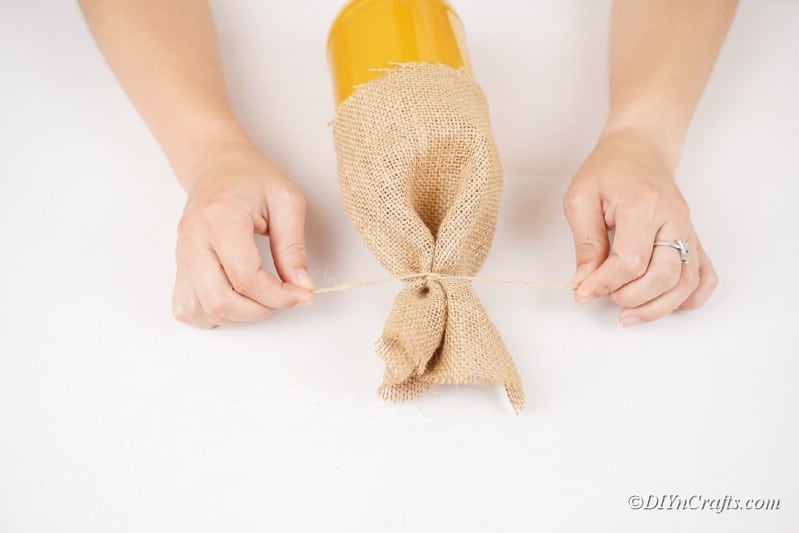
After that, tie a piece of twine at the top of the burlap. This should be somewhere in the middle of the burlap piece. All this string is doing, is adding some shape to our piece of material which will serve as a hat for the scarecrow!
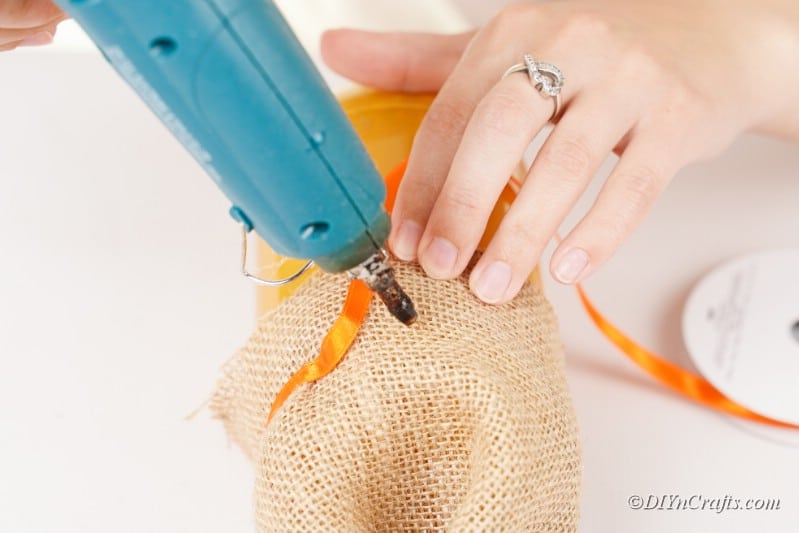
Apply a dab of hot glue, and attach one end of a length of orange ribbon to the dot. Slowly work the glue around the entire surface until the ribbon meets the starting point again. This should be placed on top of the burlap around the very top of the glass jar.
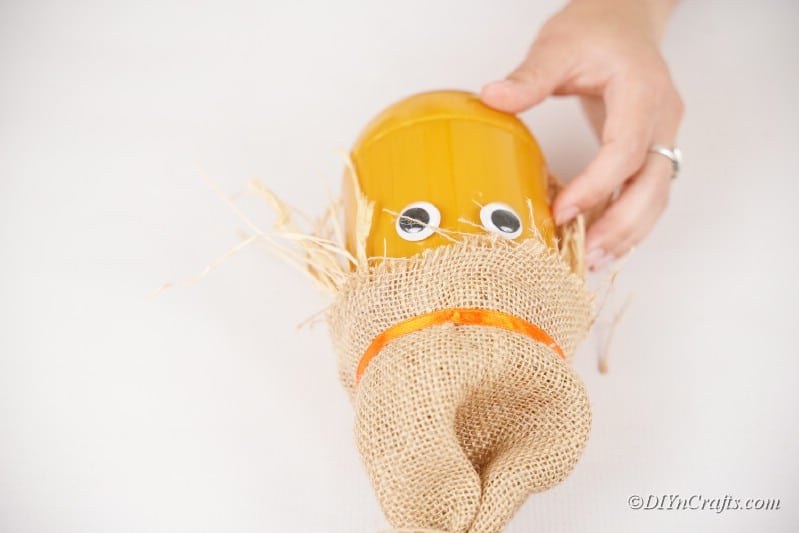
Next, add a couple of stripes of hot glue under the burlap, but don't press down! Stuff pieces of straw into that spot, about an inch or so wide, pressing and pushing up into the burlap. This will create our scarecrow's signature straw hair!
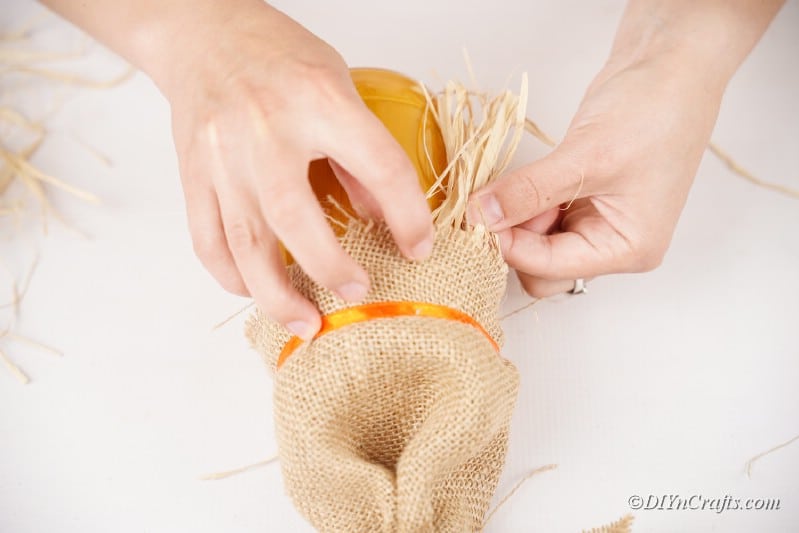
Repeat the last step, except on the other side of the jar. They are in between is where we'll create the face of our scarecrow jar. Apply hot glue, and press two eyeballs down next to each other.
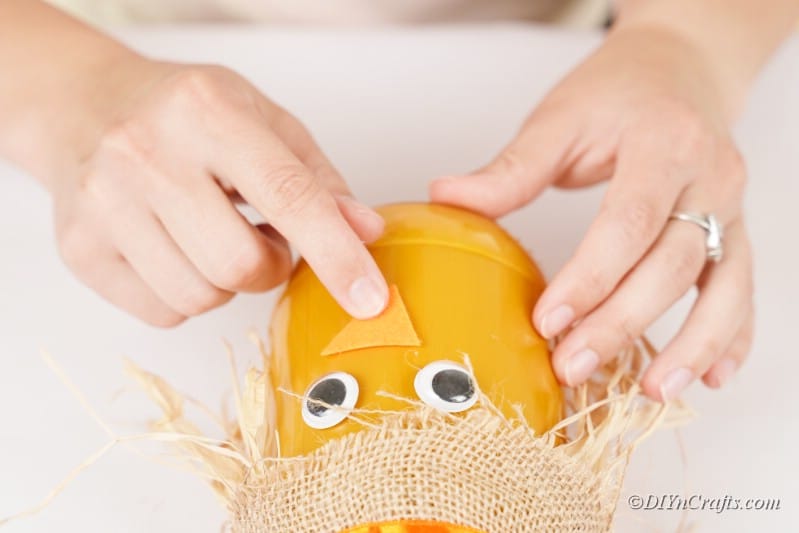
Take a piece of foam craft paper, or felt and apply it between the eyes to create a nose.
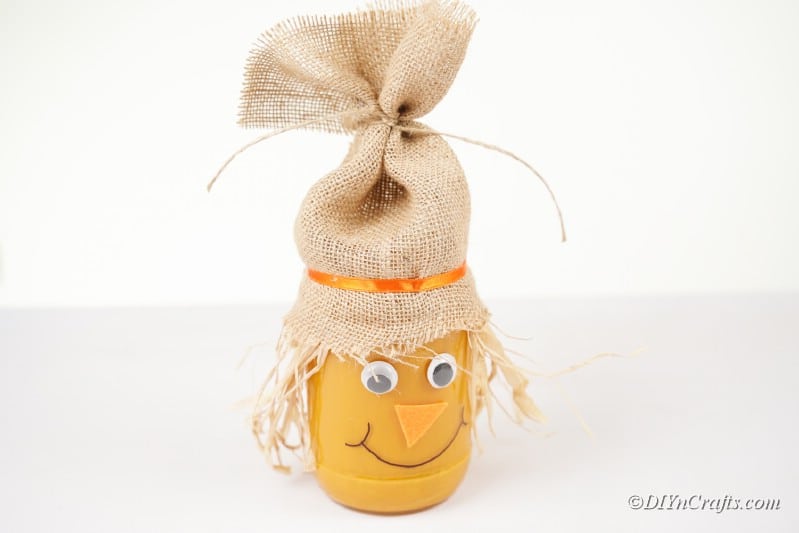
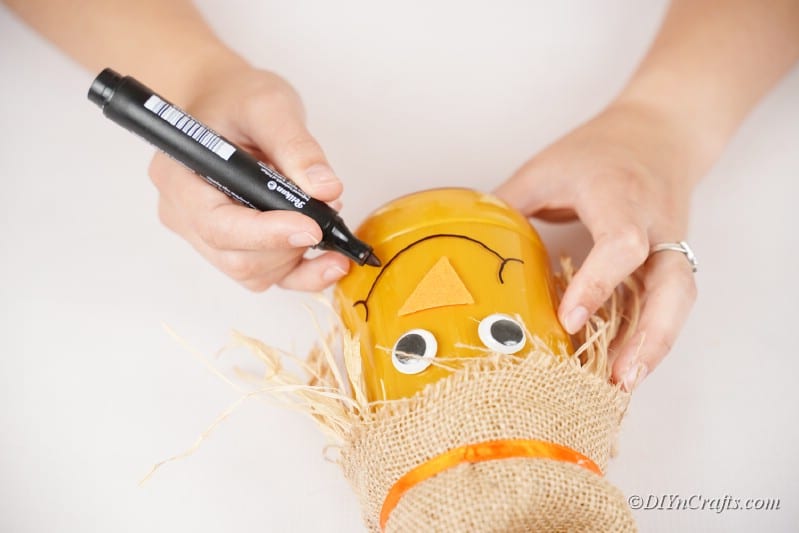
Use a permanent marker to draw a warm smile onto your scarecrow!
This is what your finished scarecrow jar should look like!