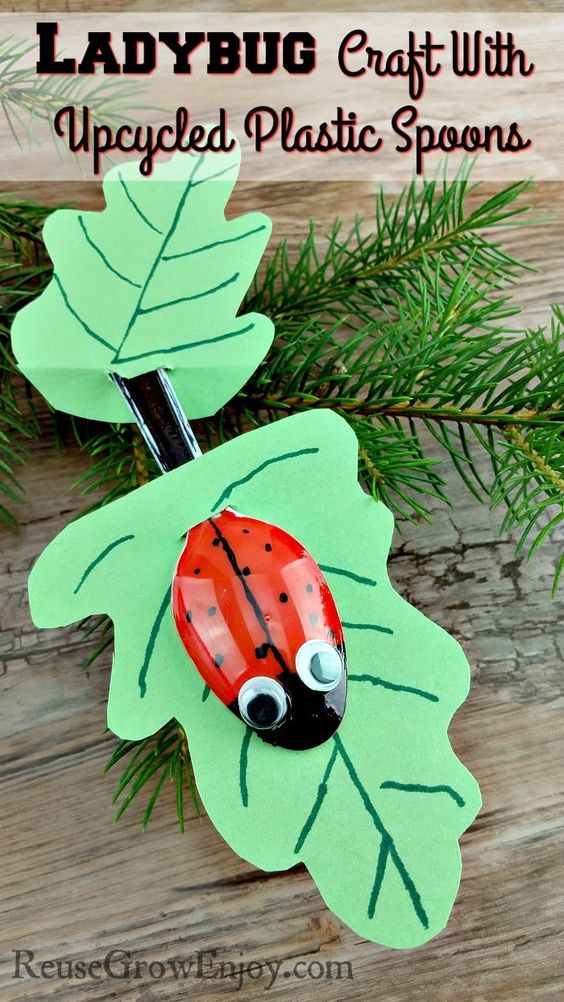
Ladybug Craft With Upcycled Plastic Spoons
Transforming ordinary plastic spoons into adorable ladybug crafts is a fun and creative way to upcycle and repurpose materials. With just a few simple steps, you can create these cute little critters that will add a touch of whimsy to any space. Start by gathering some plastic spoons, preferably red or black ones, as they will serve as the ladybug's body. These upcycled plastic spoon ladybugs can be used in a variety of ways. Attach a magnet to the back and display them on your refrigerator, or glue them onto a wooden stick to create a whimsical garden decoration. You can even string them together to make a charming ladybug garland. The possibilities are endless, and the result is a delightful and eco-friendly craft that will surely bring a smile to your face.
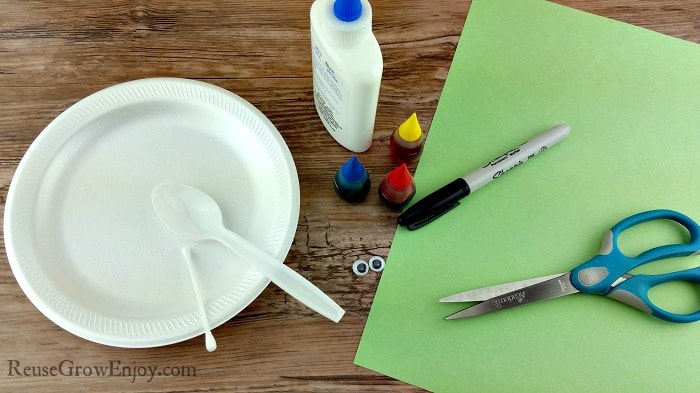
Ladybug Craft Supplies:
- 1 Plastic Spoon
- White School Glue
- Food Coloring
- 1 Cotton Swabs (or paint brushes)
- 2 Googly Eyes
- Hot Glue Gun & One Glue Stick
- 1 Sheet Green Construction Paper
- Scissors
- 1 Black Permanent Marker
- 1 Paper Plate
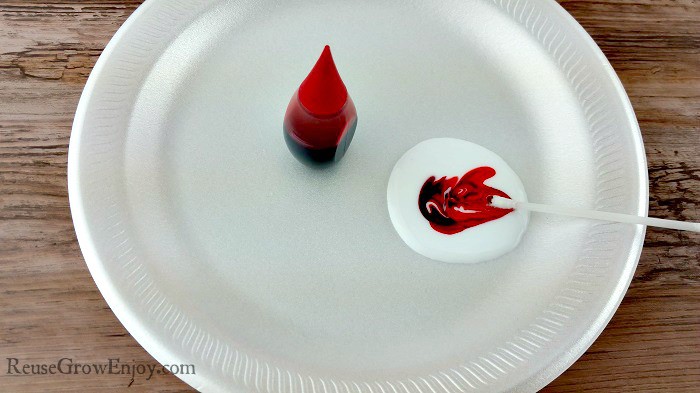
The first thing you need to do to start this ladybug craft is to put a nice amount of school glue on the plate. Then add 2-3 drops of red food coloring. Using the cotton swab (or paint brush) mix the glue and food coloring well so that there are no streaks of color.
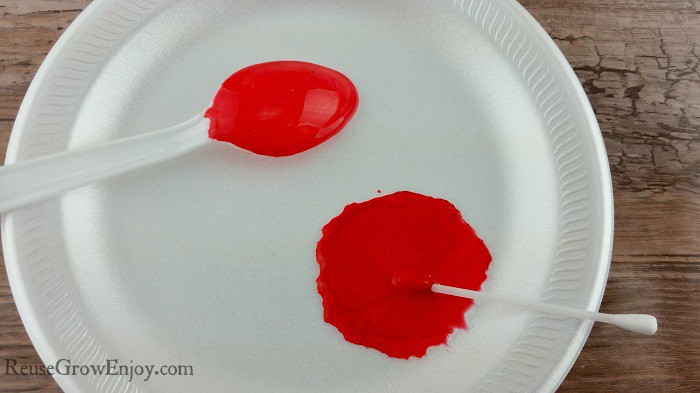
Now, flip the spoon over so that the back side is facing you. Using the cotton swab, paint the back of the spoon area. Be sure not to paint the handle of the spoon.
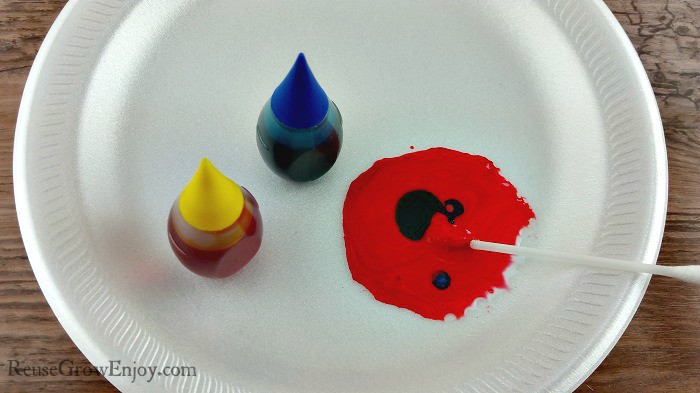
To get the brown color for the branch / handle of the spoon, we need to add yellow and blue to the red mix we just used. Start by adding a drop of each and mix it well. Then keep going until you reach a color that you like for your brown.
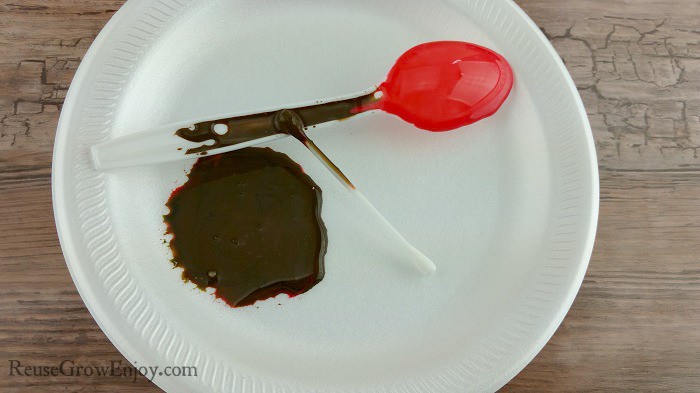
On the same side of the spoon that you painted the red, paint the handle in the brown you just mixed. Then set it aside and allow to dry. Be sure to leave it on the plate as it may drip a little. This will take 4 to 5 hours or give or take depending on the humidity in your room.
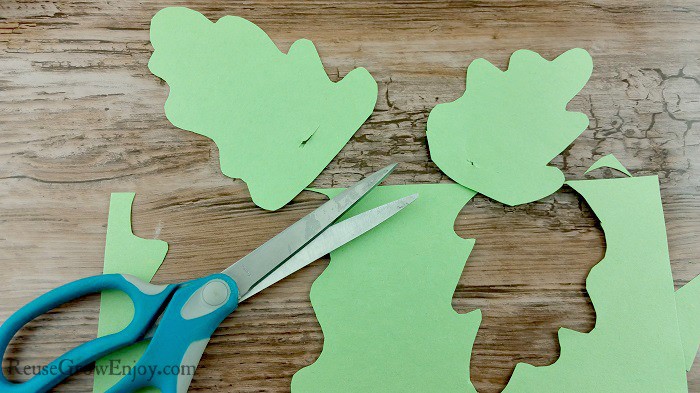
While your ladybug craft spoon is drying, you can cut out your leaves. The shape you do does not really matter, just make it so it looks a little like a leaf. You will need two of them. After you have them cut out, make some lines on it so that it looks like the leaf veins. Then at the back end of the leaf, make a small cut in the center.
After your spoon is dry, take your marker and draw a line down the middle. Then make a few dots all over the spoon so that it looks like spots. Then color in the tip of the spoon in black.
Now you can glue the eyes in place. While you can use the school glue again to do so, I found it easier and faster to use the hot glue gun to do this part. Be sure to leave a little space so the eyes are not right on top of one another. After you have them glued down, you can slide the leaves on the spoon. Do this by sliding the spoon handle through the small slit you made in the back end of the leaf. Then you are done!