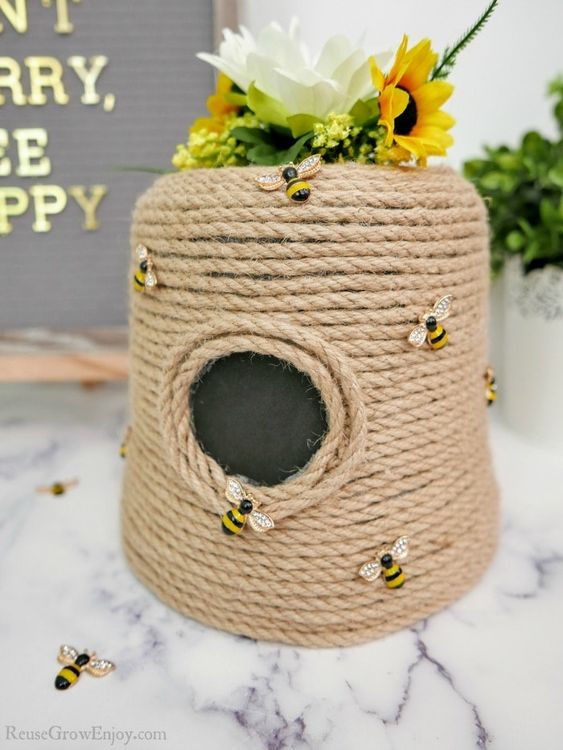
DIY Beehive Craft From Upcycled Flower Pot
Transforming a simple flower pot into a unique beehive craft is a delightful and eco-friendly project that will surely bring a touch of nature to your home. By upcycling materials, you not only contribute to reducing waste but also create a charming haven for our buzzing friends, the bees. These dowels mimic the natural structure of a beehive and provide a safe space for the bees to thrive. Once your DIY beehive craft is complete, find a suitable spot in your garden or balcony to hang it.
Supplies Needed:
- Scissors
- Jute Rope
- Flower Pot (can use cracked pot or a new one)
- Hot Glue Gun
- 10-15 Hot Glue Sticks
- Black Adhesive Foam Sticker Sheet
- Faux Flowers (optional)
- Cute Bees
How To Make This Hive Craft:
To start you need to cute a circle approximately 2 inches wide out of the adhesive foam sticker sheet. If you don’t have sticker sheets, you can also use black felt or vinyl.
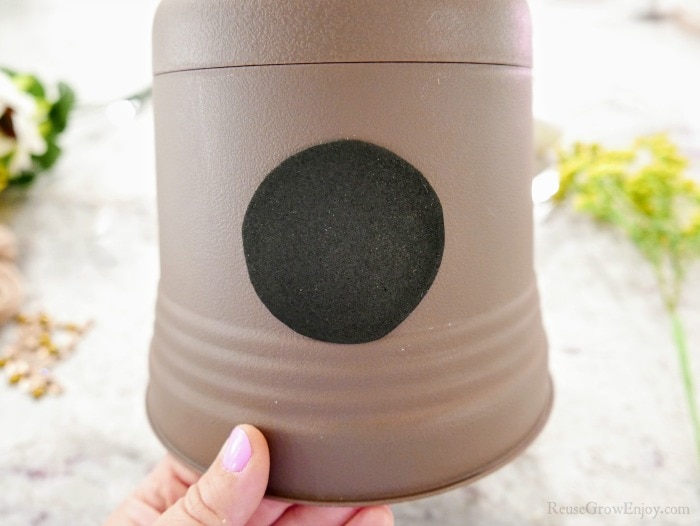
Flip the flower pot so that it is upside down. Apply the foam to about the middle of one side of the flower pot. If using felt or vinyl you can use hot glue to attach it.
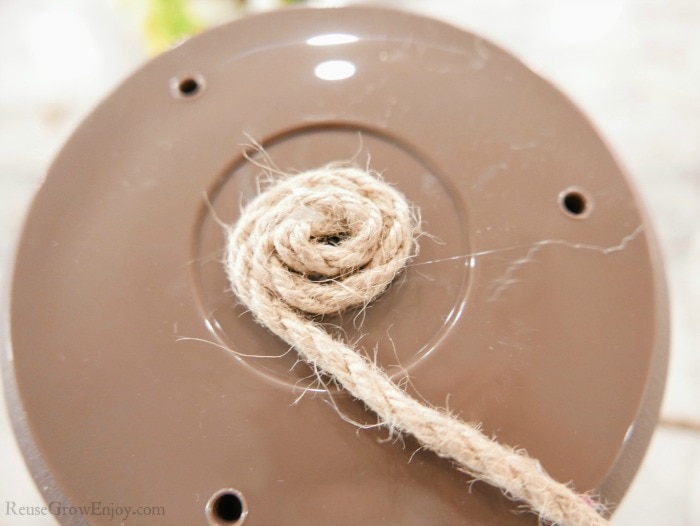
Next, take one end of the rope and curl it so that it starts to make a spiral. Hot glue it in the center of the bottom (well it is the top right now as we have it turned over) part of the flower pot.
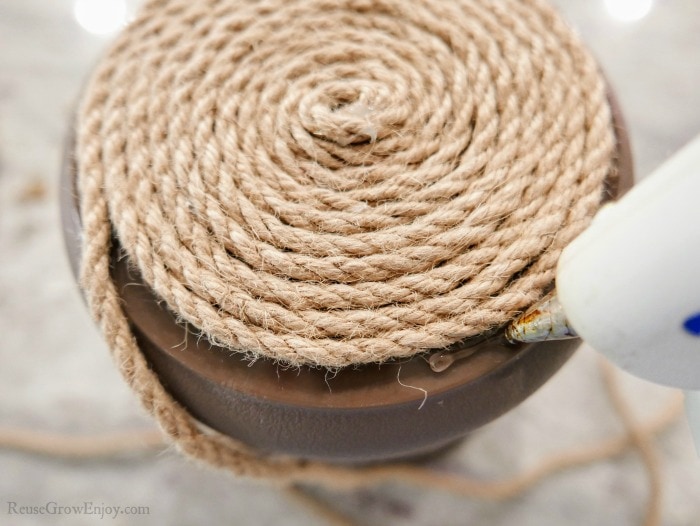
Now start winding the rope around its self in circles using the hot glue to attach it to the pot as you go. Work your way all the way around the flower pot.
When you get down to the black sticker, cut the rope, and glue it in place.
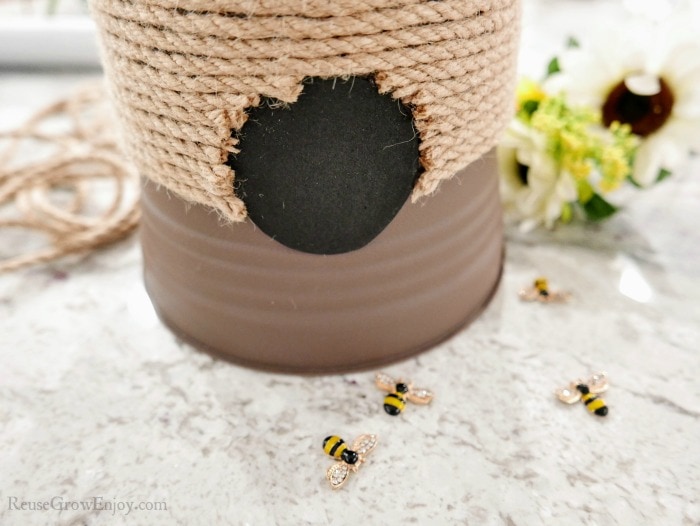
Then glue the end of the rope to the side of the sticker and wrap around to the other side of the sticker and cut it off and glue it in place. You will need to do this a few times till you are past the sticker.
You want it so that all of the sticker remains exposed.
When to the bottom of the sticker start the rope again and work your way all the way to the bottom of the pot gluing as you go. Cut any remaining rope off, and glue the final piece to the pot.
Adding Finishing Touches:
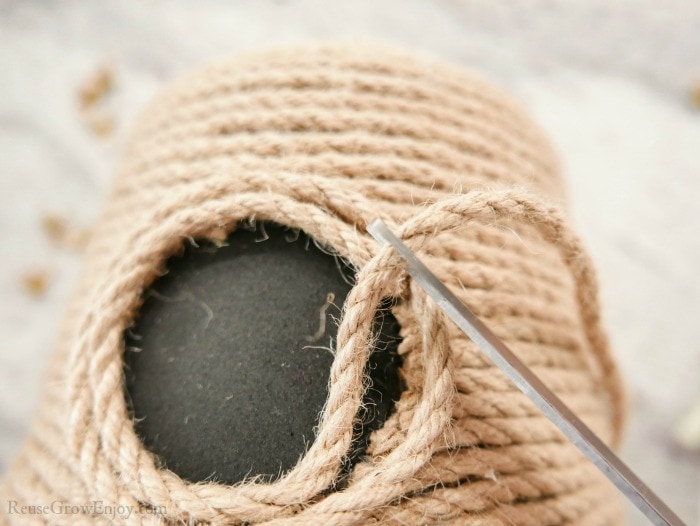
Now you need to measure around the sticker and cut some rope to go around it. Glue it to the outside border of the foam sticker. Then make another one slightly smaller to go just inside that one.
Next, we need to add the flowers if you are adding them. Simply cut the stems off the flowers and hot glue them to the top/bottom of the pot.
Not time to add some adorable bees. Using the glue place them on the hive wherever you think a cute little bee should be.
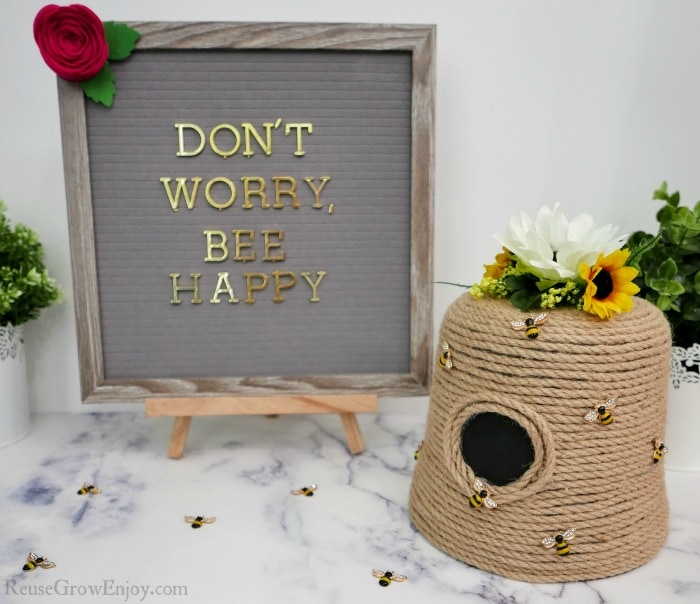
That is is! Your super cute beehive craft is done and ready to be displayed.