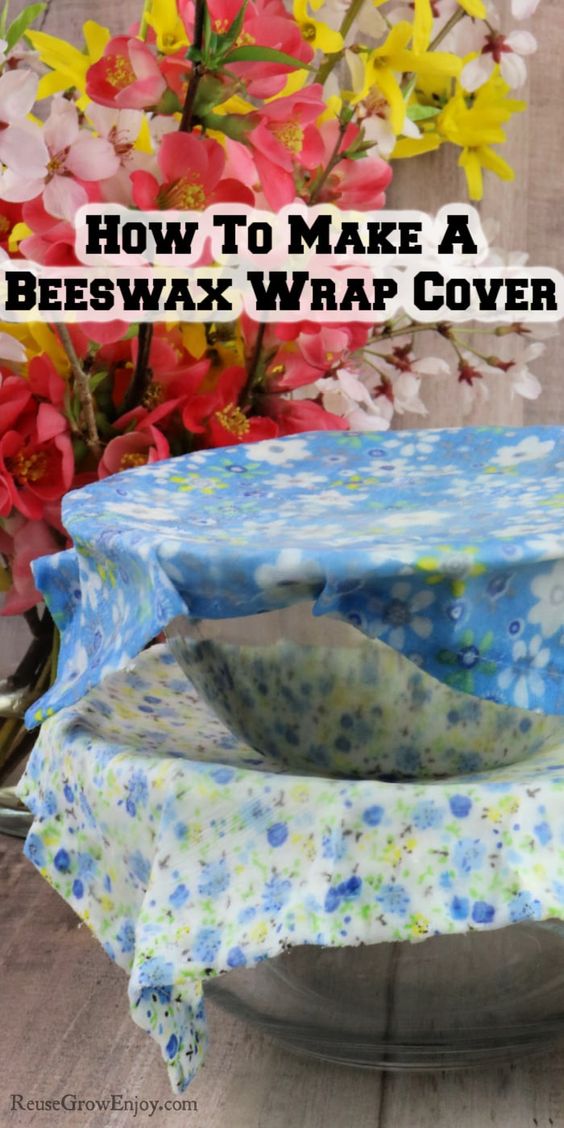
How To Make A Beeswax Wrap Cover
The Beeswax Wrap Cover is perfect for wrapping sandwiches, covering bowls, or storing fruits and vegetables. Not only is it reusable, but it also helps reduce waste by eliminating the need for single-use plastic wrap. Say goodbye to harmful chemicals leaching into your food and hello to a more environmentally conscious way of preserving your meals. With proper care, the Beeswax Wrap Cover can last up to a year, making it a cost-effective and sustainable choice for your kitchen. Make the switch to Beeswax Wrap Cover today and join the movement towards a greener and healthier planet!
Supplies Needed:
- White Beeswax Pellets (you only need about 1 Tbsp per cover)
- Thread (match fabric color)
- Scissors
- Fabric Clips or Pins
- Fabric (sizes depend on bowl sizes)
- Cookie Sheet
- Paint Brush or Pastry Brush
- Wax Paper
- Sewing Machine
How To Make This Wax Cover:
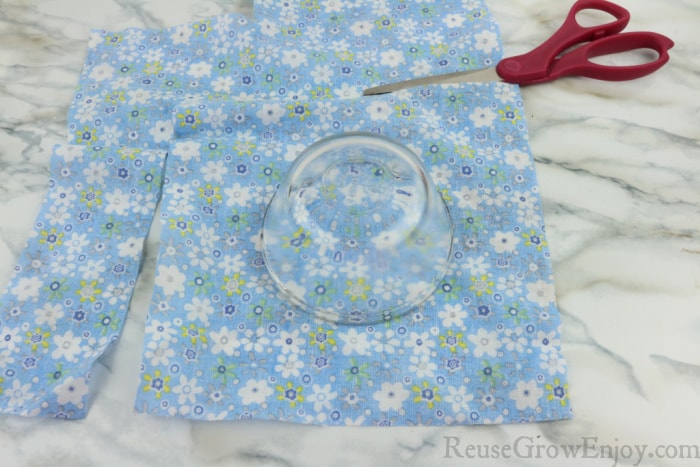
Cut the fabric to the size you need. You can just cut out some different size squares if you want different size wraps. If making for a specific bowl, lay the bowl you want to make it for, on the fabric then cut it so that it is about 1.5 to 2 inches past the bowl. Cut it out in a square.
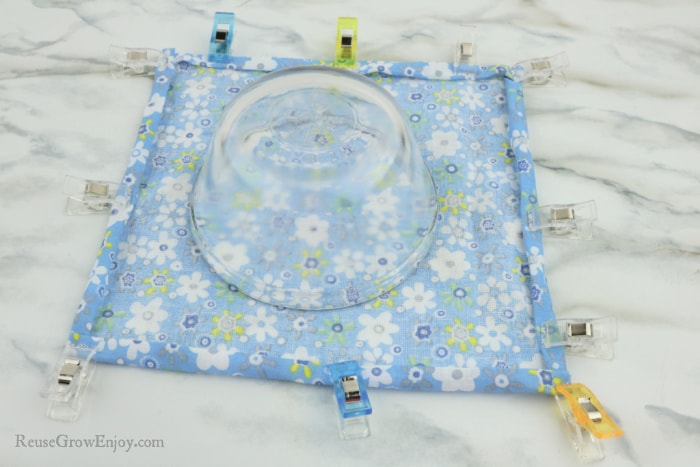
Take the cut fabric and lay it face down. Fold the edges in by about 1/4 inch or even a little less if you can. Then fold it over again on itself so the raw edges are hidden and clip it in place. Do this all the way around.
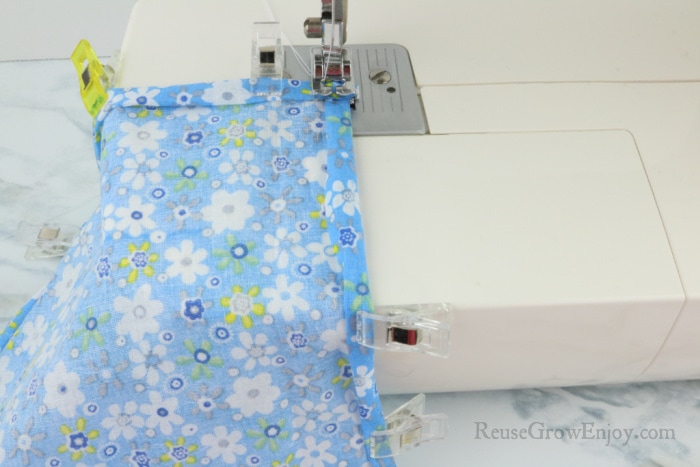
Line the foot of the machine so that it is on the inner edge of the fold. Sew as close to that inner edge as you can. Do a backstitch at the start and finish. A backstitch is when you sew a few stitches forward then a few back then forward again.
Sew all the way around. The best way to turn the corners is to lower the needle when you get to the corner, then lift the foot and swing the fabric around. Lower the foot and continue sewing.
Lay a piece of wax paper or a silicone mat on the cookie sheet. If using the paper, I clip it to the edge of the cookie sheet using my sewing clips to keep it from sliding.
To heat the wax, add it to a microwave-safe dish and microwave 20 seconds at a time, and stir each time until fully melted.
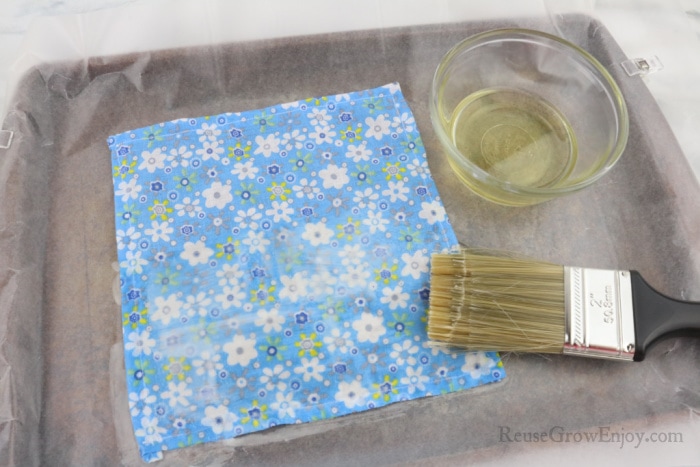
Place the fabric face-up on the wax paper or mat. Dip the paint brush in the heated wax and lightly brush the fabric with the wax. It just needs to be coated lightly, not super thick.
Allow cooling then remove from wax paper.
