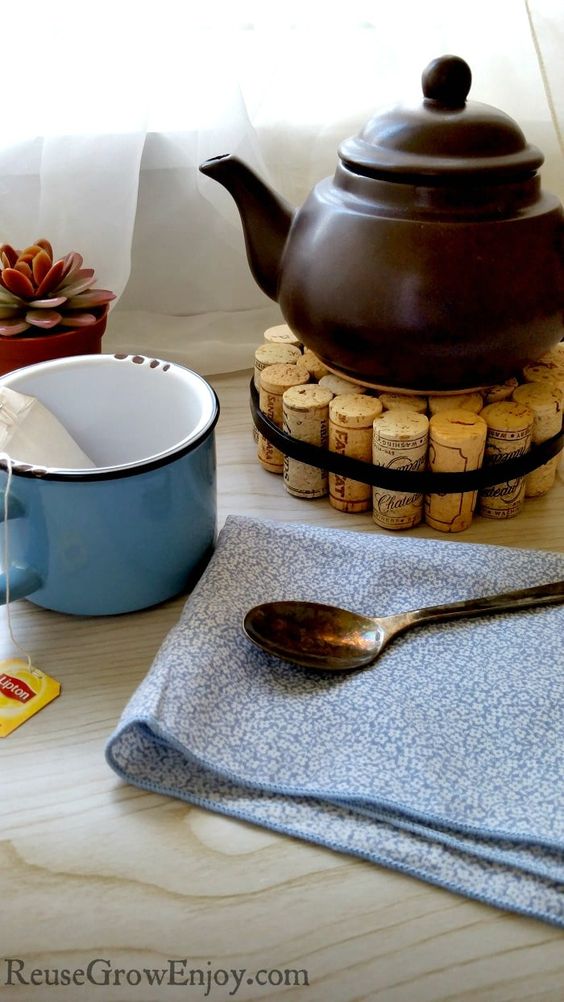
Easy DIY Cork Trivet
Looking for a creative and practical DIY project? Why not try making your own cork trivet? This simple yet stylish accessory not only adds a touch of charm to your kitchen or dining table but also serves a functional purpose. With just a few materials and a little bit of time, you can create a unique and personalized trivet that will impress your guests and protect your surfaces. This delightful and practical accessory not only serves as a heat-resistant barrier for your kitchen or dining table but also offers a fantastic opportunity to let your imagination soar.
Cork Trivet Supplies Need:
- Corks (I used 35 to make my 5 1/2 inch trivet)
- Wire Cutters or Sharp Knife
- Long Zip Tie (I used a 24″ for my 5 1/2 inch trivet)
Directions:
The first thing you want to do is put the end of the zip tie through the other end. Click it down just a few times to lock it in place.
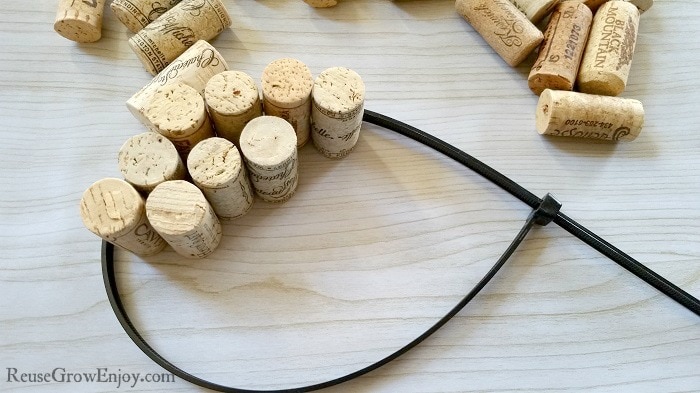
Then lay it on a flat surface. Start putting the corks in one by one so they are standing up. You may want to make sure all the wine-stained ends are on one side. That way you can put it on the bottom so you don’t see it if you do not like that look. Keep going until you have it full.
Then start to tighten the zip tie. Before you snug it all the way, slide it up so that it is in the middle of the corks then pull it as tight as you can.
After it is tight, you may find there are spaces with a little wiggle room. If you have that, wedge another cork down in that gap. You want to have everything so snug that it stays in place.
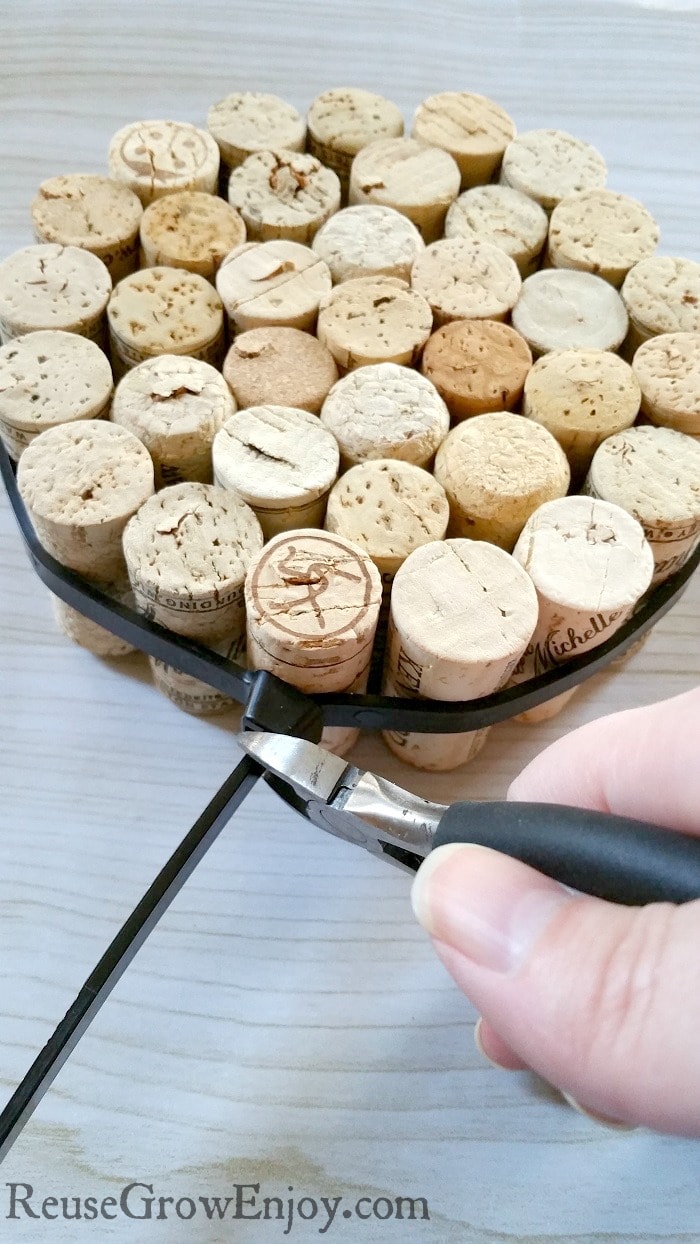
After you are down, you can use the wire cutters or sharp knife to cut off the extra end of the zip tie. After you do that, you are done! You now have a nice new cork trivet to use.