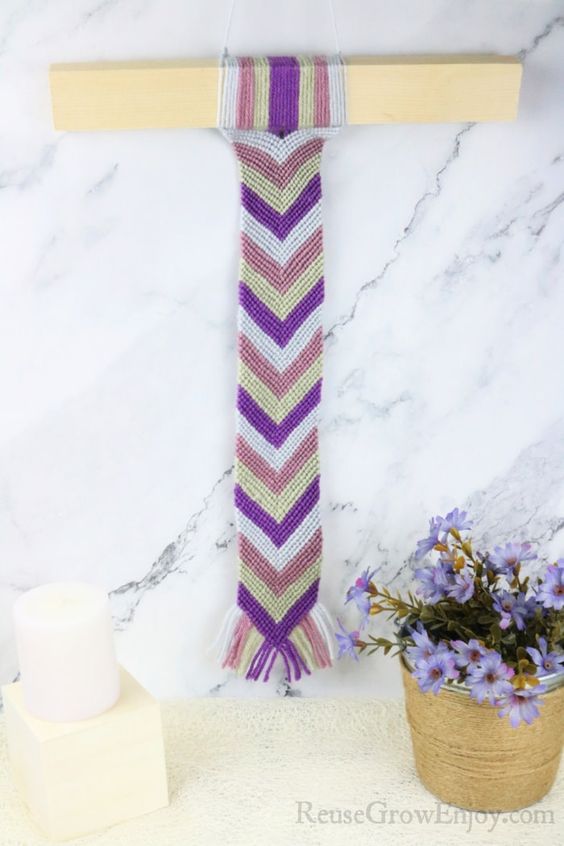
DIY String Art Wall Decor
Looking to add a touch of creativity and personality to your home decor? Look no further than DIY string art wall decor! This unique and eye-catching craft allows you to create stunning designs using just a few simple materials. Whether you're a seasoned crafter or a beginner looking for a fun project, string art is a fantastic way to express your artistic side and transform any plain wall into a work of art. Hang your finished string art on a prominent wall in your home and watch as it becomes a conversation starter and a focal point of your decor. Whether you choose to create a single piece or a series of string art designs, this DIY project is sure to add a unique and personal touch to your living space. So, unleash your creativity and get ready to impress your friends and family with your stunning string art wall decor! This trendy craft allows you to unleash your artistic flair and create stunning pieces that will instantly elevate the ambiance of any room. With just a few simple materials and a touch of imagination, you can transform a plain wall into a gallery-worthy masterpiece.
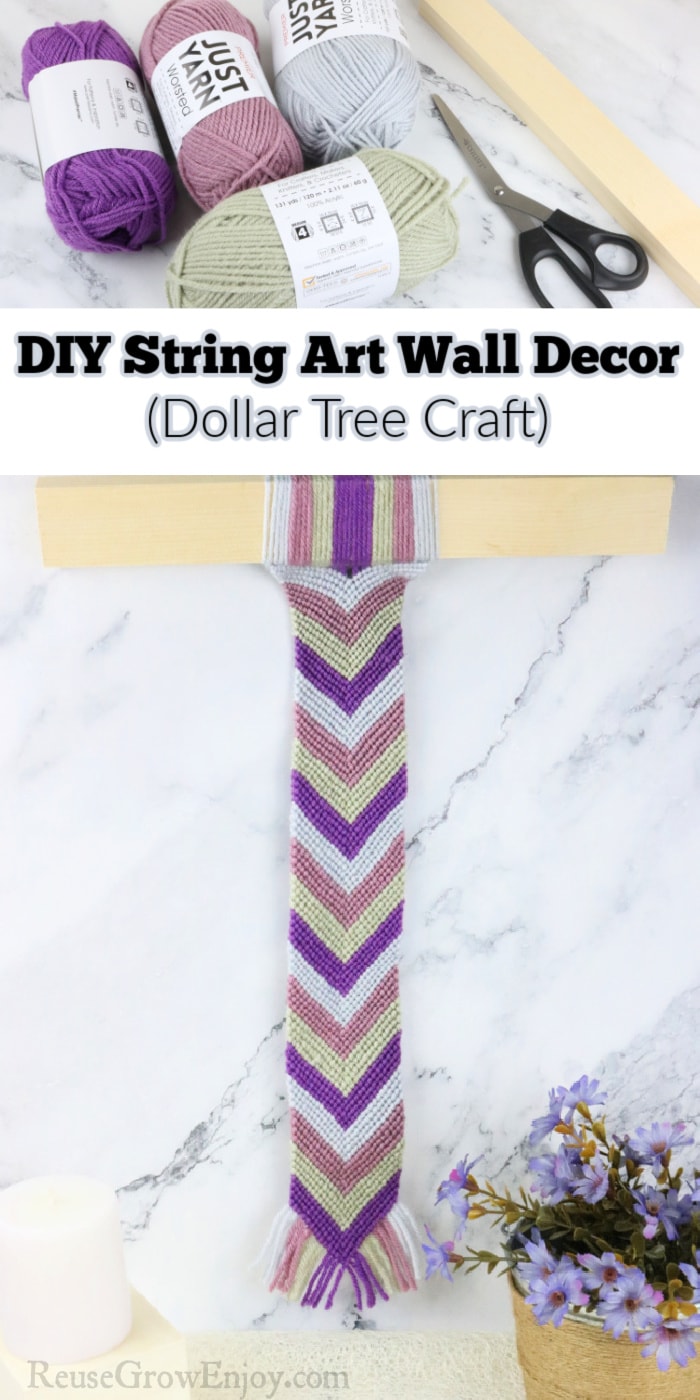
Supplies:
- 4 Different Colors Of Yarn
- Scissors
- Wood Board or Stick
- Small Snag-Free Rubber Bands (optional)
- Ruler (optional)
How To Make This String Wall Art:
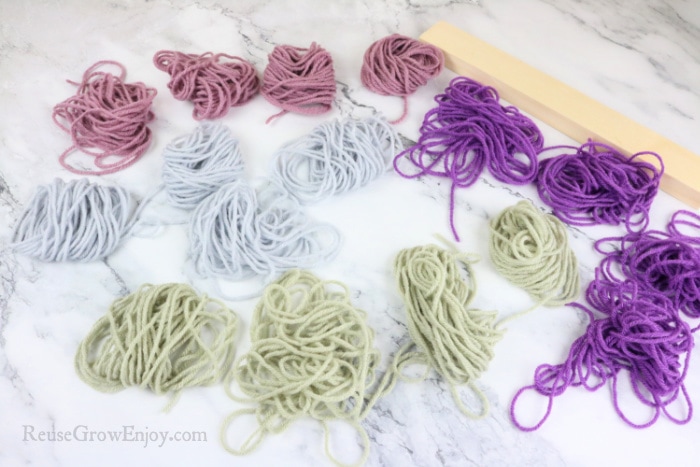
Step 1: You need to cut 4 pieces of yarn of each color that are 20 feet long. We did end up trimming off some as we got to a length that we liked. If you want yours shorter you can use less.
Note: If you are making yours wider and use more strands of yarn, you will need to make them about 5 inches longer for every string you add. Also while we cut ours as 4 pieces per color, it really ends up being 8 pieces as we have them doubled over.
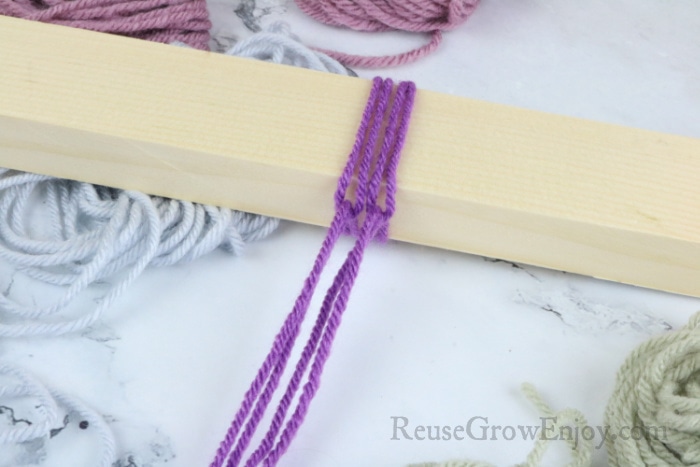
Step 2: After you have them all cut, place the two ends of a piece together. Then loop it around the wood and pull it back through itself. You will need to figure out the color pattern you want at this point as well.
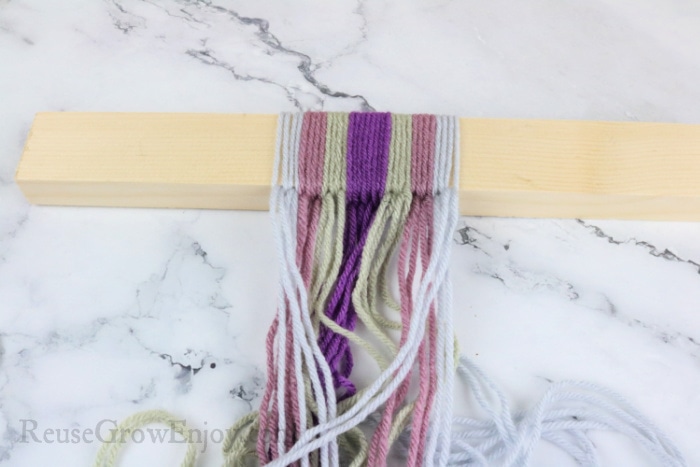
4 pieces of one color will go in the center. Then on each side of that, you will put two pieces of each color on each side.
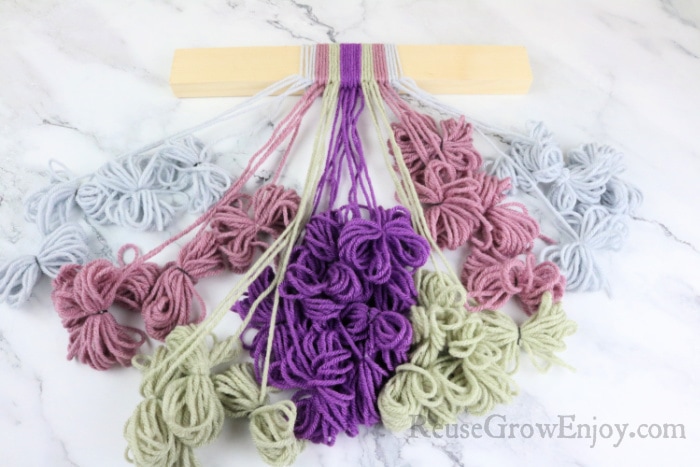
Step 3: This step is optional but I really find it helps to keep things from getting really tangled. Wrap the end of a strand around your hand so that about all but 10 inches or so is wrapped up. Then put a rubber band around it to keep it wrapped.
Do this to each of the strands.
Finishing Rows & Making Hanger:
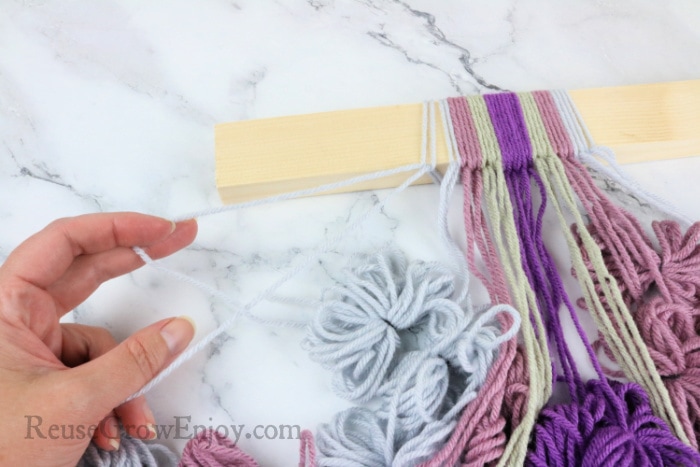
Step 4: Starting with the first string on the left side you will cross it over the next string so that it makes the shape of a 4. Then run the end of the first string through that center of the 4 from the bottom and pull tight. After you have the first knot you will do another just the same.
After you have made 2 knots on that second string you will move on to the next string and do the same. Keep repeating this step until you get to the center, in ours, the center is after you have done 4 strands of the dark purple.
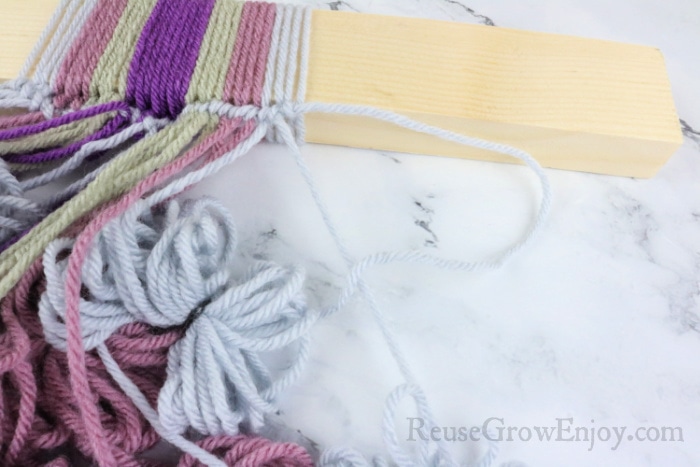
Step 5: Now we move to the right side. This time we will make a backward 4 shape over each strand. Other than that it is the same as the others. 2 knots on each strand.
When you get to the center, this time we will do a backward 4 over the last string from the other side that you stopped in the center.

Step 6: Keep repeating steps 4 & 5. You will notice as you work you will start to move on to different colors.

Step 7: When you get to the end or to the length you want, cut off any extra yarn.
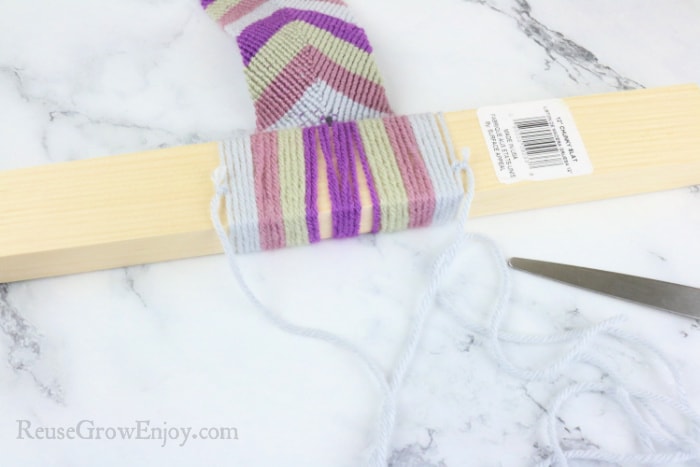
Step 8: Take a piece of yarn that is the color of the end pieces on the wood and tie it around the wood on each side. Then trim it off with the scissors.