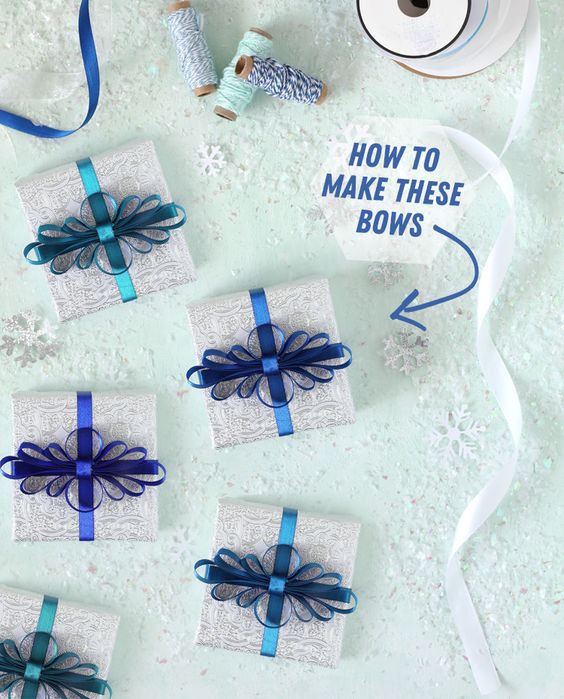
DIY Fancy Loop Bow Gift Topper
Are you tired of using the same old gift toppers for your presents? Why not try something different and make your own fancy loop bow gift topper? This DIY project is not only fun and creative, but it will also add a touch of elegance to any gift. With just a few materials and some simple steps, you can create a stunning bow that will impress everyone. Elevate Your Gift Wrapping Game with a DIY Fancy Loop Bow Gift Topper Looking to add a touch of sophistication to your gift wrapping? Say goodbye to ordinary bows and hello to a DIY fancy loop bow gift topper that will take your presents to the next level. This simple yet elegant project will make your gifts stand out and leave a lasting impression on the recipient.
All you need to make this bow is satin ribbon, hot glue and a pair of scissors.
Step 1: Cut 8 pieces of ribbon to the following lengths:
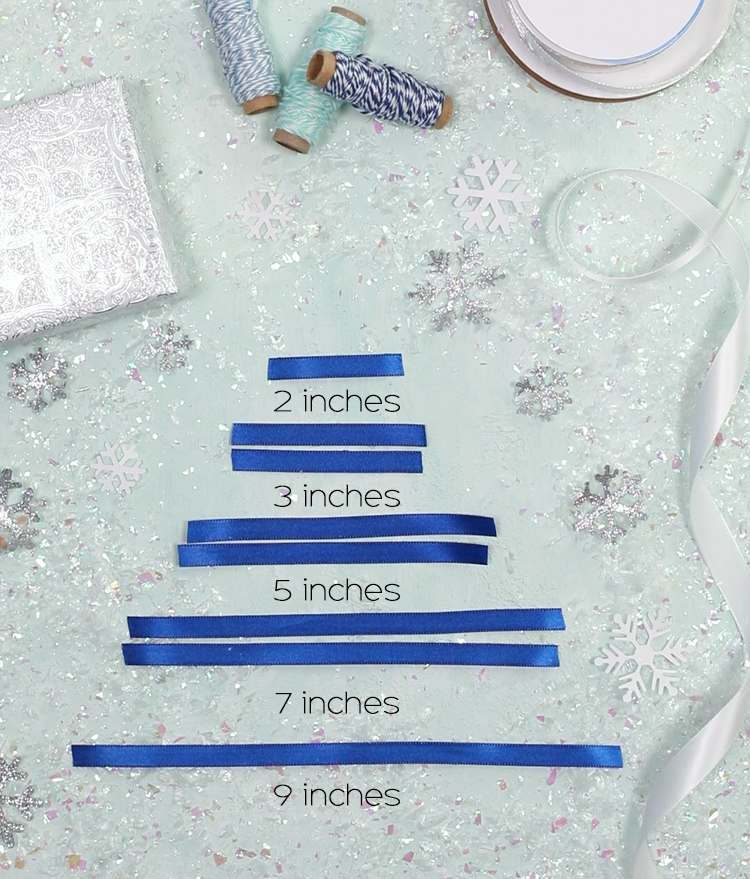
A note about the sizing: I used 3/8″ ribbon and the finished bow measures just over 4 inches wide. If you use thicker ribbon, you should probably scale up the sizing of each piece a bit, but keep the same general proportions. Thicker ribbon = longer pieces.
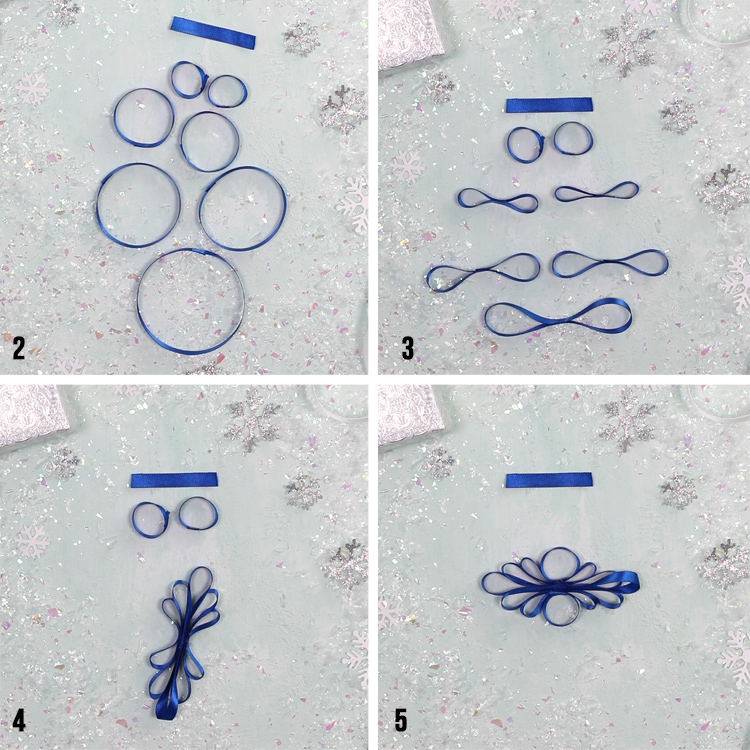
Step 2: Use hot glue to form the ribbon into loops. DO NOT do this to the shortest 2 inch piece.
Step 3: Add a dab of hot glue to the center of the loops and pinch them together to form a double loop. Only do this for the 5″,7″ and 9″ loops.
Step 4: The largest double loop will be the center layer of the bow. Add one 7″ double loop to each side, then add one 5″ loop to each side of that so you have a symmetrical design.
Step 5: Glue the two small circles to each side.
Step 6: Add a dot of hot glue to the center of the loops, then use the remaining 2 inch piece of ribbon to wrap around the center of all the layers of loops. Glue the ends down in back, then cut off any excess ribbon. If this seems confusing, watch the video below… hard to explain, but easy to do!
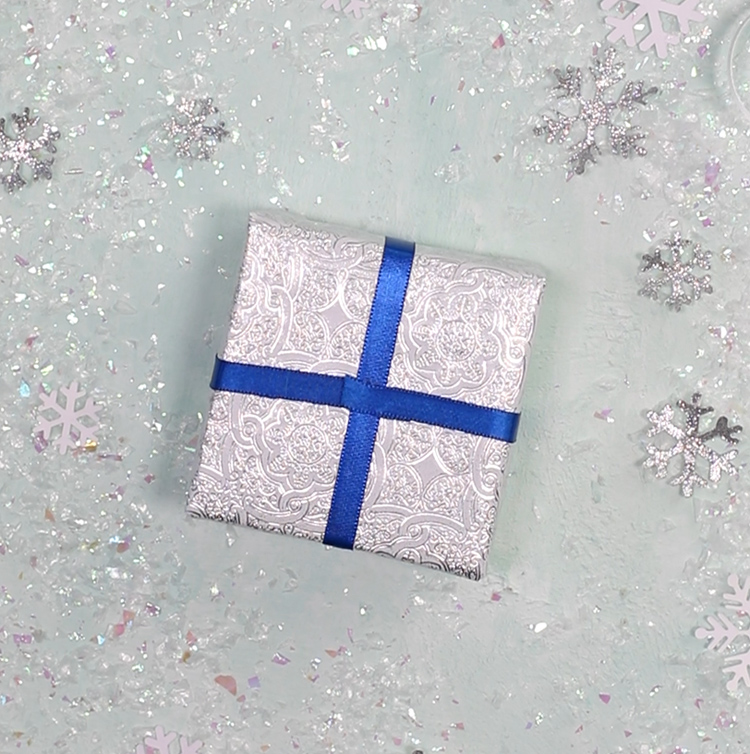
Step 7: Add ribbon to your wrapped gift however you’d like (I did the classic T-shaped look), then glue the loopy bow into place.