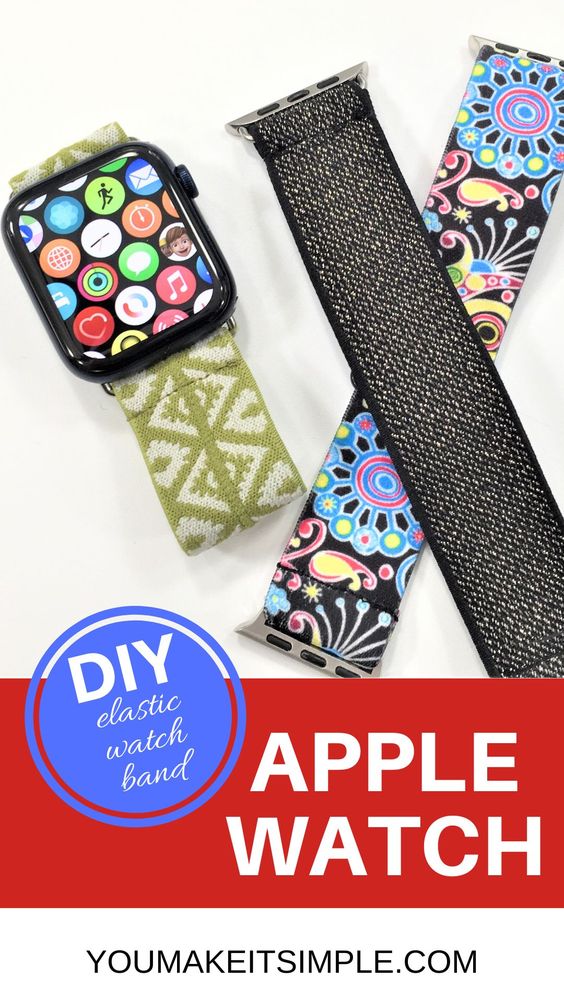
DIY Apple Watch Elastic Watch Band
Create your very own custom Apple Watch band using elastic material for a comfortable and stylish accessory. This do-it-yourself project allows you to personalize your watch band to match your unique style and preferences. By using elastic material, you can ensure a snug fit that is both comfortable and secure on your wrist. With just a few simple materials and some basic sewing skills, you can easily create a one-of-a-kind watch band that is perfect for everyday wear or special occasions. Choose from a variety of elastic colors and patterns to create a band that reflects your personality and taste. This DIY project is a fun and creative way to upgrade your Apple Watch and make it truly your own.
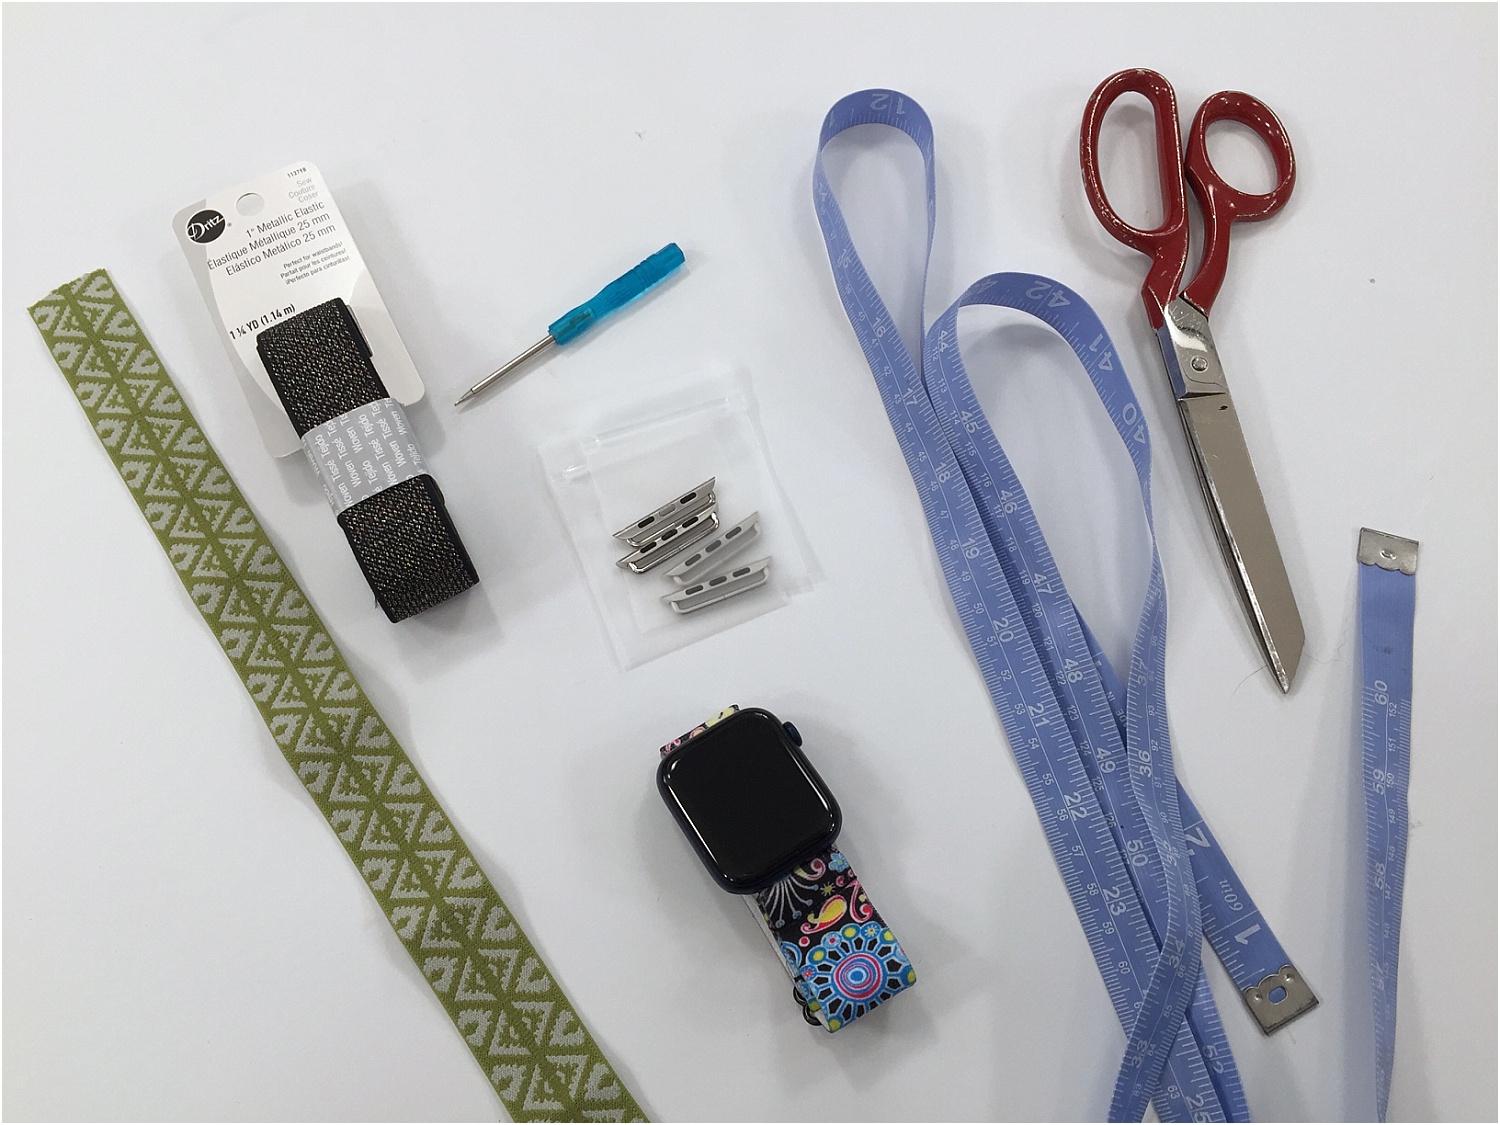
Watch Band Items Needed
- Measuring tape
- Sewing elastic (3/4 inch-1 inch)
- Apple band adapters
- Sewing machine
- Scissors
- Straight pins
Instructions
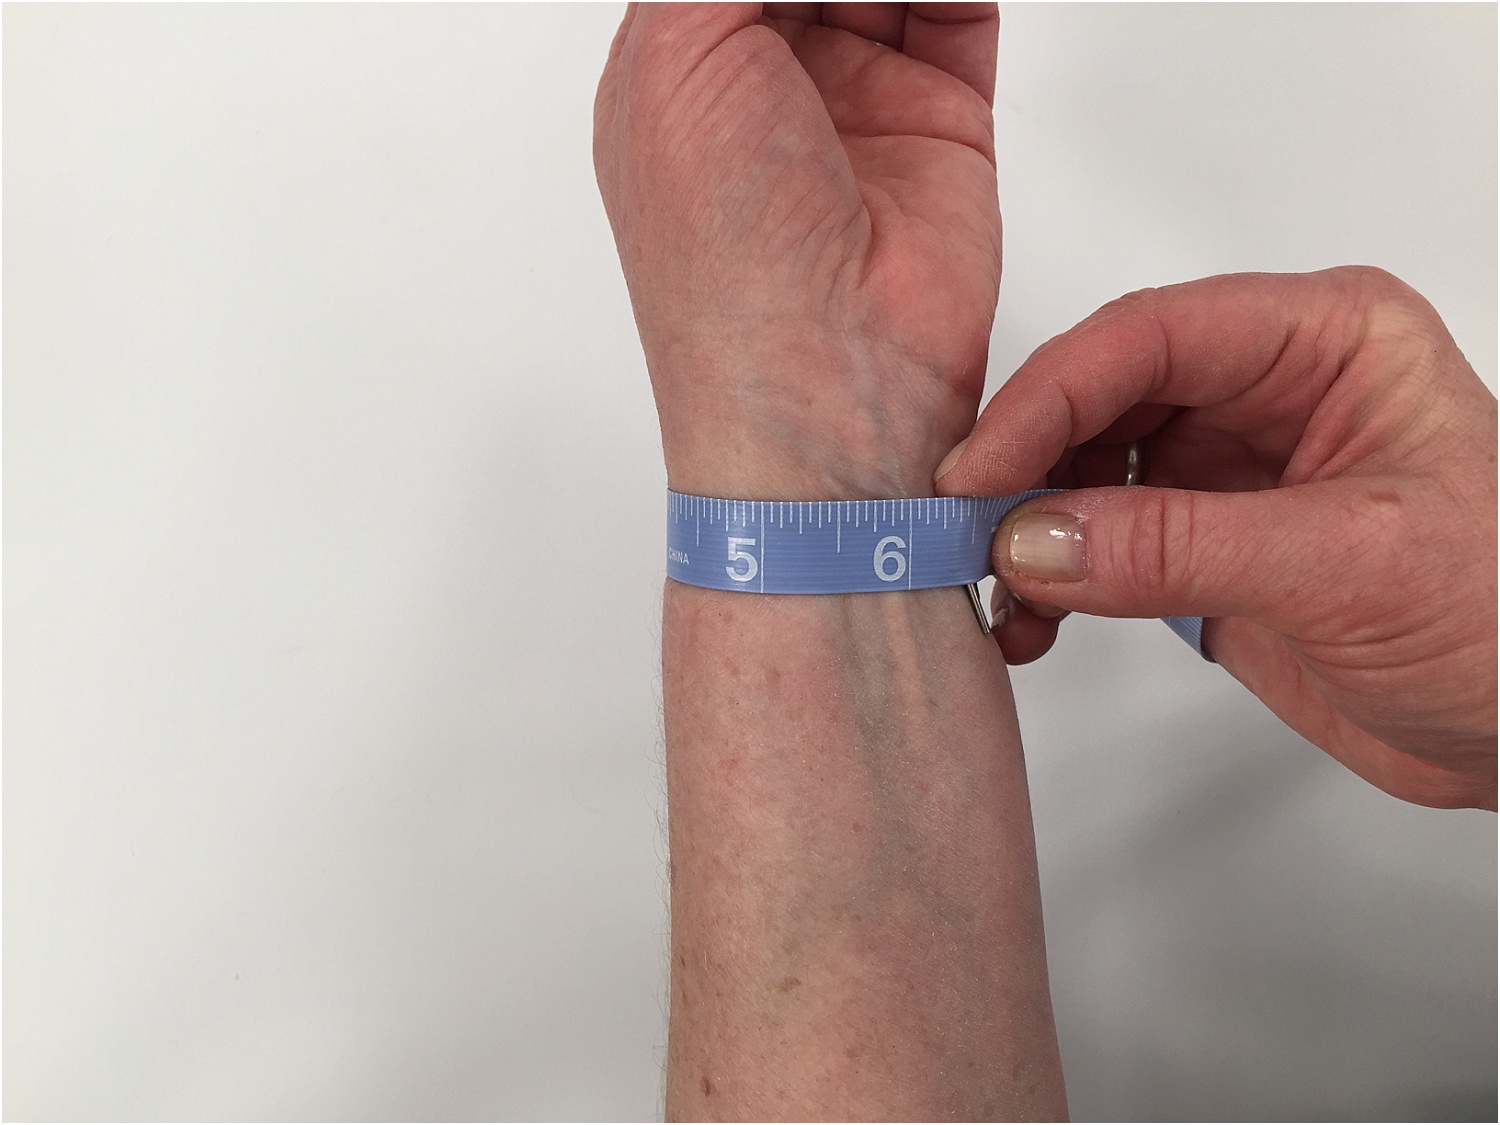
Measure your wrist at the location where you wear your watch.
Subtract ½ inch.
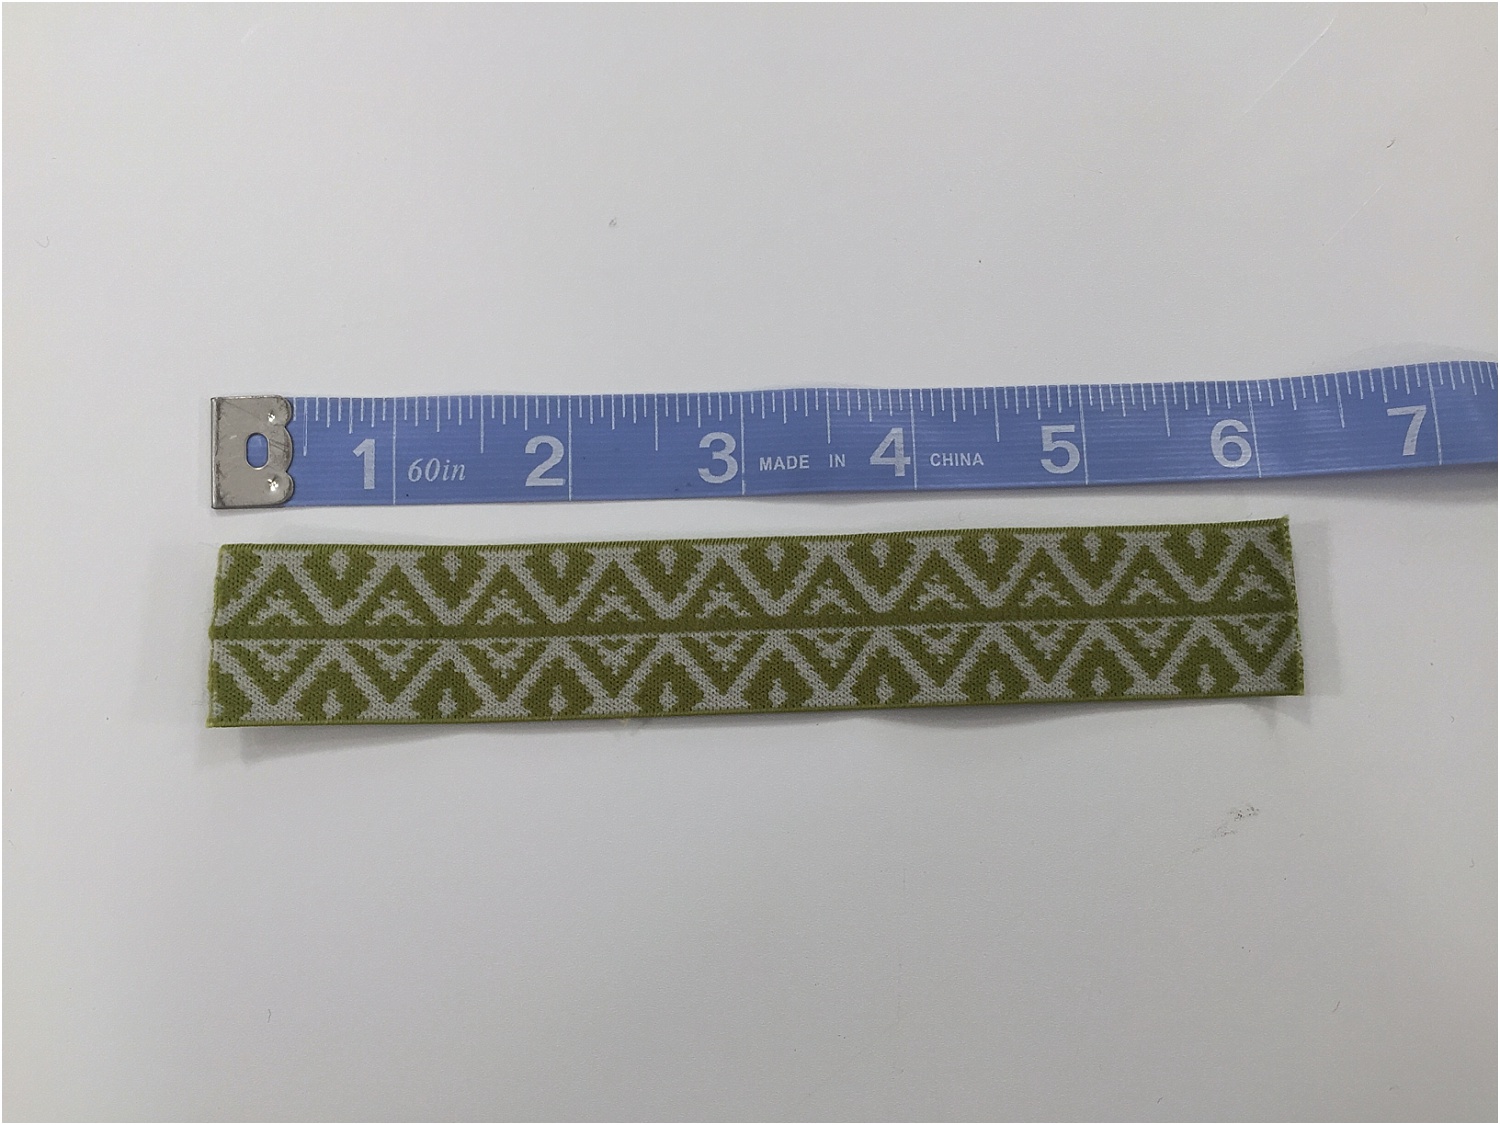
Cut the elastic to that measurement.
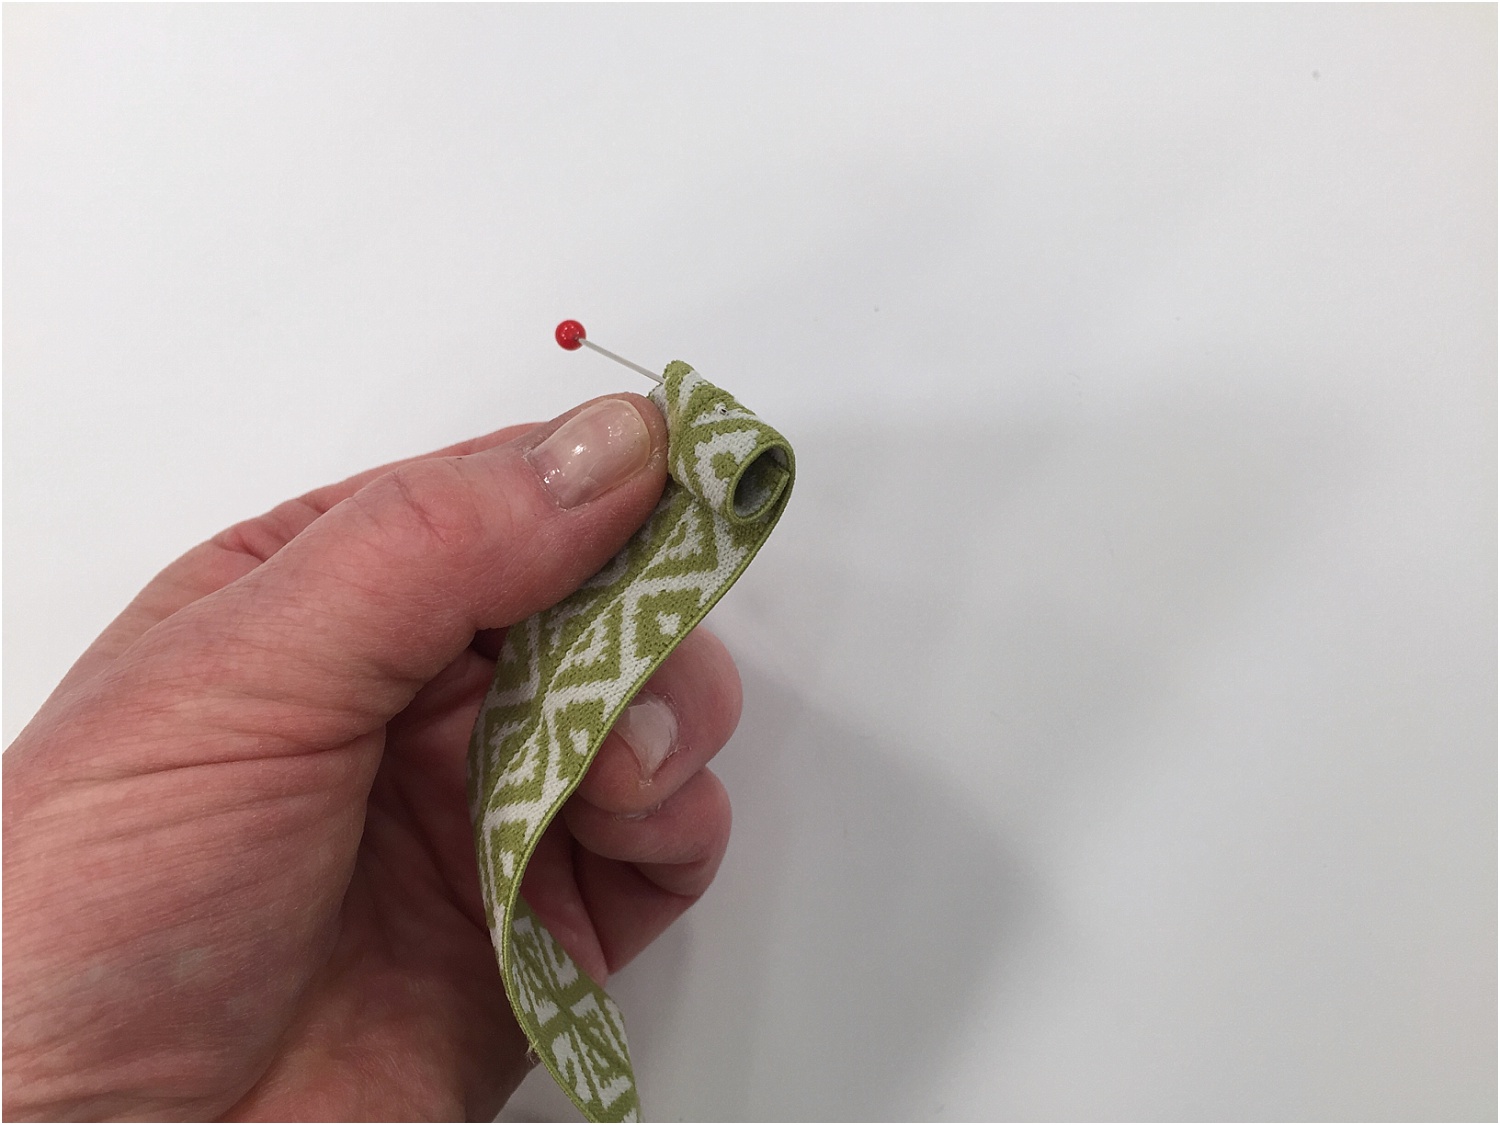
Measure 5/8 inch from both edges and mark with a pin.
Fold the ends over at the pin point and then fold under again ¼ inch.
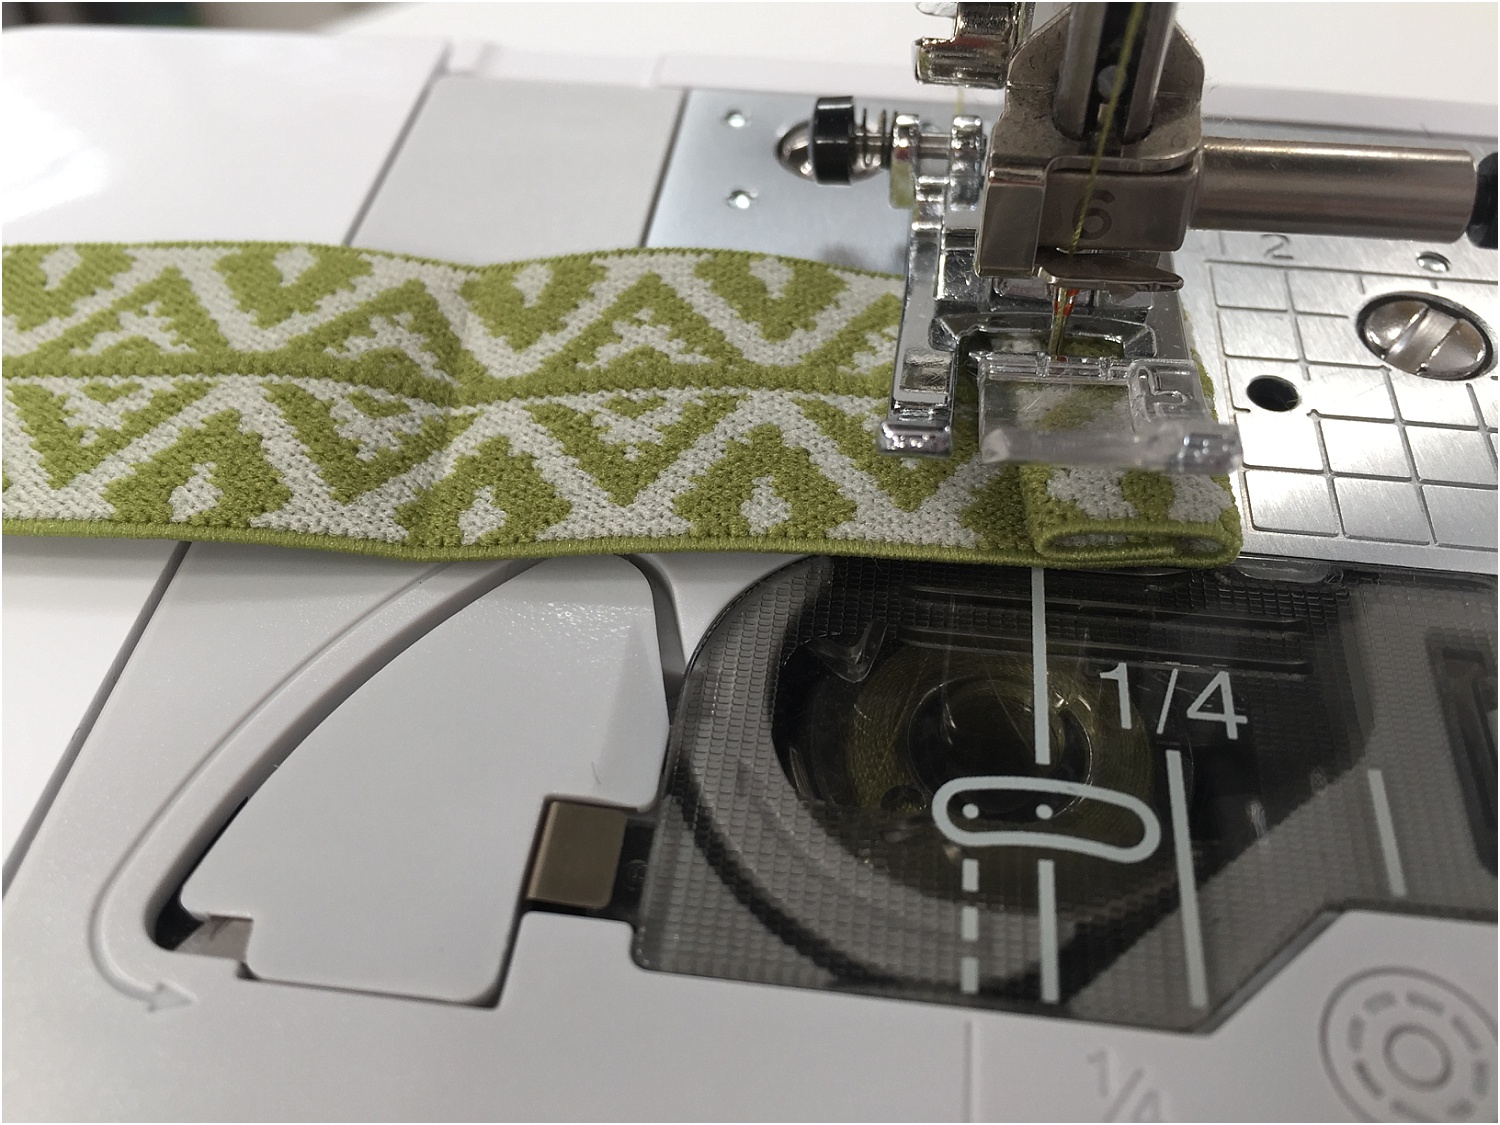
Topstitch along the folded edge to hold in place.
Backstitch at the beginning and end of the seam. (Do this for both sides)
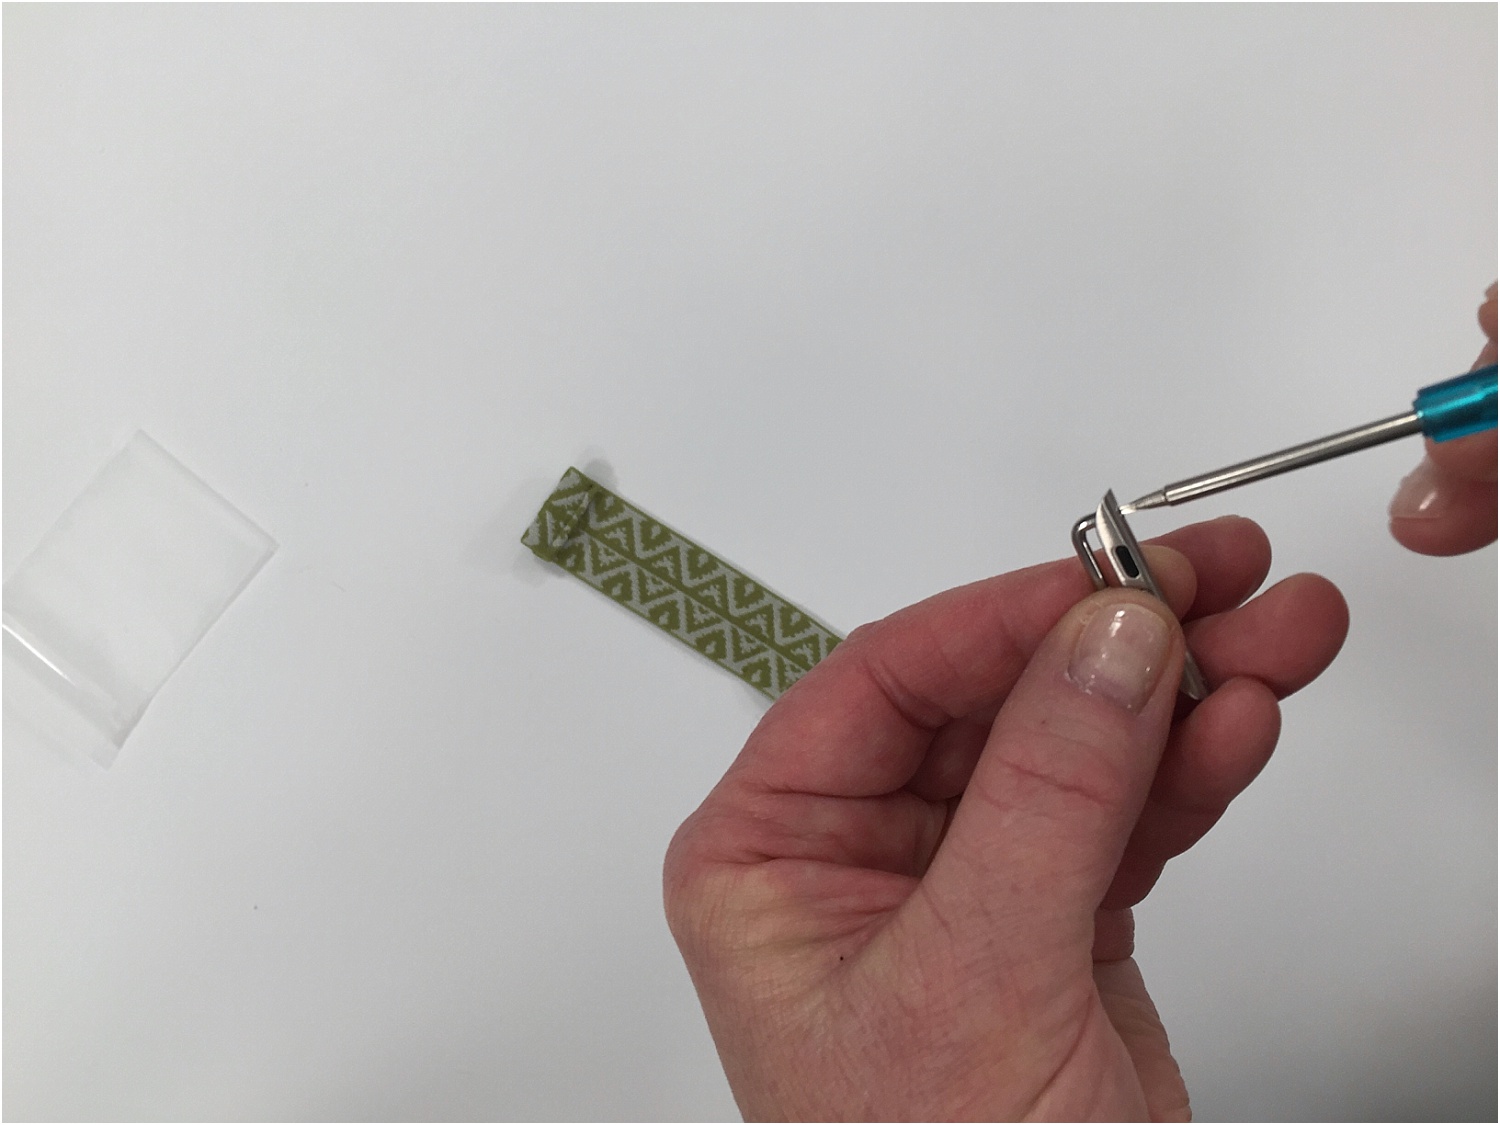
Take the screw that comes with the adapter kit and unscrew the TINY screw until the little arm of the holder releases.
Pivit the arm out so you can slide the elastic onto it.
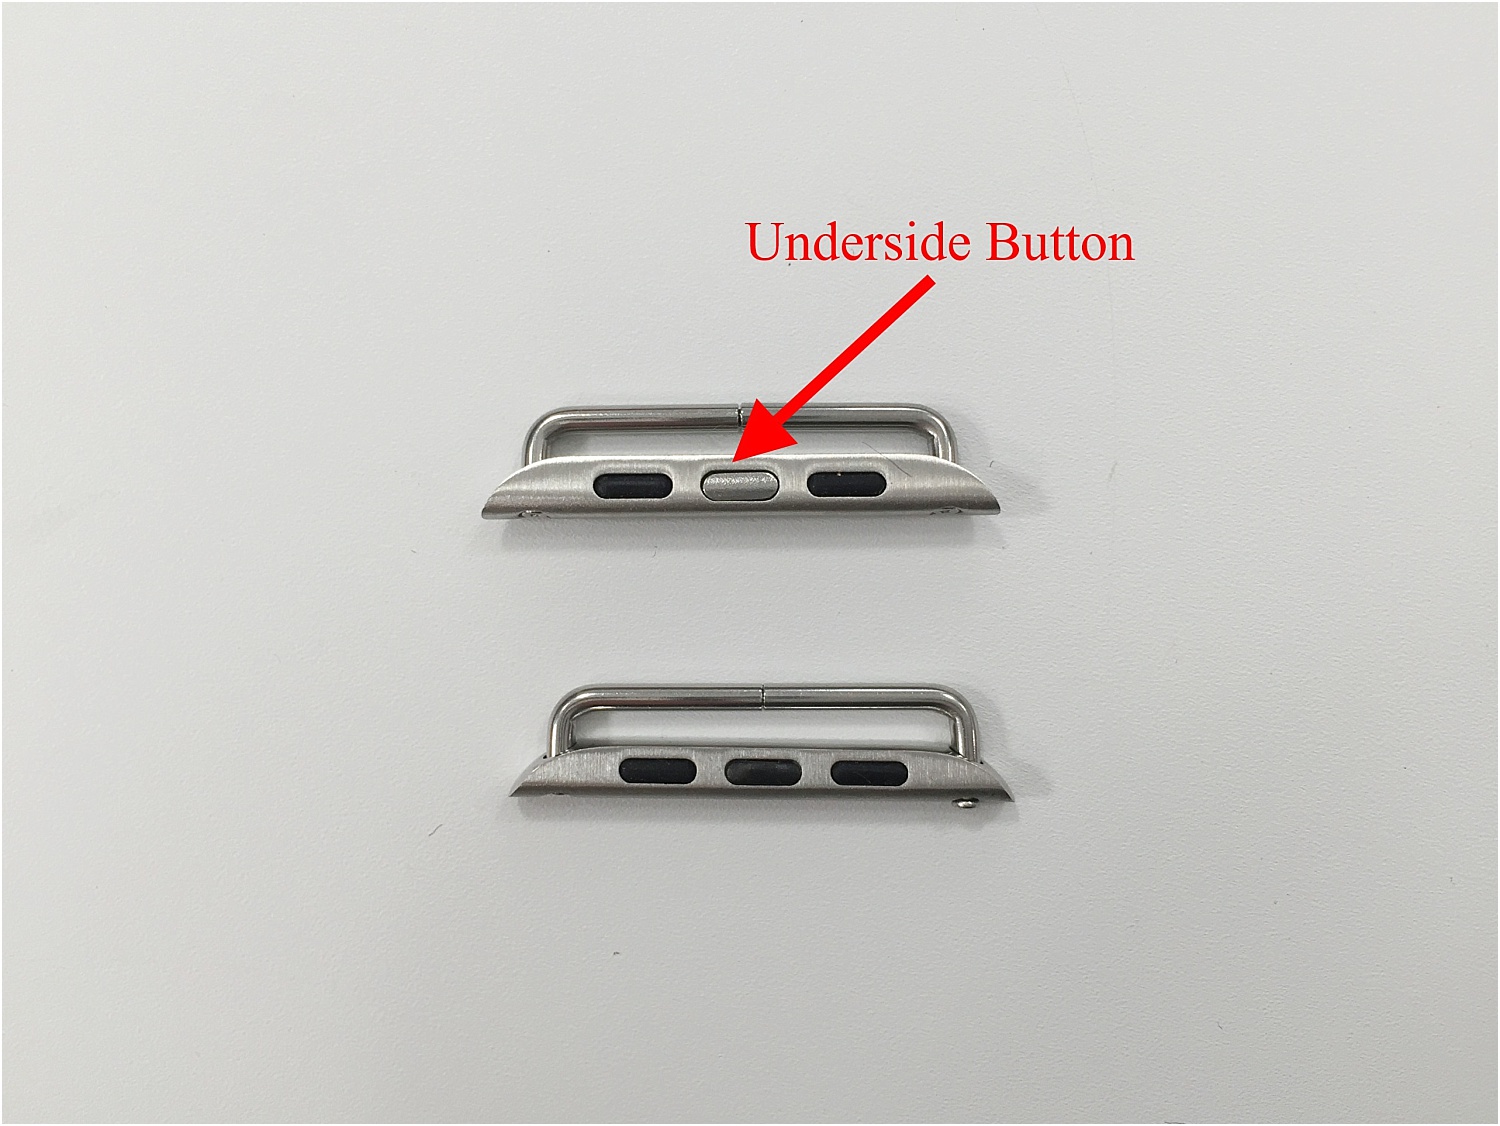
VERY IMPORTANT!!!!!!!
The adapter has a topside and an underside. The underside will have a little button in the center that is used to release it from the watch.
THAT BUTTON NEEDS TO BE PLACED ON THE UNDERSIDE, SO MAKE SURE YOUR WATCH BAND IS PLACED ACCORDINGLY.
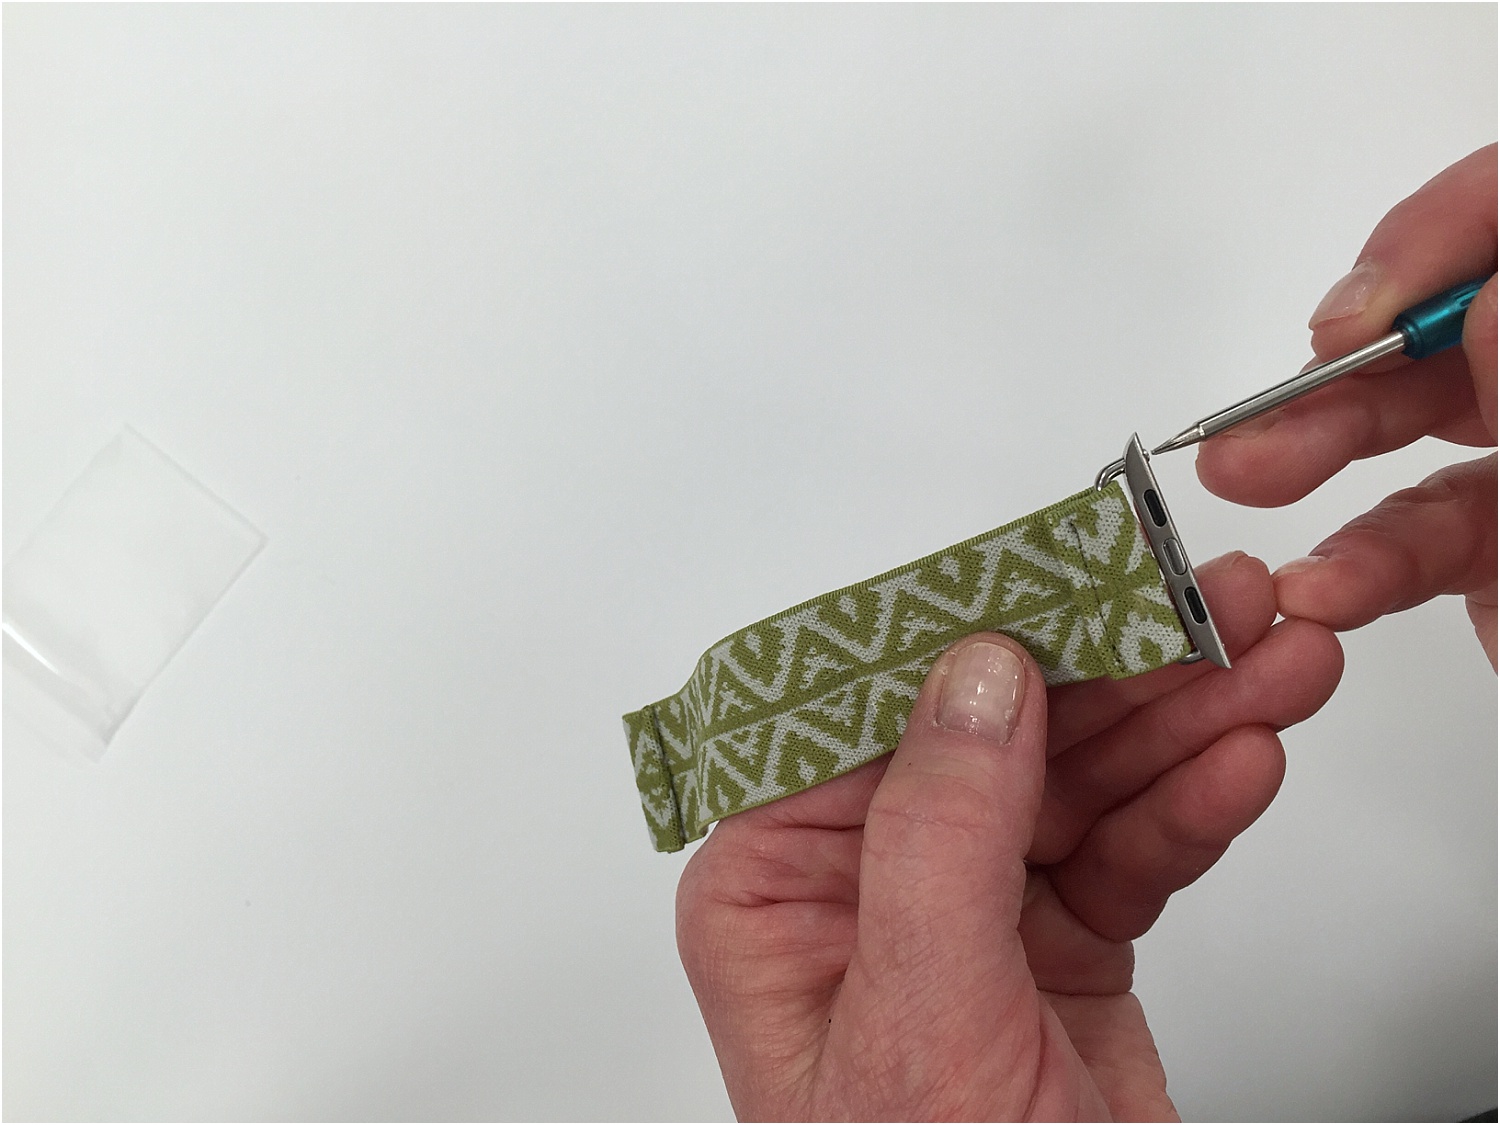
Once you have the band onto the adapter, place the arm back into position and screw in place.
(These screws are teeny tiny, so be careful not to drop and loose them).
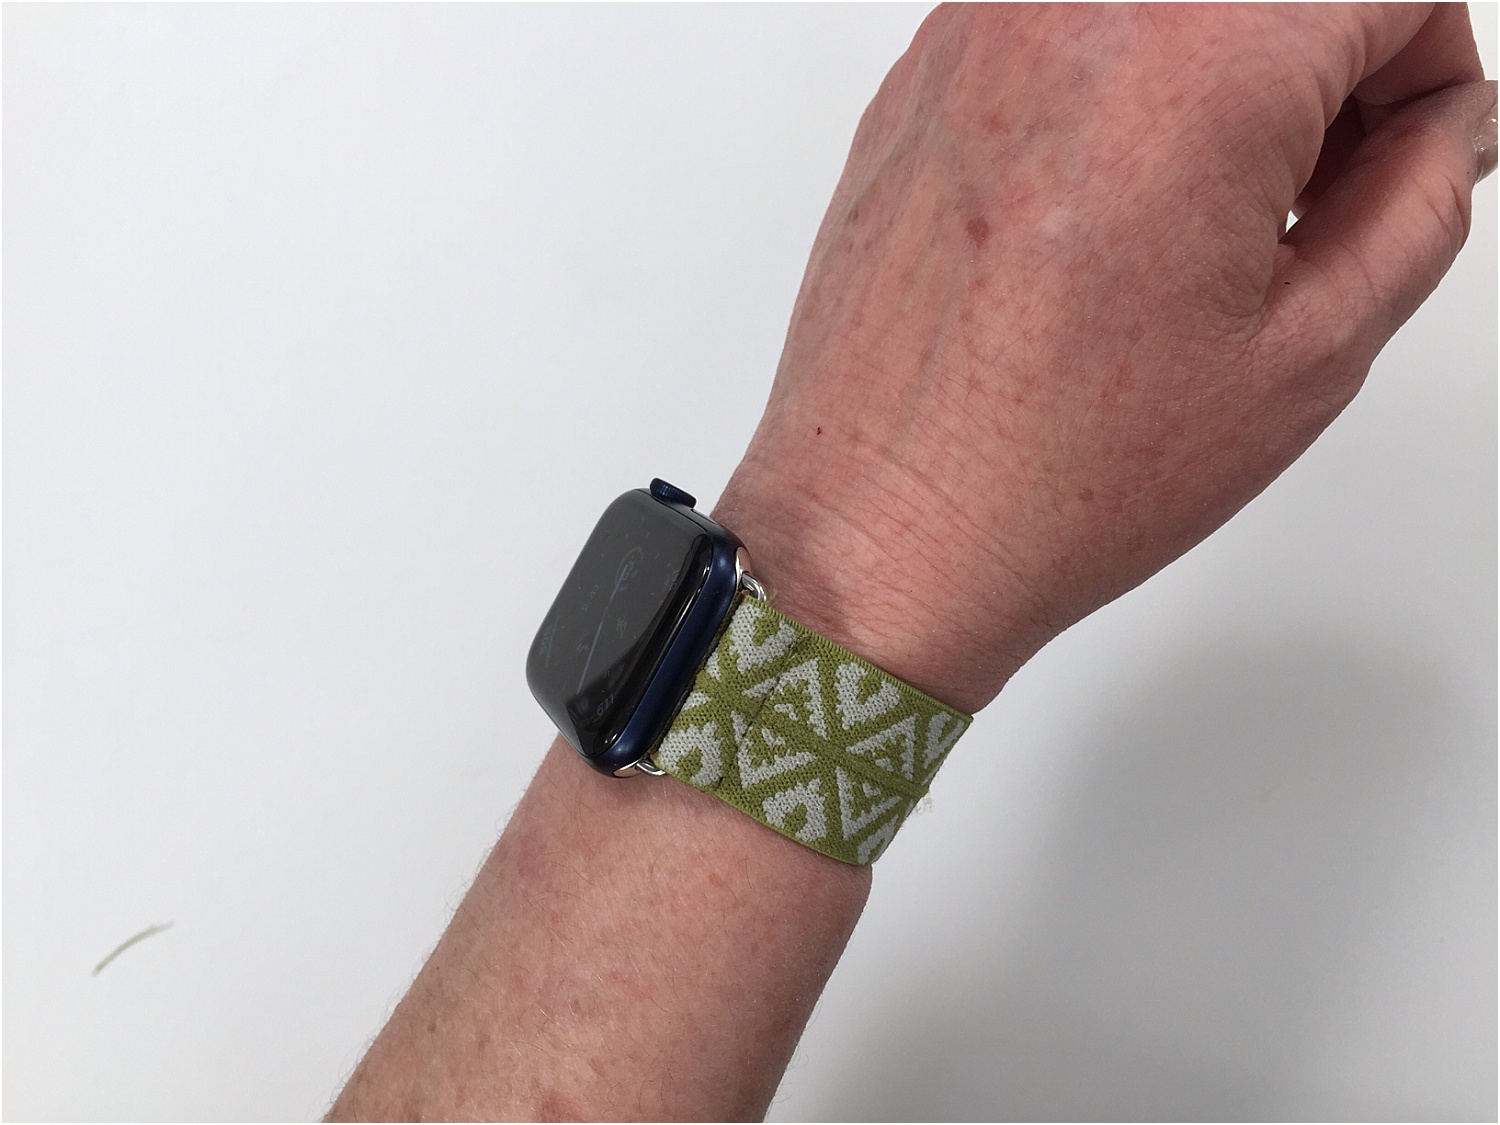
Do this on both sides and you are finished.