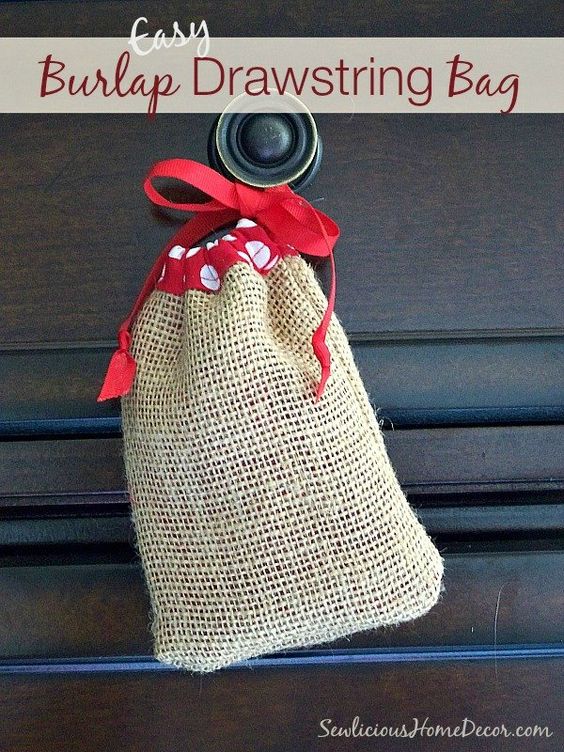
Burlap Drawstring Bag - Sewing Pattern
Looking for a unique and stylish way to carry your belongings? Look no further than the Burlap Drawstring Bag - Sewing Pattern! This pattern is perfect for those who love a rustic and natural look. Made from durable burlap fabric, this bag is not only functional but also adds a touch of charm to any outfit. With its drawstring closure, this bag ensures that your items are secure and easily accessible. The sewing pattern provides step-by-step instructions, making it suitable for both beginners and experienced sewers. Whether you want to use it as a trendy accessory or a practical storage solution, the Burlap Drawstring Bag is versatile and customizable to suit your needs. Get creative with different fabric colors and patterns to make it truly unique. This sewing pattern is a must-have for anyone who wants to add a touch of rustic elegance to their wardrobe or home decor. So grab your sewing machine and get ready to create a one-of-a-kind Burlap Drawstring Bag that will surely turn heads wherever you go!
What you will need:
Instructions for How To Cut Burlap
1 Piece of burlap
Matching fabric for the lining
Matching binding
Matching ribbon and thread
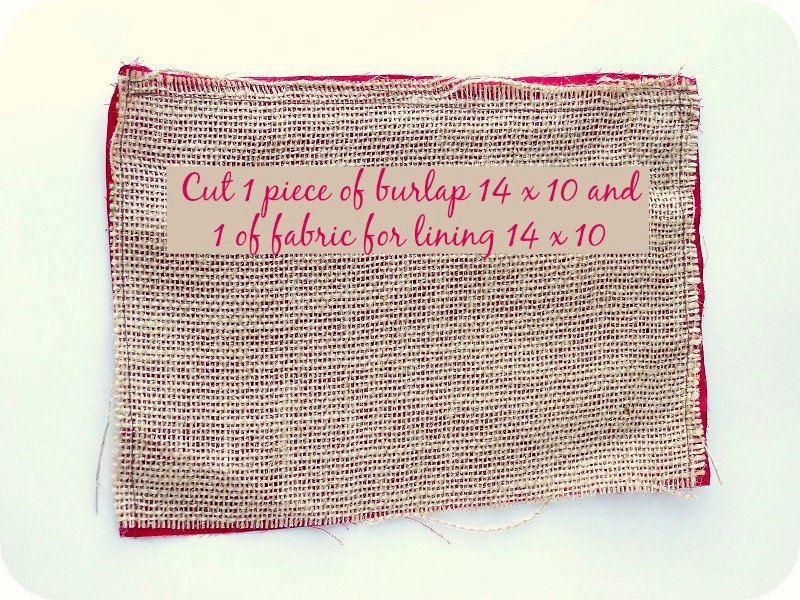
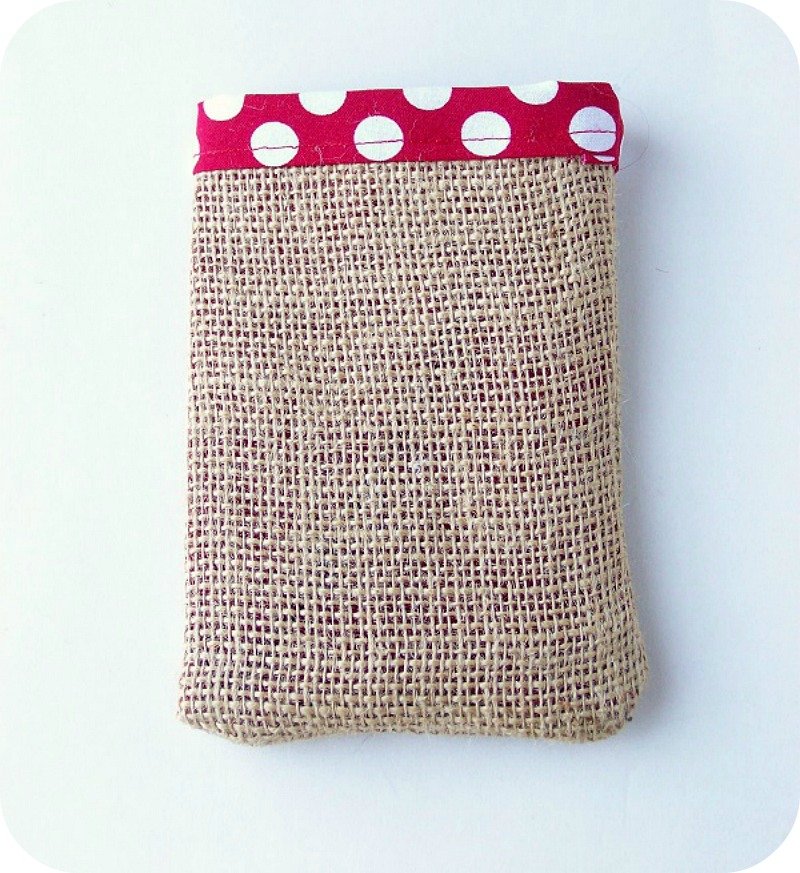
To start, cut one piece of burlap and one piece of matching lining 14 x 10.
Sew your lining to the burlap. Sew up both sides and the bottom. Leave the top open.
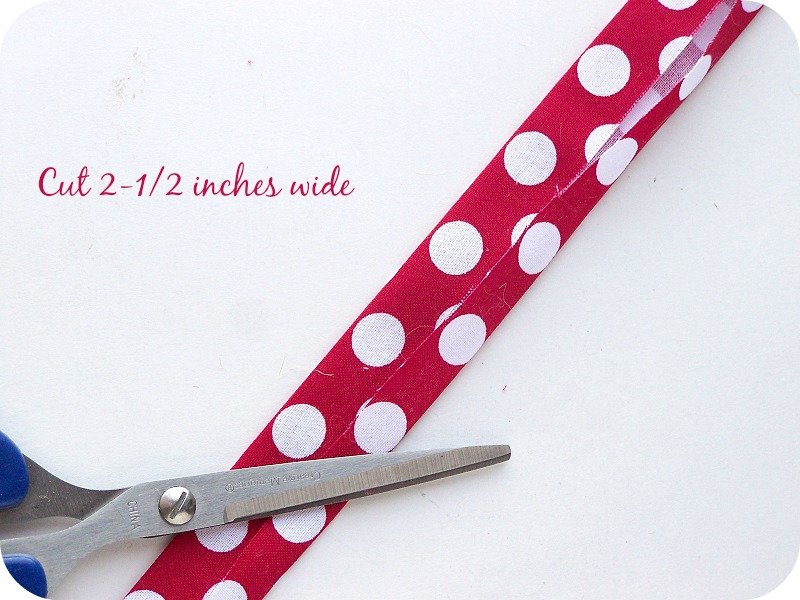
Cut your binding 2-1/2 inches in width. Since the bag is 14 inches long you will need to add one inch to each end of the binding. So your binding will be 16 inches long and 2-1/2 inches in width.
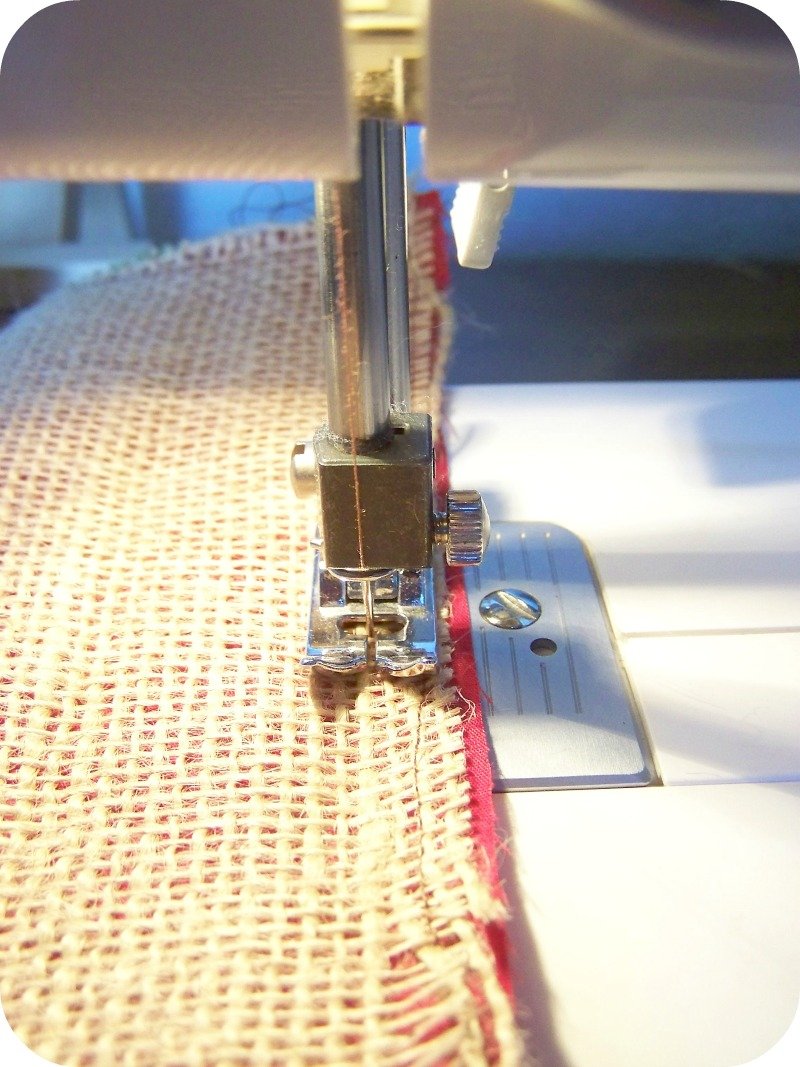
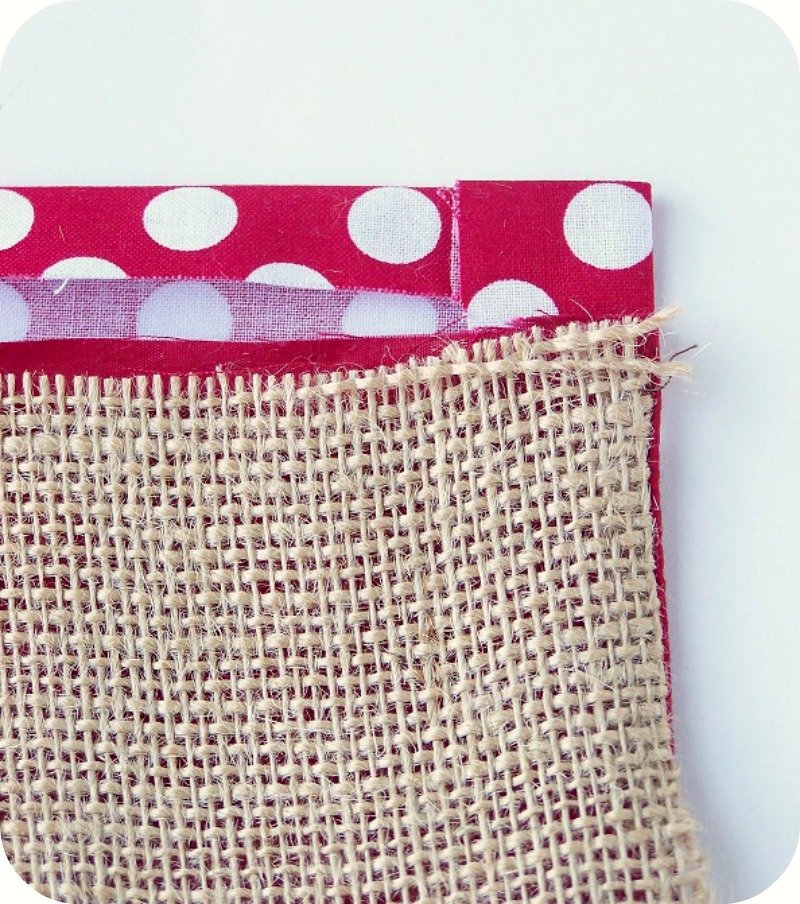
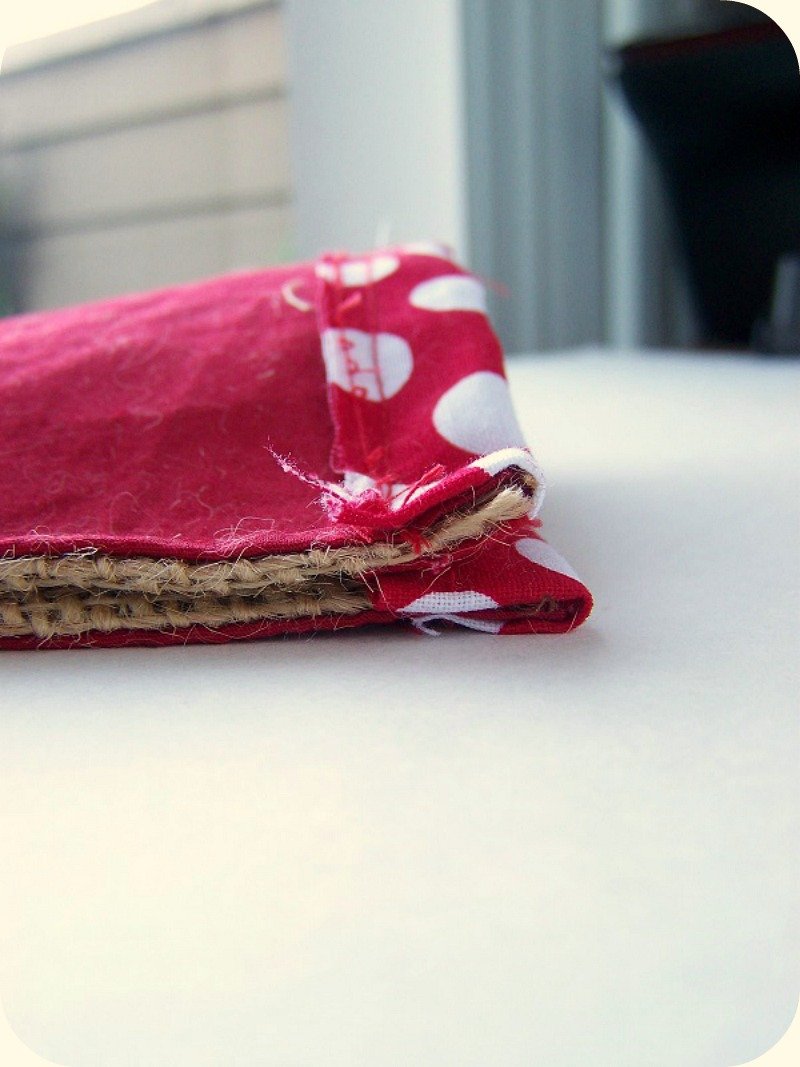
Fold in both edges of the binding 1/2 inch, then iron. Line up the binding to the raw edge as shown.
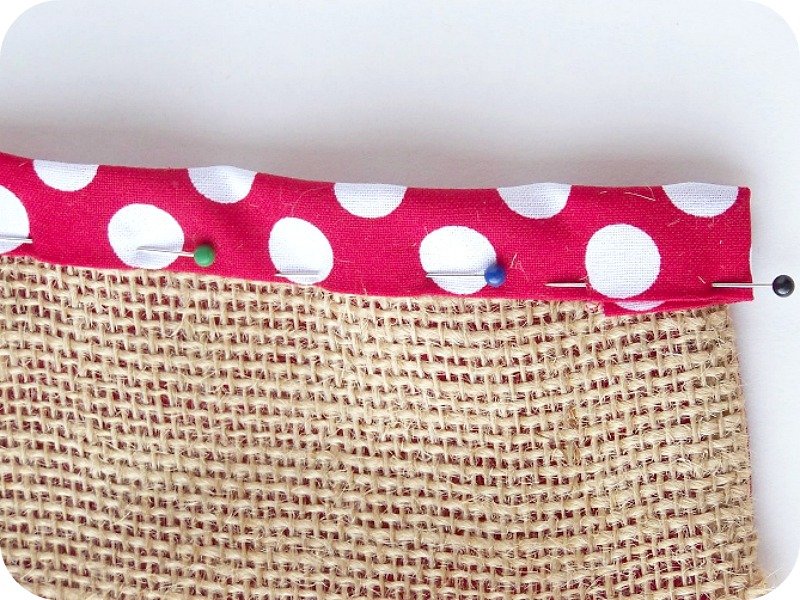
Fold over and pin in place.
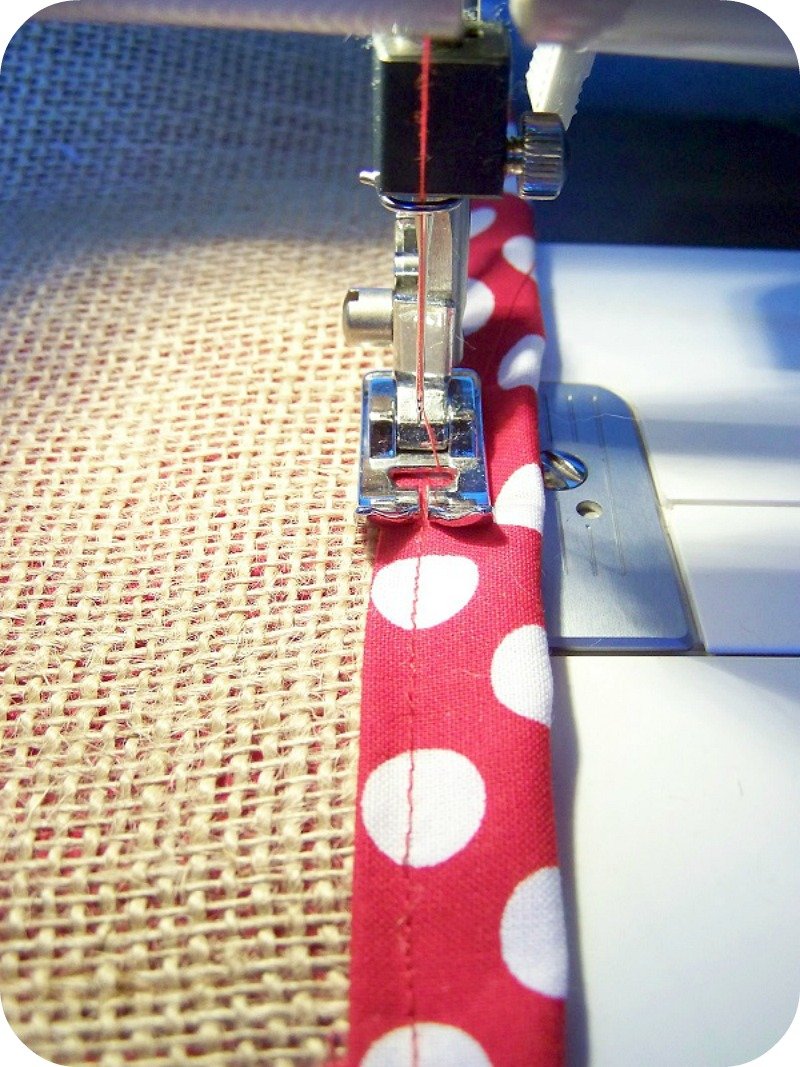
Sew in place. So close to the edge of the binding, because later we are going to run a ribbon underneath the binding.
Now fold your bag together with right sides together.
Sew up the bottom and side.
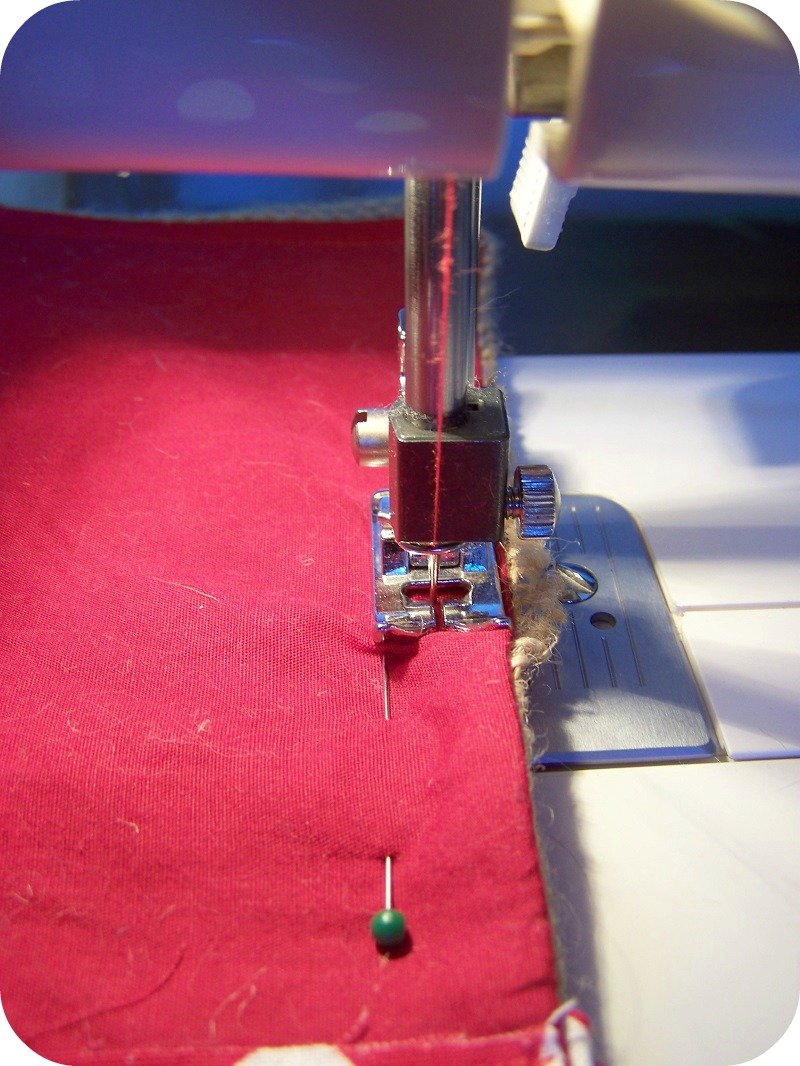
STOP sewing when you reach the binding as shown below. You won’t sew over the binding since you will be running your ribbon through the opening.
Now turn it right side out.
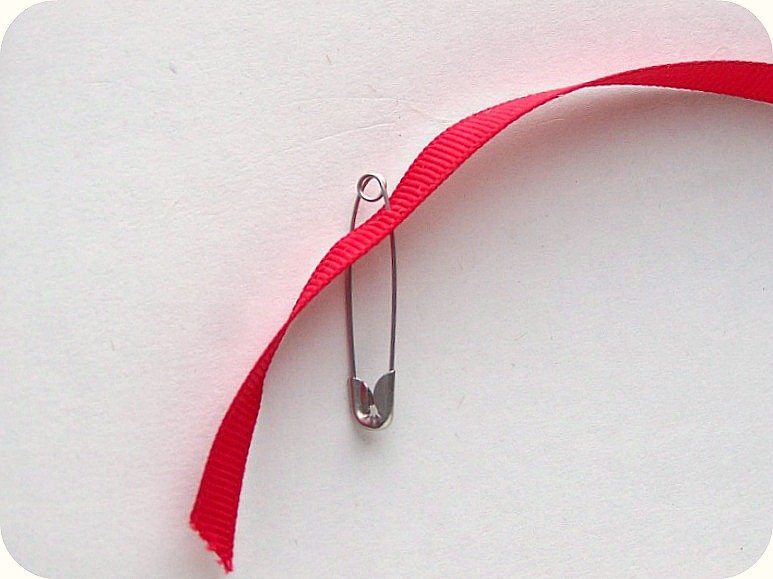
Thread the end of your ribbon with a safety pin.
Run it through the binding until it comes out at the other end.
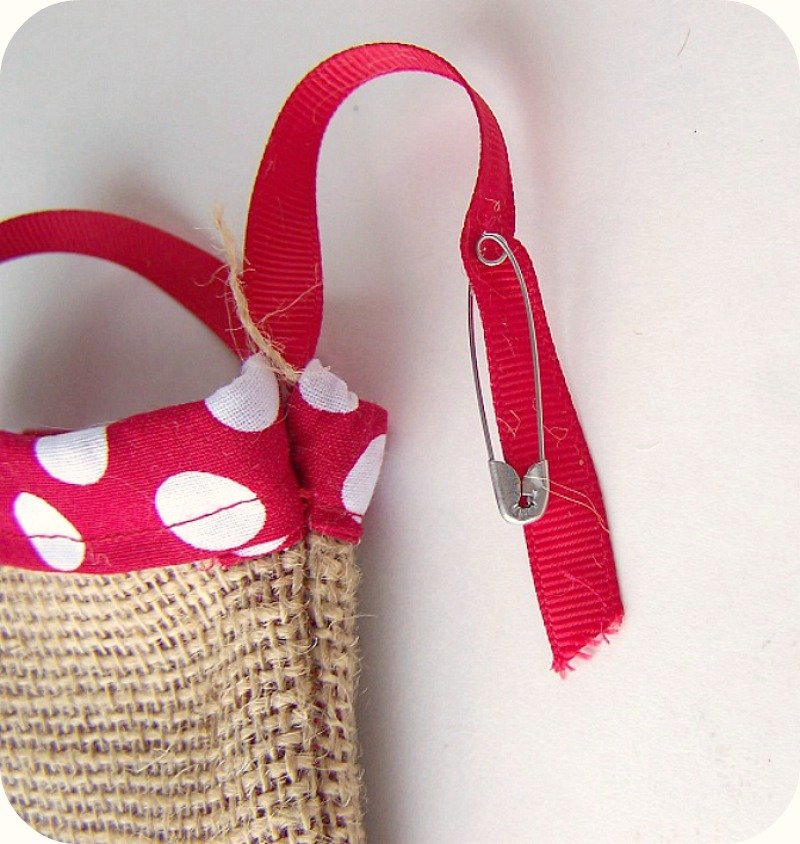
Congratulations! You did it! 