Easter Basket - Sewing Pattern
Looking for a fresh and unique way to celebrate Easter? Look no further than the Easter Basket Sewing Pattern! This delightful pattern will guide you through creating a one-of-a-kind basket that is sure to impress. With its intricate design and charming details, this basket is perfect for collecting Easter eggs or displaying festive decorations. Whether you're an experienced seamstress or just starting out, this pattern provides clear instructions and helpful tips to ensure your basket turns out beautifully. From selecting the perfect fabric to adding decorative touches, this pattern allows you to customize your basket to match your personal style and preferences. So why settle for a store-bought basket when you can create a unique and handmade masterpiece with the Easter Basket Sewing Pattern?

Materials:
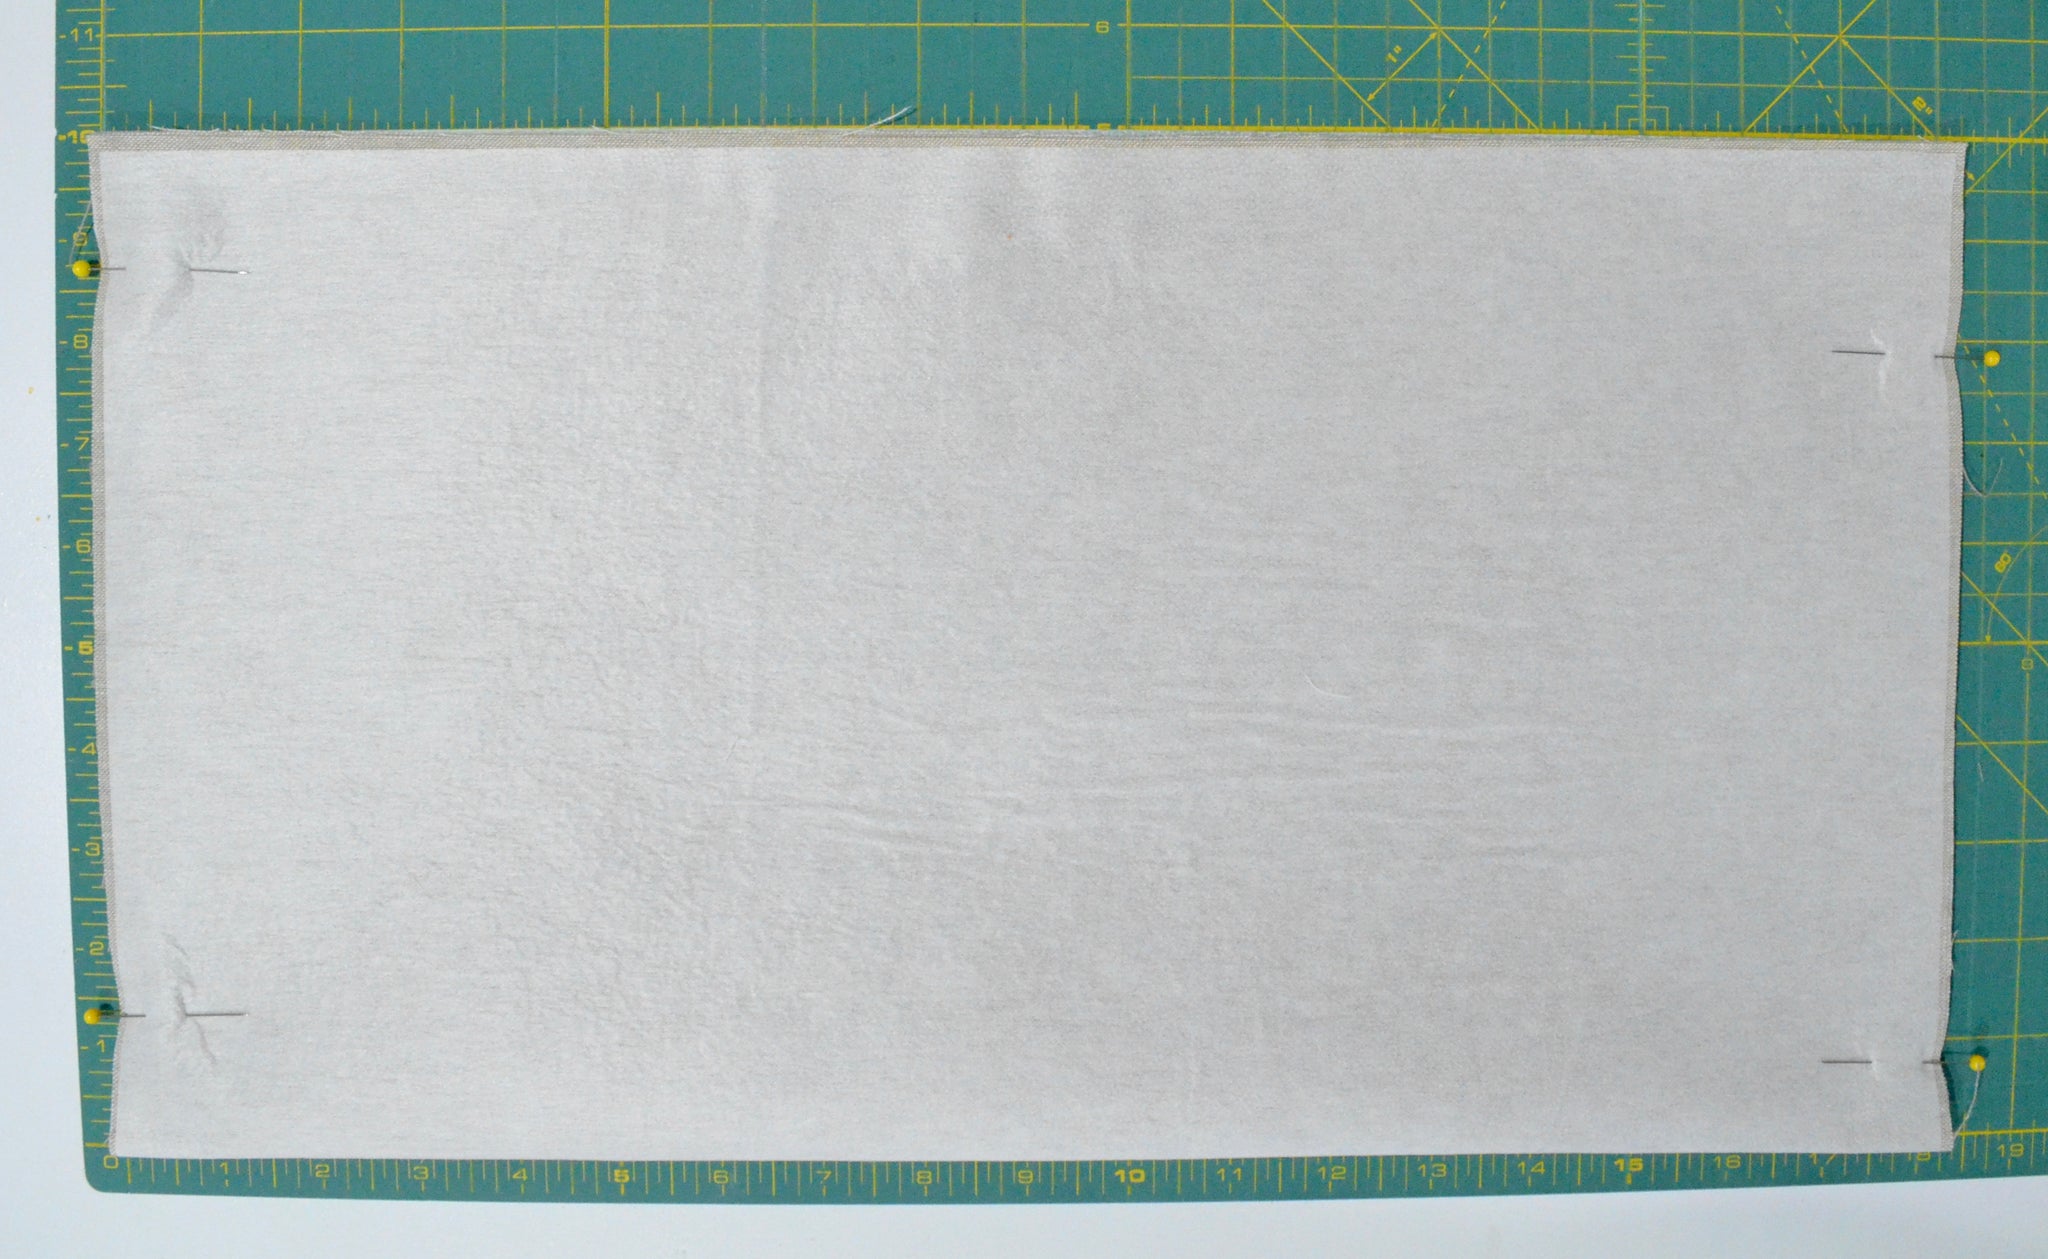
18” x 26” piece of Fusible Interface (I use Pellon Fusible Mid/Heavy Weight – White)
19” x 21” piece of Fusible Batting (or Soft + Stable Flex Foam)
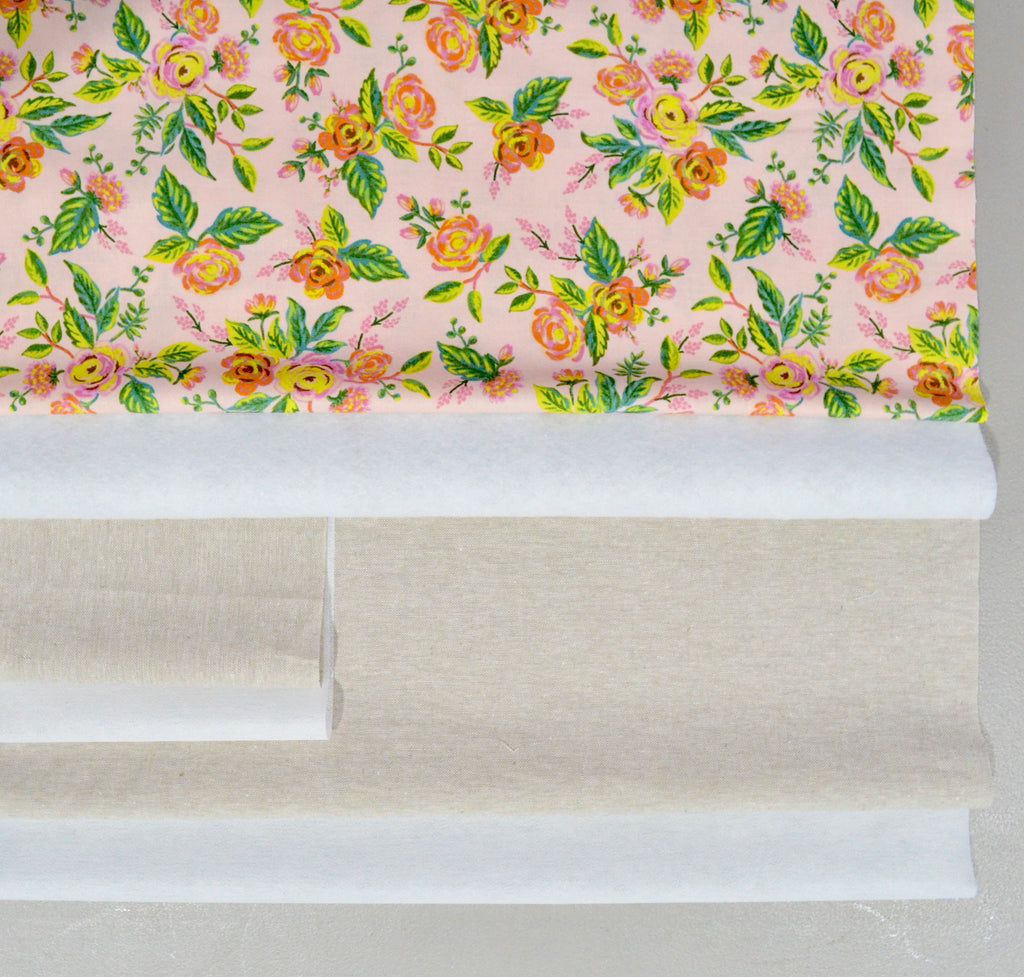
Outside (Solid) Fabric: ½” yard (includes strap)
Inside (Pattern) Fabric: 1 fat quarter
Preparation:
Fusible Interfacing:
- Cut 18” x 20” piece for body
- Cut 18” x 6” piece for strap
Outside Fabric + Strap:
- Cut an 18” x 20” piece for body
- Cut an 18” x 6” piece for strap
Inside Fabric:
- Trim fat quarter 19” x 21”
Assembly:
1. Attach fusible interfacing: (follow pressing instructions on packaging)
a. Match up the 18” x 6” Outside fabric piece with your 18” x 6” interfacing strip and press together.
b. Match up the 18” x 20” outside fabric piece with your 18” x 20” interfacing piece and press together.
c. Let these cool and dry flat.
2. Quilting the interior: Baste or fuse the batting piece and Inside fabric pieces together. Quilt as preferred.
a. Once this is quilted you will trim the piece down to 18” x 20”

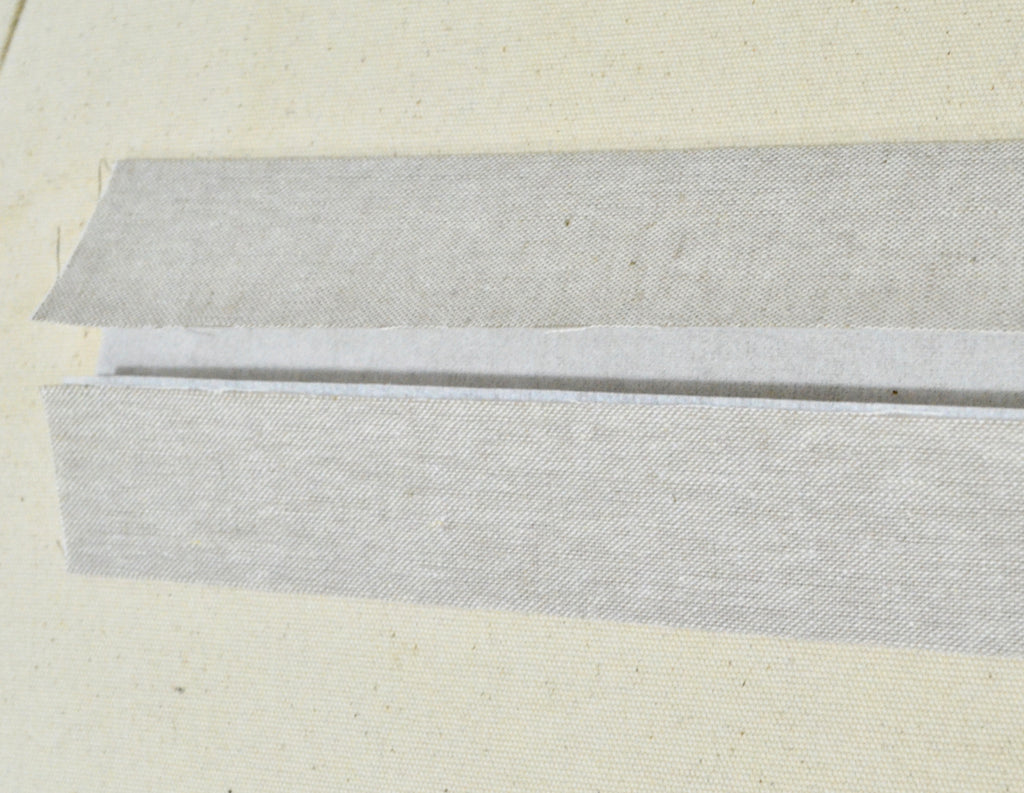
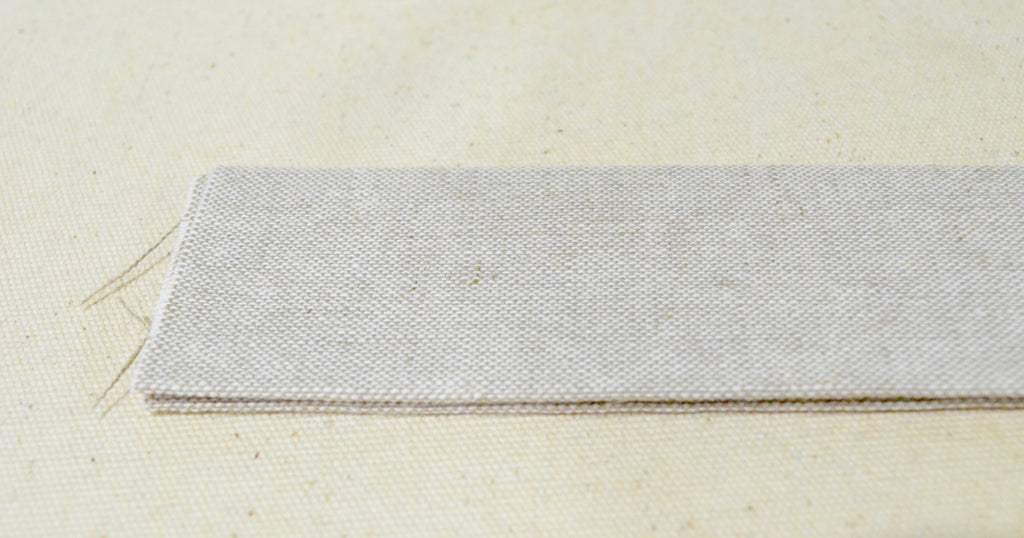
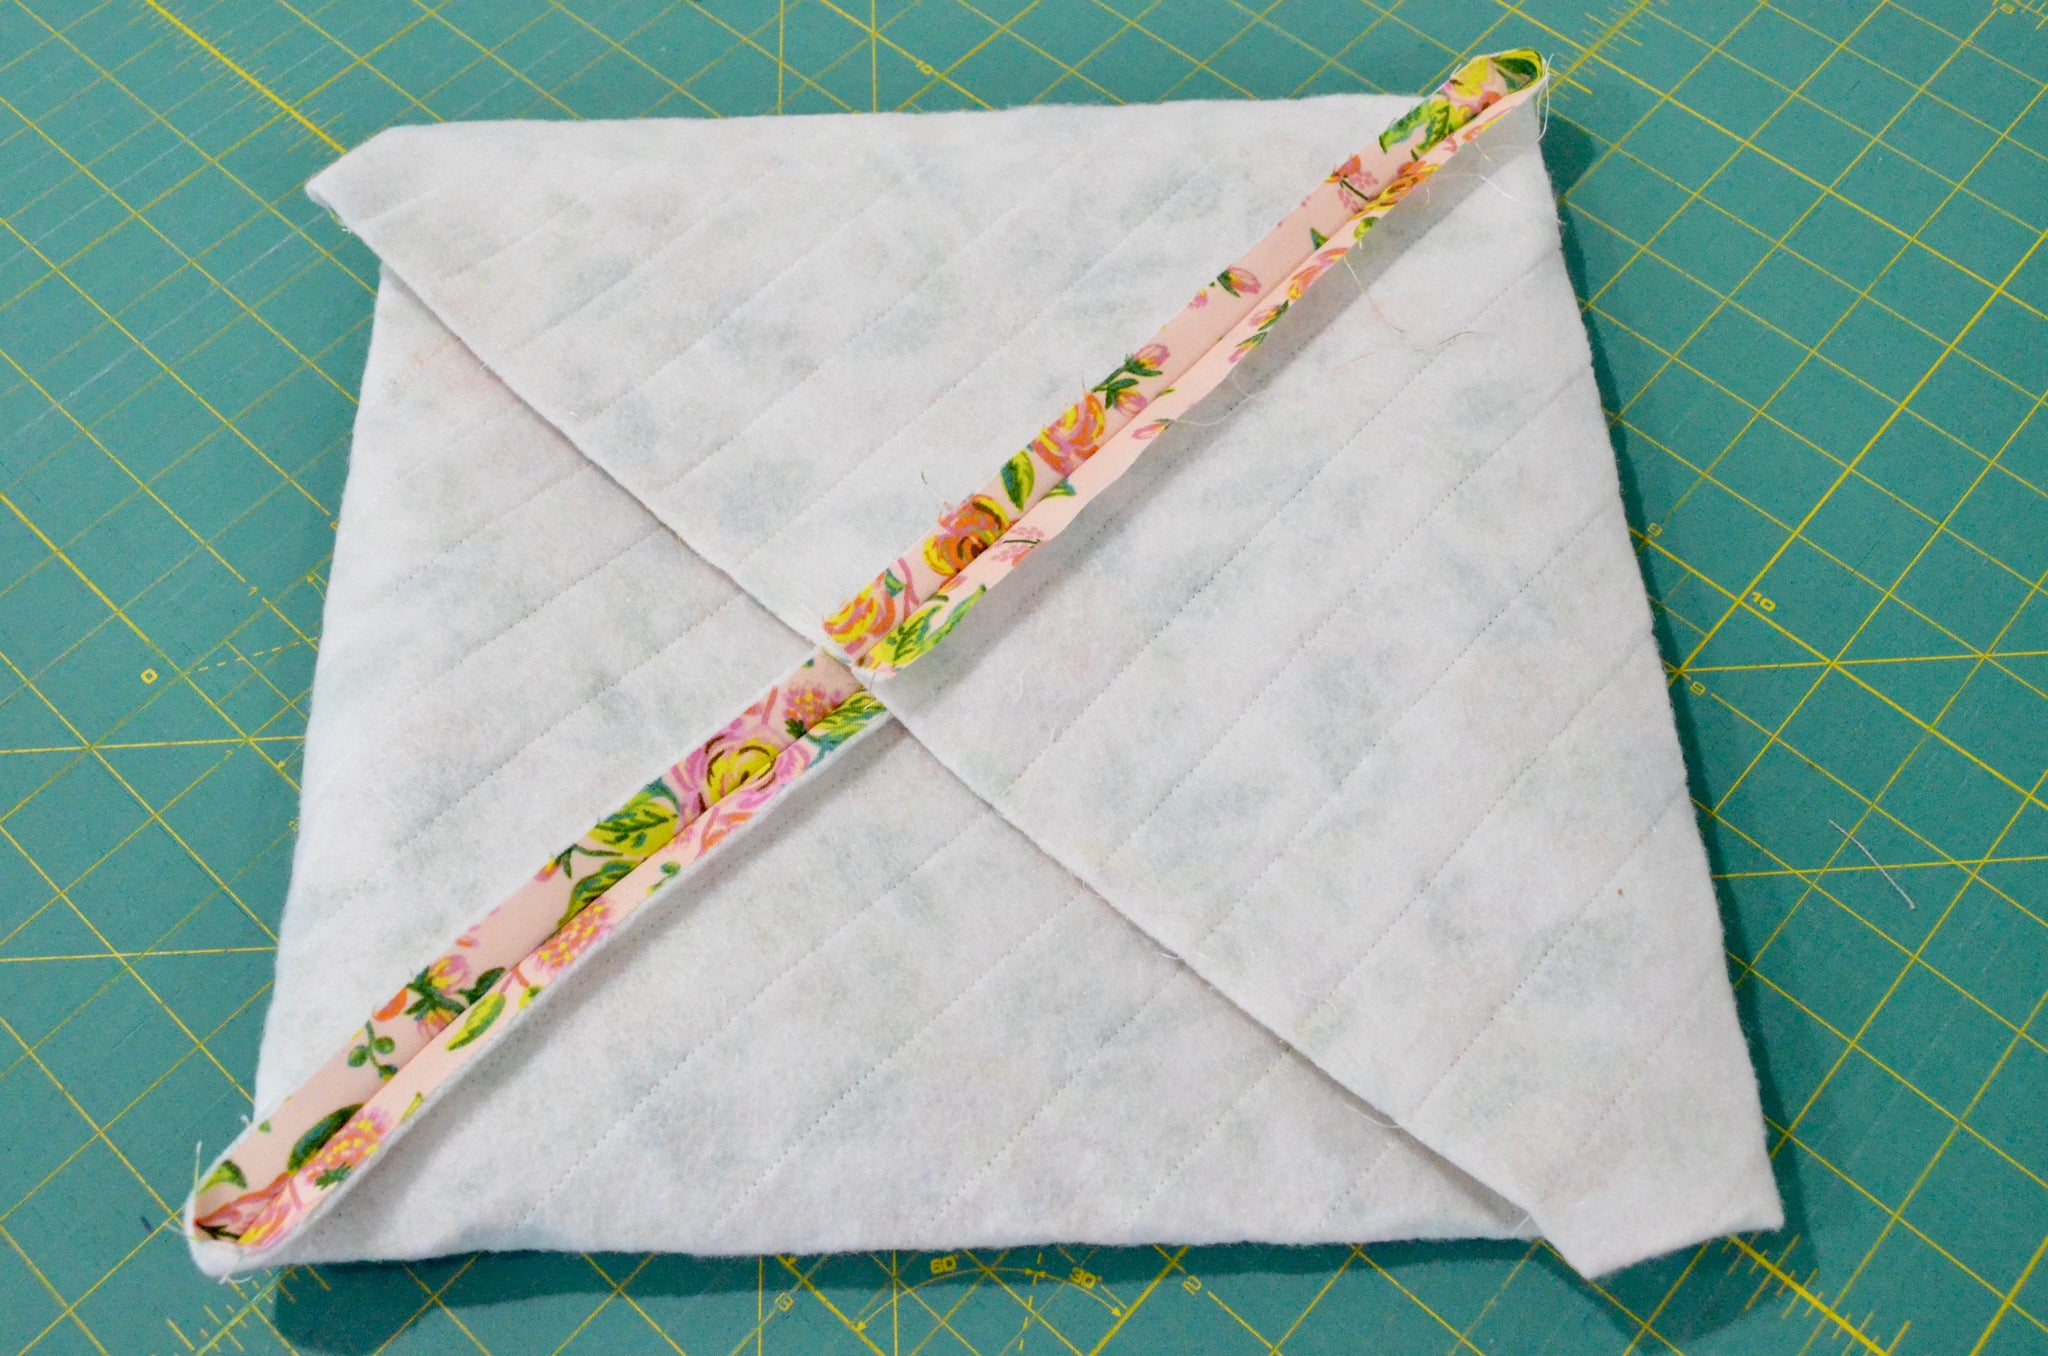
Handle Prep: Fold the 18” x 6” piece in half long ways and find press it to mark the center. Open it back up and fold each of the outside edges to meet at the centerline and press with your iron. Fold the piece in half again and pin to hold the fold in place.
a. Stitch ¼” seam down the pinned edge of the piece. Then turn the strap around and sew a ¼” seam along the folded edge. Set the handle aside for now.
Grab your outside fabric. With the right side facing up, set the fabric so that the 18” edge is at the bottom and the 20” side is up and down. Fold the piece in half so that it is 18” x 10” (right sides together). Sew a ½” seam down each of the 10” sides. Press seams open.
Grab your quilted inside fabric. Fold it in the exact same manner (right side up, 18” at bottom, 20” up the side, resulting in 18” x 10” piece) Sew a ½” seam down each of the 10” sides. Press seams open.
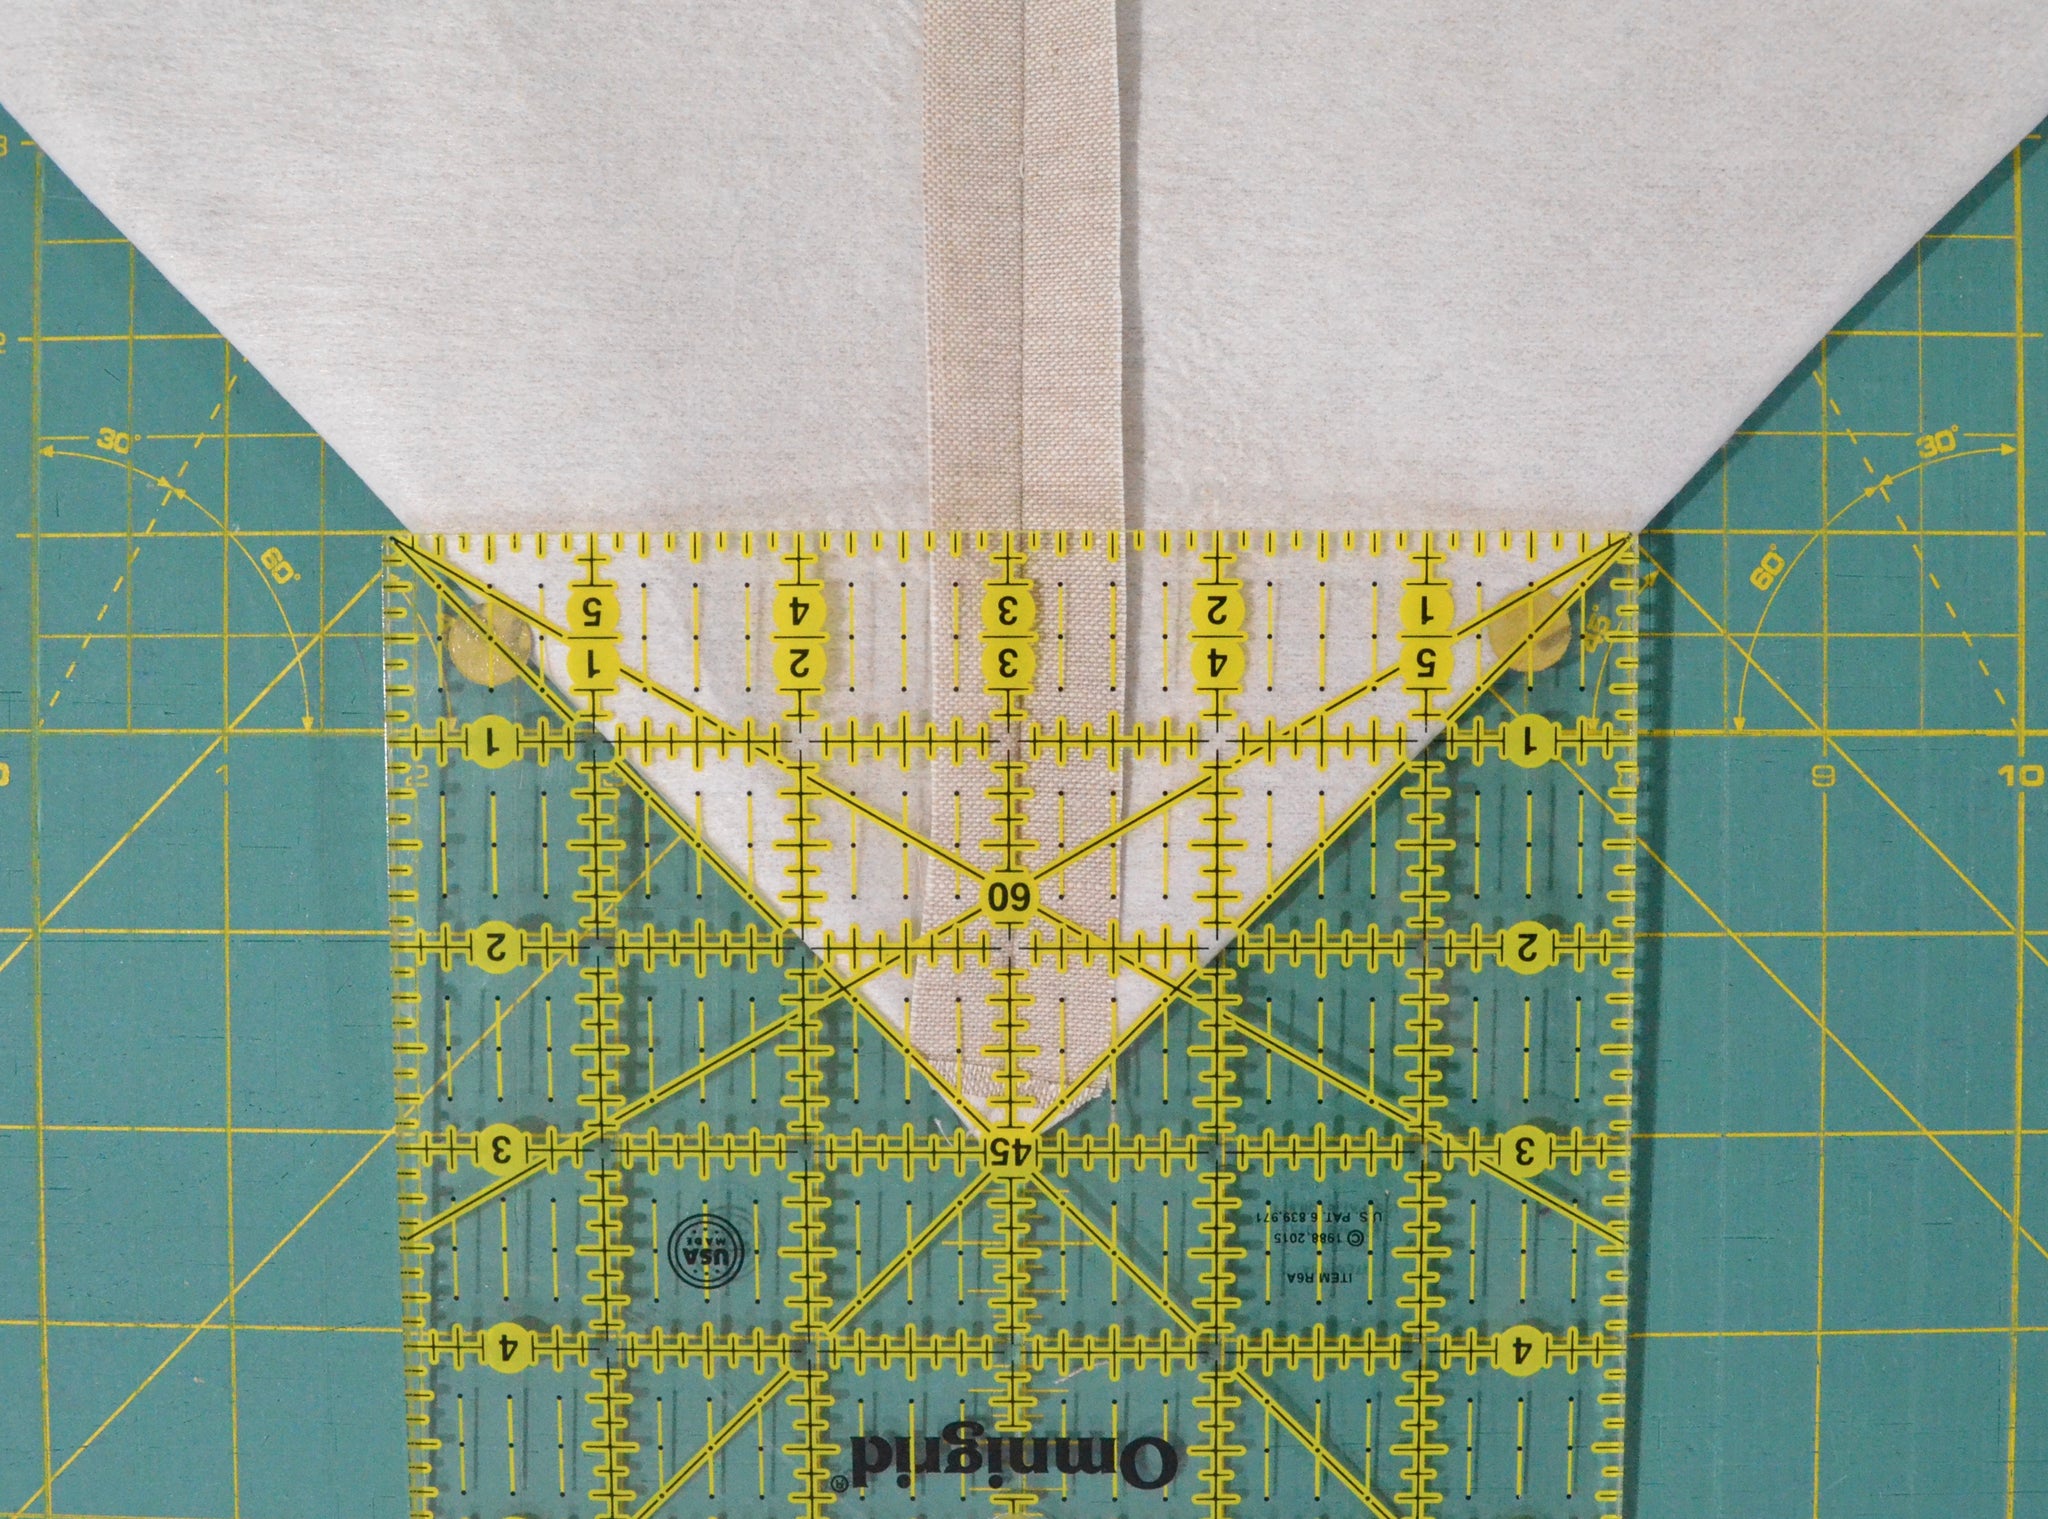
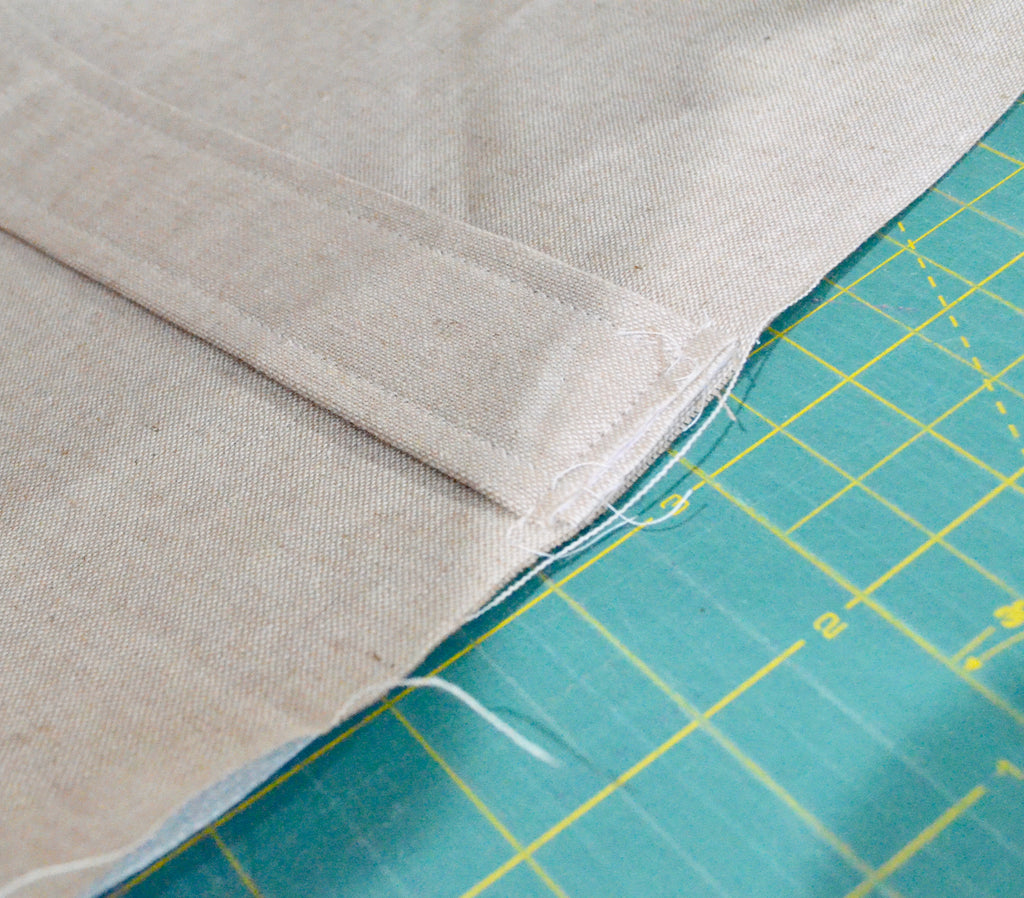
Open each of the pieces and fold them as indicated in the image. Note: Make sure your seams align so that you can be sure everything is straight.
Align corners with the 45° angle on your ruler and draw a line straight across on all corners of both pieces. Sew along each of those lines on each corner.
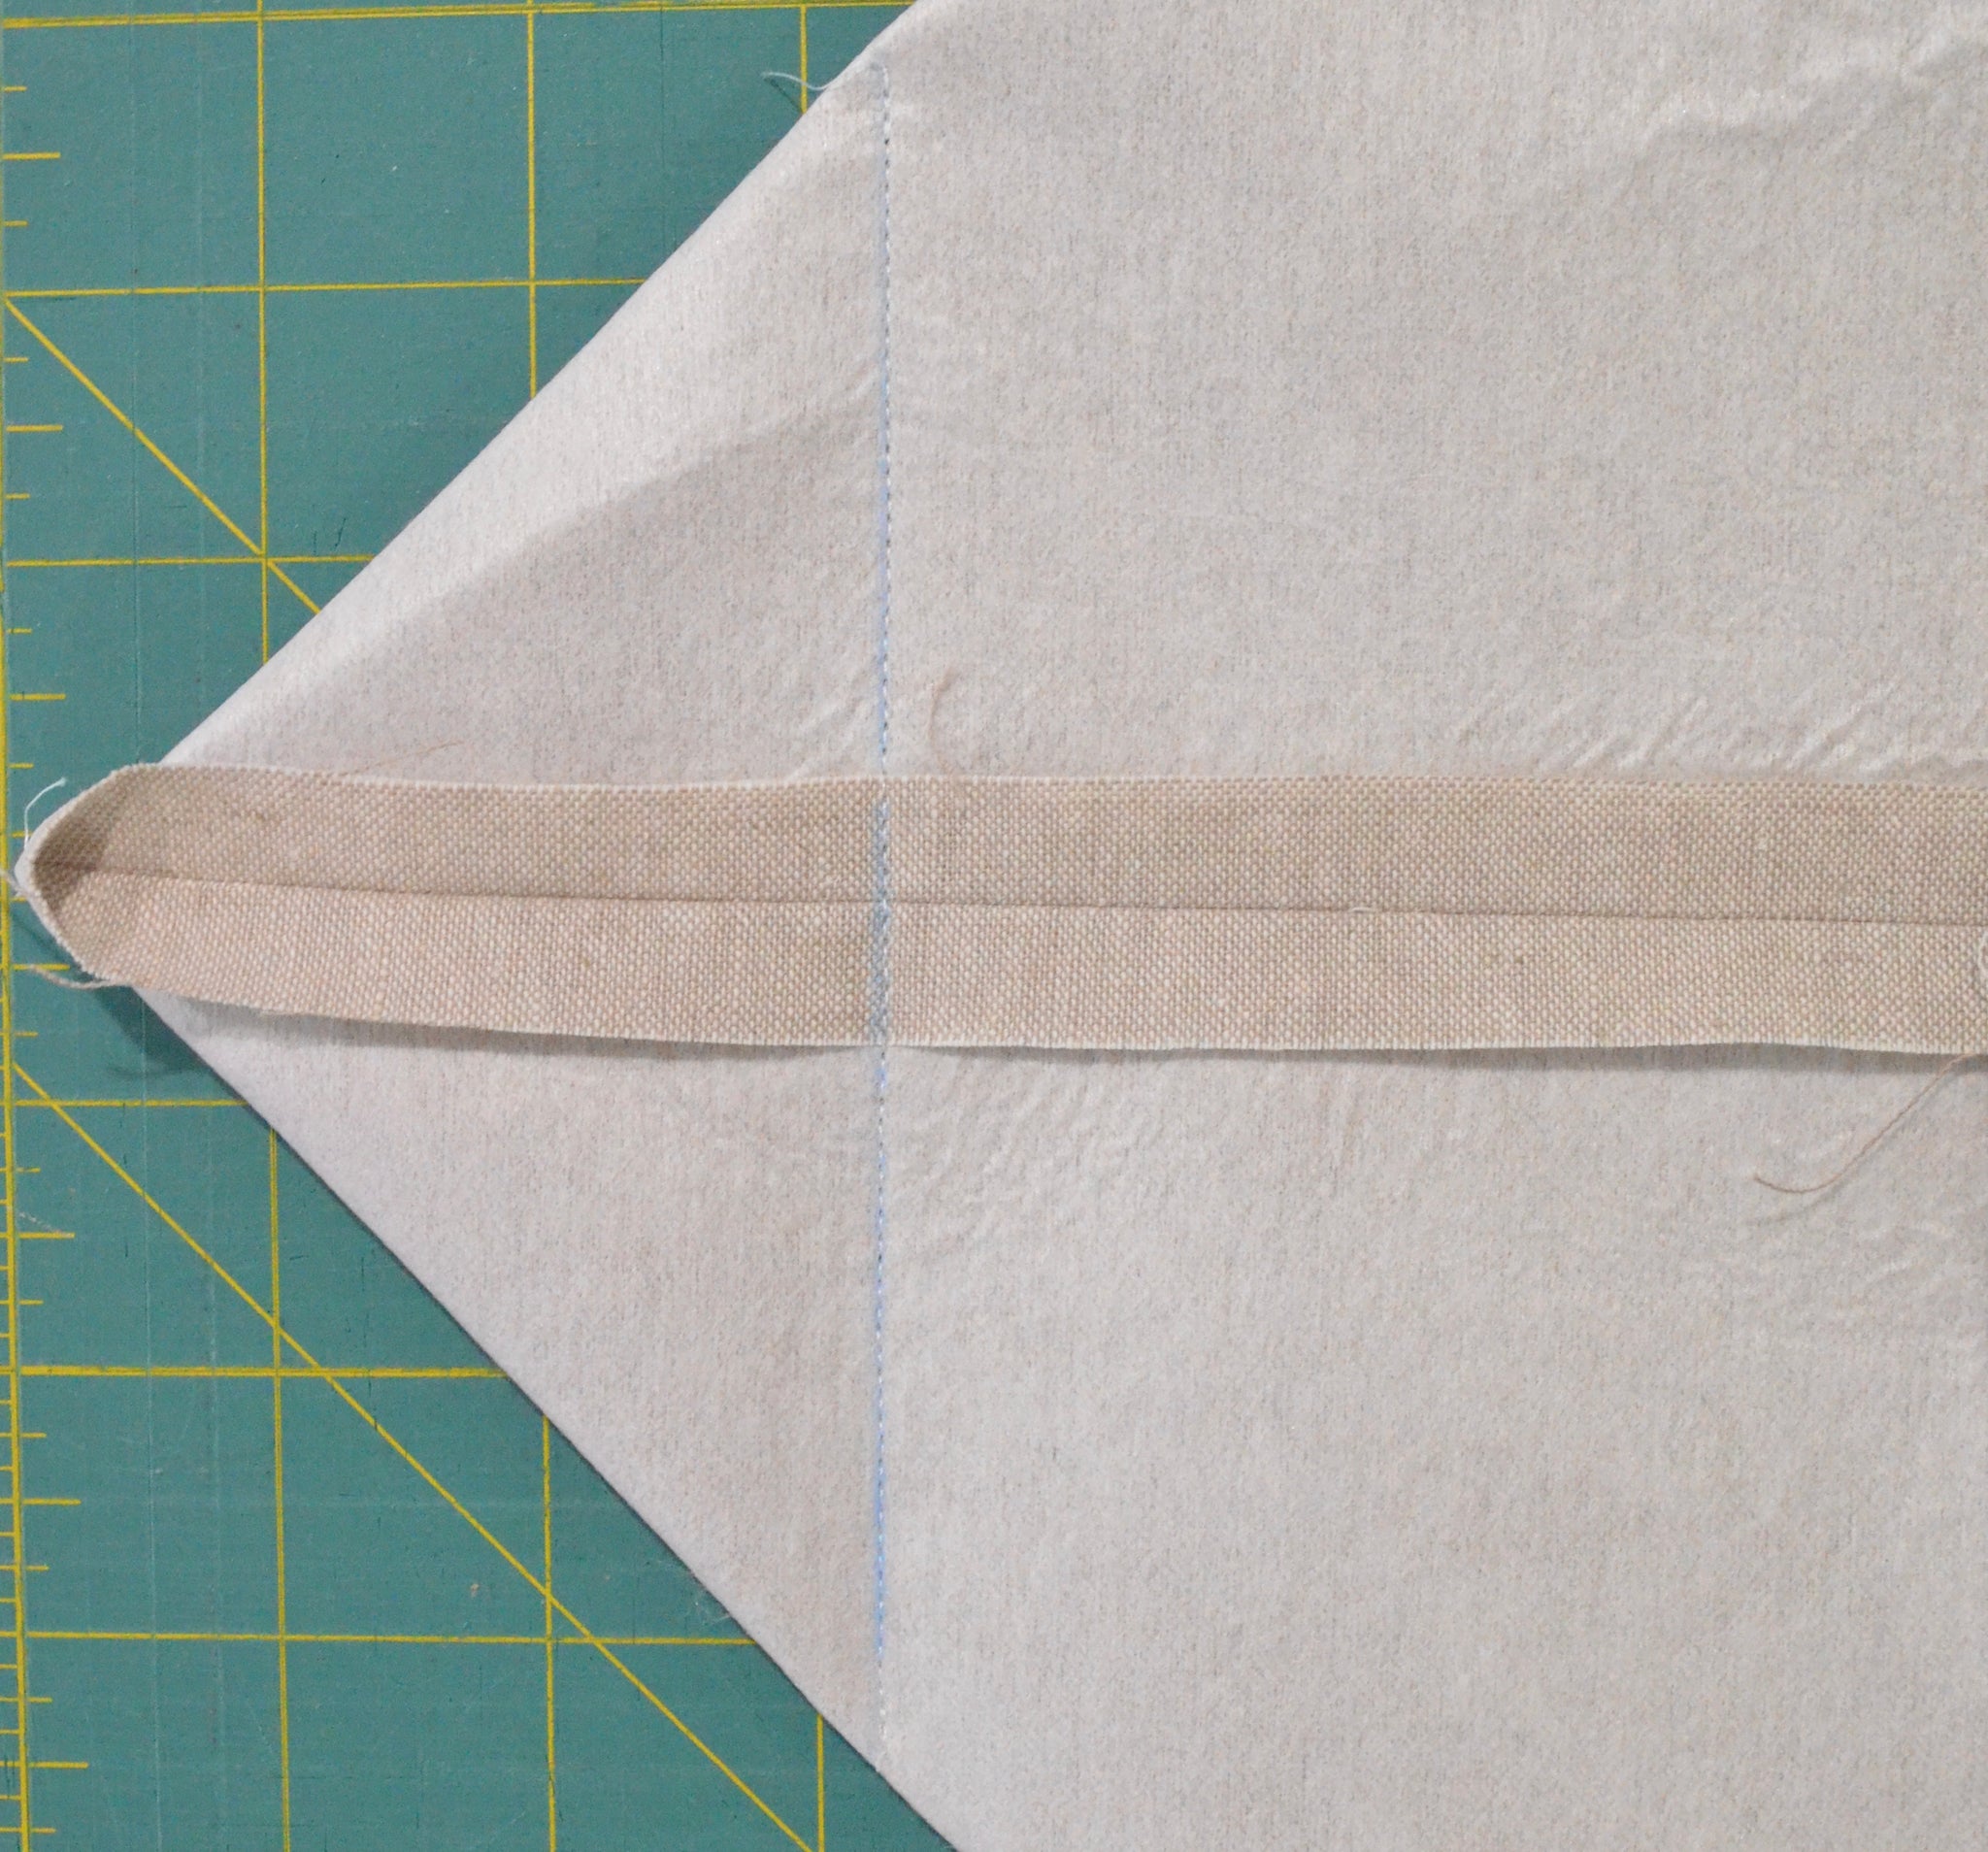
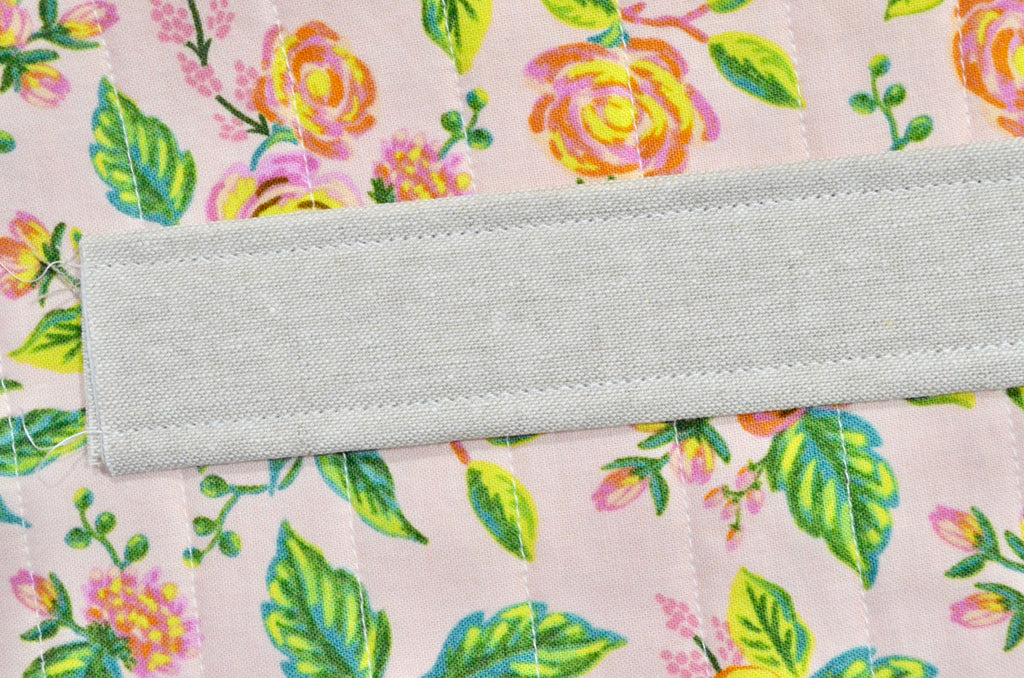
Open up the outside piece of fabric, but keep the right side on the interior. Find the center of each side and pin the handle into place. Sew a quick ¼” seam to attached the handle. Then turn the entire piece inside out so that the right side is now on the outside and the interfacing is on the inside.
Place the outside fabric bowl into the quilted interior fabric bowl making sure the handle is between them on the inside of the two layers.
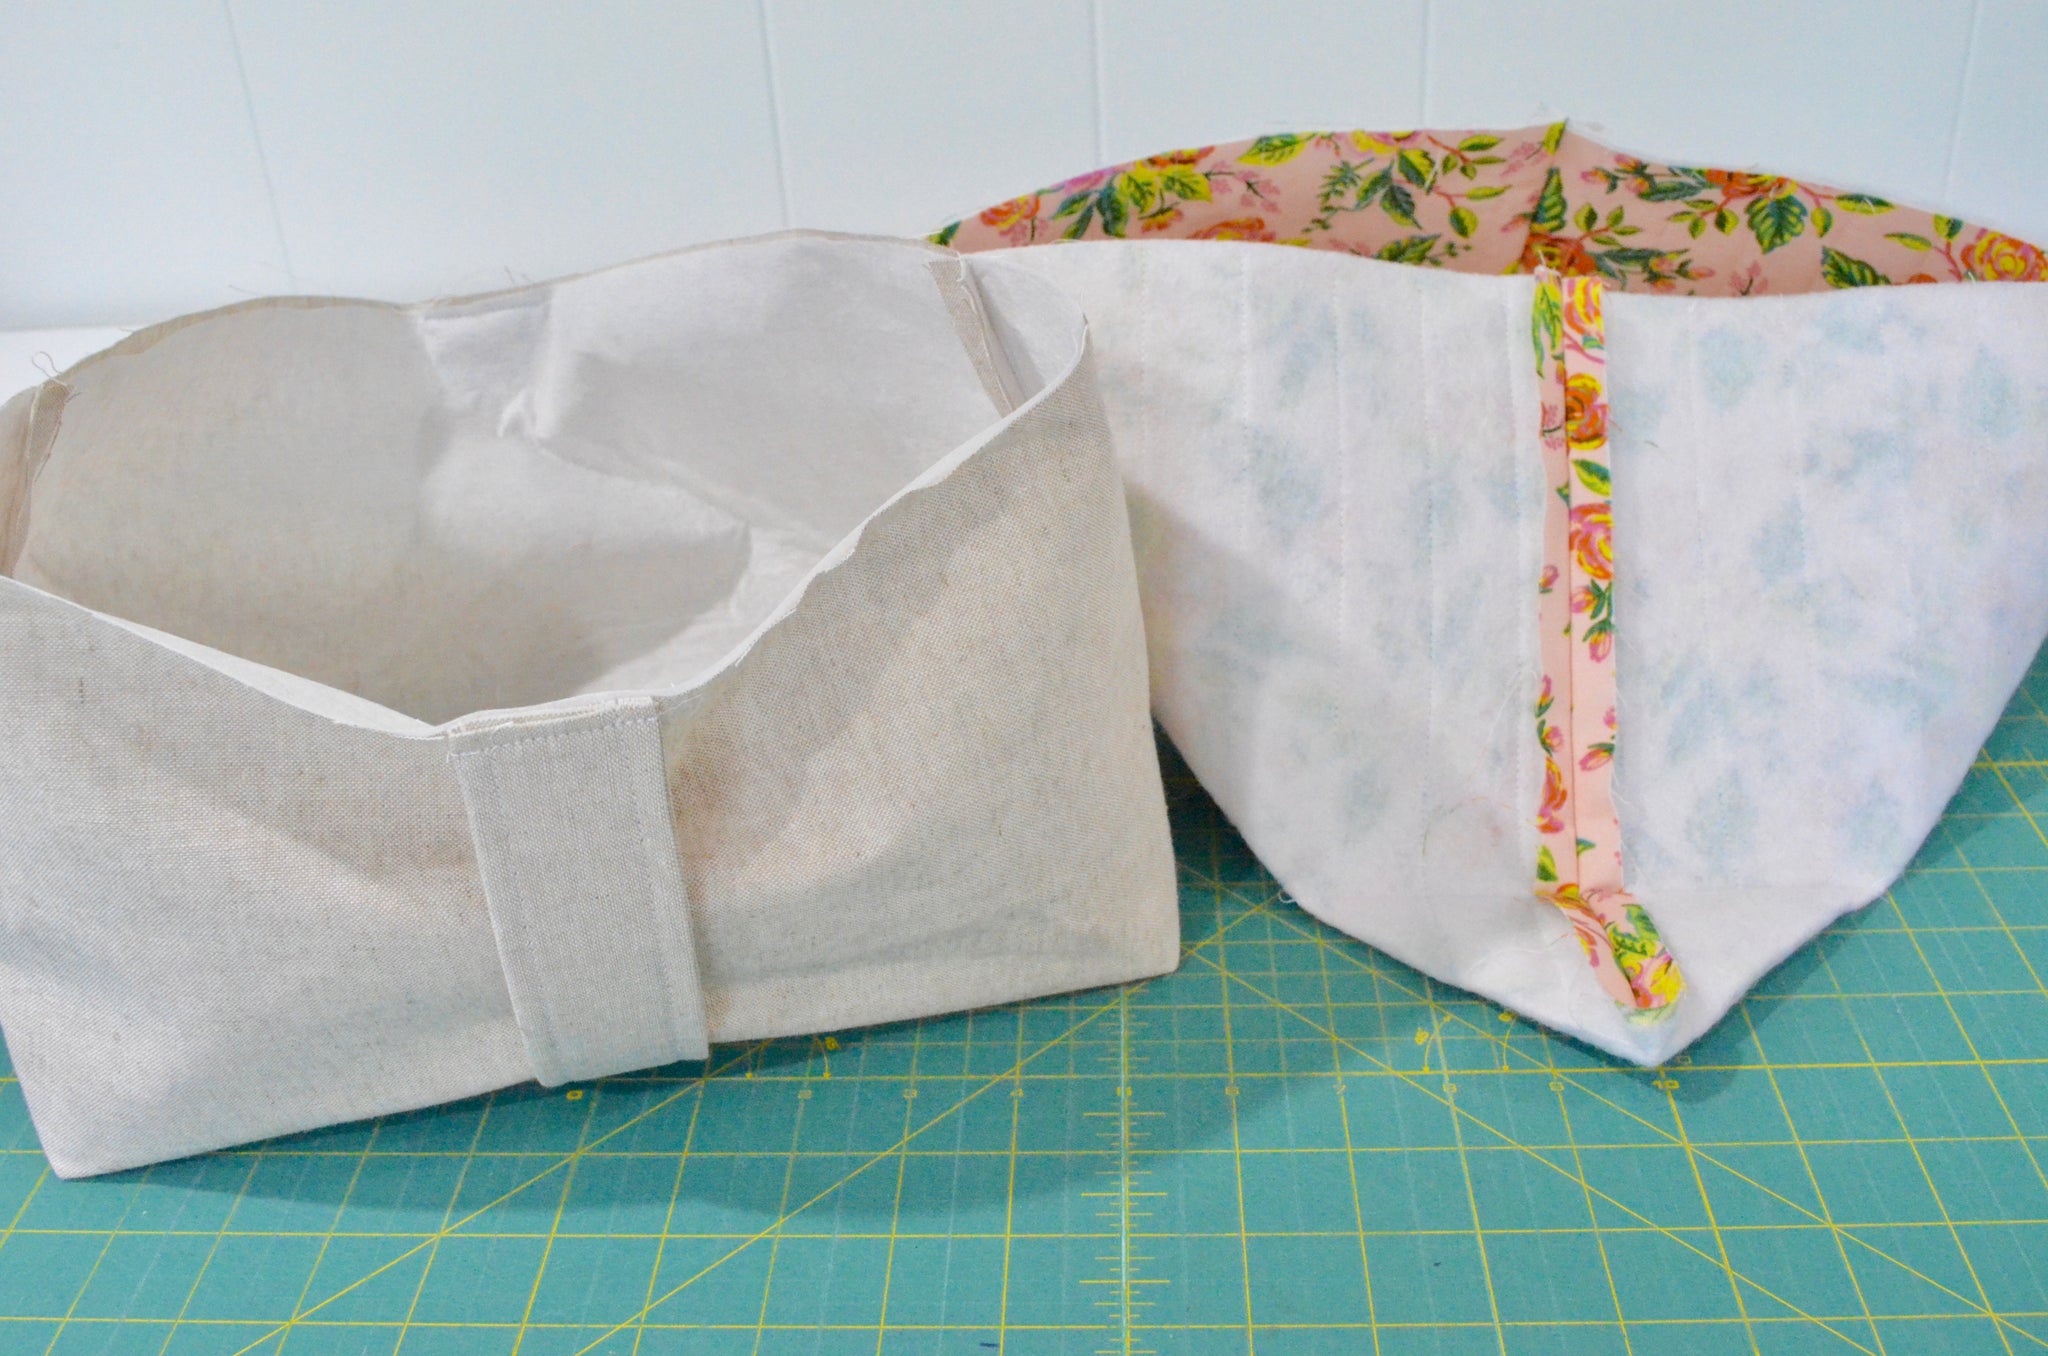 NOTE: The outside fabric should be right side out and the quilted piece should be right side in. The outside (Solid fabric) will go inside the quilted one. Again, make sure the handle goes inside - between the two layers.
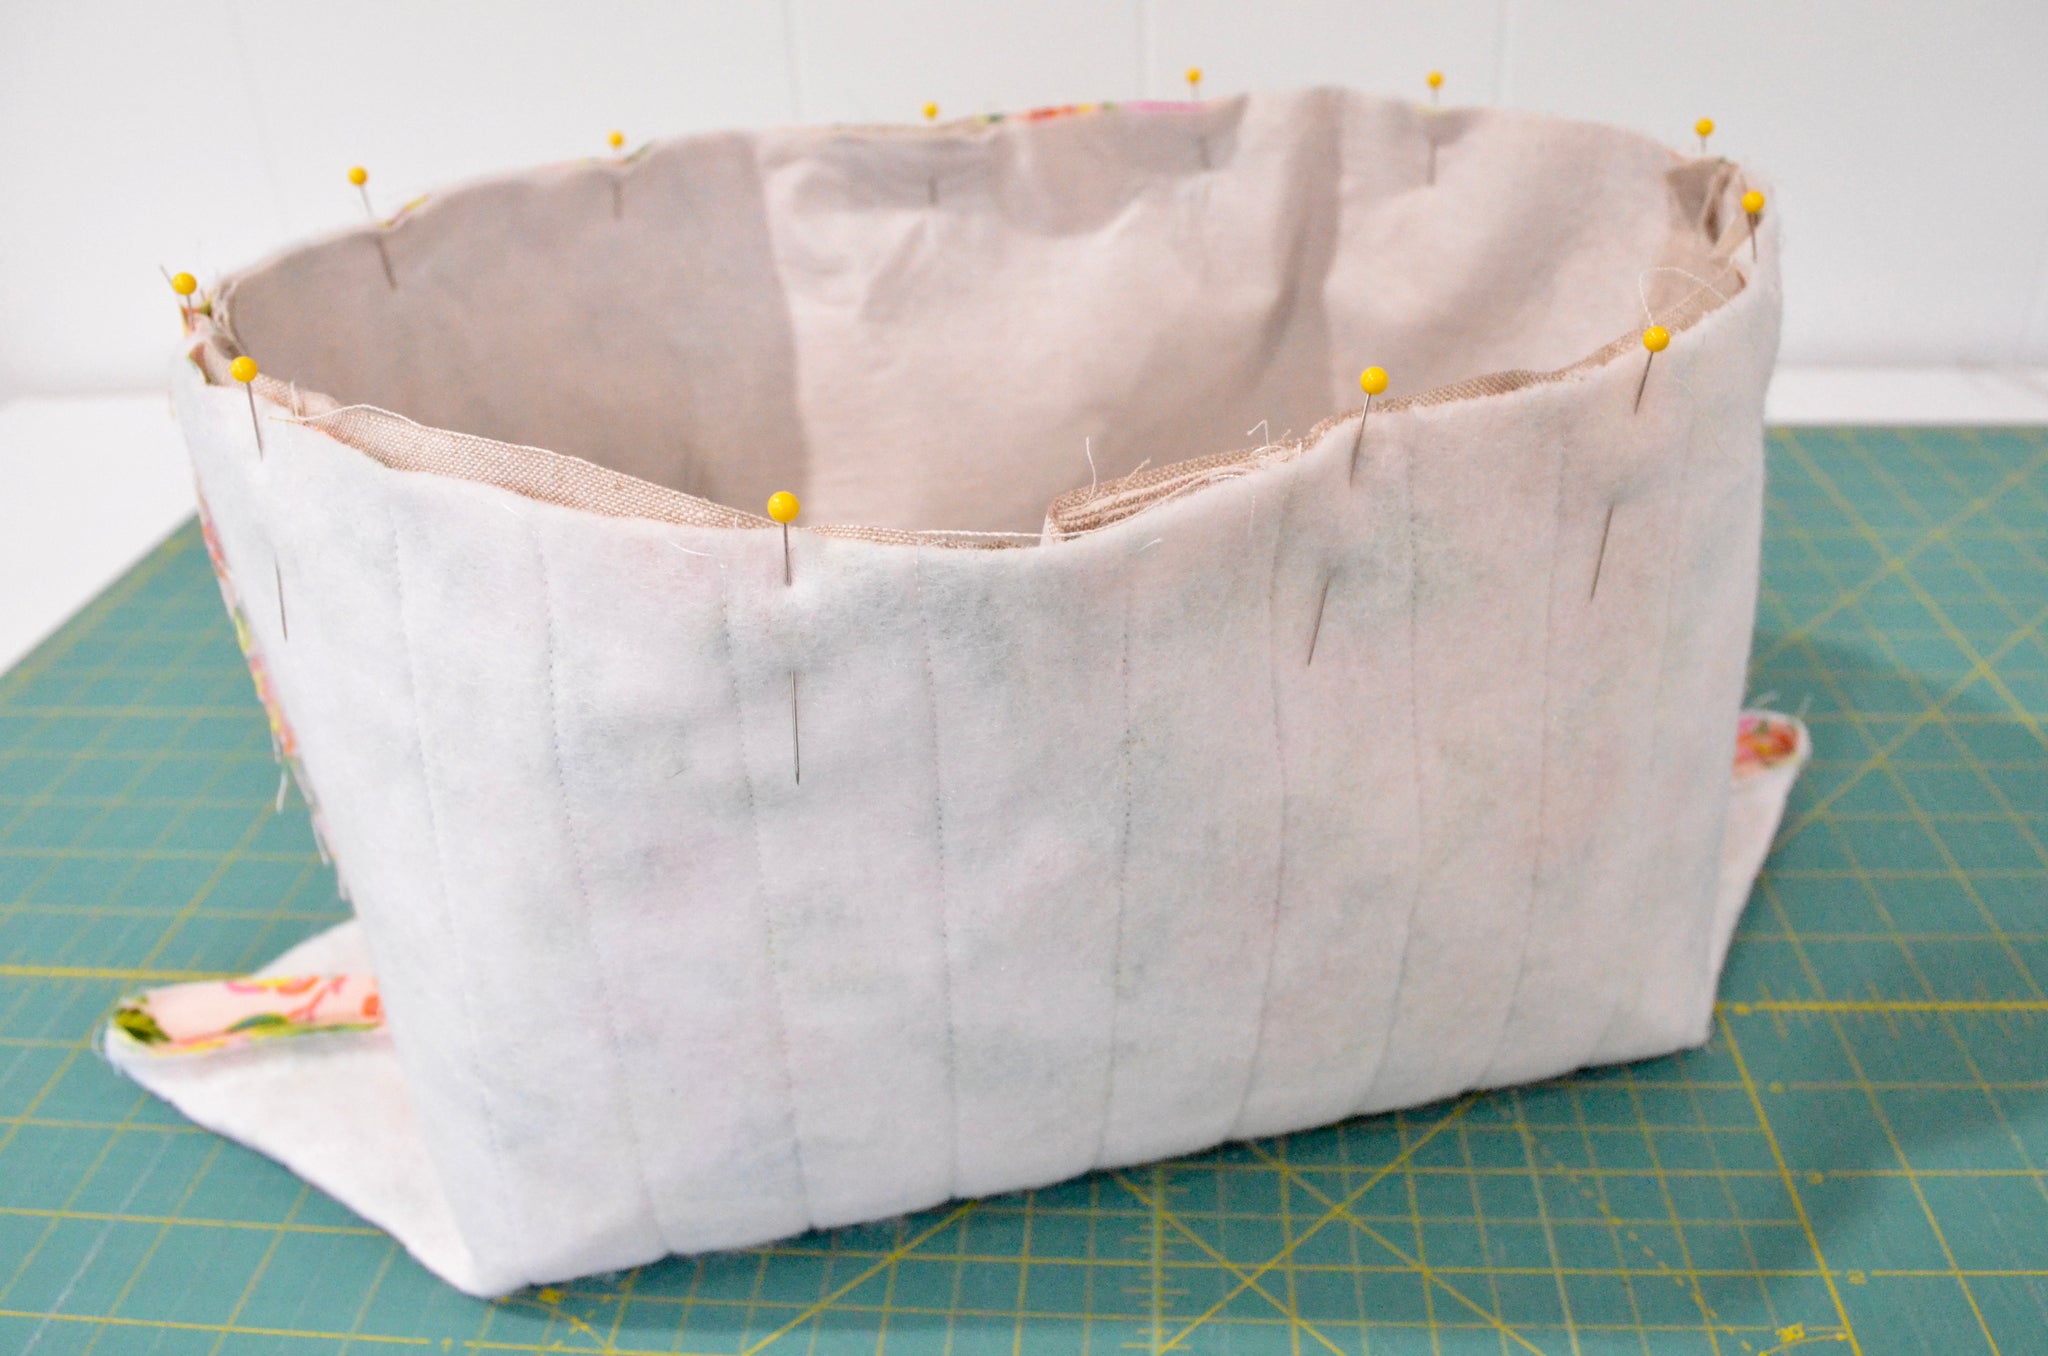
Line up the seams on both ends and pin around the perimeter. Sew around with a ½” seam allowance making sure to leave a 4-5” opening on one of the sides to turn the basket right side out.
Using a ladder stitch, or invisible stitch to sew the hole closed. Viola! You have an Easter Basket!
