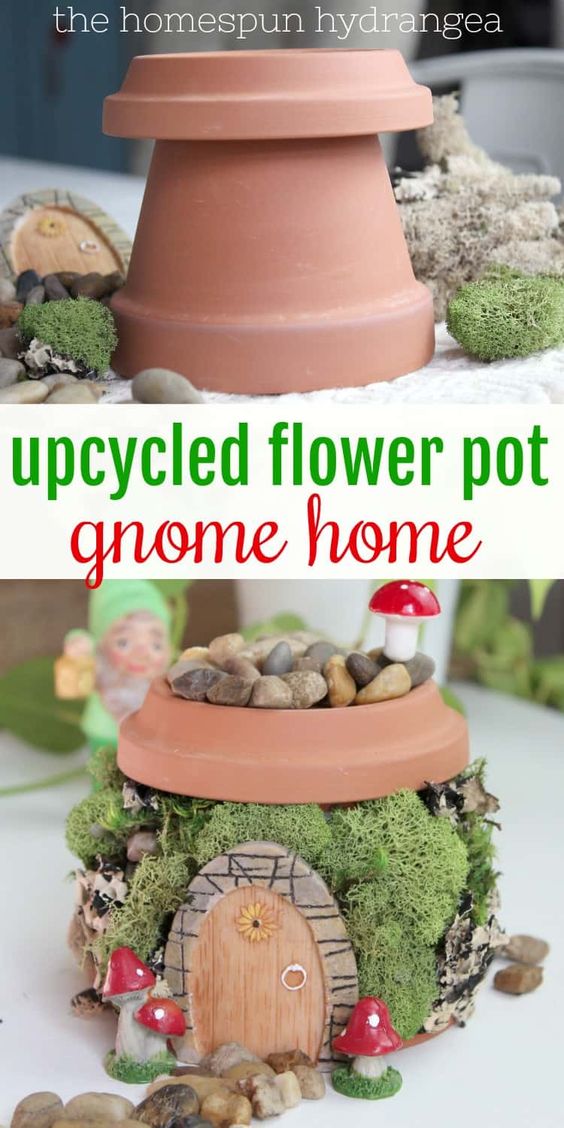
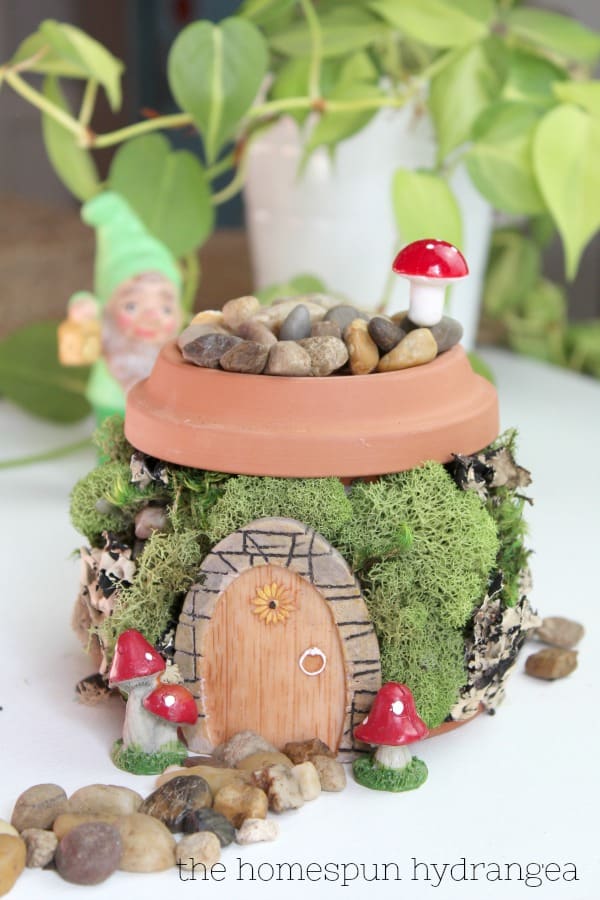
Upcycled Flower Pot Gnome Home
The Transformed Flower Pot Gnome Abode is a whimsical and eco-friendly creation that repurposes old flower pots into charming homes for garden gnomes. By upcycling materials that would otherwise be discarded, this project not only adds a touch of magic to your garden but also helps reduce waste. The process involves painting and decorating the flower pot to create a cozy dwelling for the mythical creatures, complete with windows, doors, and even tiny furniture. Whether you're a seasoned crafter or just looking for a new hobby, creating upcycled flower pot gnome homes is a rewarding and enjoyable activity that will bring a smile to your face every time you see these whimsical creations in your garden.
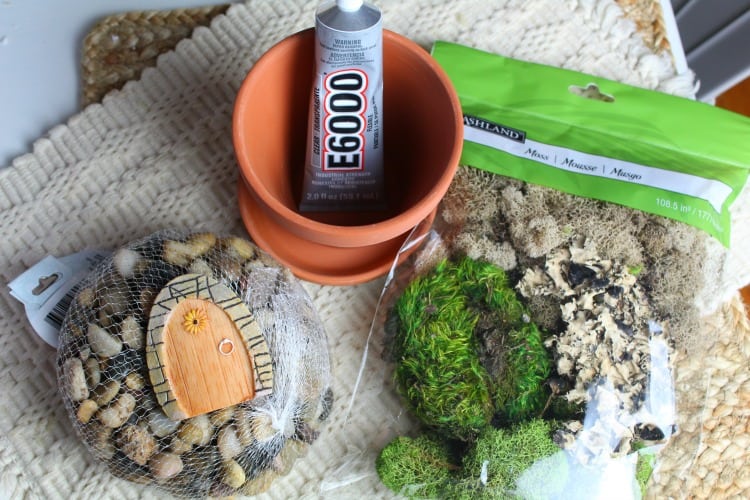
Supplies needed:
– medium sized terra cotta flower pot
– matching flower pot saucer
– extra strength adhesive
– bag of assorted crafting moss
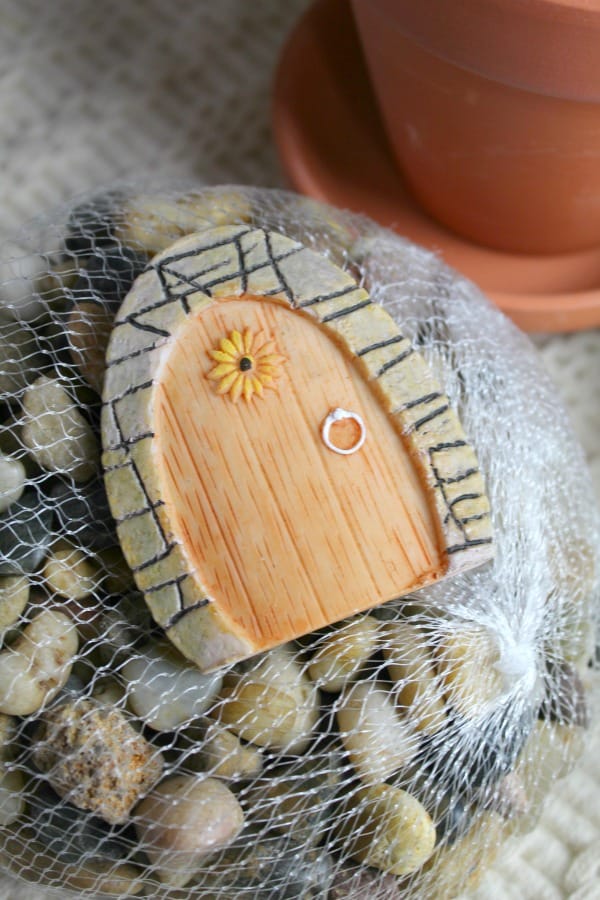
– fairy garden door
– small rocks and pebbles (we grabbed a huge bag at Dollar Tree)
– mini cotton spun crafting mushrooms
– fairy garden mushrooms (found at Dollar Tree)
– hot glue, glue gun
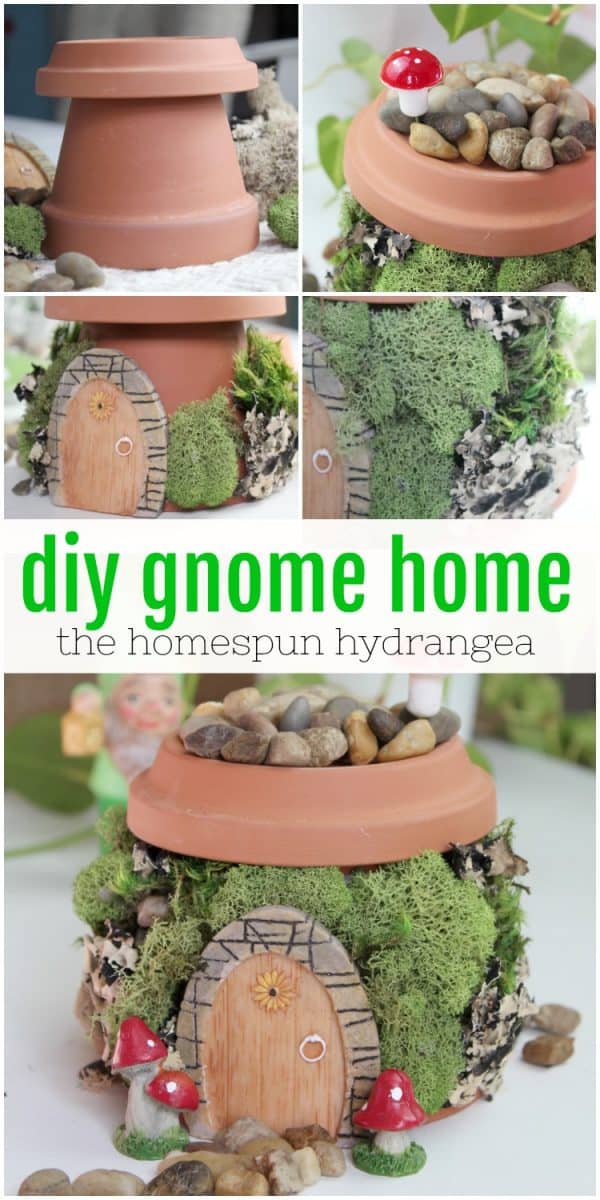
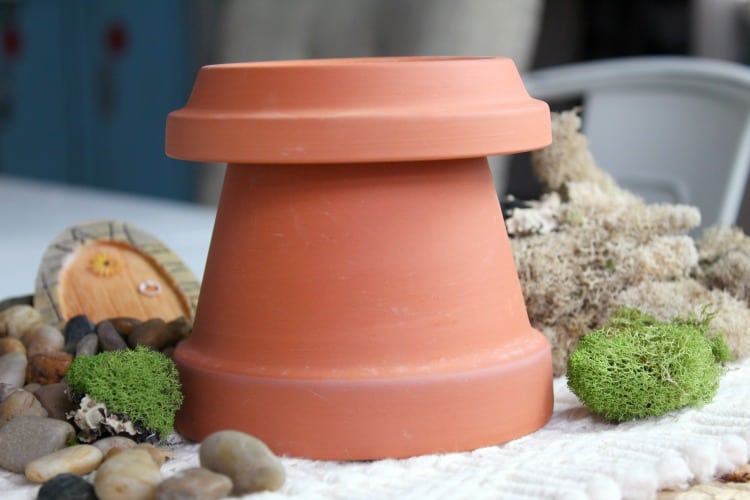
Directions:1. Begin by turning the flower pot over. Add a generous amount of adhesive to the top of the pot. Press the saucer to the adhesive so it is facing downward as shown.
2. Hold the saucer in place for a few minutes. It might take up to several hours to cure and adhere properly. During this time you can place a book or heavy object on top of the saucer to help it stick.
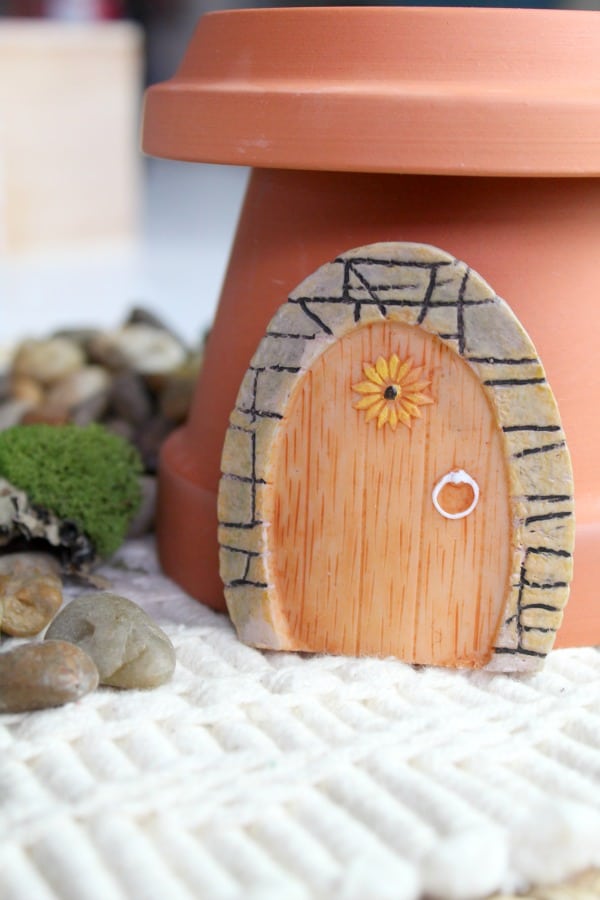
3. Once the roof of your fairy house is in place, you can add the door. Add the same super adhesive on the back of the door and press it to the front of the flower pot. Make sure you hold it in place for a few minutes and then let it rest so it can properly adhere.
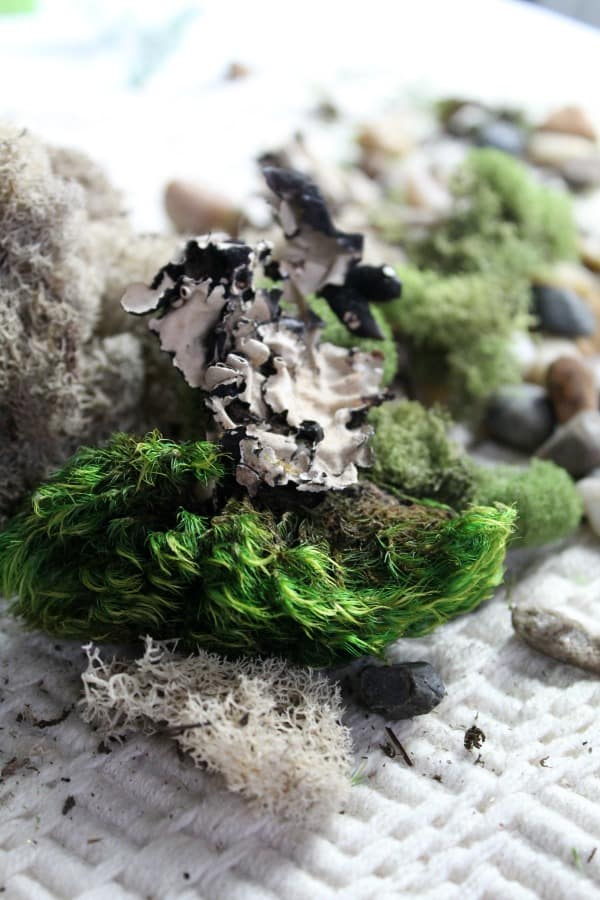
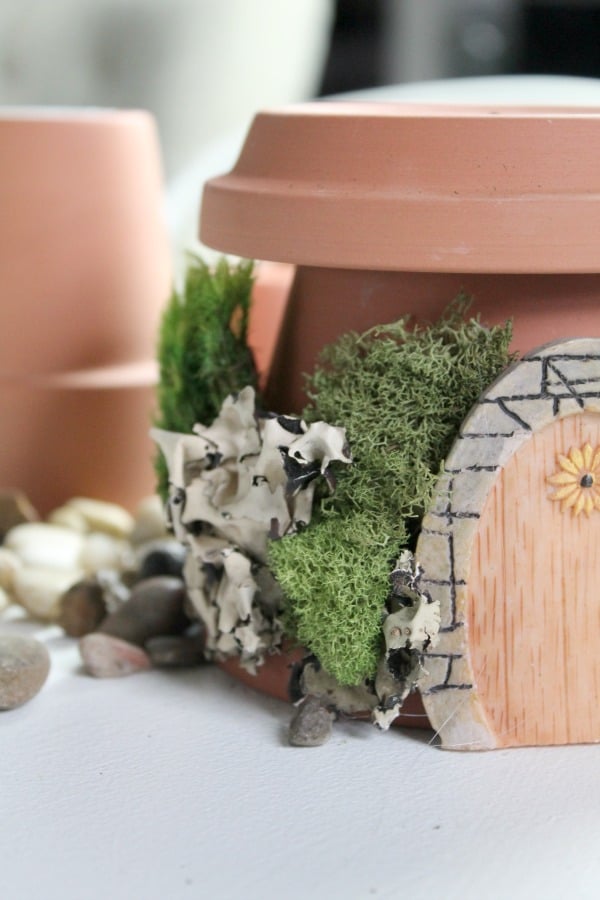
4. As soon as the fairy garden door is dry, you can start adding all of the fun embellishments. This includes the moss, the mushrooms, all of that good stuff that make it look so cute and fairy ready.
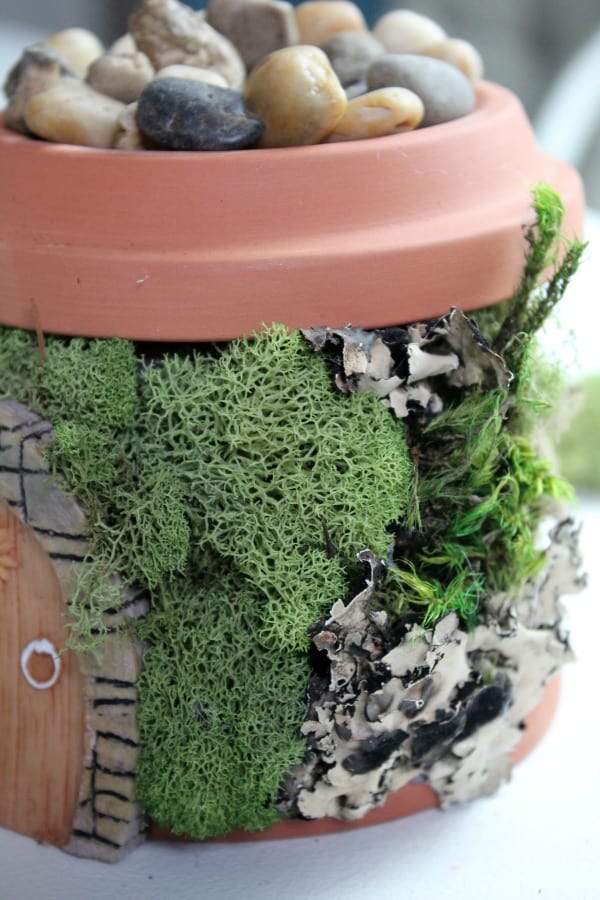
5. Using your hot glue, begin gluing the moss to the flower pot. Use a variety of moss types so you have various colors and textures. Before you glue the moss you might want to gently pull it and spread it thin.
6. Start by building the moss up around the door and continue to work your way around the rest of the pot. Just add some glue, press, and hold the moss in place until secure.
7. As we continues to glue the moss in place, we added in a rock or two for detail. You can use your hot glue for this as it seems to work well.
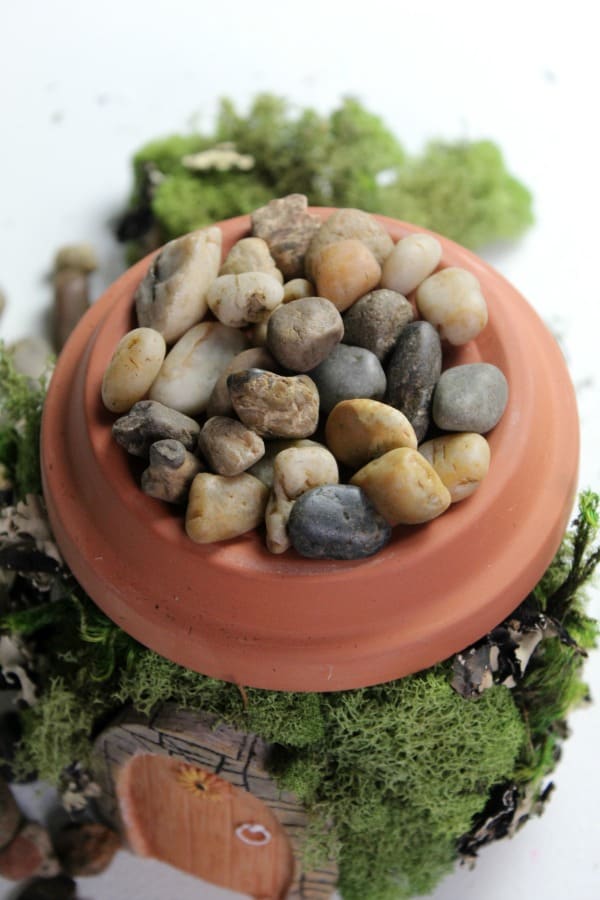
8. Add some glue to the top of the roof. Layer some rocks over the glue. This will create a pebble roof for the house which is quite cute.
9. Continue layering the stones on the top of the roof until it is covered. Add a little moss in the mix if you wish. There is really no right or wrong way to do this portion of the craft.
10. We then added some Dollar Tree mushrooms around the door of the gnome home. Just add a bit of glue and press the mushrooms into place.
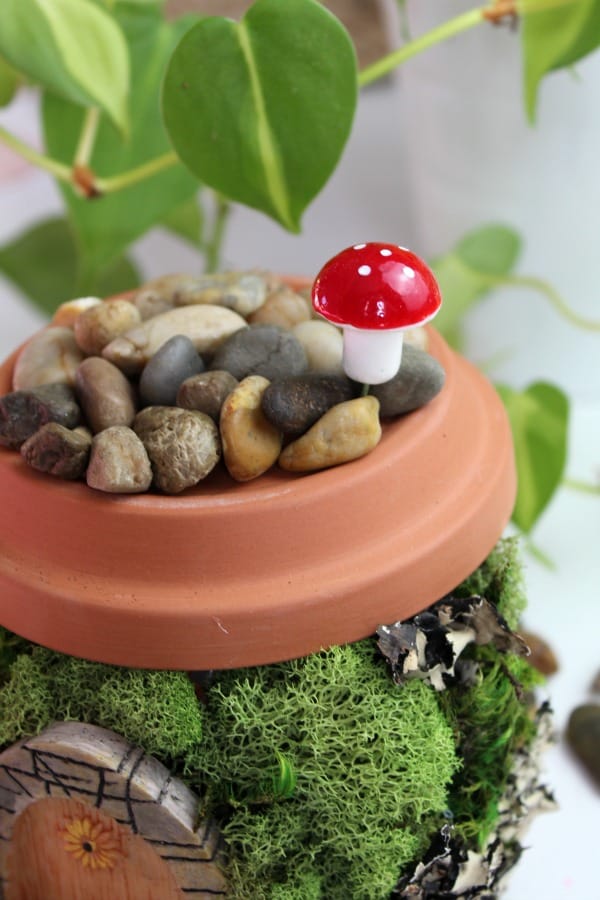
11. Finally, we added a cotton mushroom to the top of the roof to look like a chimney. How cute is that? Just add some glue and press it to the rocks.
To finish off your fairy garden house or gnome home, once you settle it in place you can make a pebble path leading up to it. The bags of rocks they sell at Dollar Tree are perfect for this task!
Now all you have left to do is display your fairy garden house. You can place this directly into your fairy gardens where it is sure to offer fairies and gnomes a cozy place to rest.
Kids will love making this fairy garden house, and I am sure I know a few adults who will, too!