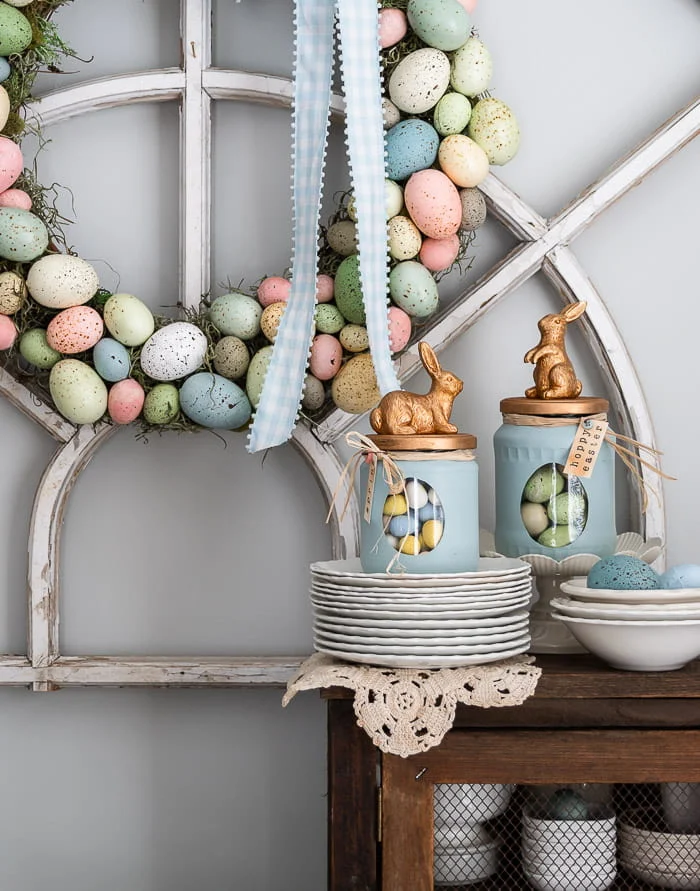
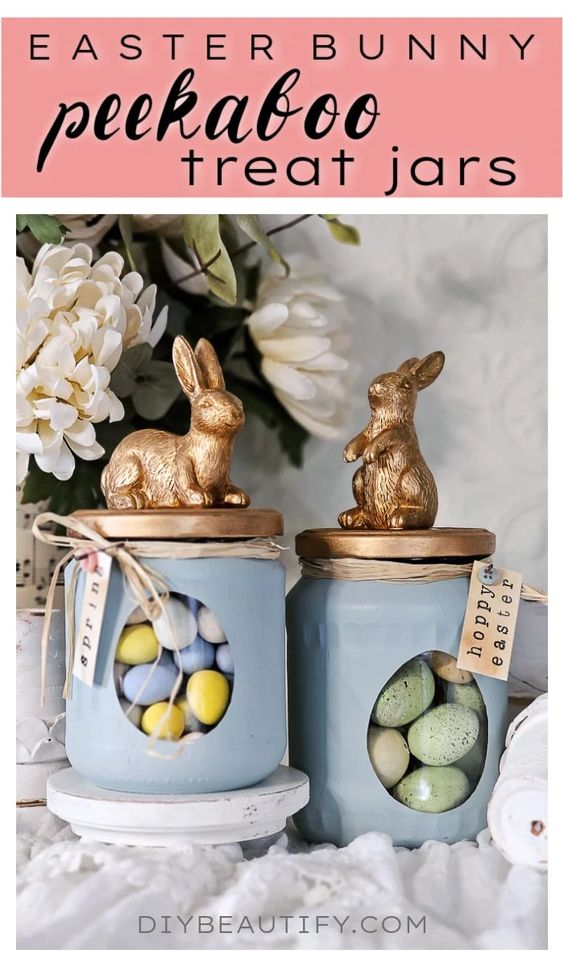
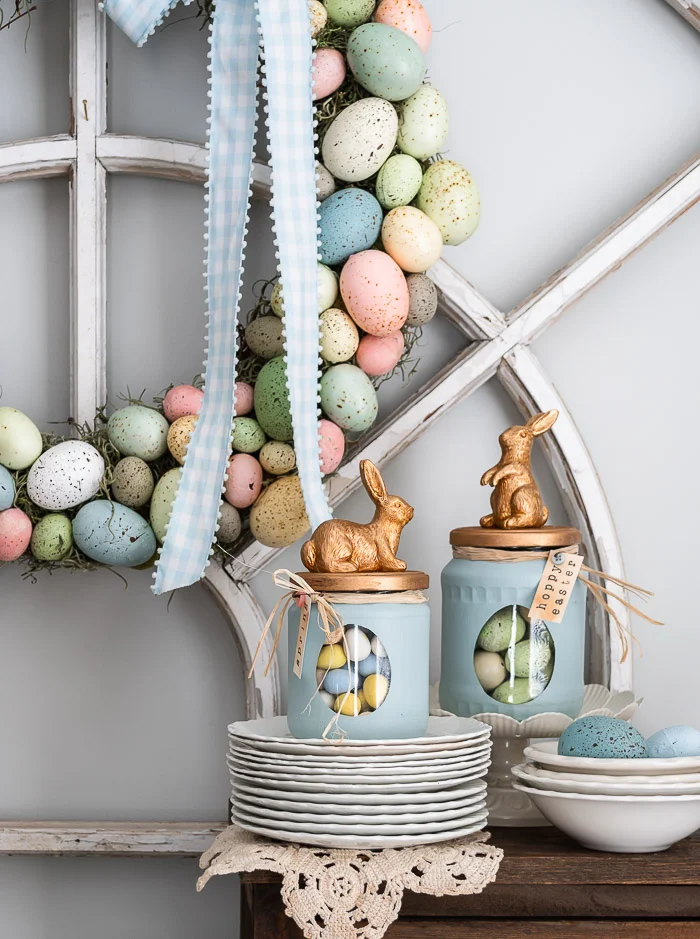
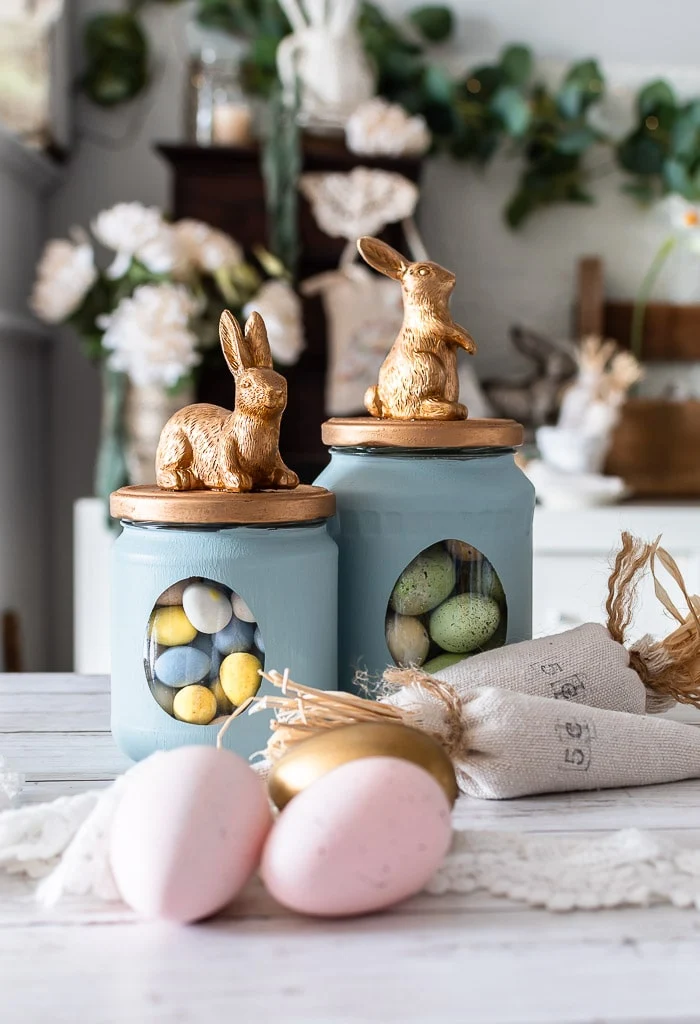
DIY Easter Bunny Peekaboo Treat Jars
Create your own adorable Easter Bunny Peekaboo Treat Jars with this simple do-it-yourself project. These jars are perfect for filling with sweet treats and giving as gifts or using as festive decorations in your home. To make these cute jars, you will need clear glass jars with lids, white paint, pink paint, paintbrushes, googly eyes, pink pom poms, and glue. Start by painting the lids of the jars white and allowing them to dry completely. Then, use the pink paint to create the bunny's ears on the lid. Once the paint is dry, glue on the googly eyes and pink pom pom for the bunny's nose. Fill the jars with your favorite Easter candies and enjoy the adorable peekaboo bunnies! These jars are not only great for Easter, but they can also be used for other occasions such as baby showers or birthday parties. Get creative with your designs and have fun making these cute and festive jars that are sure to bring a smile to anyone's face. Display them on your Easter table or give them as gifts to friends and family to spread some holiday cheer.
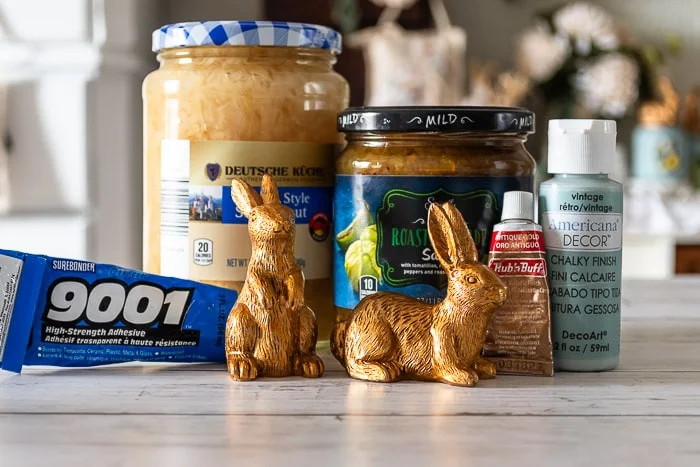
Supplies Used:
- glass jars and lids with wide openings (I used salsa and sauerkraut jars from Aldi)
- large egg shaped sticker cutout
- chalk paint or spray paint
- rub n buff
- clear paste wax
- Target dollar spot gold bunnies
- 9001 glue for metal
- foam craft brush
- paper towels
- disposable gloves
- lint-free rags
Be sure to read the tips below before beginning this project to ensure you have success with your peekaboo Easter bunny treat jars!
Tips for success
- jars and lids should be thoroughly washed and dried so no food odor remains; run through dishwasher a time or two if needed
- be sure to press egg sticker snugly to jar, especially around edges, so no paint is able to seep underneath
- two coats of chalk paint will likely be needed to get the best coverage
- apply rub n buff to bunnies as well so the gold color matches the lids
- before applying rub n buff to metal lids, it is recommended to wipe with mineral spirits (or even rubbing alcohol) and lightly sand glossy surfaces
- use a tweezer to remove egg shape after paint/wax is thoroughly dry
What to put in the treat jars
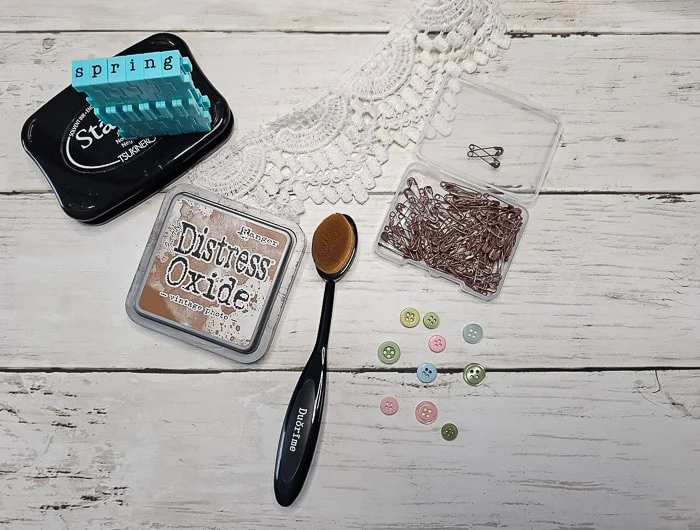
Custom stamped tags for gifting
Supplies used:
- cardstock
- alphabet stamps
- black permanent ink pad
- distress oxide in vintage photo
- blending sponge (I use a makeup sponge)
- raffia
- mini safety pins
- small pastel buttons
- tiny hole punch
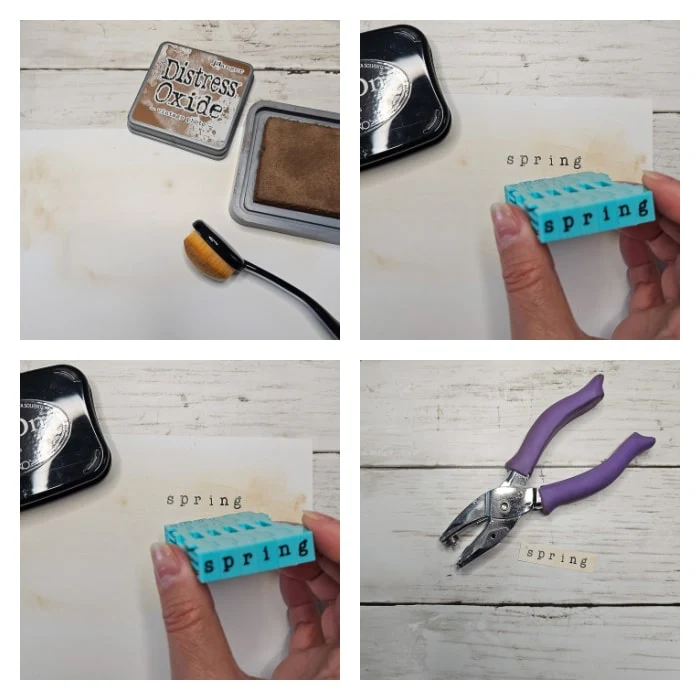
It's a little extra step that makes these jars so perfect for gifting!