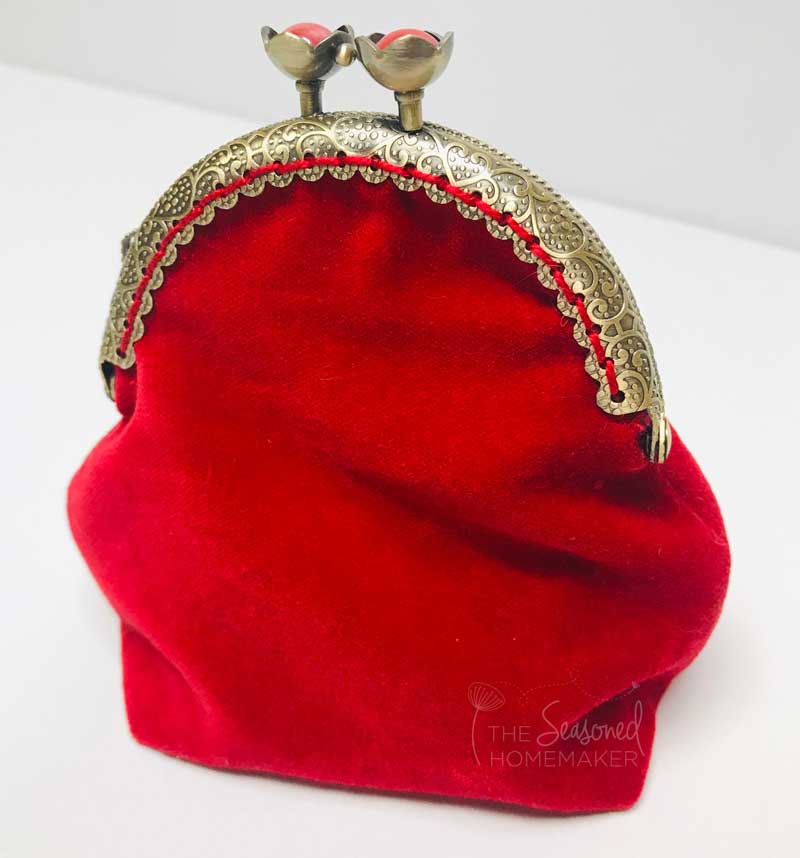
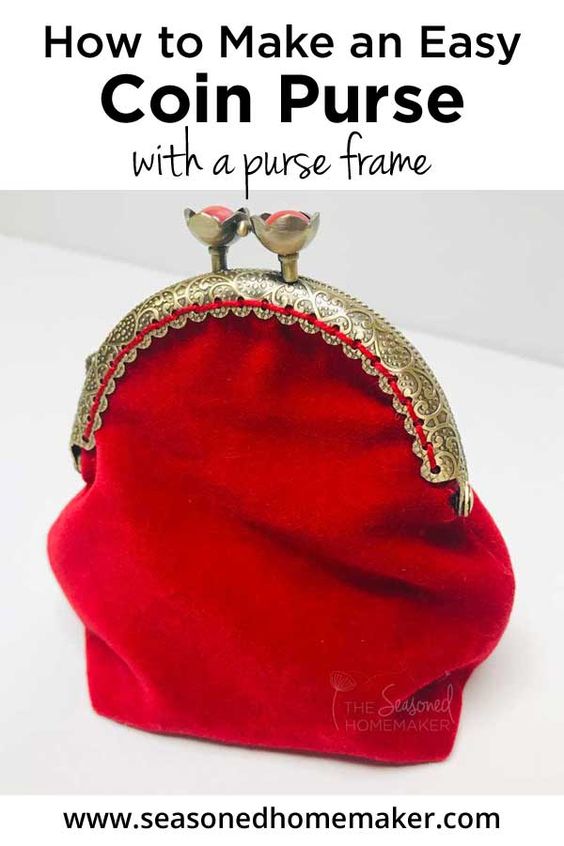
How To Make An Easy Coin Purse
Looking for a new project to work on? How about trying your hand at making a coin purse with a sewing pattern? This fun and practical accessory can be customized to suit your style and needs. Whether you prefer a simple design or something more intricate, there are plenty of sewing patterns available to help you create the perfect coin purse. With just a few materials and some basic sewing skills, you can whip up a cute and functional coin purse in no time. You can choose from a variety of fabrics, colors, and embellishments to personalize your coin purse and make it one-of-a-kind. Plus, sewing your own accessories is a great way to save money and reduce waste by using up fabric scraps or repurposing old materials. So why not give it a try and see what kind of coin purse you can create with a sewing pattern?
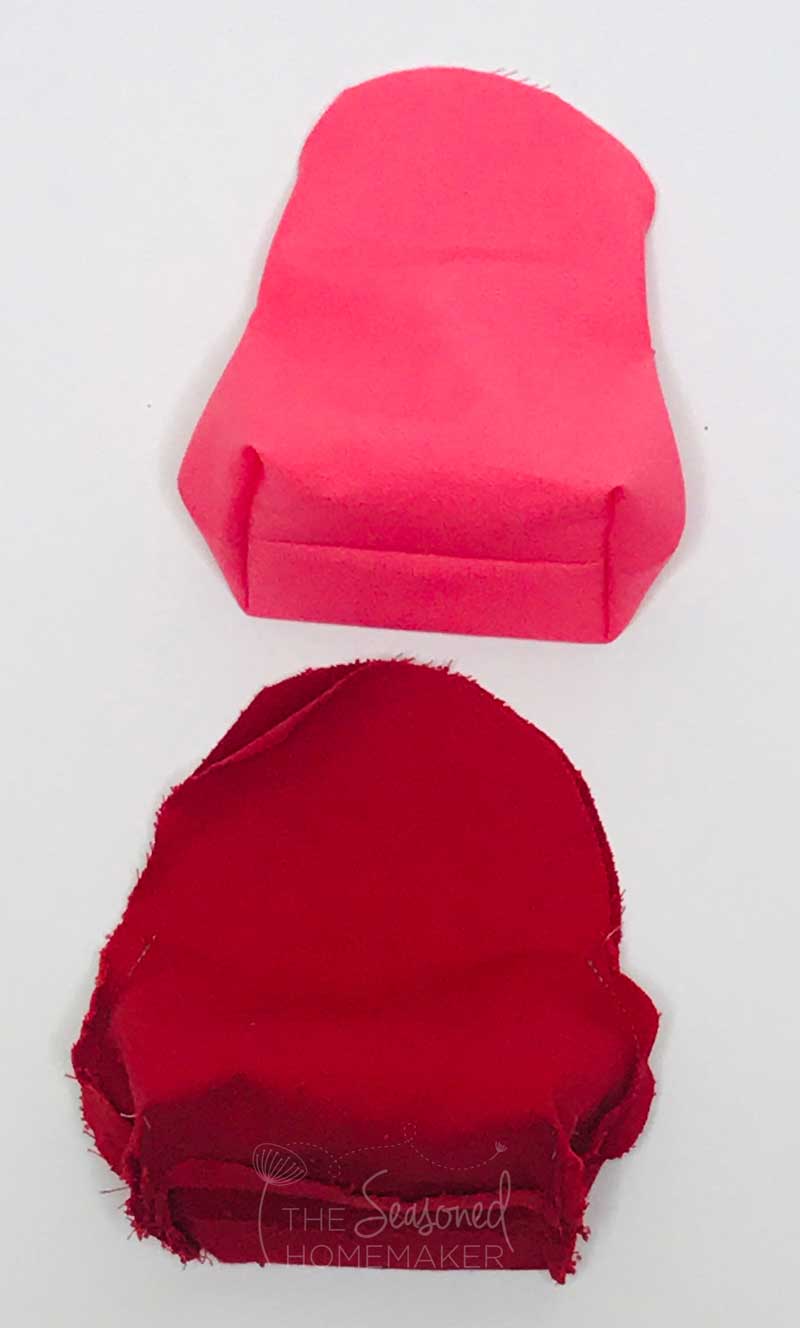
- Qty (1) Fat Quarter – Exterior Fabric (I got some crushed velvet from my local fabric store)
- Qty (1) Fat Quarter – Interior Fabric (I used Kona Pink Fabric)
- Qty (1) Metal Purse Frame
Supply List:
- Sewing Machine with a quarter inch presser foot
- Embroidery Thread (8 wt thread works well)
- Aurifil Thread for assembly of the purse
- Sharp Fabric Scissors
- Tissue Paper for pattern tracing
- Pencil
- Iron & Wool Pressing Mat (if you don’t have one – get one!)
- Sewing Pins
- Large Eye needle (for attaching the purse to the frame)
Making the Purse Pattern:
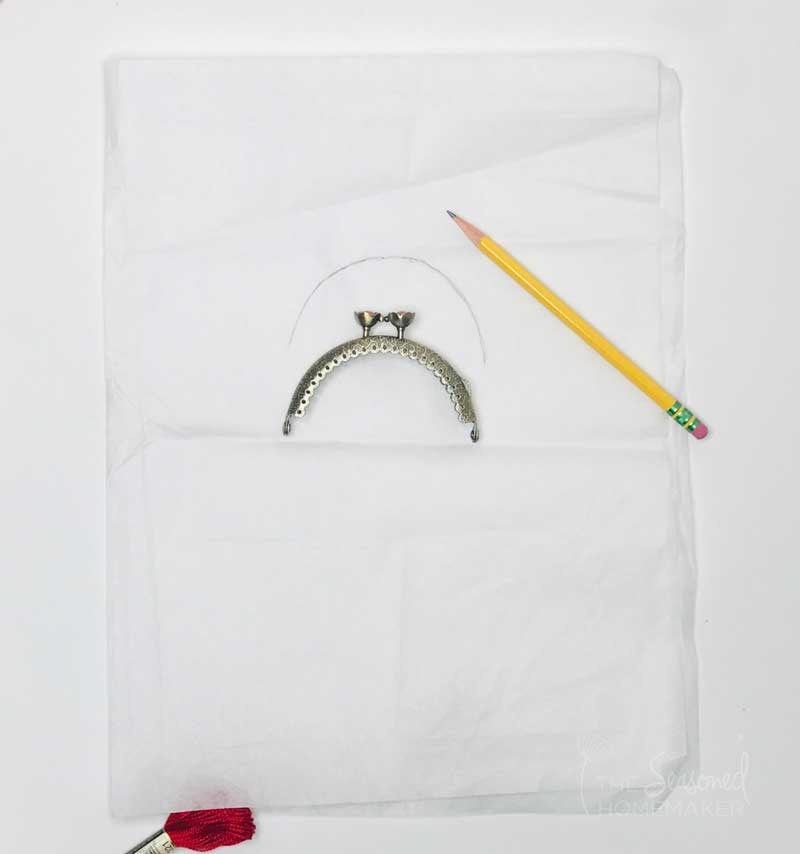
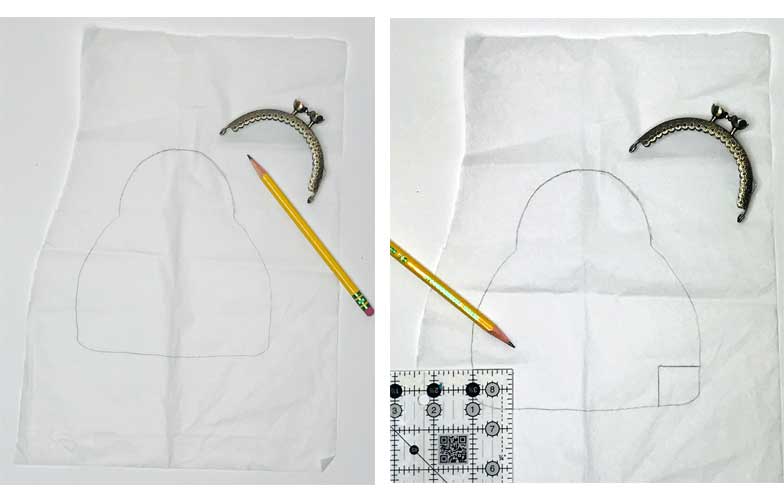
Step 1: Make a Purse Pattern
Trace the arc of the purse clasp onto the tissue.
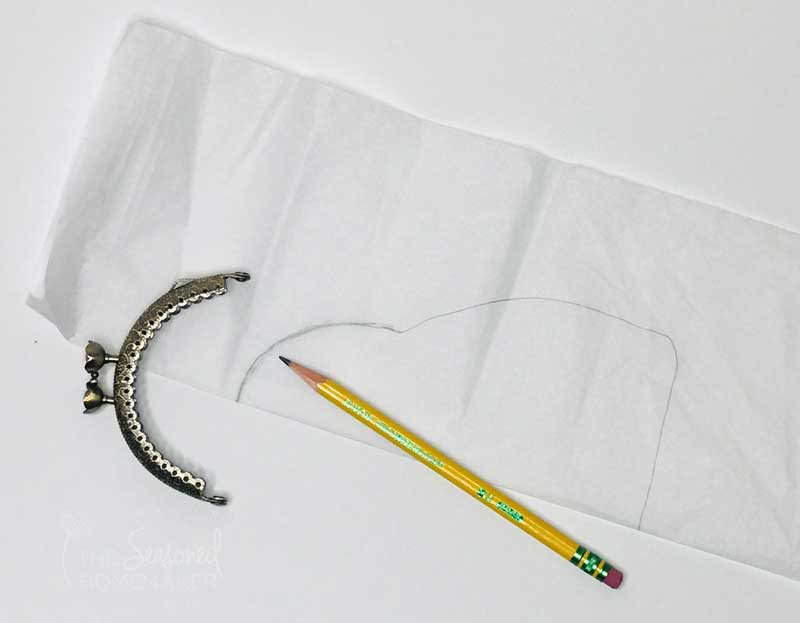
Step 2: Draw the Body
Freehand draw what you’d like the body of your purse to look like. I recommend drawing half of the purse and then folding the tissue in half and trace the second half.
Step 3: Add Corners
Once you have your pattern sketched, you can add a 1″ box at the bottom corners of your pattern.
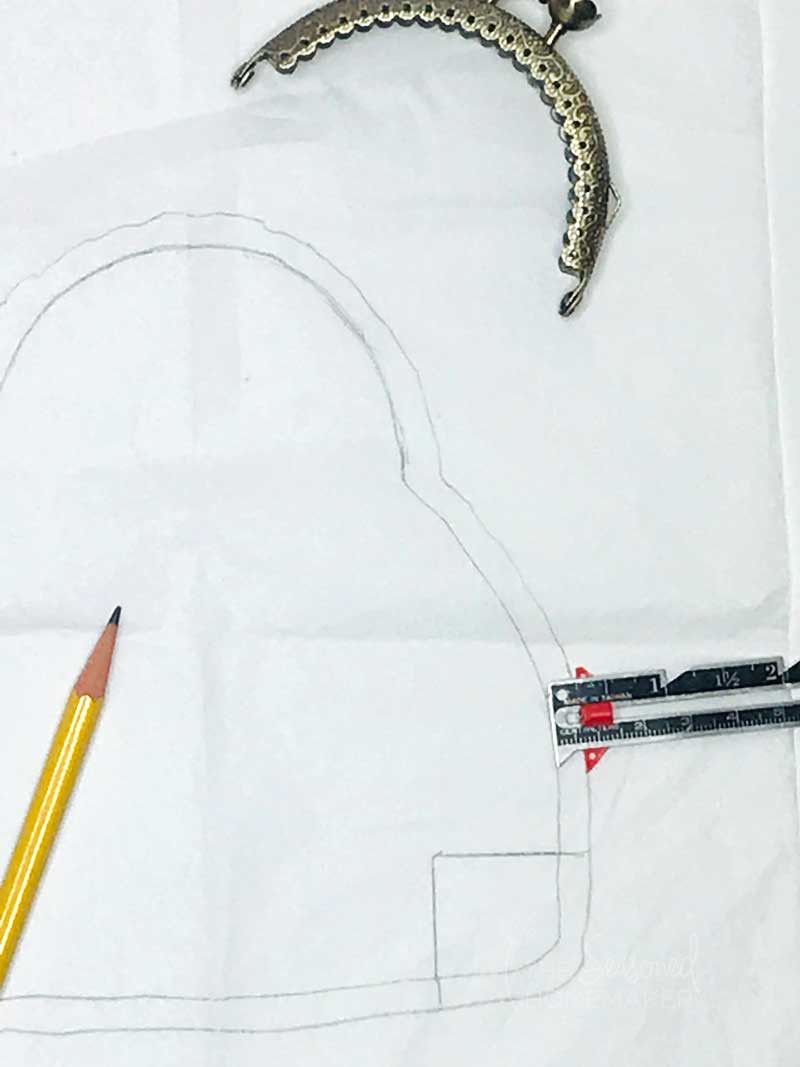
Step 4: Add Seam Allowance
Add a 1/4″ seam allowance line around the perimeter of your pattern and place your pattern tissue over your fabrics and secure with sewing pins.
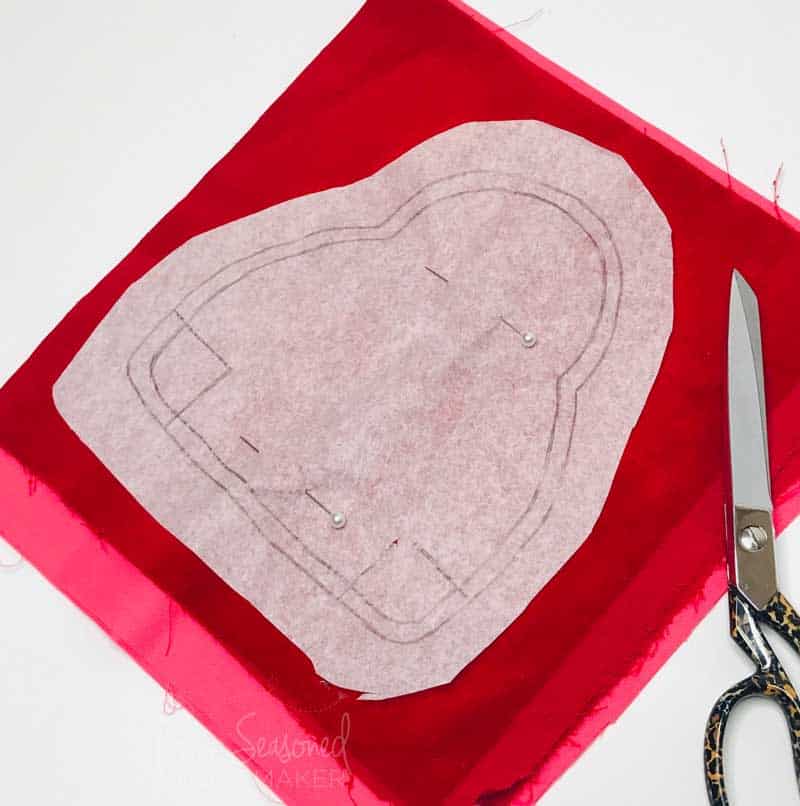
Step 5: Cut Out Fabric
You will cut out (2) of the exterior and (2) of the interior pieces. This is where a good pair of scissors comes in handy. I was able to cut out all 4 layers at once, using my Gingher Scissors.
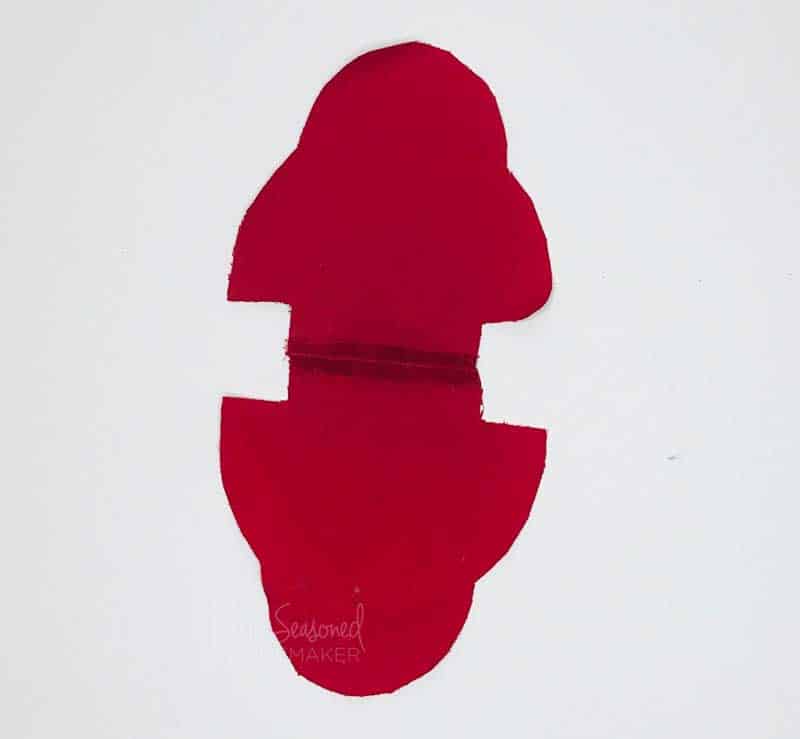
Step 6: Sew Bottom Edge
Sew the bottom edge together with a 1/4″ seam allowance and press open.
Step 7: Leave Opening
Sew the sides together, leaving a 3″ opening at the top for turning.
Step 8: Sew Corners Closed
Bring the boxed bottom edges together and pin. Sew these corners closed, using a 1/4″ seam allowance.
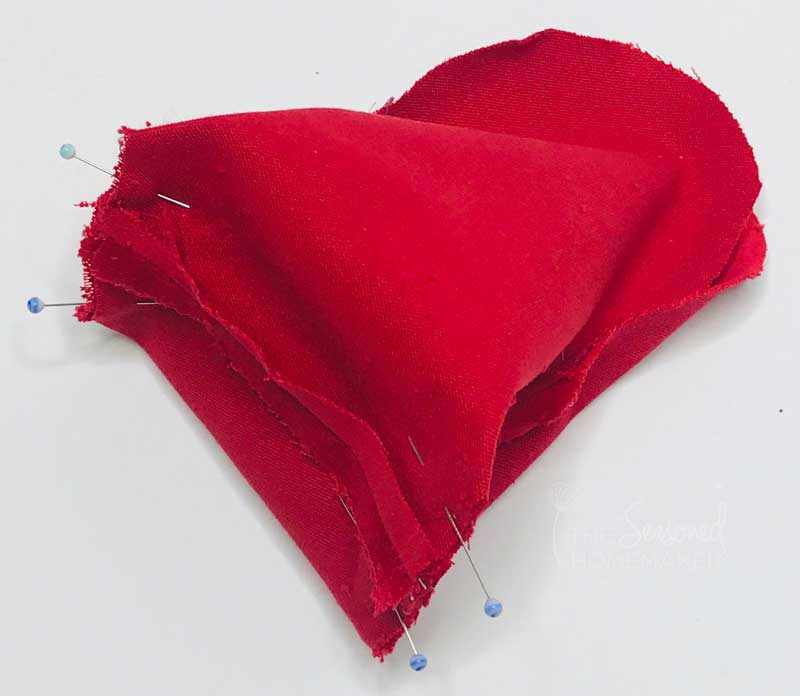
Step 9: Repeat for Lining
Follow the same steps for the interior (lining) fabric. Place the lining inside of the exterior of the purse, right sides together.
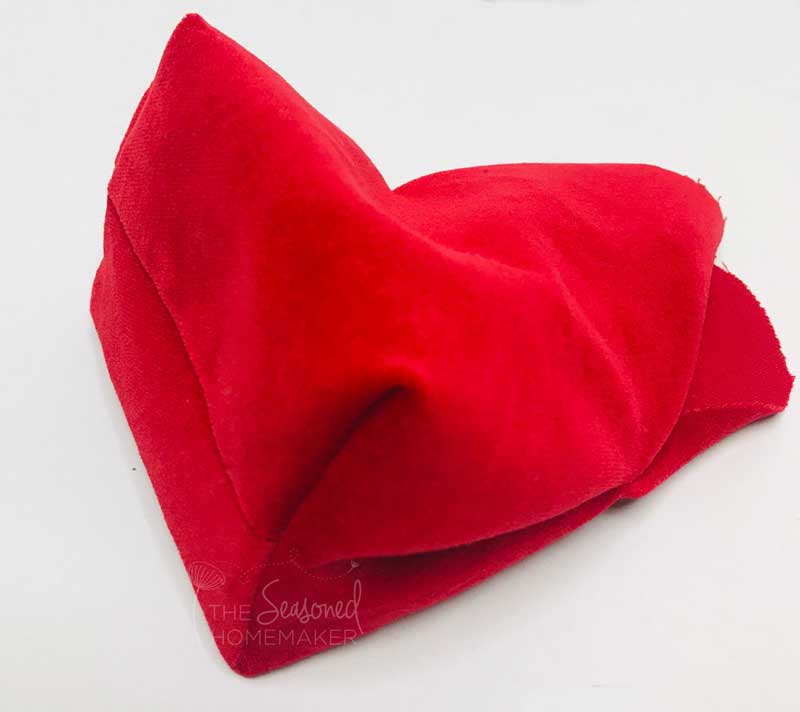
Step 10: Close Curved Edges
Sew each of the curved edges closed, leaving one side open for turning. Trim away the top curved seam allowance to 1/8″ and turn purse right side out.
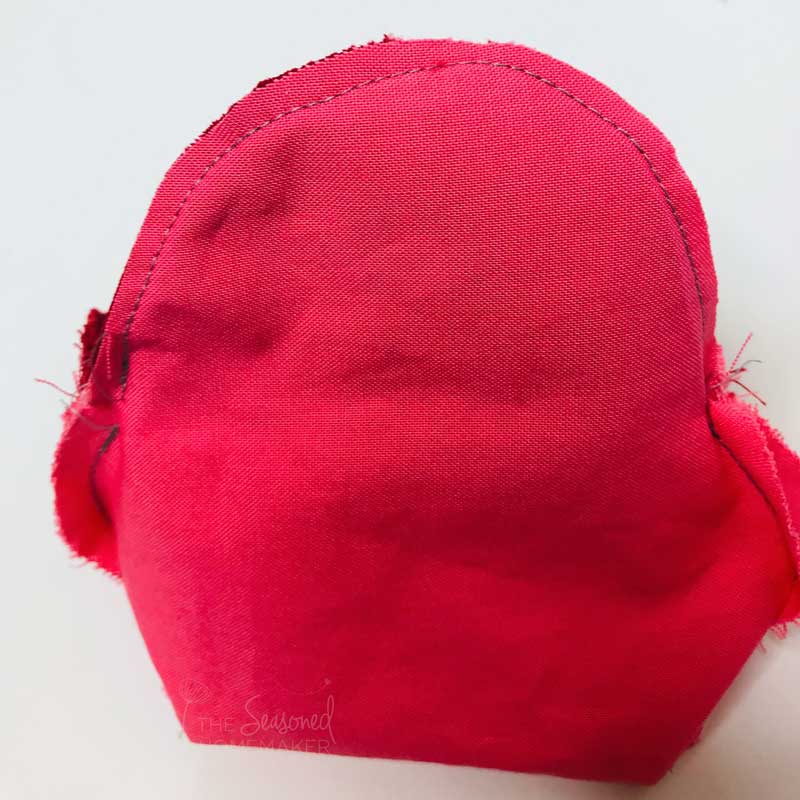
Step 11: Close One Side
Machine stitch one side closed using a 1/8″ seam allowance.

Step 12: Lining
Ensuring that the purse lining is inside the exterior purse body, pin the second edge, and whip stitch the second curved top closed.

Step 13: Attach the purse body to the metal frame
Center the purse body inside of the frame. Using an embroidery tread and needle, simply sew the frame onto the purse body on each side. Simple and fun!